SEGARE IL LEGNO. IL TAGLIO LUNGOVENA. CARTELLARE O SFETTARE IL LEGNO / SAWING THE WOOD. WITH THE GRAIN CUT. RESAWING THE WOOD
English translation at the end of the article

Segare il legno lungovena con una sega a mano significa segare parallelamente alla venatura del legno. A differenza del taglio traverso vena, che tronca le fibre del legno, il taglio
lungovena ne separa le fibre. Il taglio lungovena viene solitamente visto con maggior timore rispetto a quello traverso vena. La difficoltà nasce principalmente dal fatto che di solito i tagli lungovena sono più lunghi di quelli traverso vena e quindi maggiore é la probabilità di andare storti durante il taglio. Vedremo però che, con le dovute accortezze e un po’ di pratica, riusciremo a fare bene.
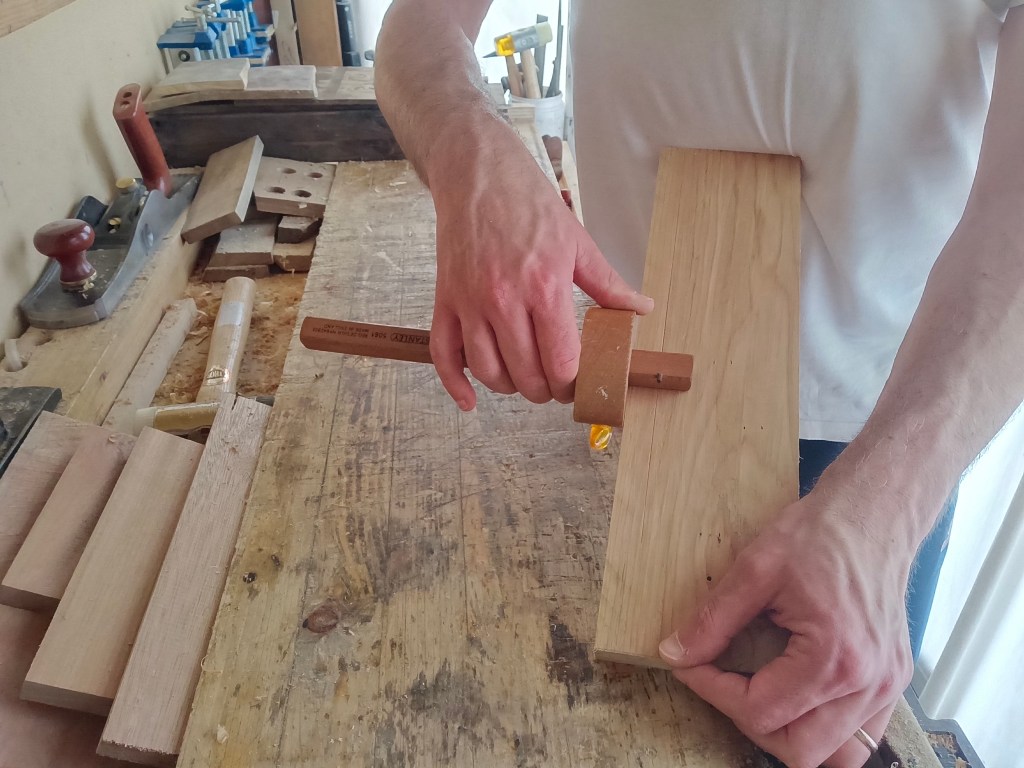
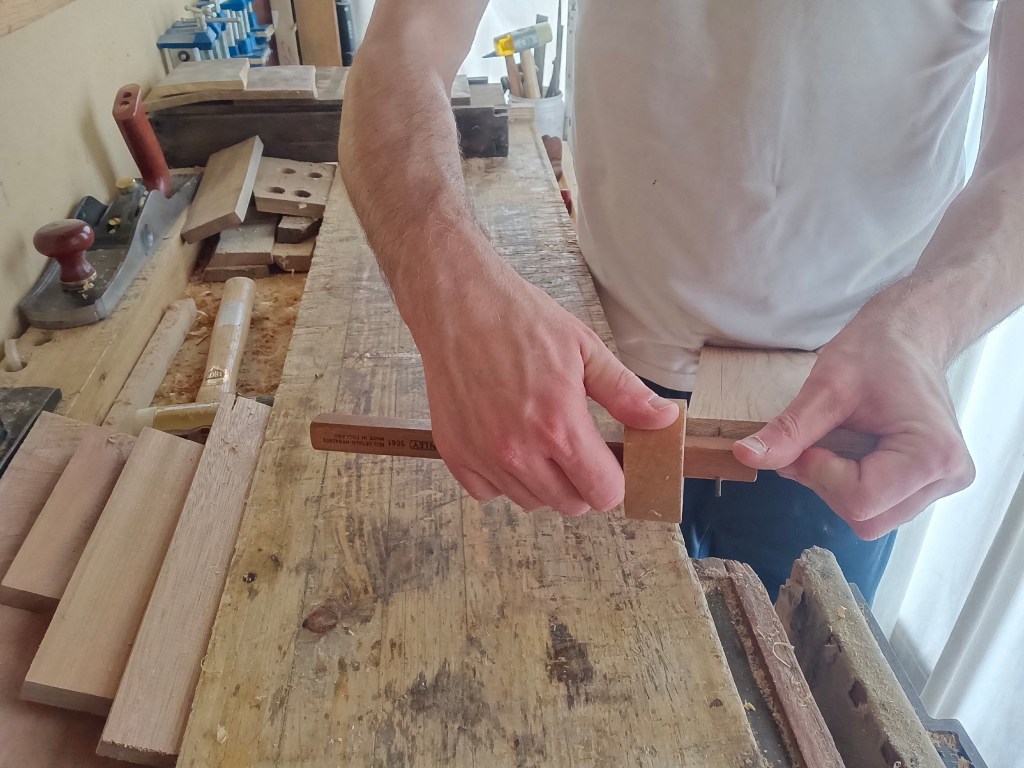
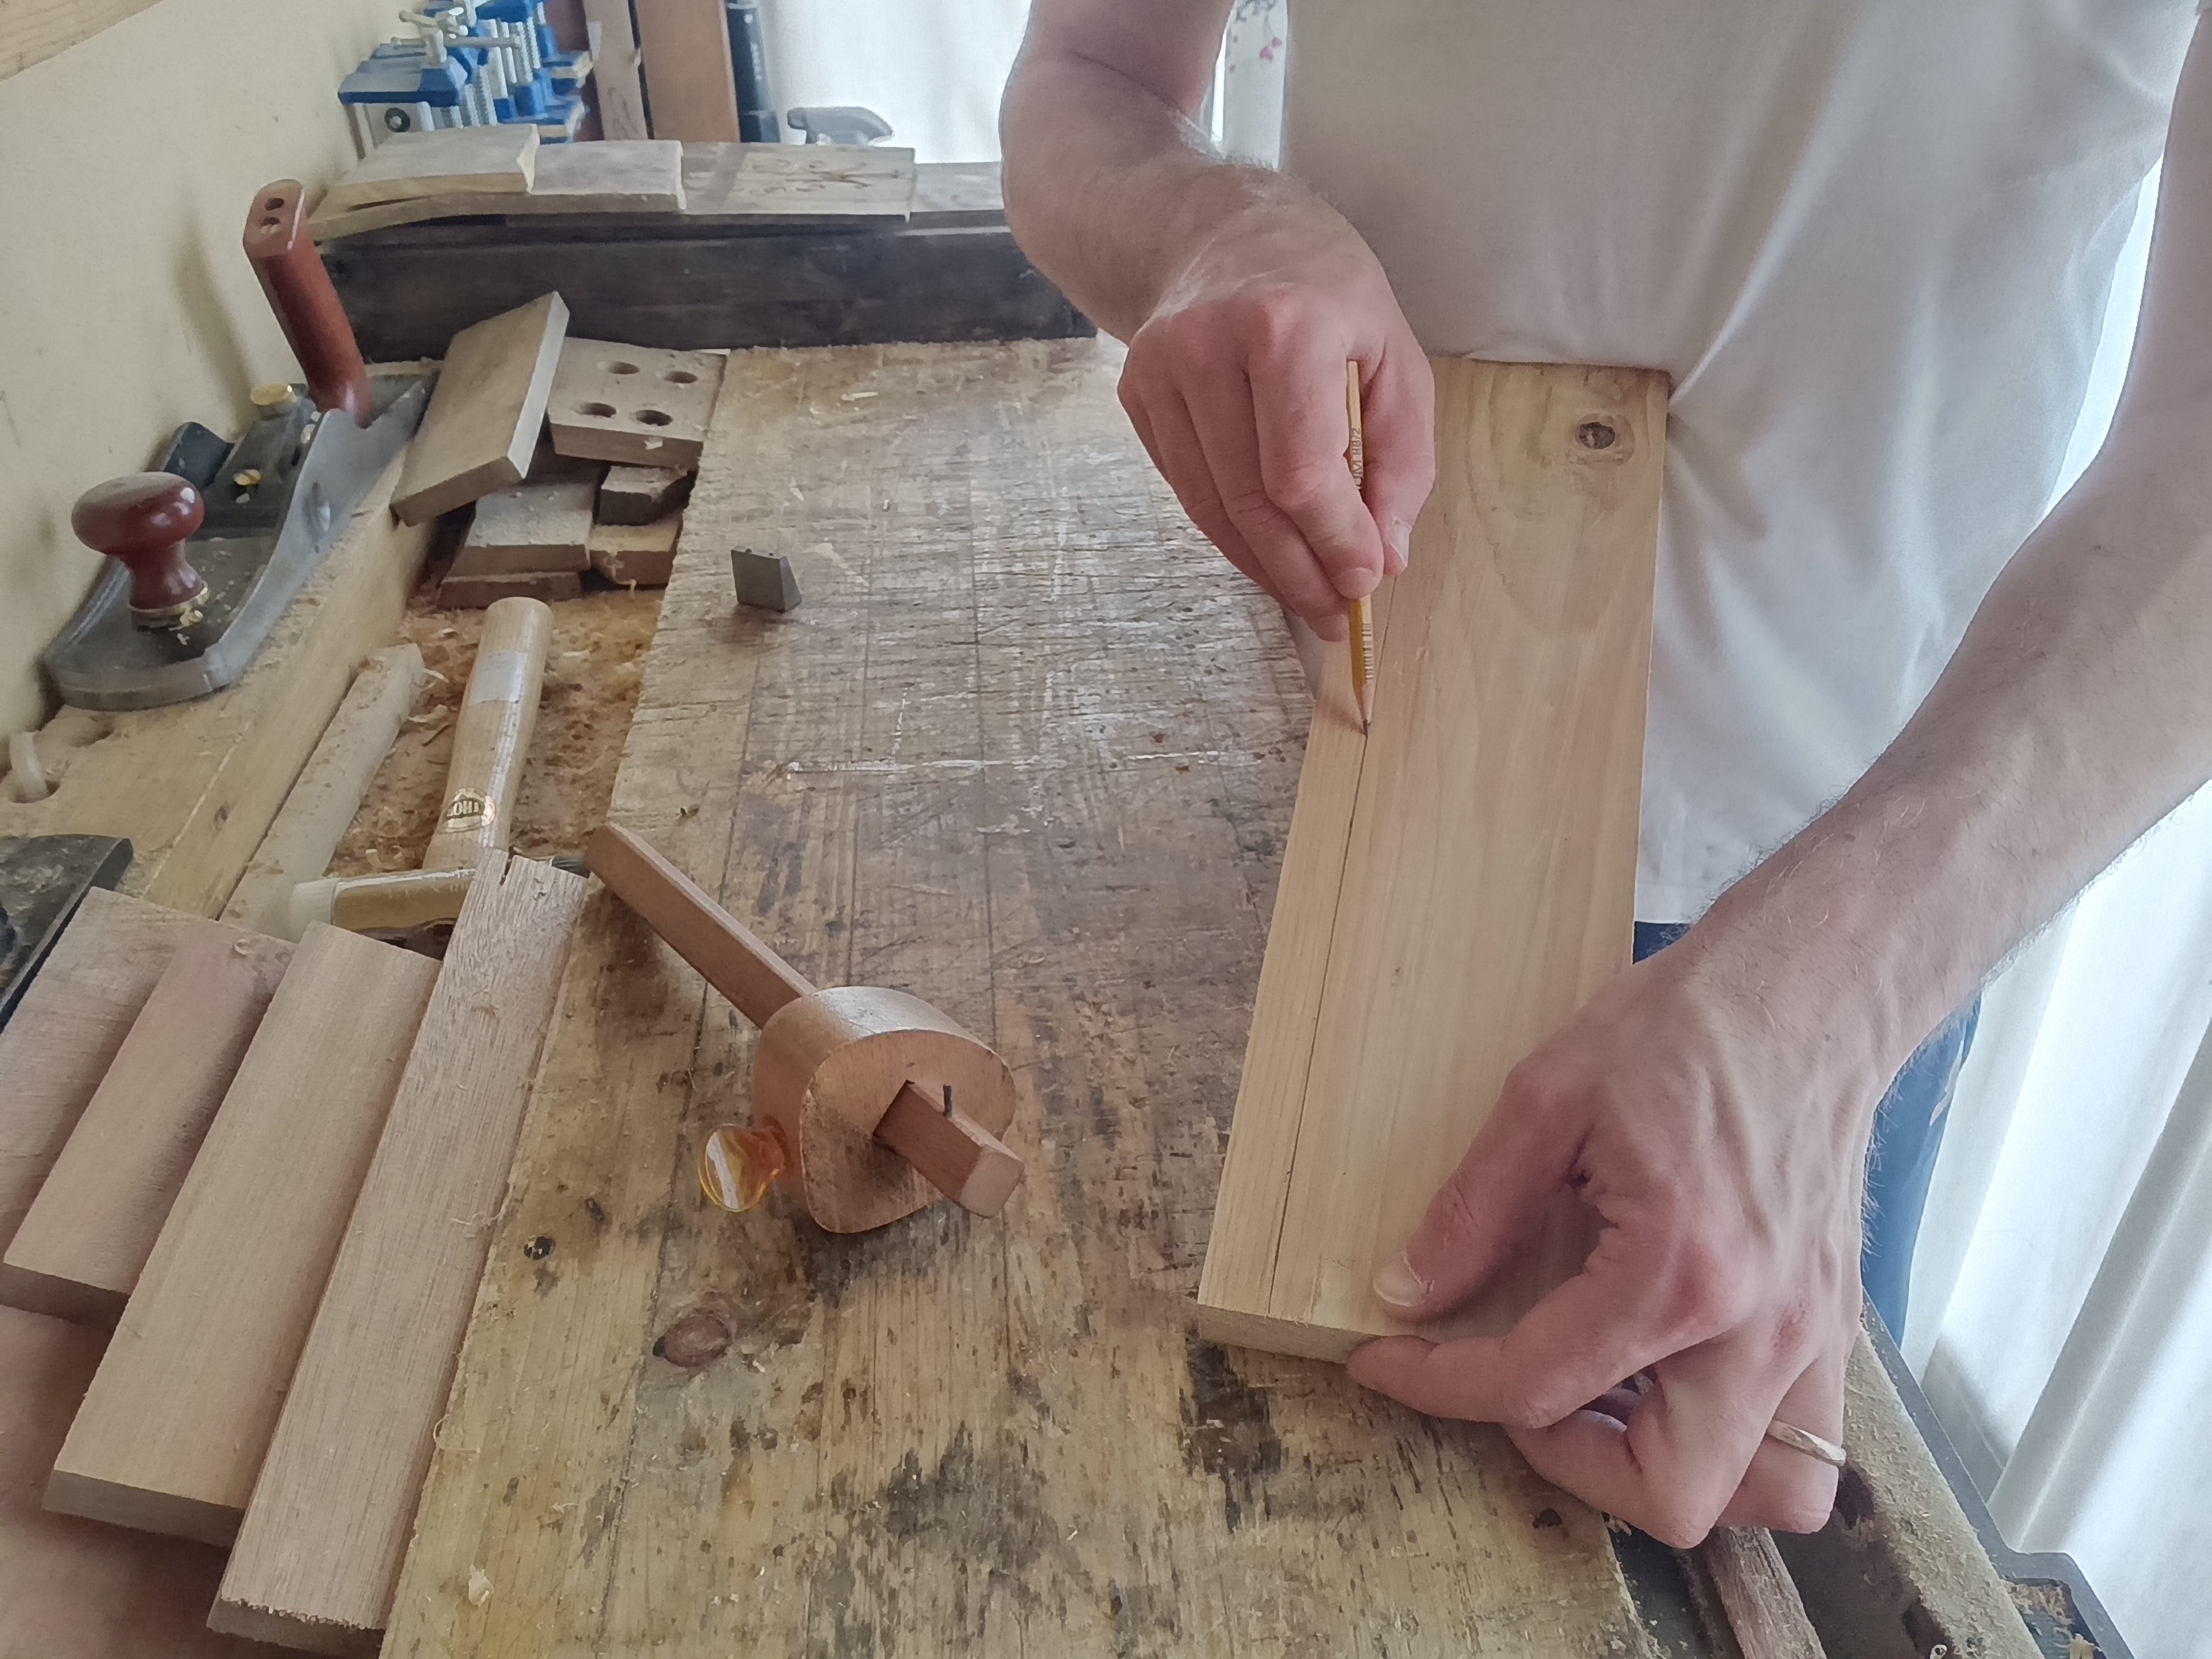
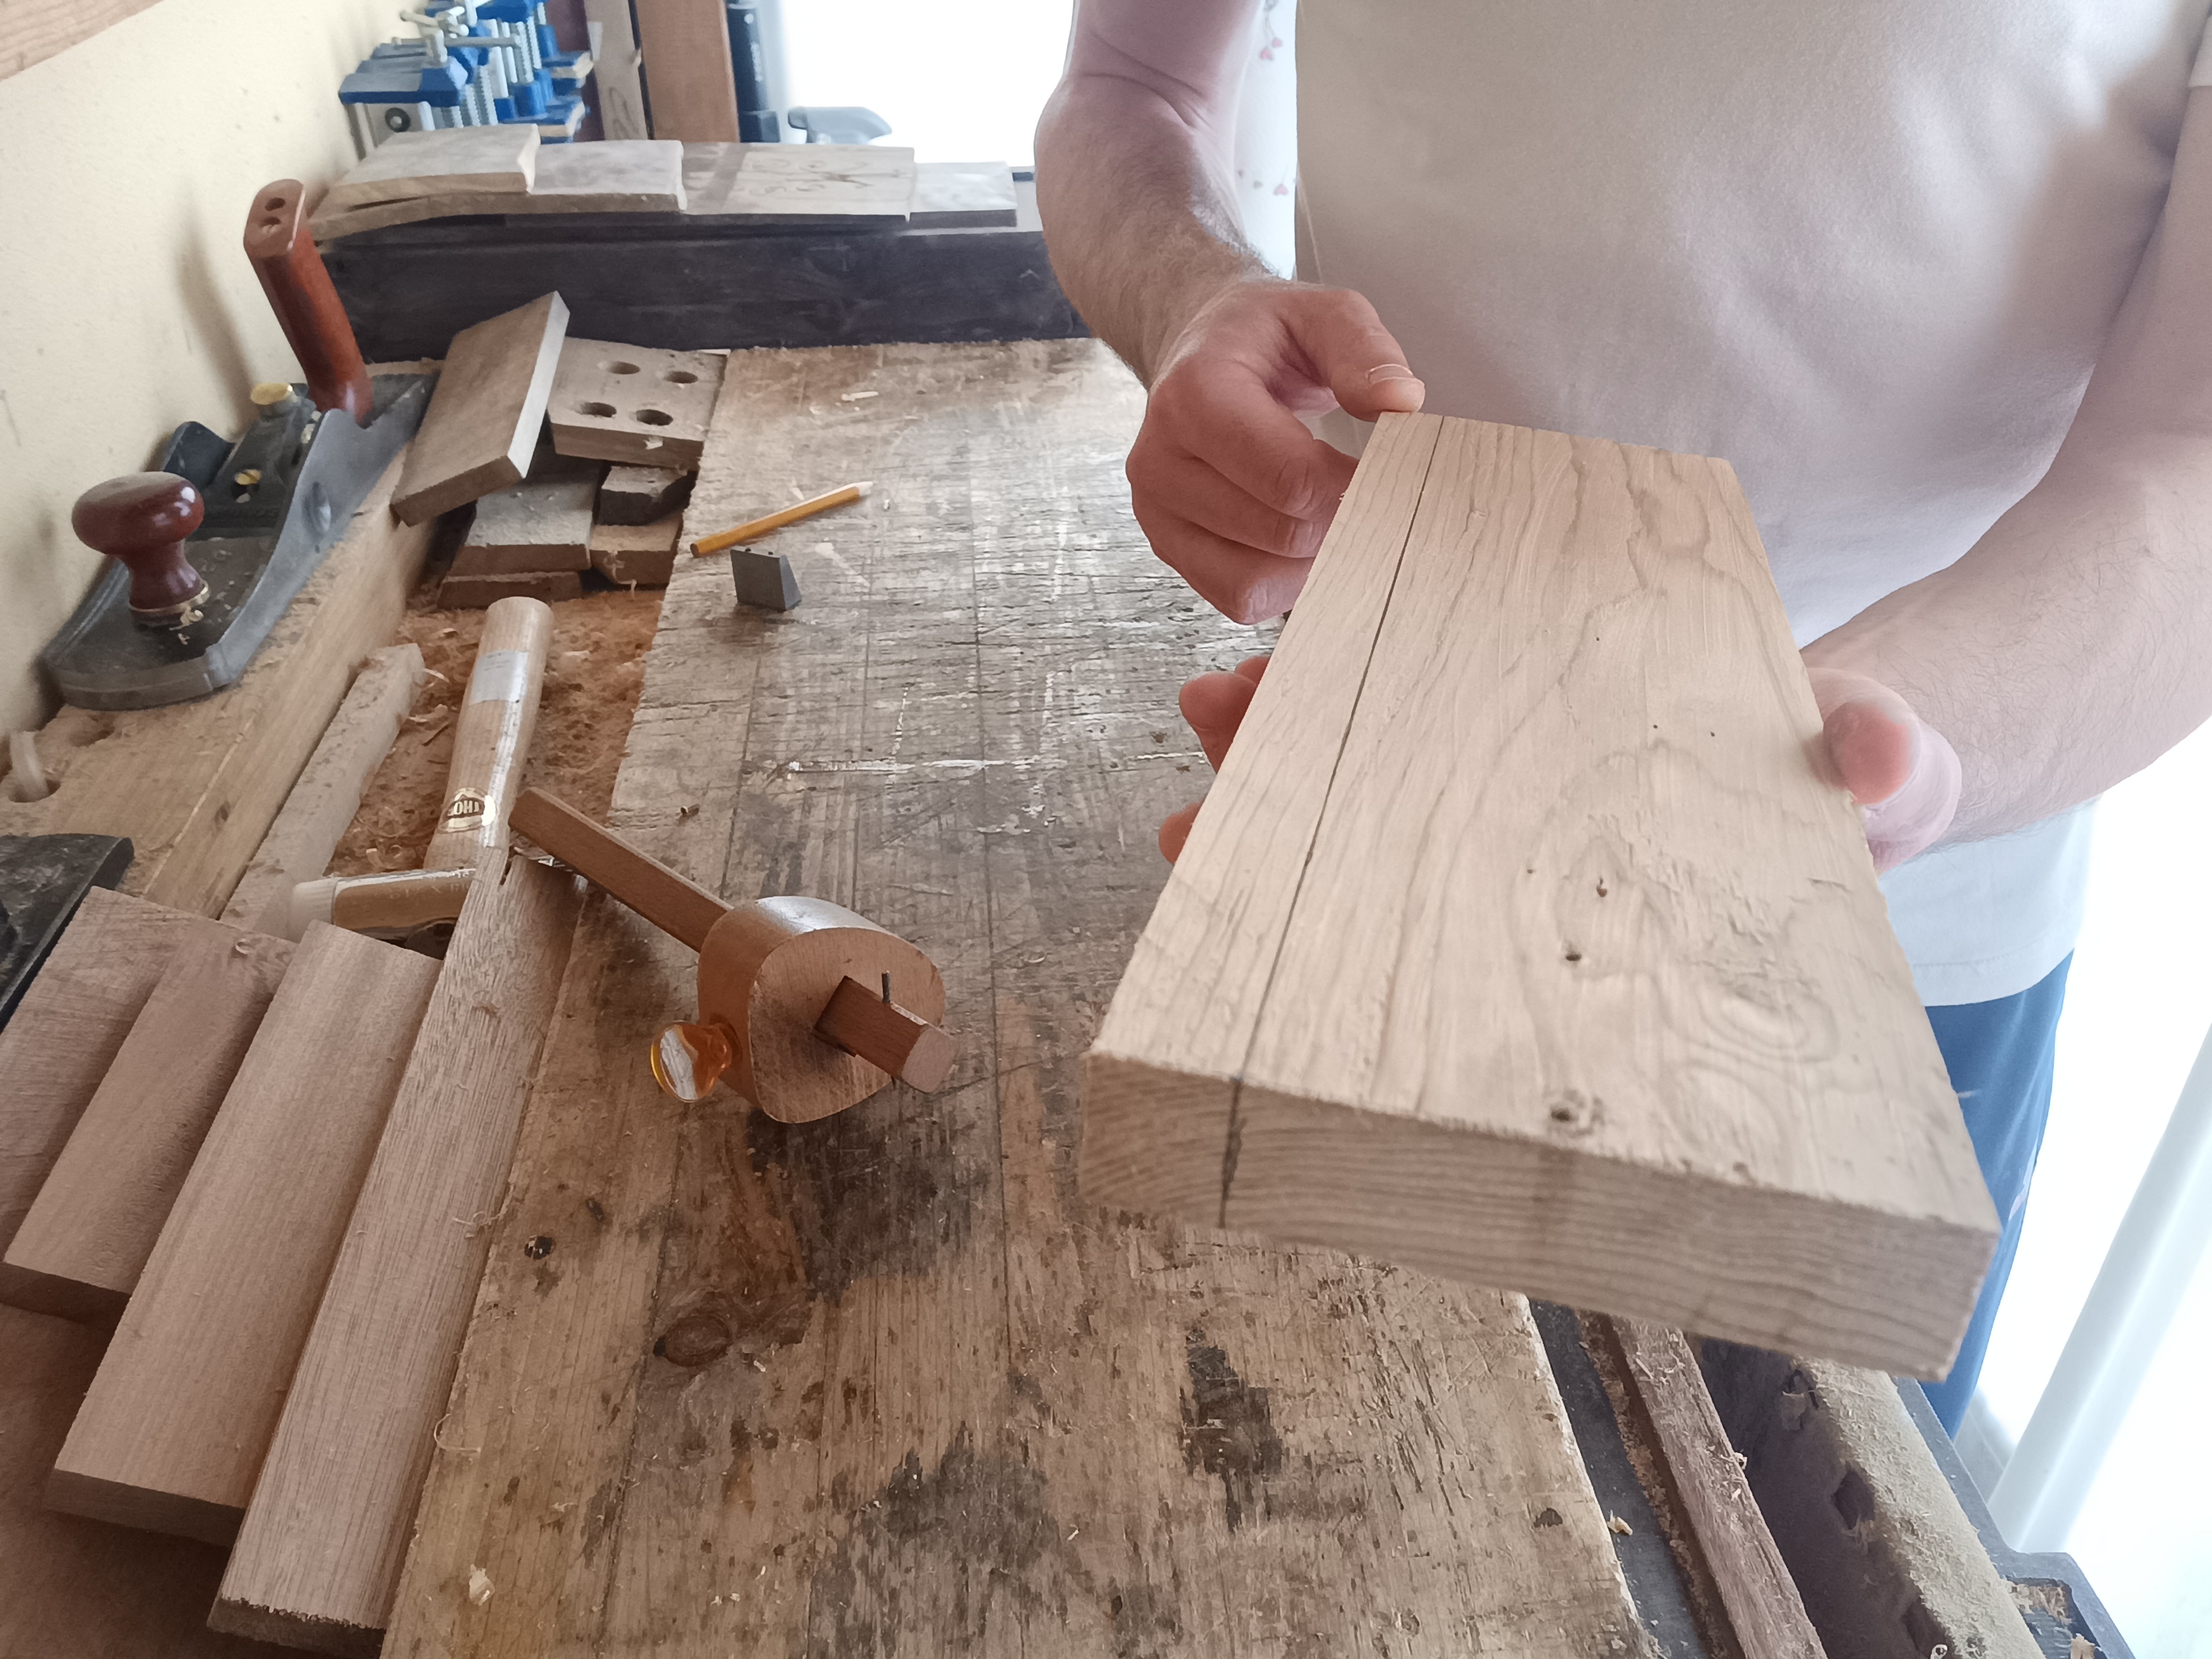
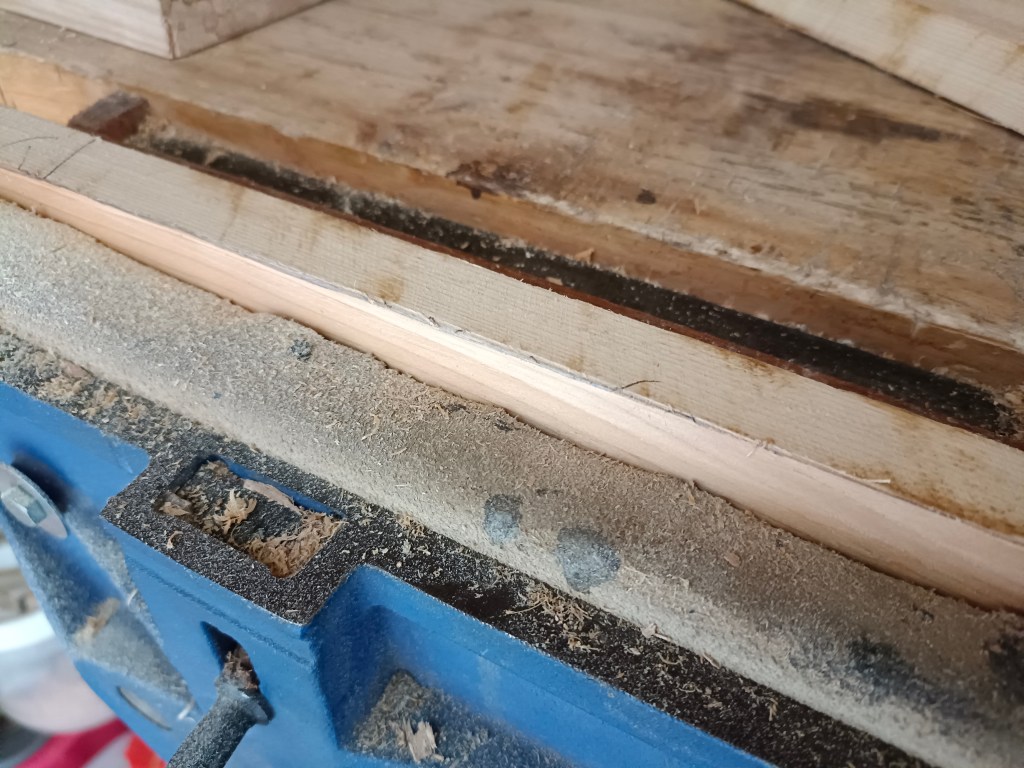
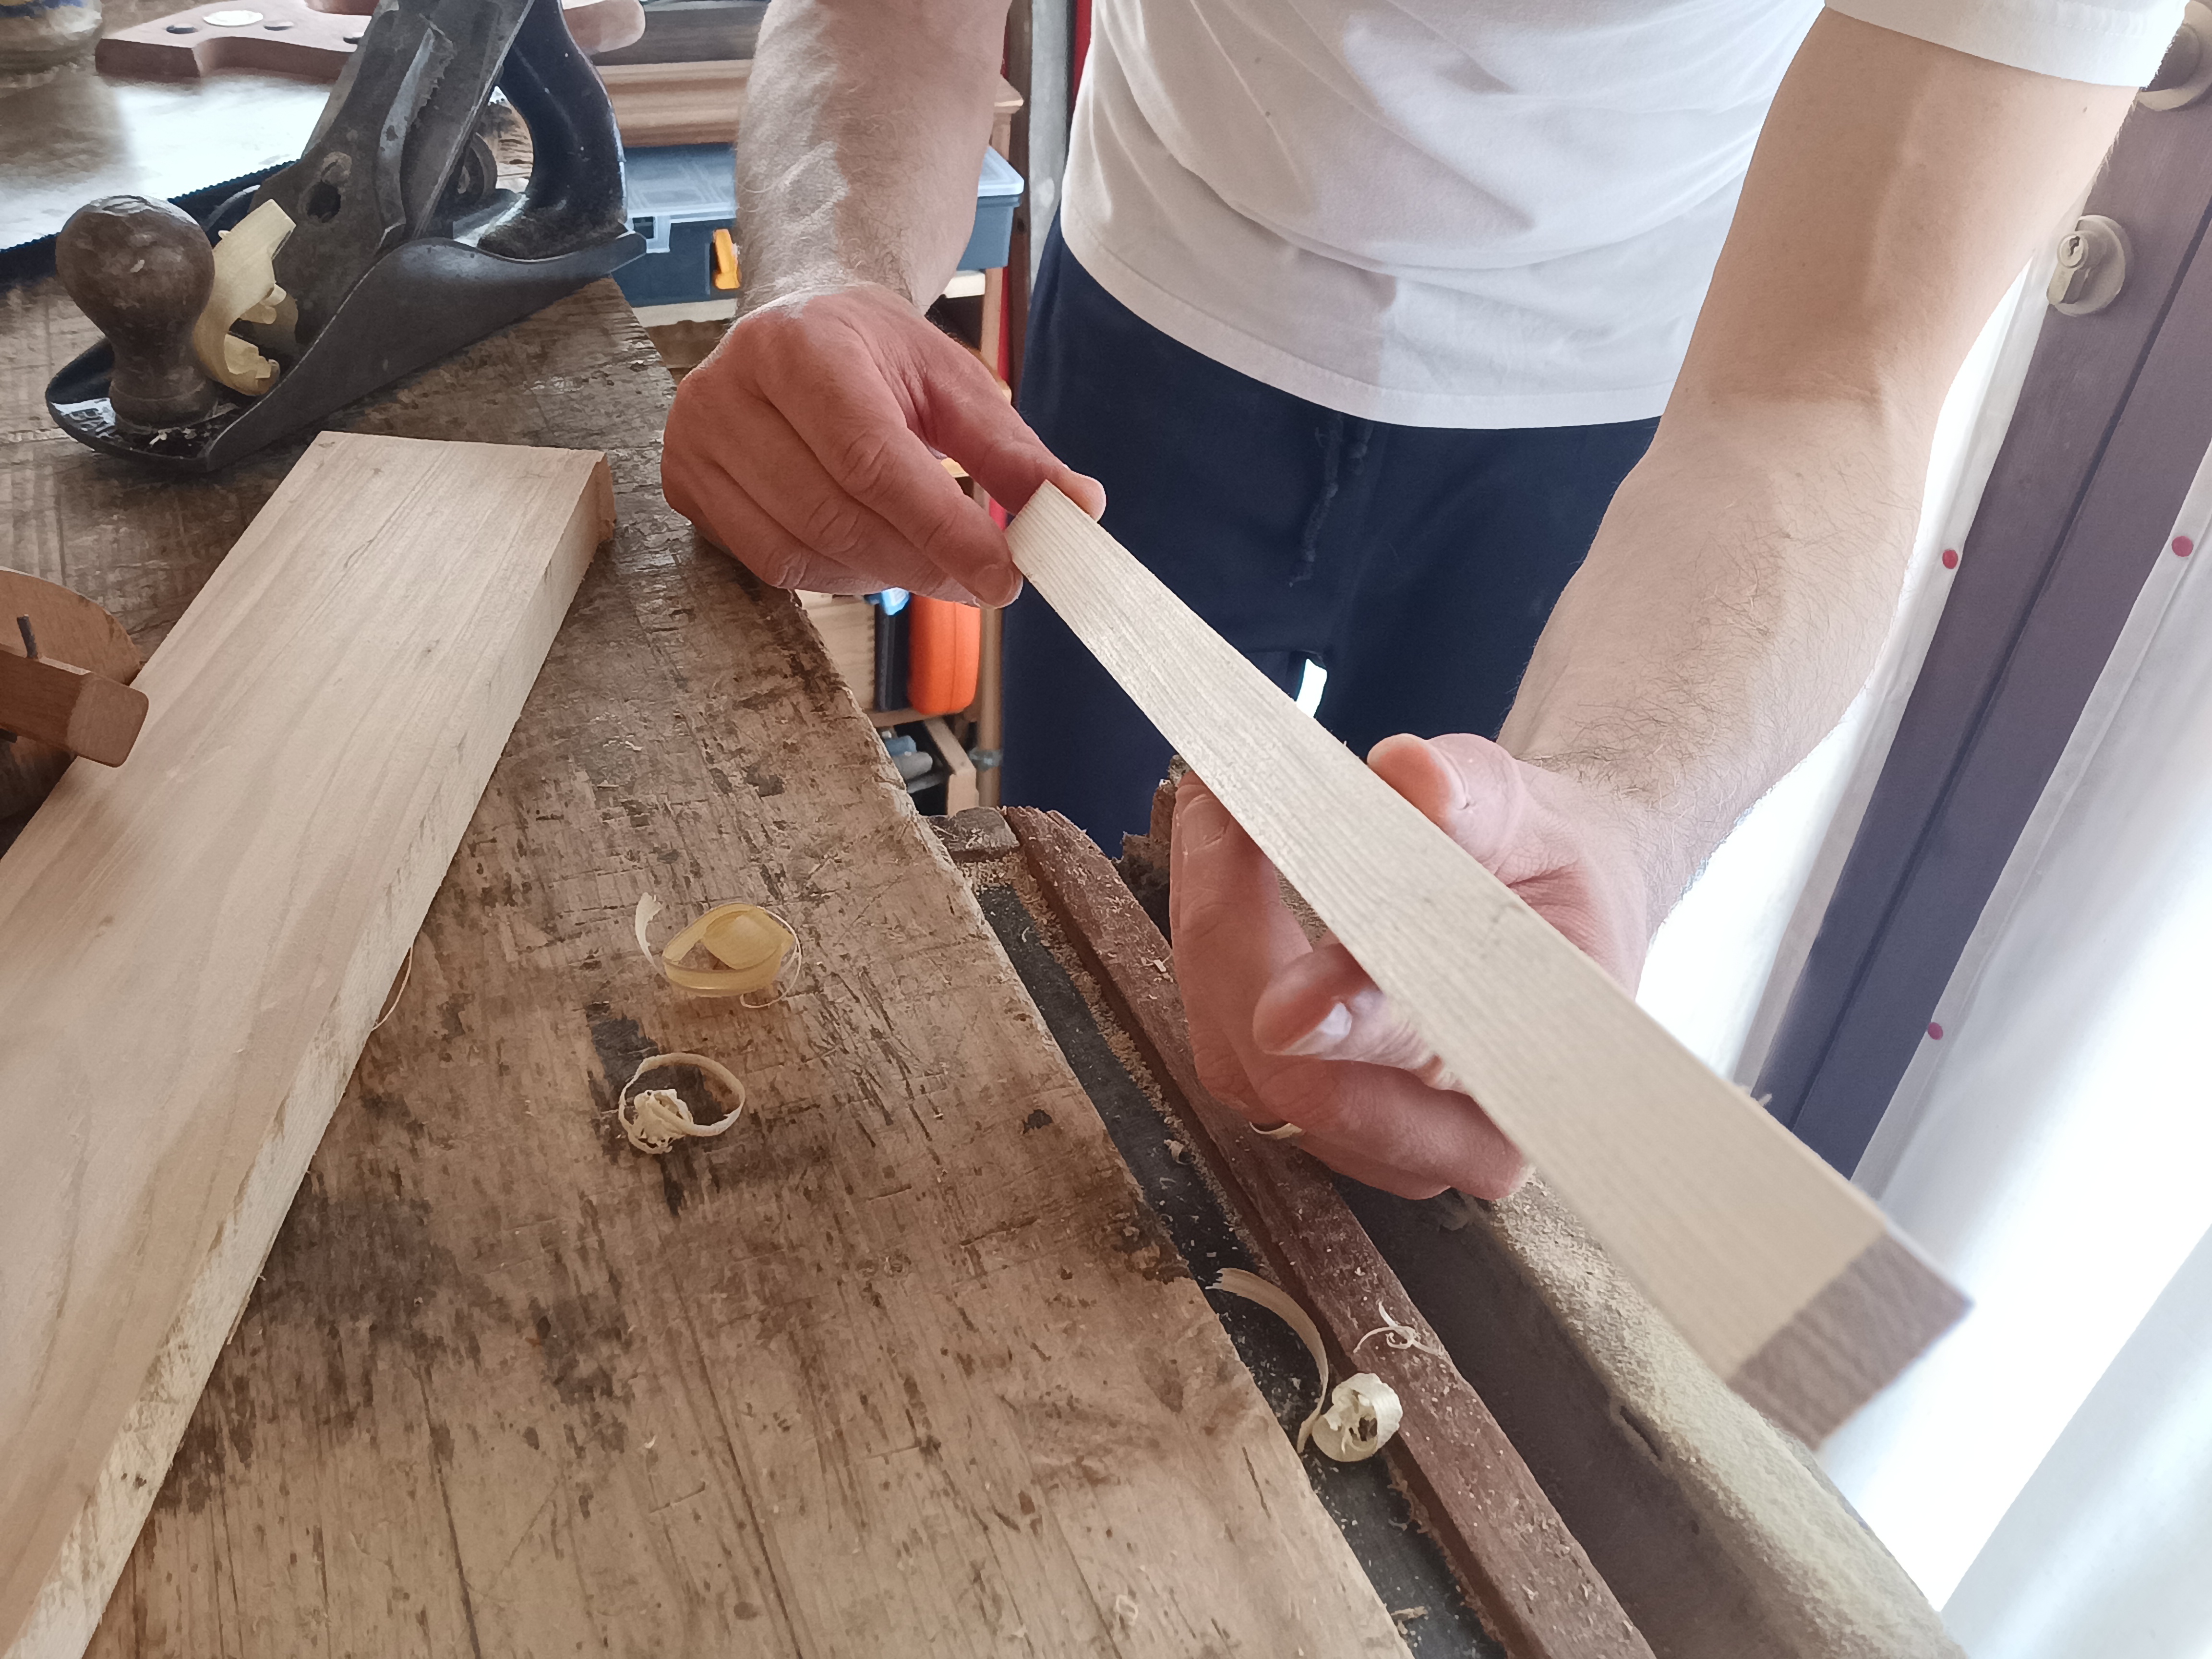
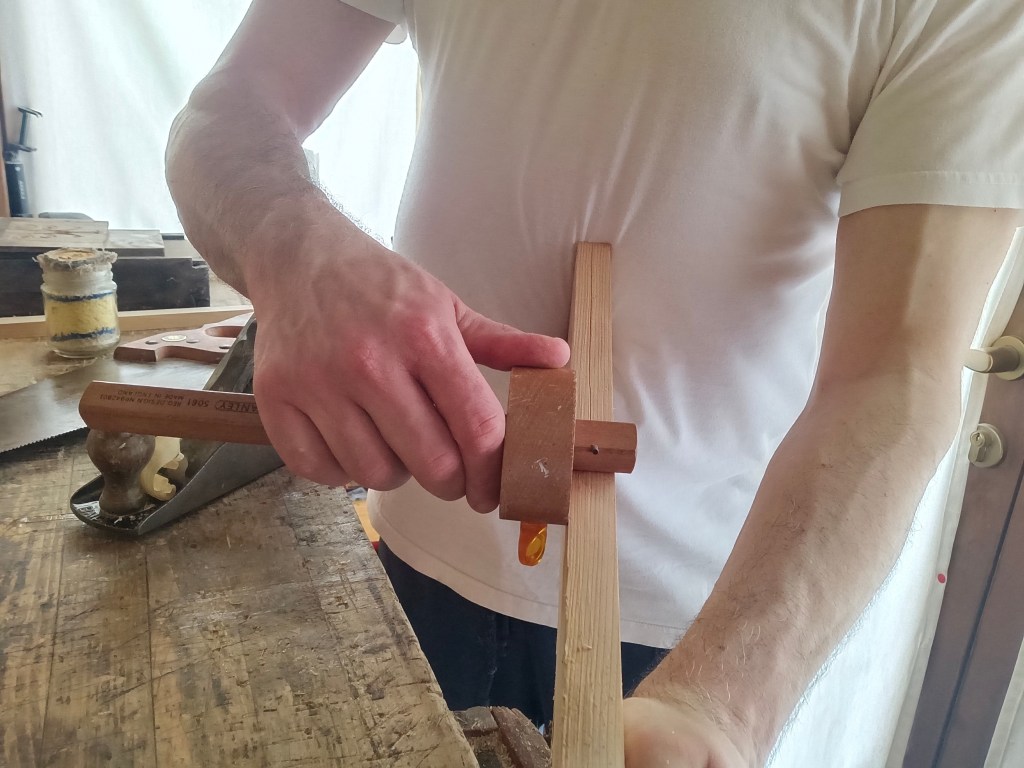
La prima cosa da fare é tracciare con il truschino a misura alla quale vogliamo ridurre il pezzo. Possiamo tracciare la misura anche a matita ma il truschino garantisce maggior precisione. Tracciamo tutte le facce del pezzo poggiando il truschino sempre dalla stessa parte. Ripassiamo la traccia con la matita per una migliore visibilità.
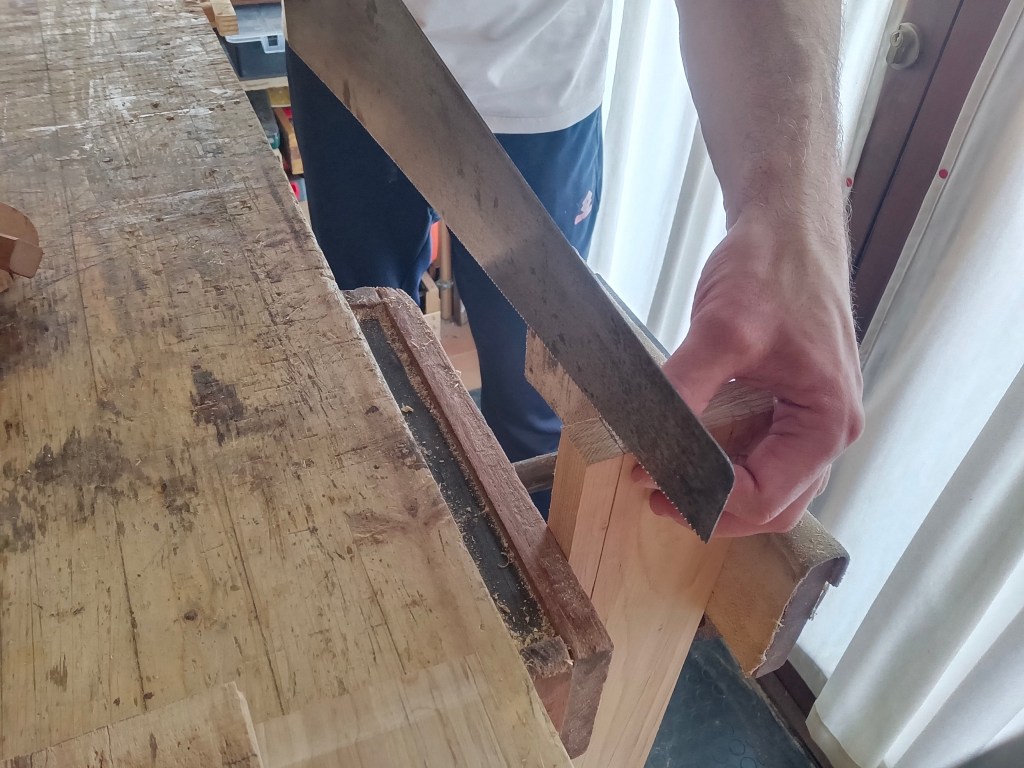
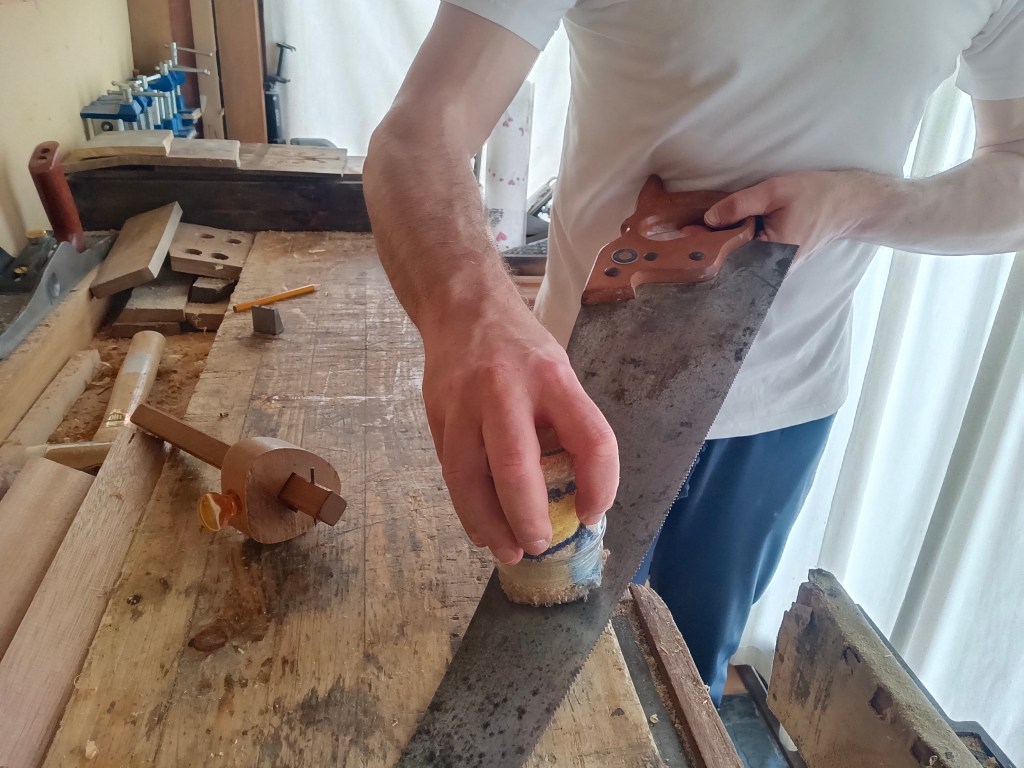
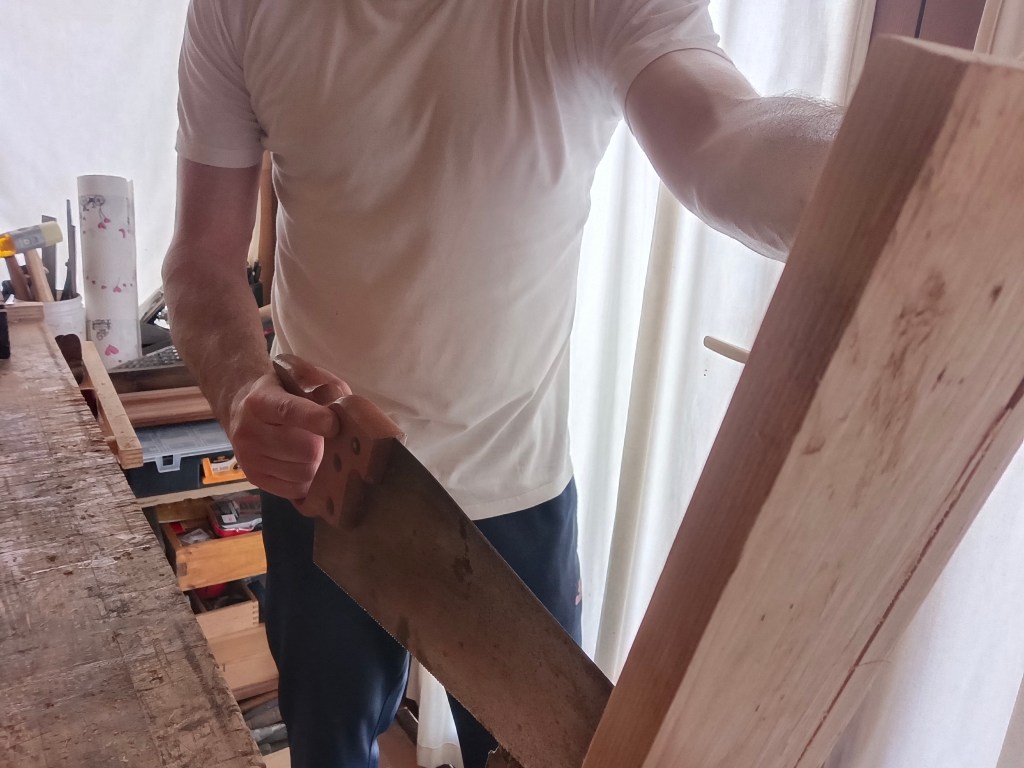
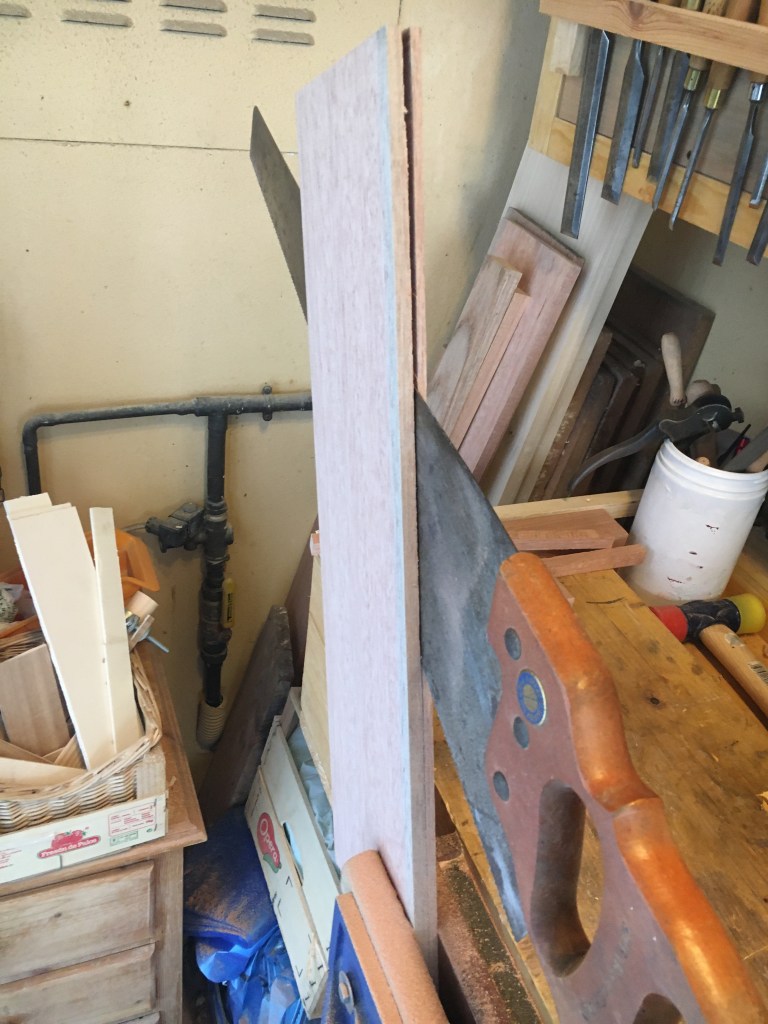
La sega deve essere ben affilata e adatta ai tagli lungovena. Per tagli brevi potremmo anche usare una sega con il dorso ma se il taglio é lungo dovremo per forza utilizzare una sega senza dorso. Il pezzo deve essere bloccato in morsa in modo tale che le vibrazioni siano minime. Iniziamo a segare partendo a circa un millimetro di distanza dalla traccia e sempre dalla parte che dobbiamo rimuovere. L’inizio è fondamentale. Partiamo con qualche colpo a ritroso oppure in avanti ma sempre delicatamente, utilizzando la parte terminale della lama. Aiutiamoci con il pollice dell’altra mano per collocare in posizione la lama. Facciamo una decina di mandate cercando di mantenerci il più parallelo possibile alla traccia. Se la sega dovesse deviare esternamente, ovvero allontanarsi dalla traccia, seghiamo solo con la punta inclinando leggermente l’impugnatura verso l’interno fino a quando non saremo di nuovo paralleli. Se vediamo che la deviazione é di poco conto possiamo anche continuare a segare fino alla fine e poi piallare a misura successivamente. Se invece dovessimo deviare verso l’interno, ovvero avvicinarci alla traccia, allora dovremo giocoforza correggere l’azione della sega o correremmo il rischio di oltrepassare la misura voluta.
Se sentiamo che la sega si impunta o stride, passiamo dell’olio sulla lama per agevolare il taglio.
Se siamo destrorsi poniamo la gamba sinistra in avanti. Spalla, braccio e gomito devono essere allineati alla sega. Non pratichiamo troppa forza durante il taglio. Se la sega é affilata, l’azione non sarà faticosa.
Se notiamo che si tende ad andare troppo storti rispetto alla traccia può essere di aiuto girare il pezzo e segare dall’altro lato. Questo compenserà la naturale tendenza di deviare.
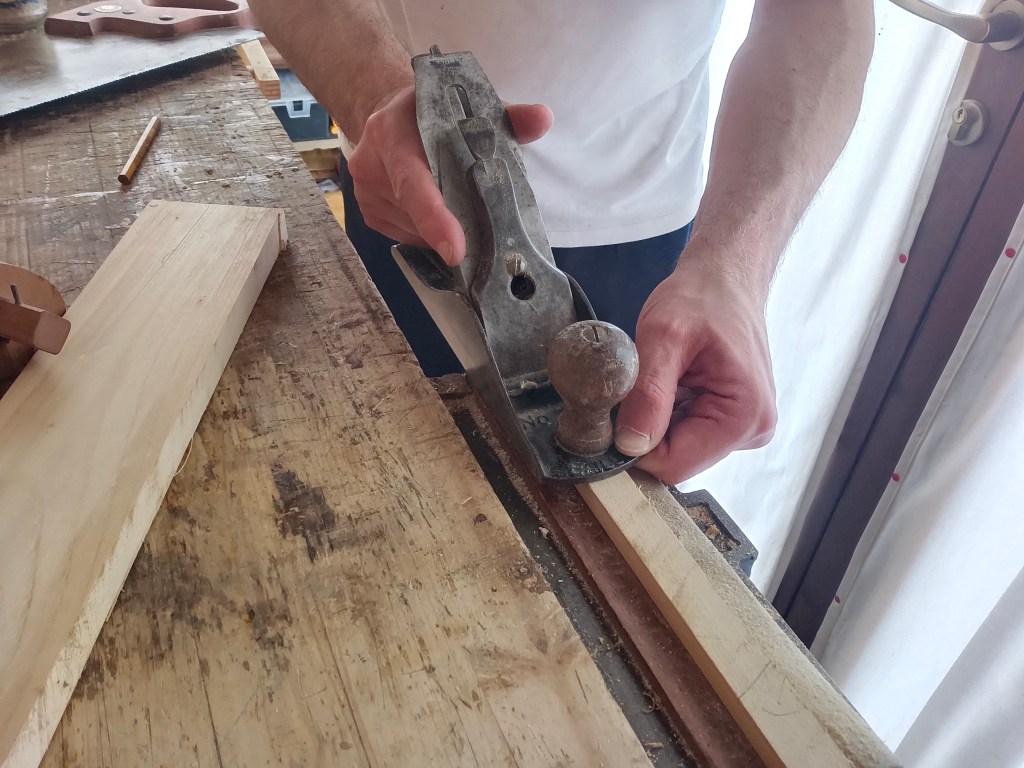
Una volta terminato il taglio, pialliamo il fianco del pezzo sino alla misura tracciata con il truschino o a matita.
Una particolare tipologia di taglio lungovena é quella praticata parallelamente alla faccia più larga del pezzo. In questo caso si usa parlare di cartellatura del legno o, in modo più gergale, sfettare il legno. Cartellare il legno significa ricavare due o più pezzi tranciati di vario spessore da tavole di spessore considerevole (solitamente superiore a 2 cm.). Trattasi di un’operazione alquanto faticosa specialmente se abbiamo a che fare con legni duri e pezzi lunghi. A meno di non essere dei virtuosi del legno desiderosi di mettersi alla prova con qualcosa di impegnativo sarebbe quindi consigliabile utilizzare per questa operazione una sega a nastro.
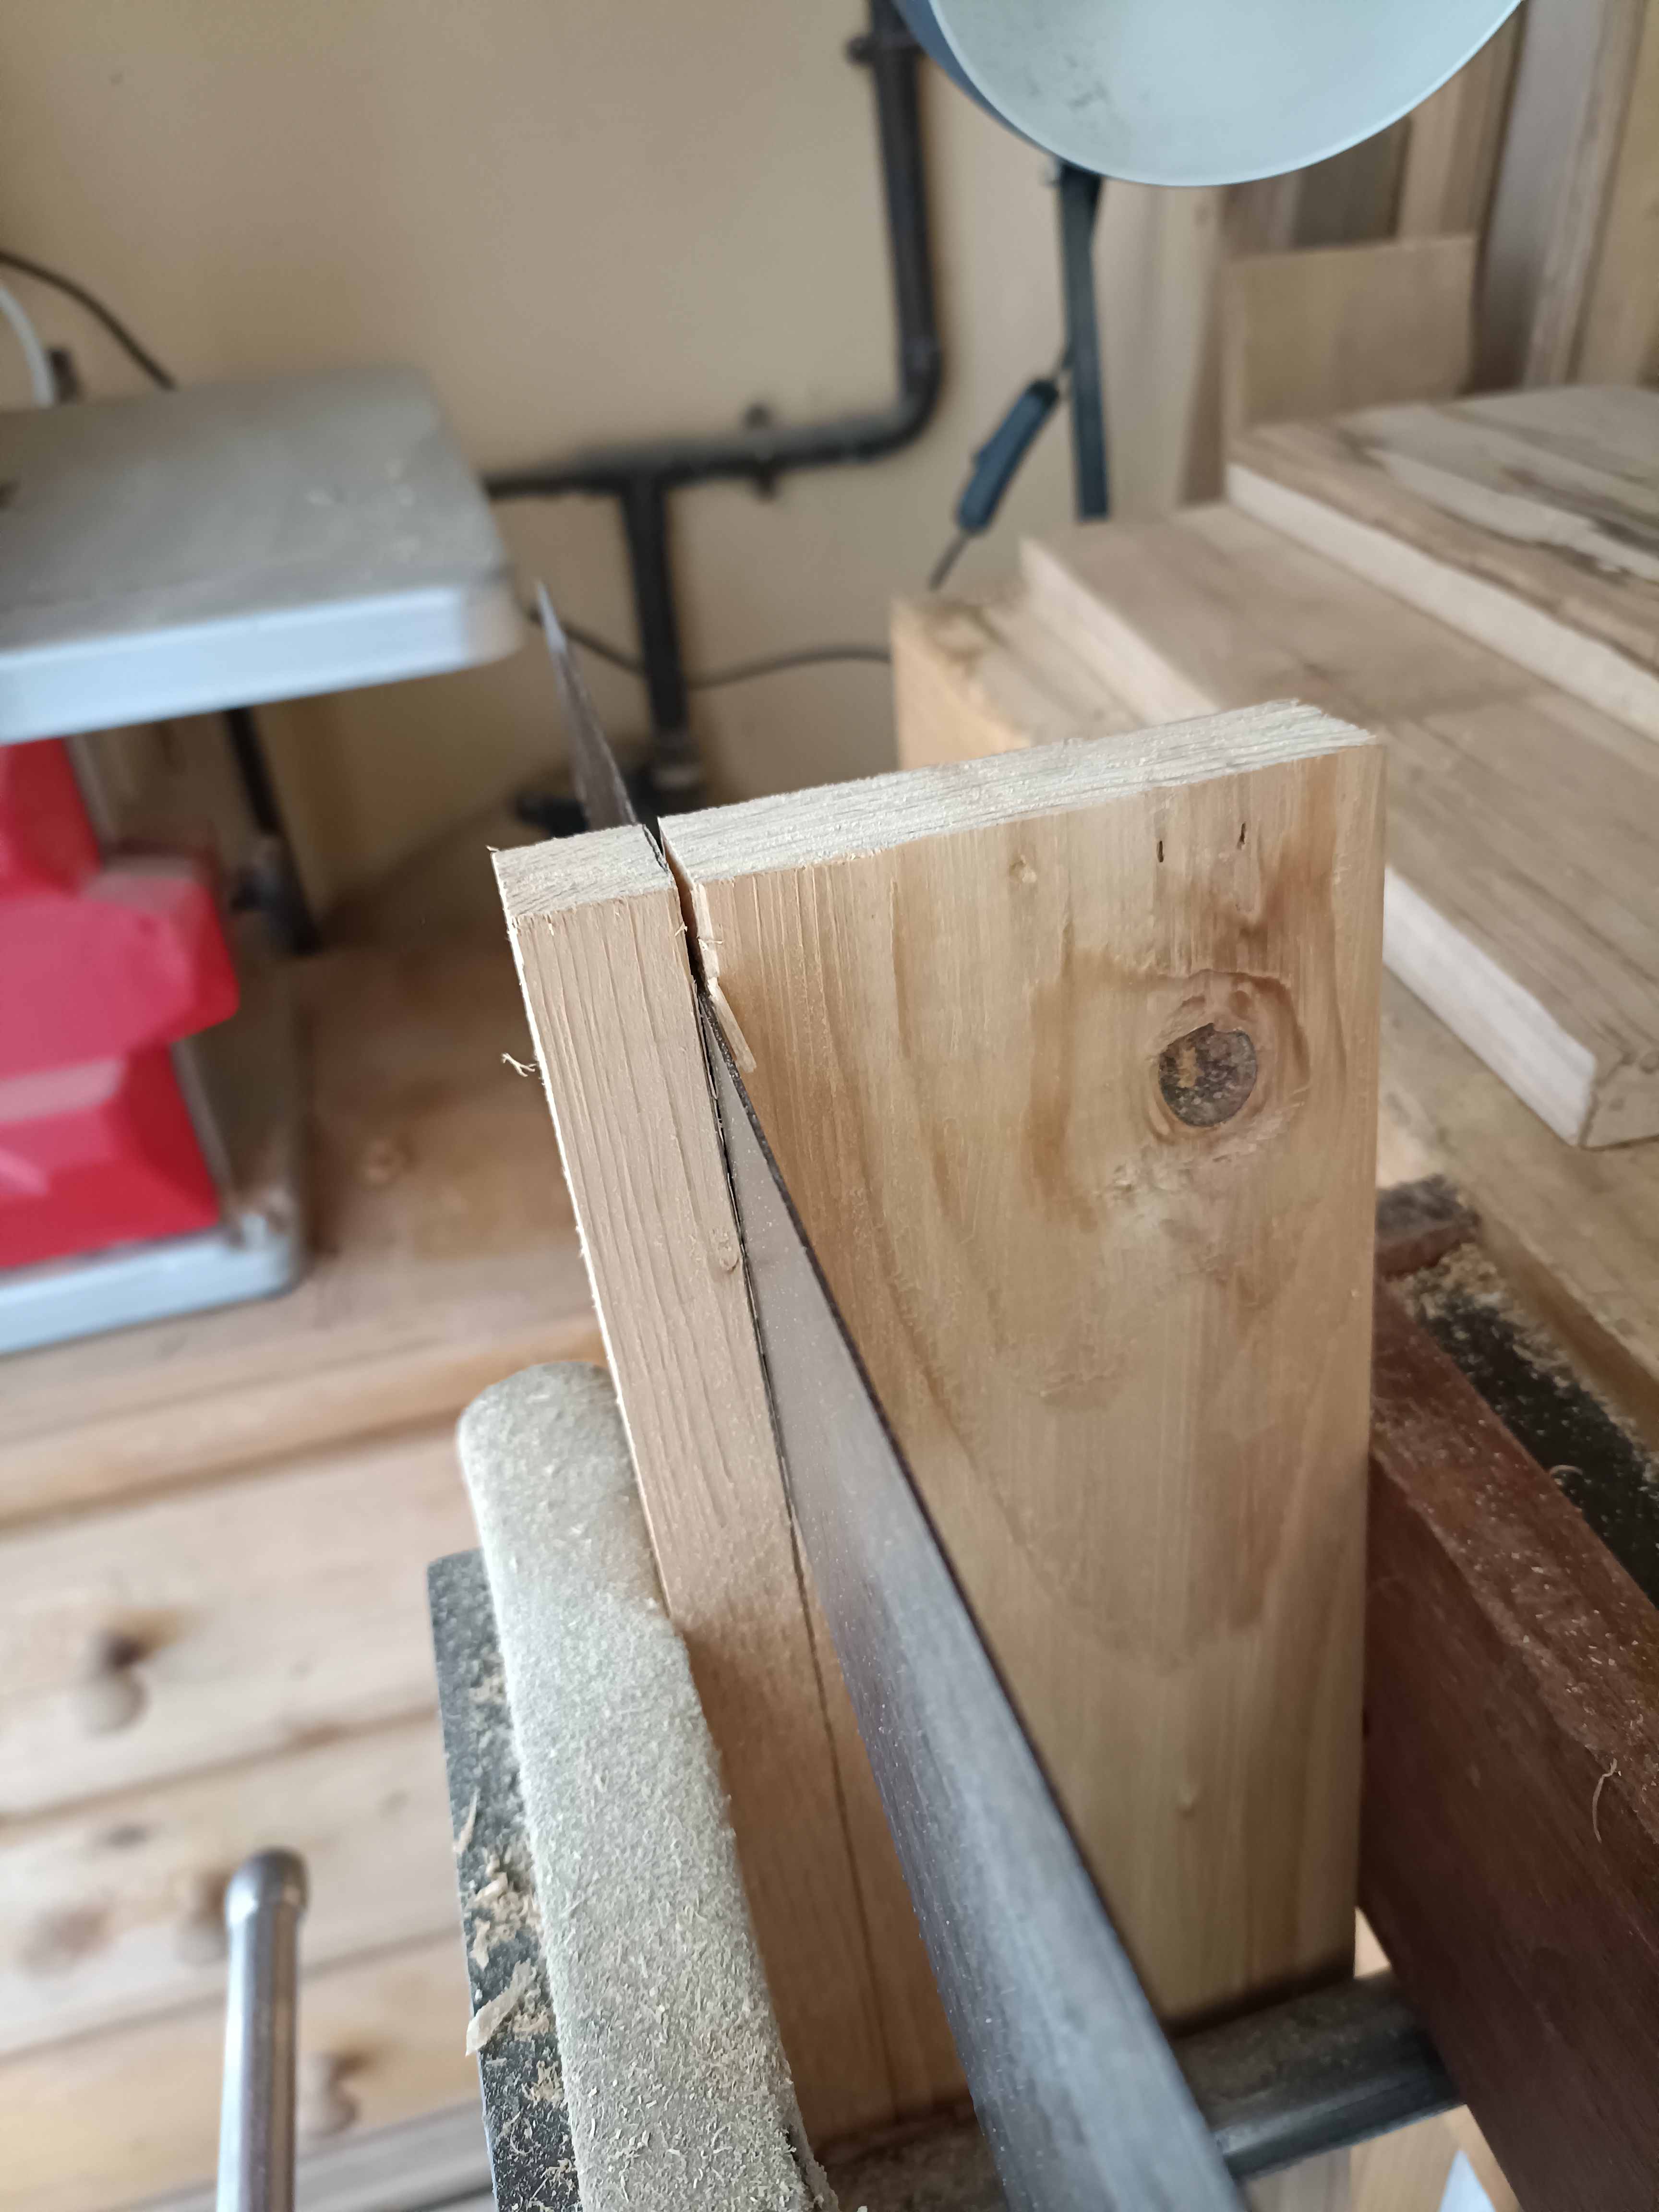
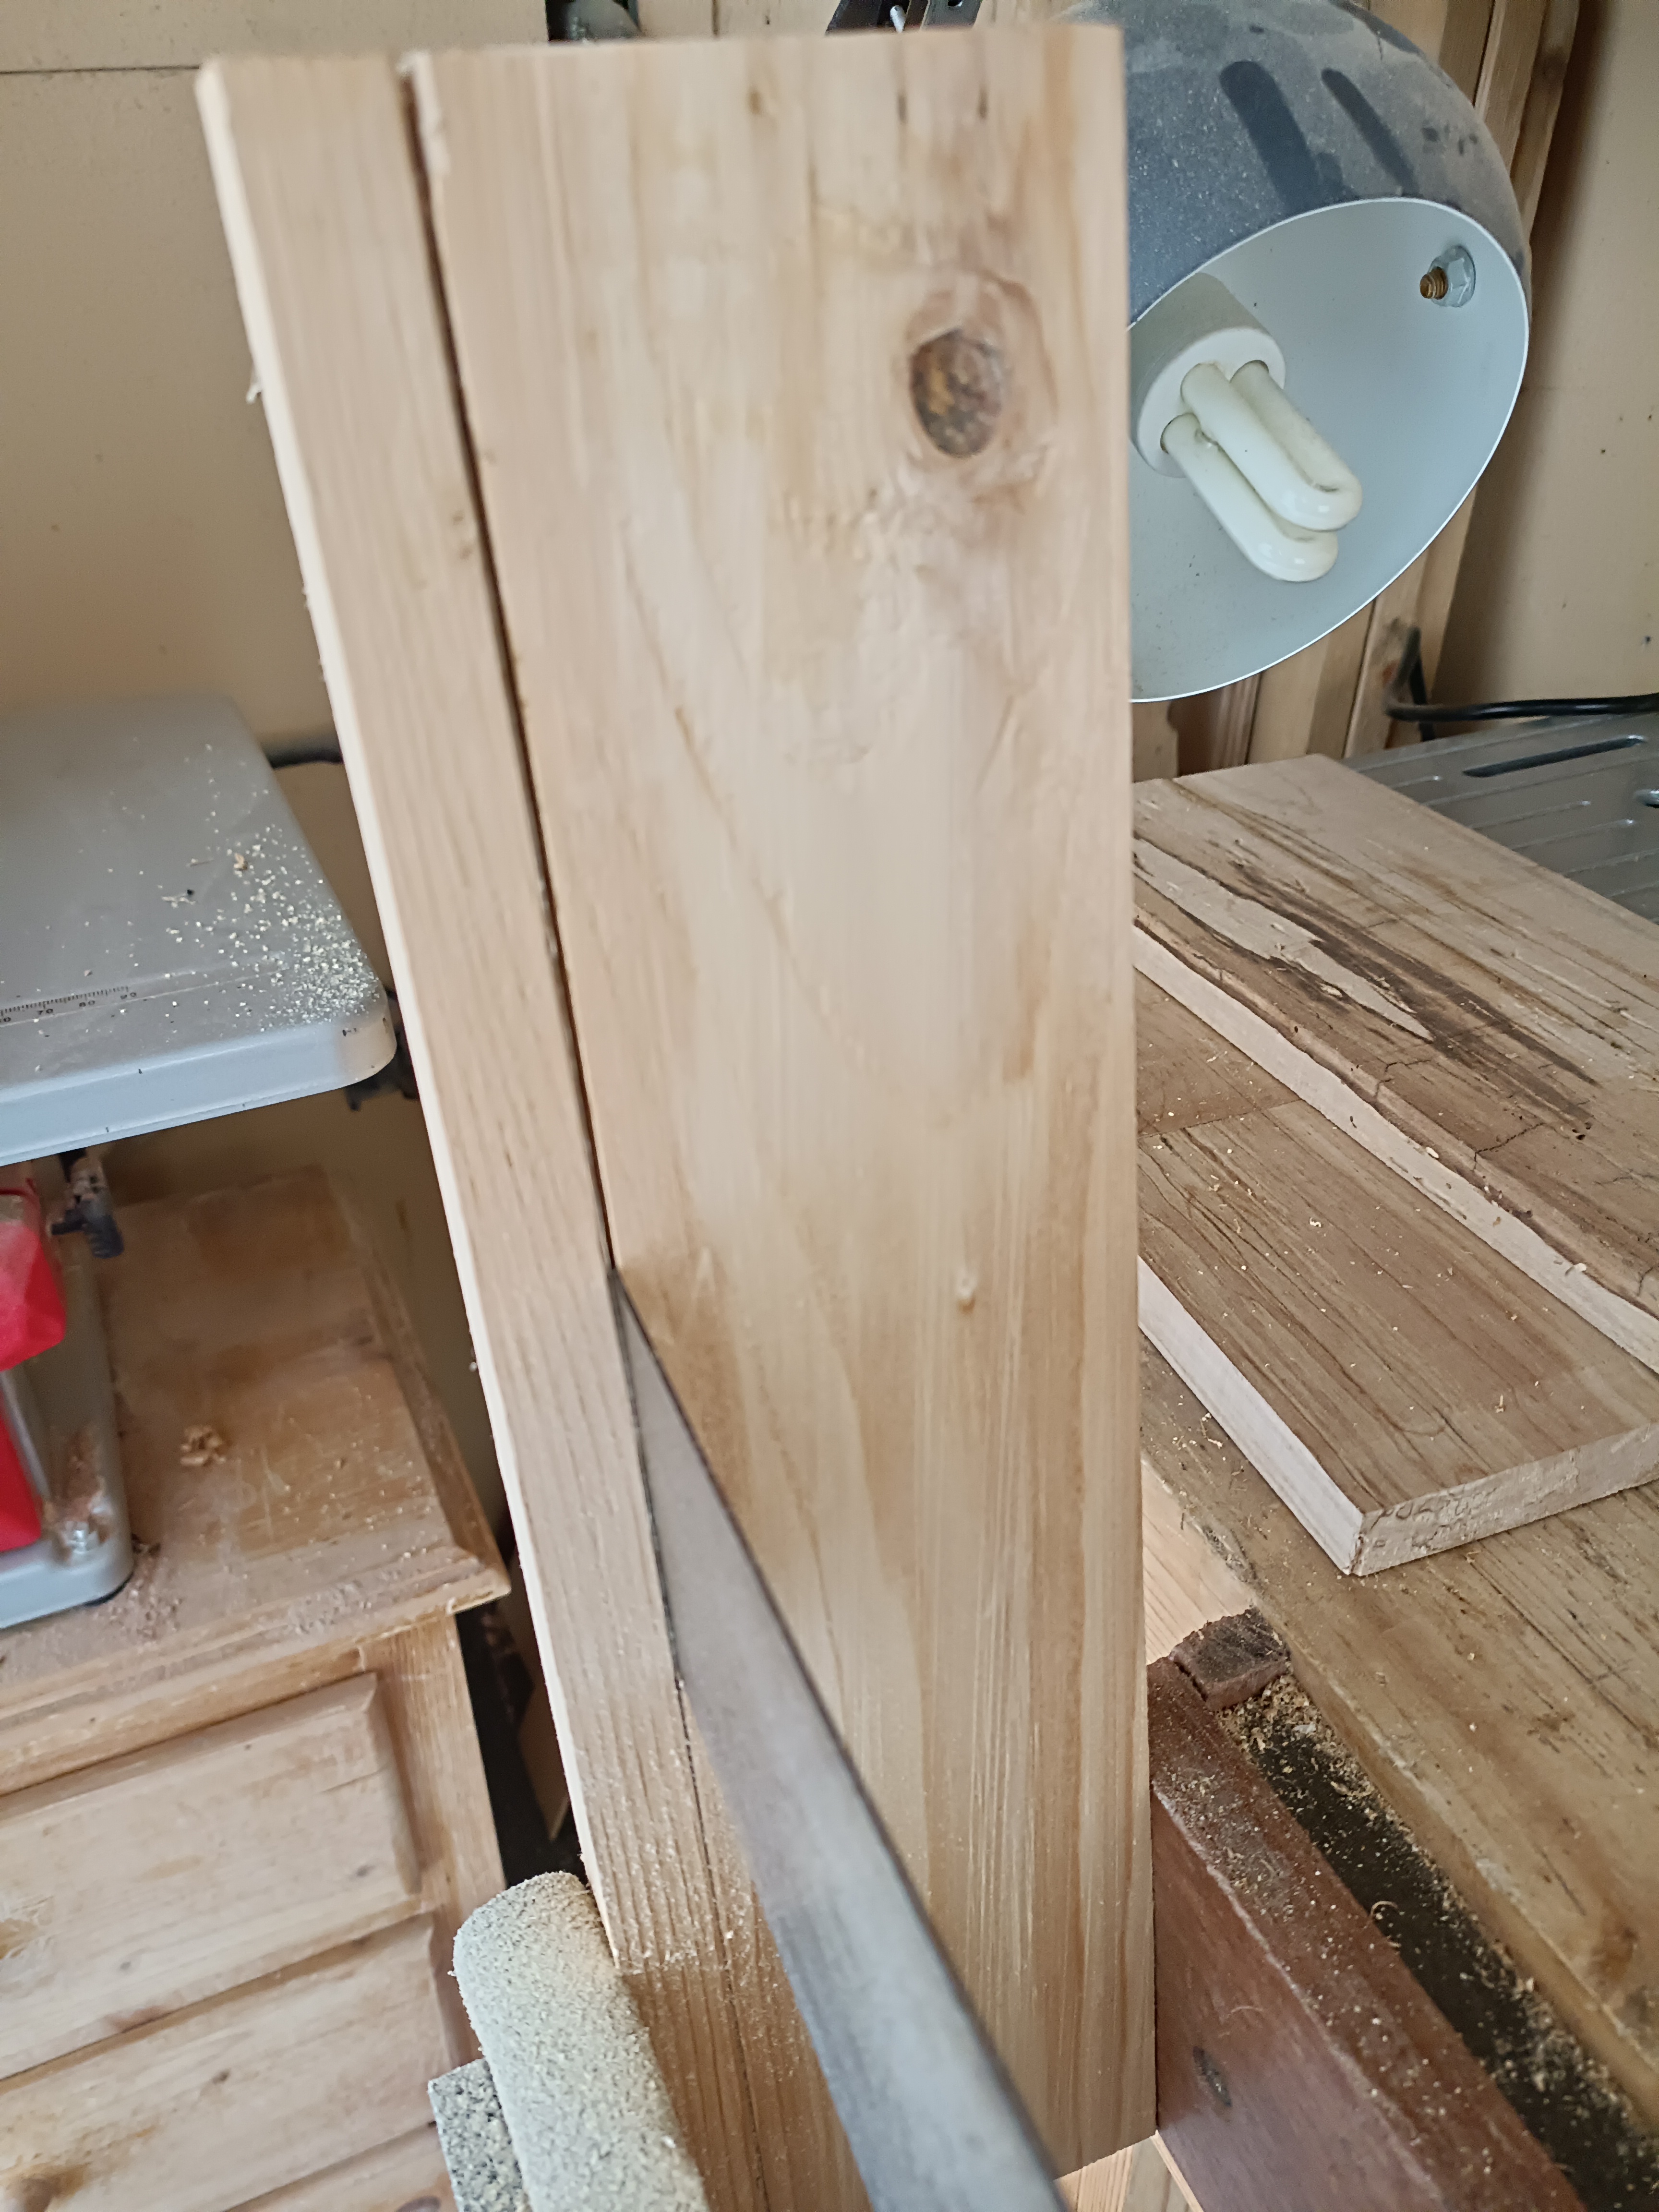
Per sfettare una tavola di legno a mano utilizziamo la procedura di tracciatura già vista sopra.
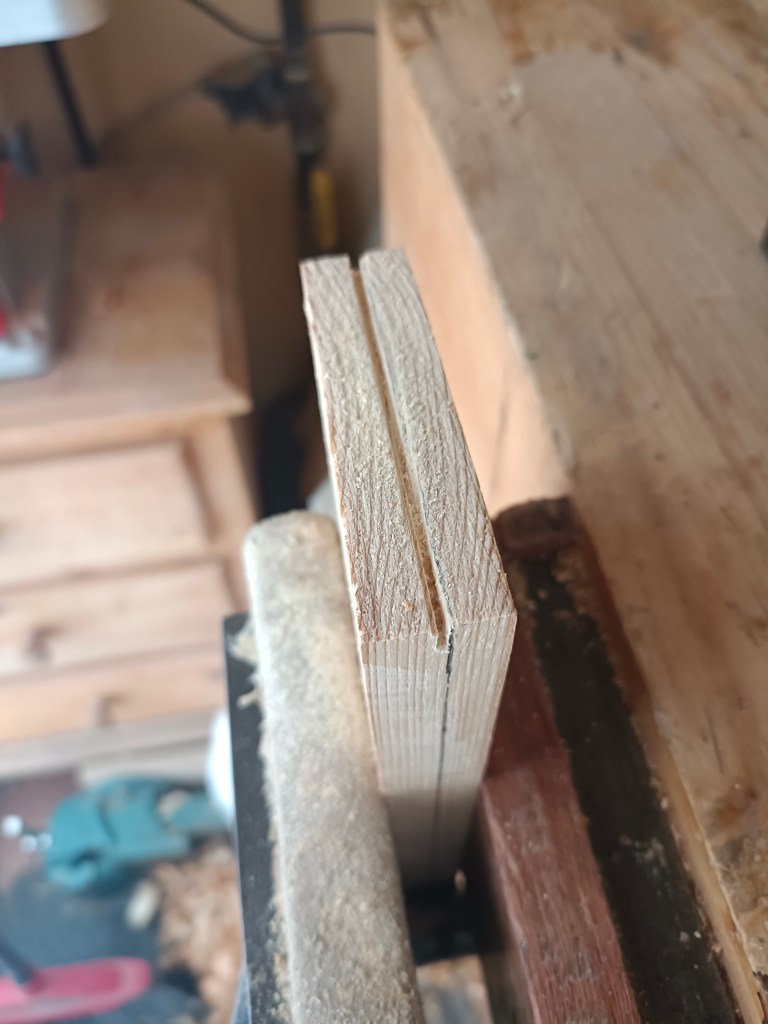
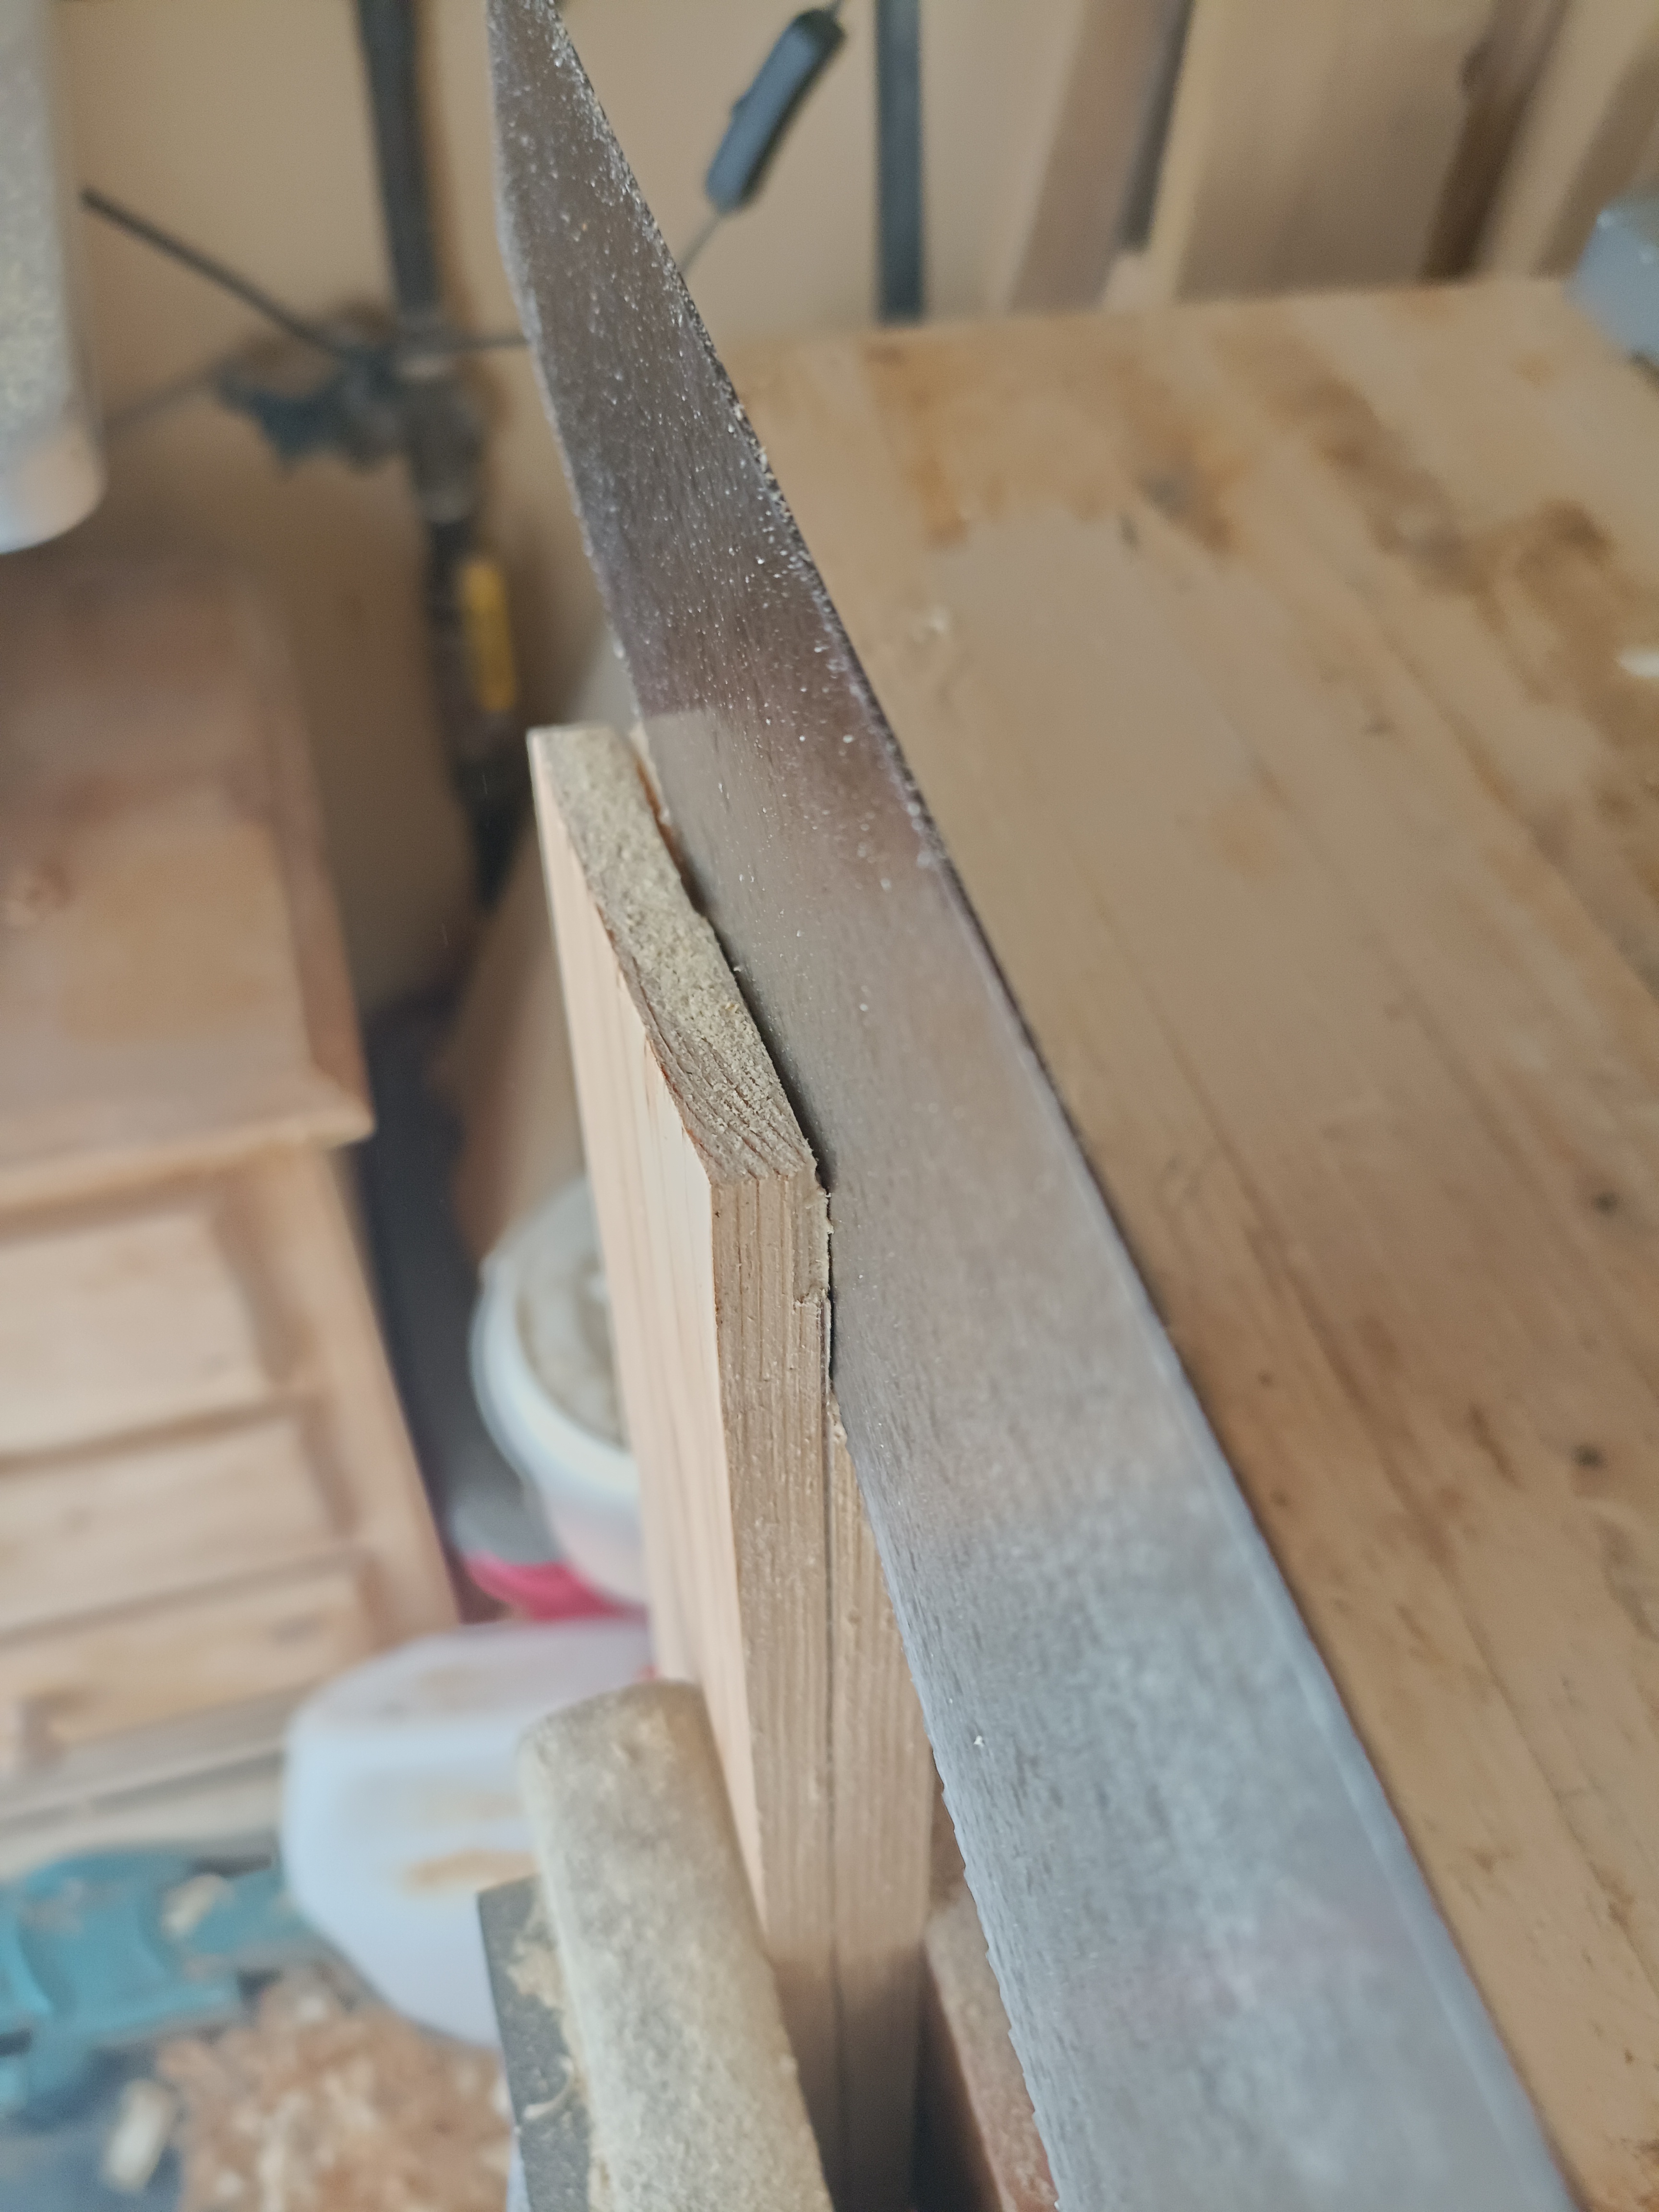
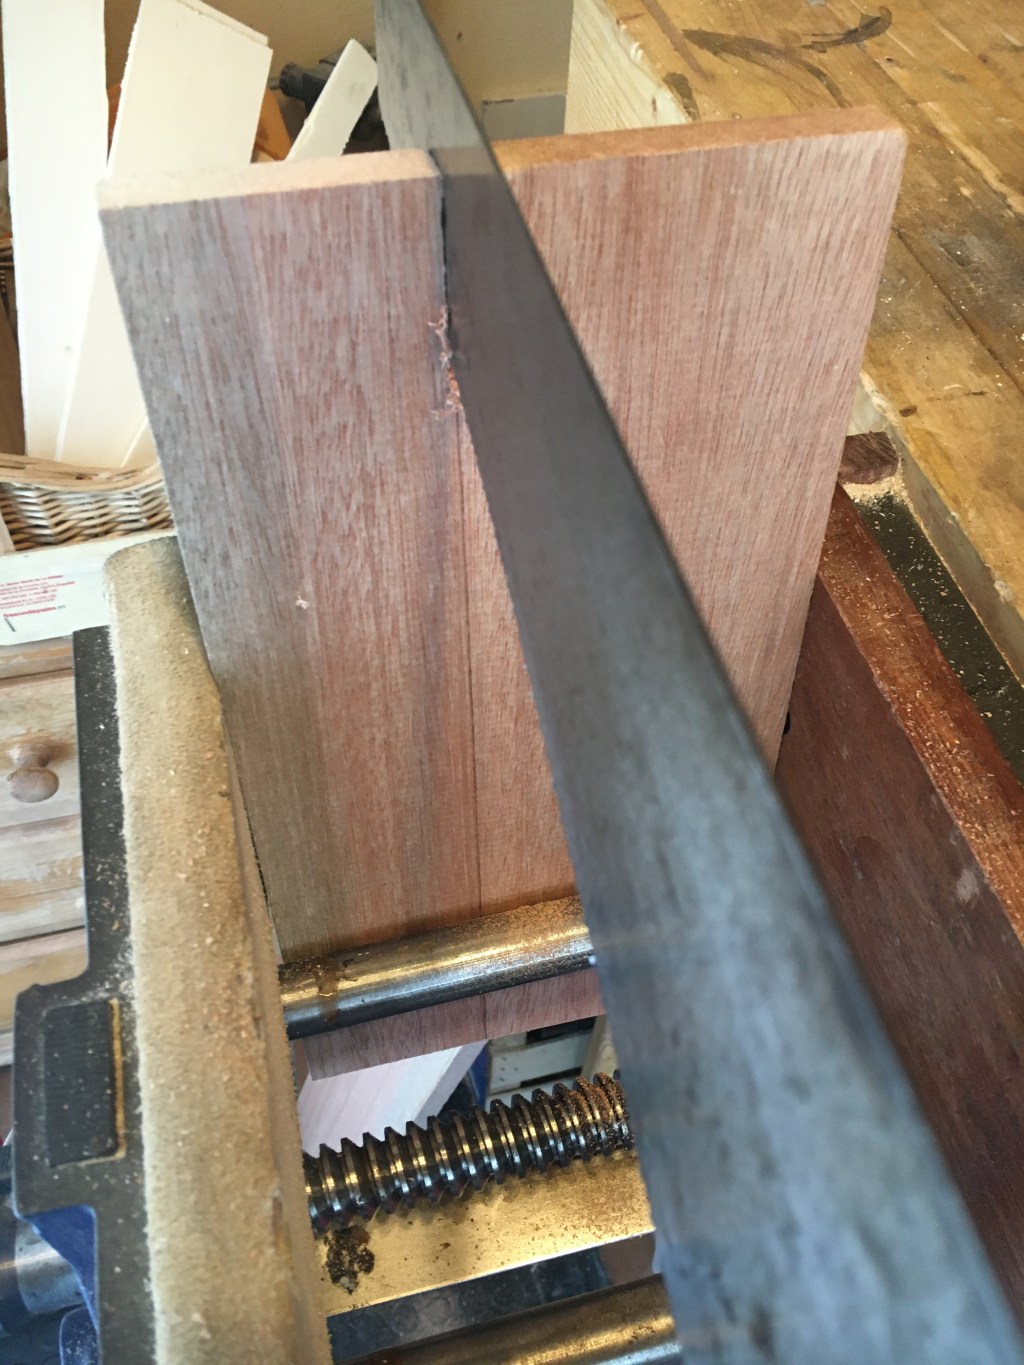
Quindi, con il pezzo in morsa, cominciamo a segare a circa un millimetro di distanza dalla traccia. Partiamo dall’angolo piú distante da noi e definiamo un primo solco sulla testa del pezzo e parallelo alla tracciatura. Quindi incliniamo il pezzo nella morsa e seghiamo cercando di andare più dritti possibile. Giriamo il pezzo ogni tanto e seghiamo anche dall’altro lato e poi pareggiamo segando parallelamente. Manteniamo questa sequenza per tutta la durata del taglio. Di seguito un link dove mostro come fare.
Per tutte le altre informazioni sulle seghe, omesse in questo articolo, vi rimando ai seguenti articoli.
Segare il legno. Knifewall e taglio traverso vena / Saw a piece of wood. Knifewall and crosscut
Le seghe con il dorso (backsaws) / Backsaws
Come affilare una sega / How to sharpen a saw
Utilizzo delle Seghe Occidentali / To use Western Saws
Riguardo le Seghe / About Saws
___________________________________________________________________________________
Sawing wood with the grain with a hand saw means sawing parallel to the grain of the wood. Unlike the cross grain cut, which cuts the fibers of the wood, with the grain cut separates the fibers. With the grain cut is usually viewed with greater fear than the cross grain cut. The difficulty arises mainly from the fact that usually the cuts with the grain are longer than those across the grain and therefore the greater the probability of going wrong during the cut. However, we will see that, with due care and a little practice, we will be able to do well. The first thing to do is to trace with the gauge to the measure we want to reduce the piece. We can also trace the measurement with a pencil but the gauge guarantees greater precision. We trace all the faces of the piece by placing the gauge always on the same side. Let’s go over the trace with the pencil for better visibility. The saw must be well sharpened and suitable for with the grain cuts such as a ripsaw . If the cut is short we could use a backsaw but if the cut is long we must use a ripsaw. The piece must be clamped in the vice so that the vibrations are minimal. Let’s start sawing starting about a millimeter away from the trace and always on the part that we have to remove. The beginning is very important. Let’s start with a few back strokes or with very gently push stroke always using the end of the blade. Help with the to thumb of the other hand to put in place the blade. We do ten strokes trying to keep as parallel as possible to the trace. Should the saw deviate externally, i.e. move away from the trace, we only saw with the tip of the blade by tilting the handle slightly inwards until we are parallel again. If we see that the deviation is of little consequence we can also continue to saw until the end and then plan to size later. If, on the other hand, we had to deviate inwards, or approach the trace, then we will have to correct the action of the saw or we would run the risk of exceeding the desired measure. If we feel the saw stick or screech, we apply oil to the blade to make it easier to cut. If we are right handed we place the left leg forward. Shoulder, arm and elbow must be aligned with the saw. We do not exert too much pressure when cutting. If the saw is sharp, the action will not be strenuous. If you notice that you tend to go too wrong with respect to the trace it can help to turn the piece and saw on the other side. This will compensate for the natural tendency to deviate. Once the cut is finished, we plane the side of the piece up to the size traced with the gauge or pencil. A particular type of long grain cut is the one made parallel to the widest face of the piece. In this case we use to talk about resawing wood. Resawing wood means obtaining two or more sliced pieces of various thickness from boards of considerable thickness (usually greater than 2 cm.). This is a rather tiring operation especially if we are dealing with hard woods and long pieces. Unless you are wood virtuosos eager to test yourself with something challenging, it would therefore be advisable to use a bandsaw for this operation. To resaw a wooden board by hand we use the tracing procedure already seen above. Then, with the piece in the vice, we start sawing about a millimeter away from the trace. Let’s start from the corner furthest away from us and define a first groove on the head of the piece and parallel to the tracing. Then we tilt the piece in the vice and saw trying to go as straight as possible. We turn the piece every now and then and we also saw on the other side and then we trim by sawing parallel. We keep this sequence for the duration of the cut. Above is a link where I show how. For all other information on saws, omitted in this article, I refer you to the above articles.

Lascia un commento