
Utilizzo delle Seghe Occidentali / to use Western Saws
English translation at the end of the article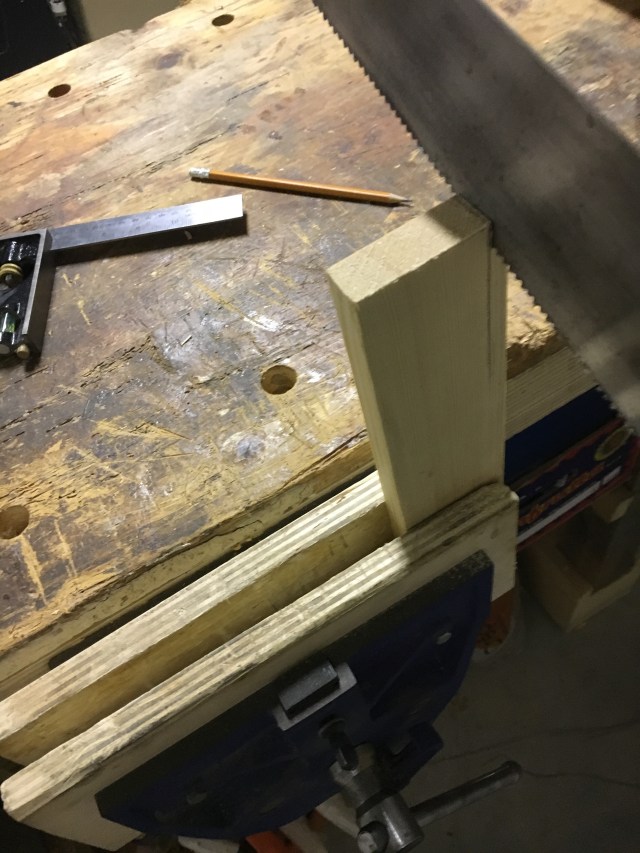
Nel precedente post ho tratteggiato a grandi linee le principali caratteristiche delle seghe manuali. Adesso vorrei condividere con voi alcune esperienze sull’ utilizzo delle seghe occidentali che sono quelle che prediligo e che adopero
maggiormente. Mi piace la loro qualità costruttiva ed il fatto che siano quasi tutte riaffilabili, quantomeno quelle di vecchia data oltre ad alcune moderne.
Tutte le seghe occidentali lavorano, o meglio sarebbe dire tagliano, in fase di spinta. Questo significa che quando noi spingiamo la sega in avanti è in questa fase che avviene il taglio delle fibre del legno. Nella fase di ritorno della lama questa allarga la strada per la susseguente spinta e così via. Il fatto che questo tipo di seghe taglino in fase di spinta le differenzia da quelle giapponesi che tagliano a tirare. Di questa e di altre differenze parlerò in un post dedicato.
Detto questo vediamo come si effettua un taglio lungo vena con una sega occidentale di grosse dimensioni (segaccio o saracco).
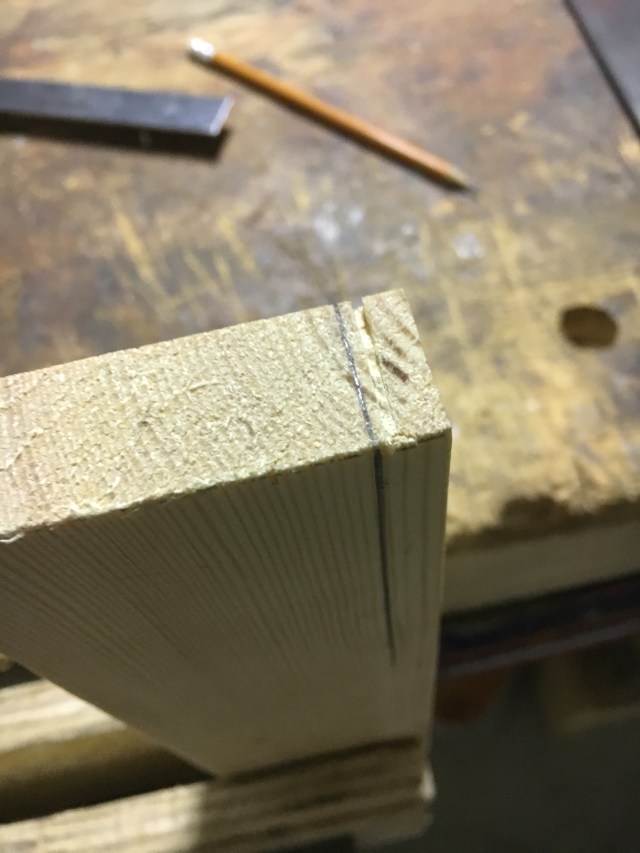
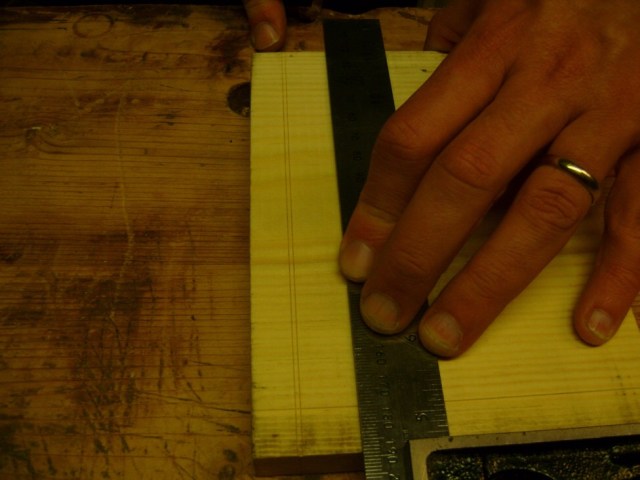
Prima di procedere occorre segnare a matita sulle facce del pezzo di legno da segare la linea di taglio che seguiremo parallelamente con la sega.

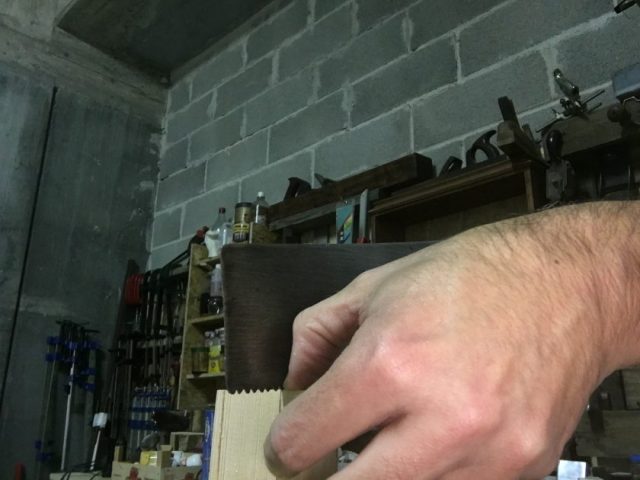
La mano deve afferrare il manico e l’indice appoggiato sullo stesso deve puntare in direzione della lama. Questa particolare posizione garantisce un maggior controllo della sega in fase di lavorazione.
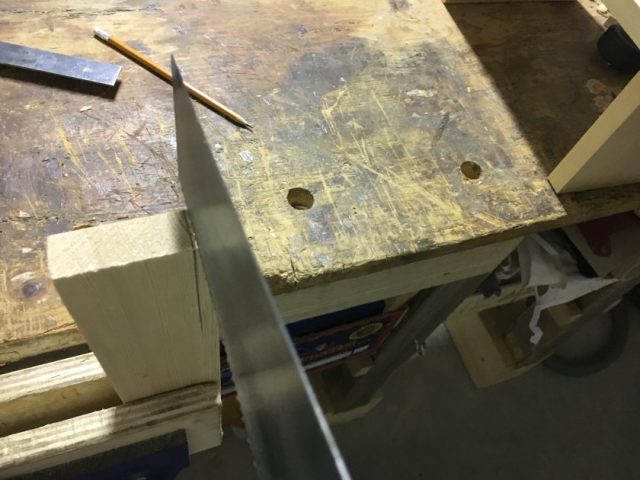
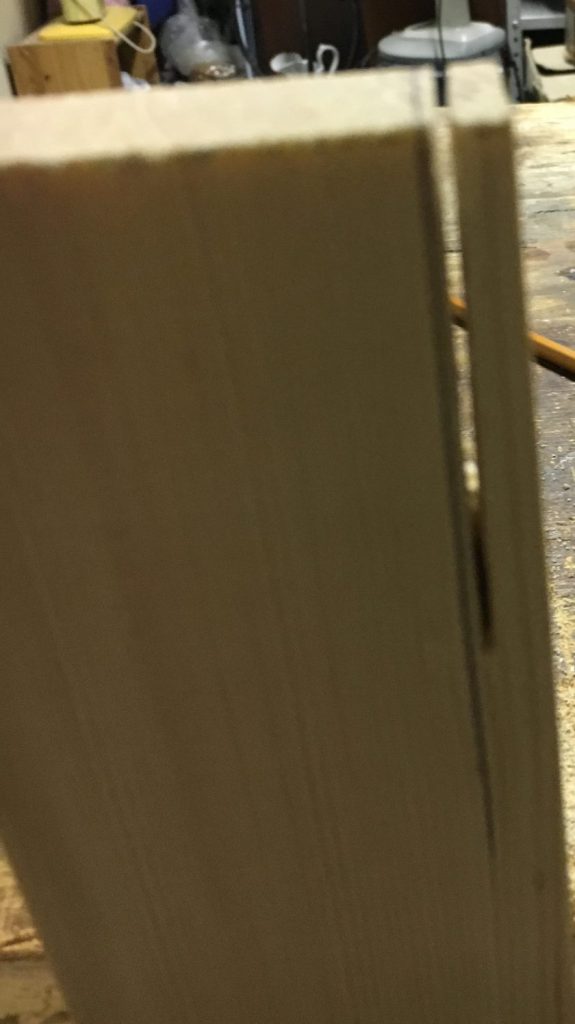
Il taglio deve cominciare lentamente appoggiando delicatamente la punta della lama, quella più lontana dal manico e che risulta più rastremata, sull’angolo del legno più lontano da noi mantenendola ad una certa inclinazione per favorire l’entrata. La punta dell’unghia del dito pollice dell’altra mano andrà appoggiata vicino alla linea di traccio dalla parte che andrà scartata e servirà da battuta per la lama della sega.
Nella fase di approccio della lama al legno il movimento dovrebbe essere fatto a tirare e non a spingere così da prevenire strappi delle fibre del legno verso l’esterno. Una volta che la lama ha attaccato il legno occorre gradualmente portarla a tagliare per tutta la lunghezza della linea segnata. Qualcuno considera altresì conveniente iniziare il taglio a spingere anziché a tirare.
Per un buon taglio è importante una buona partenza. Per i primi 5/6 cm. è essenziale rimanere il più dritto possibile rispetto alla linea di taglio tracciata. In seguito diventerebbe difficile correggerne la traiettoria.
Le primissime passate dovrebbero essere fatte molto delicatamente sfruttando maggiormente la parte finale della lama. In seguito quando la lama ha creato una traccia ben definita nel legno che non permetta deviazioni si può cominciare ad applicare maggiore forza sfruttando la lunghezza della lama.
Virtualmente la lama dovrebbe tagliare solo con la forza del suo stesso peso. Molto dipende in questo caso dall’affilatura della stessa. Una lama affilata taglia meglio e con minor sforzo da parte dell’utilizzatore.
Man mano che si procede nel taglio è fondamentale segare mantenendosi paralleli alla linea tracciata o al lato esterno del pezzo da tagliare.
Nella prime passate, come detto, la lama taglia per tutta lo spessore del legno. Nel procedere nel taglio e per aiutarsi nello stesso è buona regola cominciare ad inclinare la sega a circa 45 gradi verso l’operatore fare qualche passata ed in seguito raddrizzare nuovamente la stessa per uniformare il taglio proseguendo in questo modo per tutta la lunghezza del taglio.
In fase di chiusura del taglio occorre prestare attenzione affinché la sega eviti di strappare il legno in fase di uscita. Per prevenire il problema occorre sostenere il pezzo di scarto con la mano non impegnata dalla sega e procedere molto lentamente utilizzando nel taglio sempre la parte iniziale della sega che è più rastremata. Per riconoscere quando si è quasi arrivati a fine taglio ci si può aiutare anche con la variazione di rumore generato.
Generalmente per tagli molto lunghi e lungo vena è buona norma fermarsi ogni tanto e ruotare il pezzo di legno tagliando dall’altro lato. Il taglio risulterà più semplice perché troverà un solco già creato dalla sega e con meno materiale da rimuovere.
Riepilogo di seguito alcuni consigli che reputo utili:
– controllare che la sega sia affilata, con il manico ben saldo e la lama dritta;
– durante il taglio può essere utile inserire un cuneo nel varco già formatosi per facilitare l’incedere della sega;
– se la sega dovesse impuntarsi nel legno si può lubrificare la lama con poche gocce d’olio o altro lubrificante, meglio se di origine naturale;
– non occorre praticare molta forza durante il taglio. Questo dovrebbe avvenire con facilità se la sega è ben affilata;
– la postura nella fase di taglio è essenziale. Spalla, gomito, polso e mano devono essere ben allineati alla linea di taglio e lo sguardo deve puntare direttamente sulla linea da tagliare. Se si è destrorsi la gamba sinistra dovrebbe essere messa avanti rispetto alla destra;
– Il movimento deve essere naturale e sciolto, senza mai perdere di vista la linea di taglio. Non tagliare sopra la linea tracciata ma subito a fianco della stessa dalla parte che vogliamo scartare. La traccia segnata è valida come guida per avere un riscontro sempre visibile della linea da seguire; – Di tanto in tanto girare il pezzo da segare e tagliare dall’altro lato segando sempre alternando il taglio, inclinando la lama. In questo modo è possibile anche correggere la traiettoria del taglio dovessimo eventualmente discostarci troppo dalla linea di taglio. Mi riferisco in particolare a chi, come me, è destrorso ed ha la tendenza ad andare verso destra.
– Se dovessimo allontanarci dalla linea di taglio si può tentare di correggere la direzione della sega utilizzando nel taglio solo la punta della sega e direzionando il manico nella parte opposta a quella nella quale stiamo erroneamente segando.
In ogni caso è solo con la pratica che si acquisisce la padronanza necessaria. Il sottoscritto ancora non riesce a fare tagli totalmente dritti e per questo successivamente devo affidarmi alle cure della fidata pialla.
Oltre alle seghe per tagli lungovena si usano anche segacci per tagli traverso vena. Possiedono una conformazione dei denti diversa da quella delle seghe che tagliano lungovena, ma il procedimento di taglio e’ pressoché identico.
Per quanto riguarda le seghe di piccole dimensioni, le cosiddette seghe per giunzioni, queste possono tranquillamente tagliare sia lungovena che traversovena. La scelta su quale modello di sega usare dipenderà dal tipo di taglio che vogliamo fare, dalle dimensioni del pezzo e dalla finalità del lavoro.
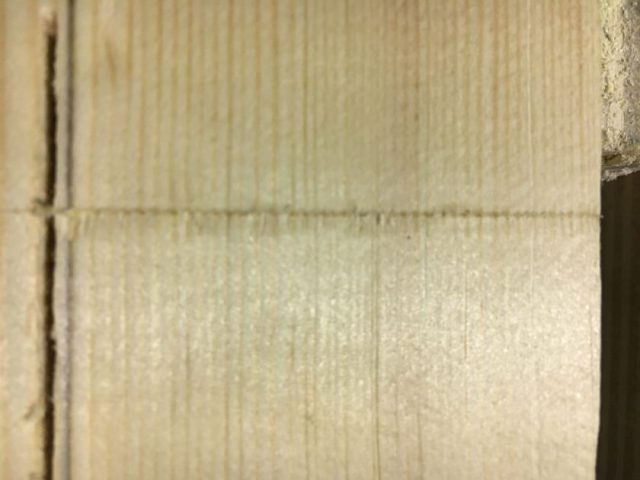
Nell’utilizzo delle seghe traverso vena prima del taglio ci si può aiutare con la segnatura di una o due tracce fatte con l’ausilio del coltello da traccio e la squadra. Nel caso di una sola traccia si procede a fare uno smusso nel quale porremo la lama della sega a battuta con lo scalino che si è creato. Nel caso di due linee la lama della sega verrà ospitata nel mezzo tra le due tracce.
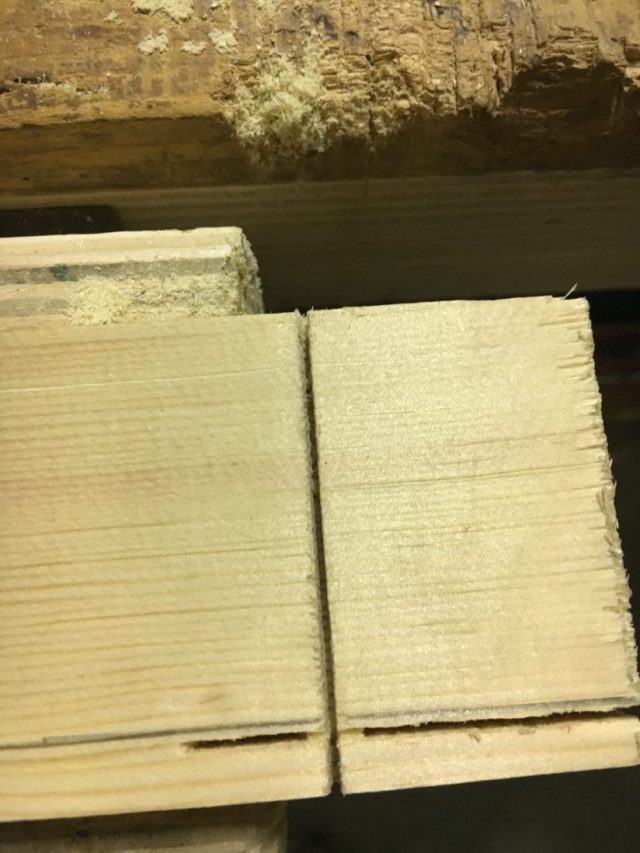
Di seguito la sequenza di taglio con una sega per tenoni.
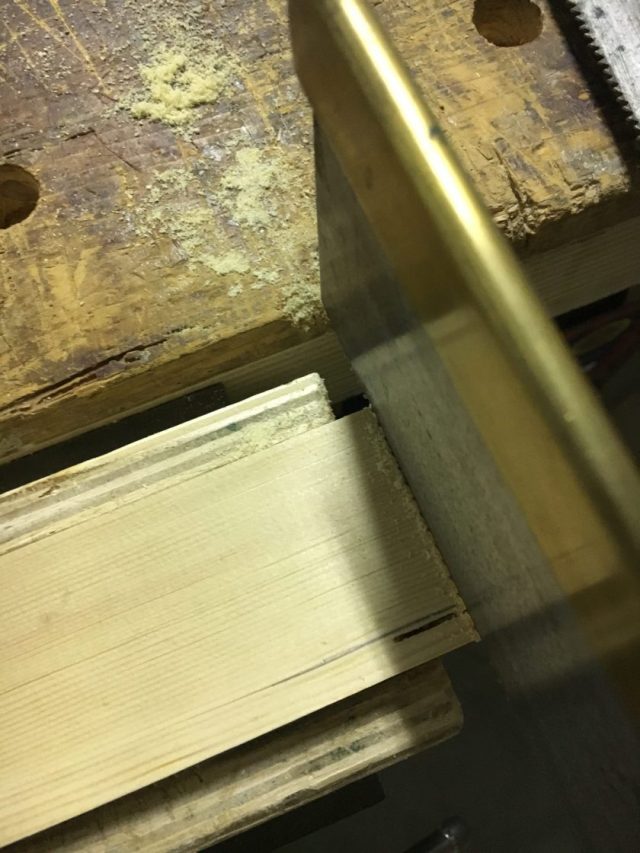
Le seghe per tenoni e per code di rondine, dette comunemente seghe per incastri, hanno la peculiarità di possedere un dorso in acciaio o in ottone. Questo dorso serve a dare rigidità alla lama della sega ma per contro ne limita l’utilizzo potendo tagliare in profondità solo fino al dorso stesso. D’altro canto la loro vocazione non è quella di fare lunghi tagli nel legno ma solo brevi tagli per giunzioni.
Per il loro utilizzo valgono grosso modo le raccomandazioni di cui sopra.
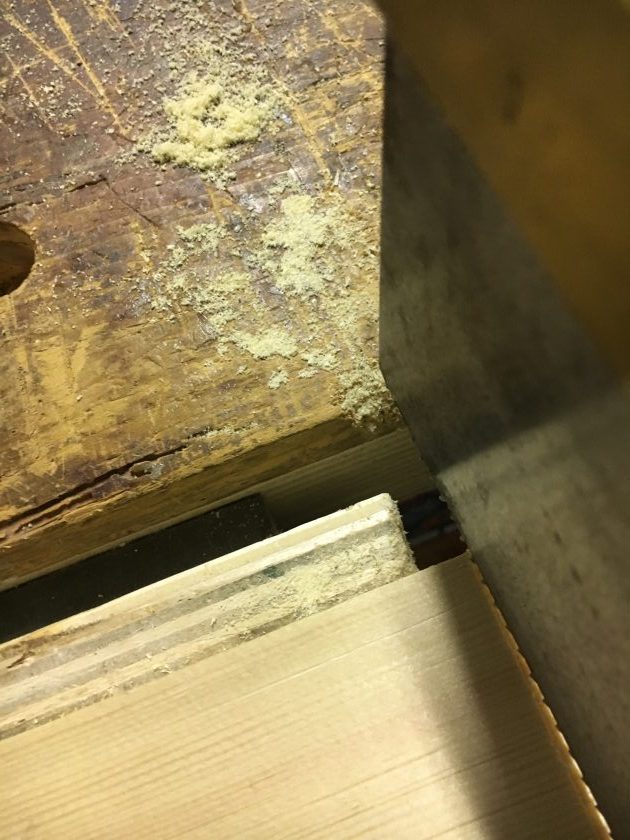
Il taglio del legno può avvenire ponendo direttamente il pezzo sul banco ponendovi sotto un pezzo martire di scarto per evitare che la sega, tagliando, arrivi fino a segare il piano del banco. Oppure bloccando il pezzo nella morsa o poggiando direttamente la tavola su due cavalletti aiutandosi con l’appoggio di un ginocchio.
Nei prossimi post sulle seghe approfondiremo la conoscenza di taluni tipi di seghe, le loro caratteristiche, la loro conformazione, i tipi di taglio e l’affilatura.
Affilatura degli utensili manuali
In a previous post I wrote about saws here is the link.
Now I would like to share some experiences with you about the use of Western saws, which are the ones that I prefer and that I use the most. I like their constructive quality and the fact that they are all almost re sharpenable at least the oldest ones and some modern saw.
All Western saws are working, or rather, cutting, in push stroke. This means that when we push the saw forward it is at this stage that the cutting of wood fibers takes place. In the blade return phase this open the road for the next stroke and so on. The fact that this kind of saws cut in a push stroke make them different from the Japanese saws that cut in pull stroke. Of this and of other differences I will speak in future posts.
That said, we see how a long grain cut is made with a large western saw
Before proceeding, mark the faces of the wood with a pencil to trace the cutting lines to follow with the saw.
The hand must take the handle and the index finger on it must point in the direction of the blade. This particular position ensures greater control of the saw during processing.
The cut must start slowly by gently supporting the tip of the blade, the farthest from the handle and which is more tapered, at the far corner of the wood, keeping it to a certain inclination to favor the entry. The other finger’s thumb help to maintain the saw in position and at the right place.
In the approach of the saw to the wood the movement should be pulled and not pushed so as to prevent tearing of the wood fibers outward. Once the blade has attached the wood it is necessary to gradually cut full length to the line. Others consider convenient to start the cut with push stroke instead of pulling.
A good start is very important. For the first 5/6 cm. it is essential to stay as straight as possible with the cut line drawn because it would be difficult to correct.
The very first passes should be made very gently by making the most work with the blade end. Then when the saw has created a well-defined trace in the wood that does not allow deviations, you can begin to apply greater strength by leveraging the length of the blade.
Virtually the blade should cut only by the force of its own weight. Much depends on the sharpen level of the saw. A sharp saw cuts better and with less effort for the user.
As you proceed in the cut, it is essential to keep it as parallel as you can to the drawn line or to the outside of the piece to be cut.
In the first passes, as mentioned, the blade cuts across the thickness of the wood. When proceeding to cut and to assist in it is a good rule to begin tilting the saw at about 45 degrees toward the user to make some pass and then straighten the same again to uniform the cut, continuing this way throughout the length of the cut.
When you are to the end of cutting you have to take care that the saw does not split the wood. In order to prevent the problem, the saw should be supported with the hand not engaged by the saw and proceed very slowly using the cutting edge of the saw that is more tapered. To recognize when you have almost reached the end of the cut you can also help with the variation of the noise.
Generally for very long cuts and long grain it is good practice to stop every now and turn the piece of wood cutting off the other side. The cut will be easier because it will find a groove already created by the saw and with less material to remove.
Below some tips that I find useful:
– Check that the saw is sharp, with a firm handle and a straight blade;
– during the cutting it may be useful to insert a wedge in the cut already formed to facilitate the saw stroke;
– if the saw jam into the wood, you can put some oil or other lubricant better than of natural origin;
– Do not apply much force during cutting. This should happen easily if the saw is well sharpened;
– posture at the cutting stage is essential. Shoulder, elbow, wrist and hand should be well aligned with the cut line and the eyes must point directly on the line to be cut. If you are right-handed, your left leg should be pushed forward over the right;
– The movement must be natural and loose, without losing the sight of the cutting line. Do not cut over the line drawn but immediately next to the part that we want to discard. The trace is a true guide that provide an ever-visible match of the line to follow;
– From time to time, turn the piece to be cut and cut on the other side, always by alternating cutting by tilting the blade. This could help especially if you are right handed and you tend to saw too much on the right side of the line.
– If we move from the cutting line, we can try to correct the saw’s direction by using only the saw tip to cut it and directing the handle to the opposite side of the one we are sawing.
In any case, it is only with the practice that you acquire the master you need. I am not able to make really straight cuts so I always need a plane to refine the cut to size.
In addition to the saws for long grain cuts, cross grain are also used. They have a different teeth configuration than the saws that cut long grain but the cutting process is almost identical.
The small saws such tenon saws or dovetail saws they can easily cut both long and cross cut. Choosing which saw model to use will depend on the type of cut we want to make, the size of the work piece and the purpose of the work.
Before cross cutting you can help with the layout knife and a square by making one or two traces in the wood. In the case of a single trace, we make a bevel in which we place the saw blade with the step that was created. In the case of two lines, the saw blade will be housed in the middle between the two traces.
Below is the cutting sequence with a tenon saw.
Tenon and dovetail saws, used for joinery, have the peculiarity of having a steel or brass back. This back gives stiffness to the saw blade but restricts its use by cutting it deep only to the back. On the other hand, their use is not to make long cuts in the wood but only short joints.
Wood cutting can be made by placing the workpiece directly on the bench by placing it under a sunken piece of woof to prevent the saw from cutting the bench. Or putting the piece in the vice or placing the wood directly on two sawhorses by helping with the knee support.
In the next posts on the saws I will write aboutntypes of saws, their characteristics, their conformation, the types of cutting and sharpening.

Lascia un commento