LO SBOZZINO / SCRUB PLANE
English translation at the end of the article

Lo sbozzino (o sgrossino o scrub plane in inglese) è un particolare tipo di pialla che viene utilizzata per rimuovere velocemente grosse quantità di materiale da tavole di legno grezzo o da tavole che presentano difetti come lo svergolamento e l’imbarcamento, per le quali si rende necessario spianare e portare tutto allo stesso livello.
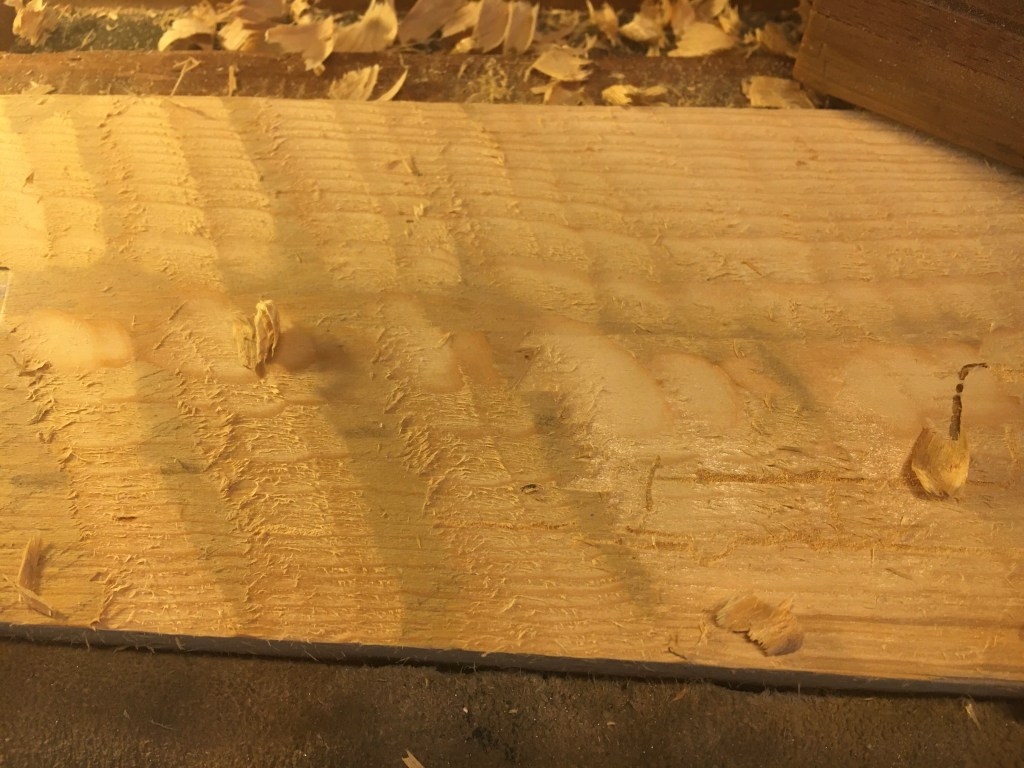
Essendo dedicato ad un lavoro di sgrossatura la superficie così piallata rimane notevolmente solcata ed è per questo motivo che la piallatura con lo sbozzino è sempre seguita da quella fatta con le pialle da finitura.
I primi sbozzini (in inglese chiamati originariamente roughing planes e solo in seguito scrub planes) erano costruiti in legno di faggio o altri legni duri e nelle vecchie botteghe si era soliti utilizzare come sbozzino una vecchia pialla in legno da finitura alla quale, a causa dell’usura, si era abbassata la suola ed allargata la bocca. Ad oggi è forse il tipo di pialla in legno che maggiormente ha resistito all’avvento delle pialle in metallo.
La Stanley ha prodotto in passato, ma solo negli USA, il modello più famoso di sbozzino in metallo, lo Stanley n. 40 scrub plane, ancora oggi reperibile su Ebay a prezzi non propriamente economici, data anche la sua scarsità sul mercato europeo.
Ancora oggi lo sbozzino viene costruito in legno duro, specialmente la suola che è soggetta ad un’intensa usura e che spesso viene semplicemente incollata alla base per facilitarne la sostituzione.
È possibile, come vedremo, adattare allo scopo anche una pialla n. 4 o una pialla n. 78 ma se non abbiamo una grossa dimestichezza con questo genere di lavori è consigliabile acquistarne uno nuovo in legno, come ad esempio uno sbozzino della ECE o della ULMIA (entrambe aziende tedesche) che godono di ottima reputazione oltre a montare l’utilissimo corno anteriore. Diversamente, potremmo acquistare il modello in metallo prodotto dalla Veritas, anch’esso di ottima qualità.
Di seguito alcuni link per l’acquisto, anche se i prezzi non sono economici:
https://www.fine-tools.com/schrup.html
https://www.dictum.com/en/western-wooden-planes-baej/ulmia-scrub-plane-703079
https://www.dictum.com/en/veritas-planes-baeb/veritas-scrub-plane-carbon-steel-blade-703636
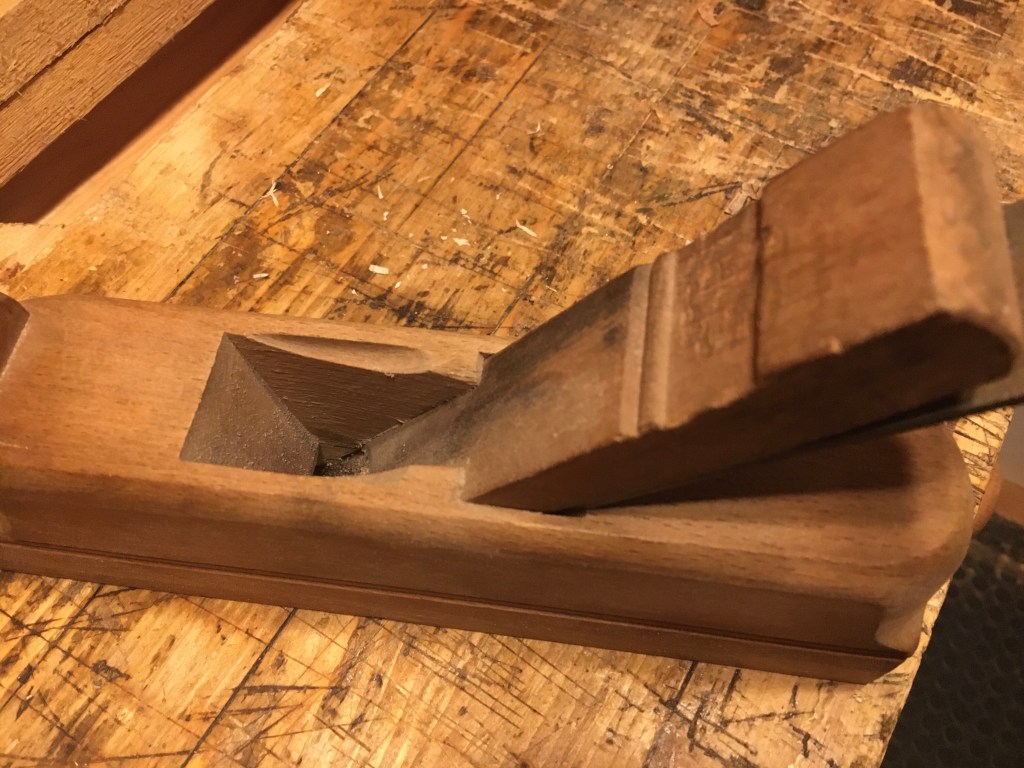
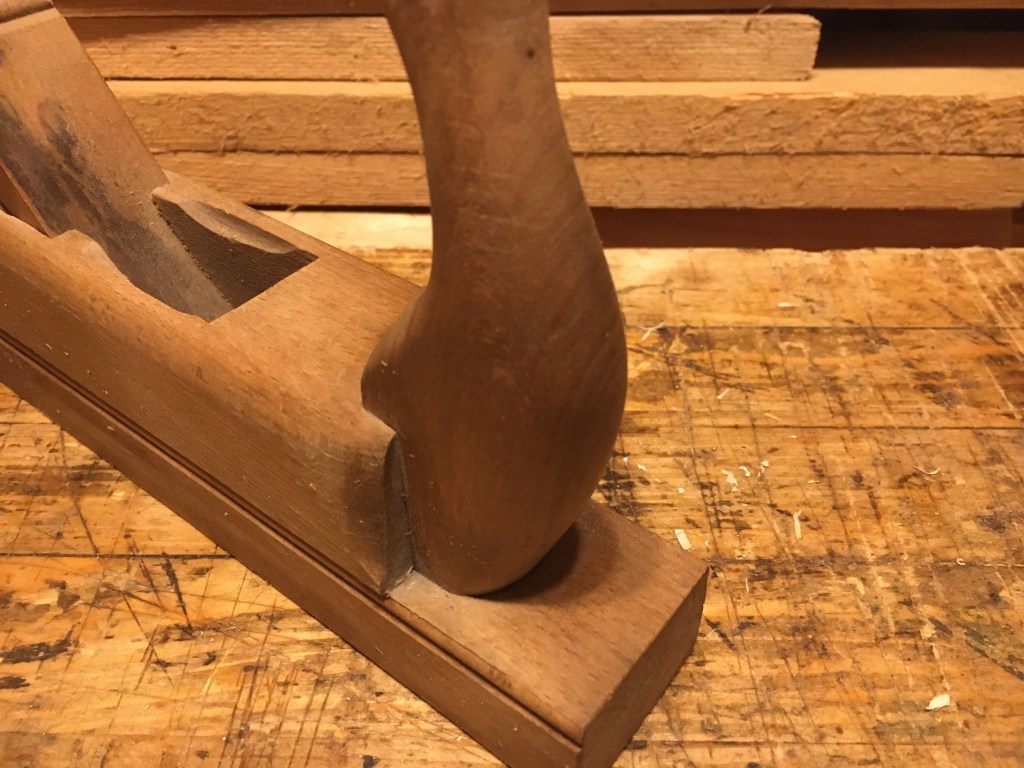
Gli sbozzini in legno sono leggeri e scivolano ottimamente sul legno e queste qualità, determinanti quando si devono fare lunghe e faticose sessioni di sgrossatura, li fanno preferire alle loro sorelle in metallo. Nella sua conformazione più comune lo sbozzino in legno non prevede il controferro e la lama viene tenuta ferma in posizione per mezzo del cuneo. Il corpo è sagomato e arrotondato negli angoli per rendere più confortevole la presa.
Esistono anche tante varianti, alcune delle quali forse non possono considerarsi come dei veri e propri sbozzini ma che comunque si prestano a lavori gravosi (in quanto presentano una bocca sufficientemente larga). Queste pialle possono montare lame con il tagliente dritto, avere il controferro ed essere tenute assieme al cuneo per mezzo di una barra di blocco incassata nei laterali (come nel caso della pialla tedesca modello Steiner 1859 nella foto sopra) oppure essere una via di mezzo come la Stanley n. 40 scrub plane che ha la barra di blocco e la lama arcuata.
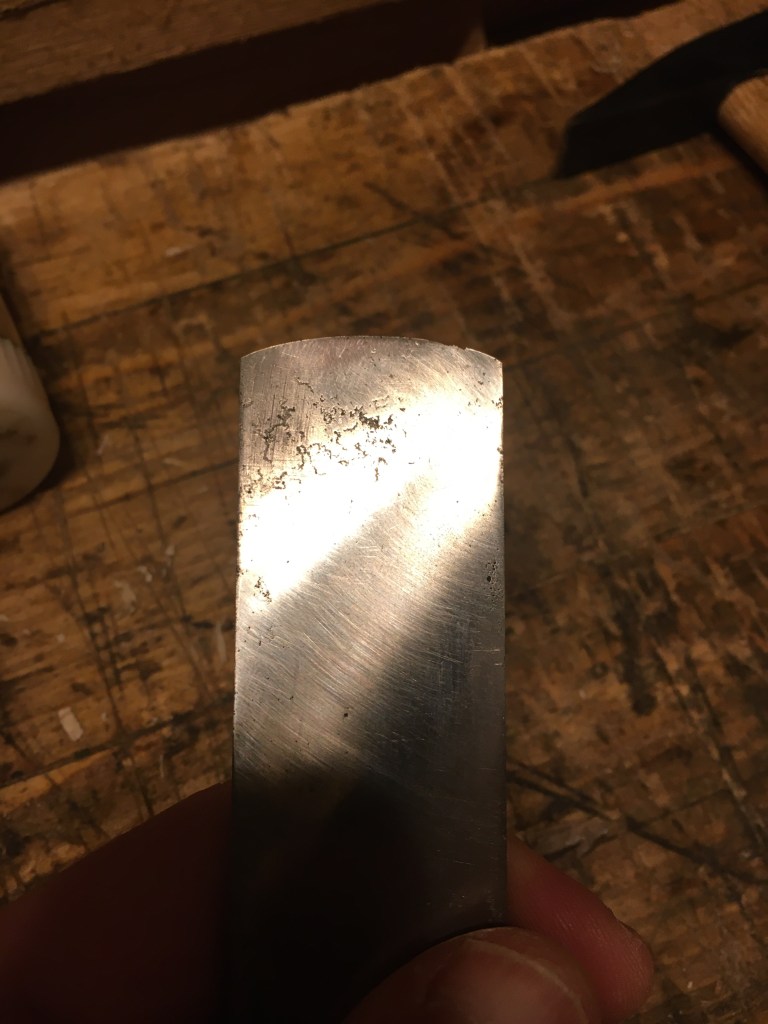
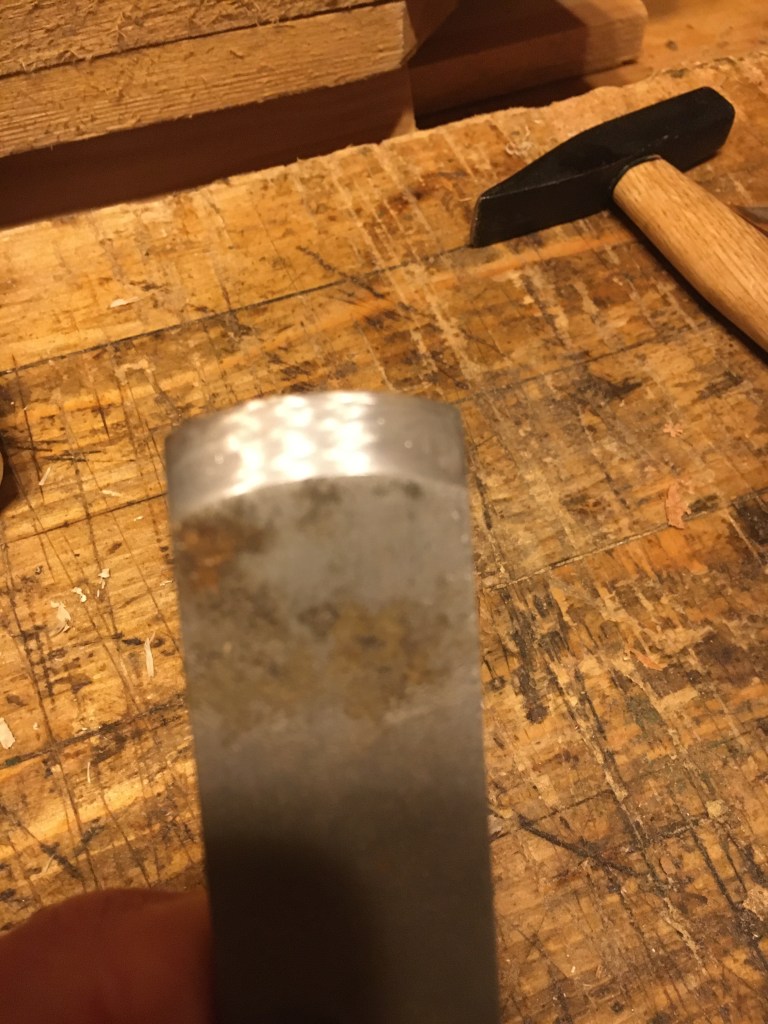
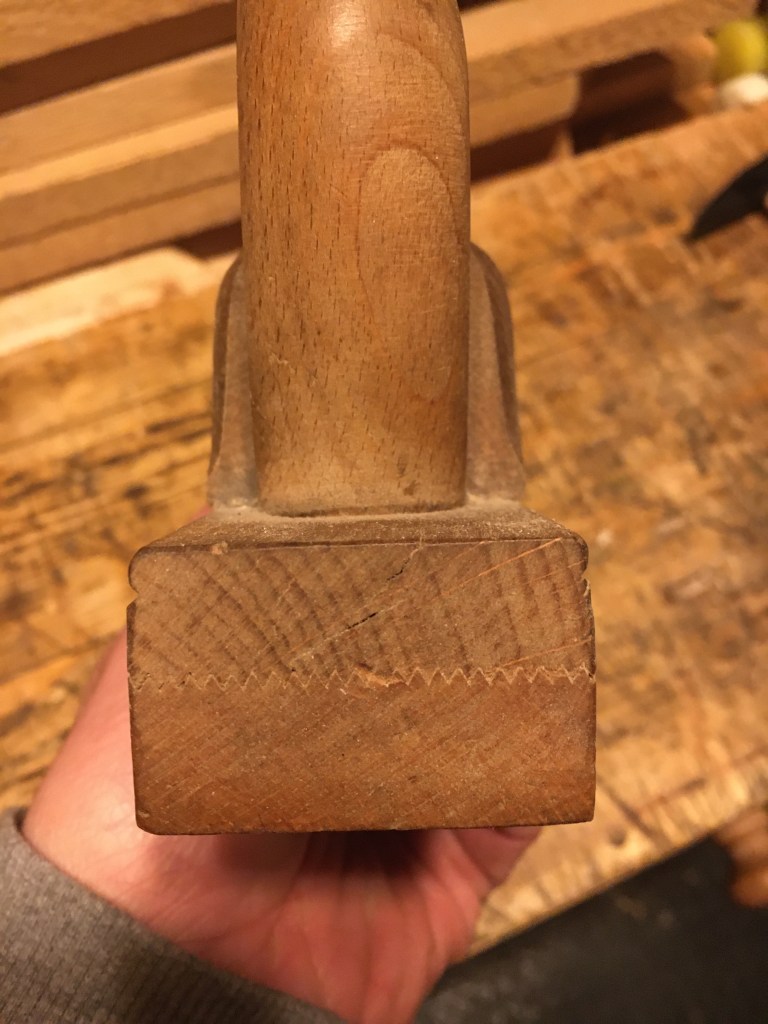
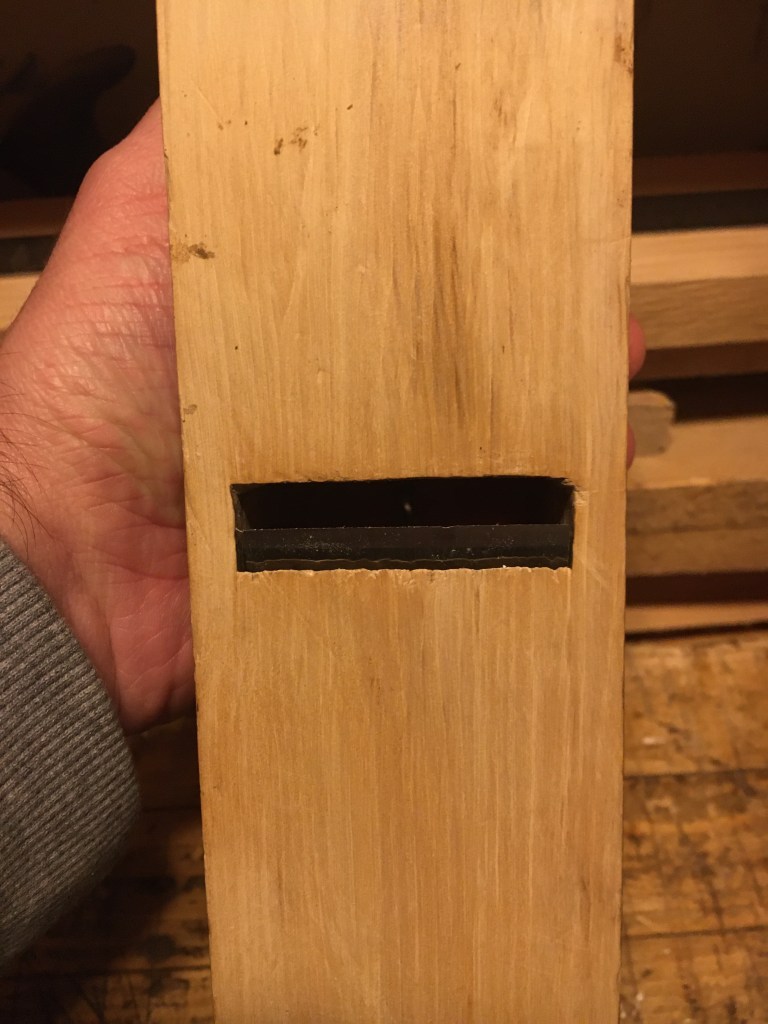
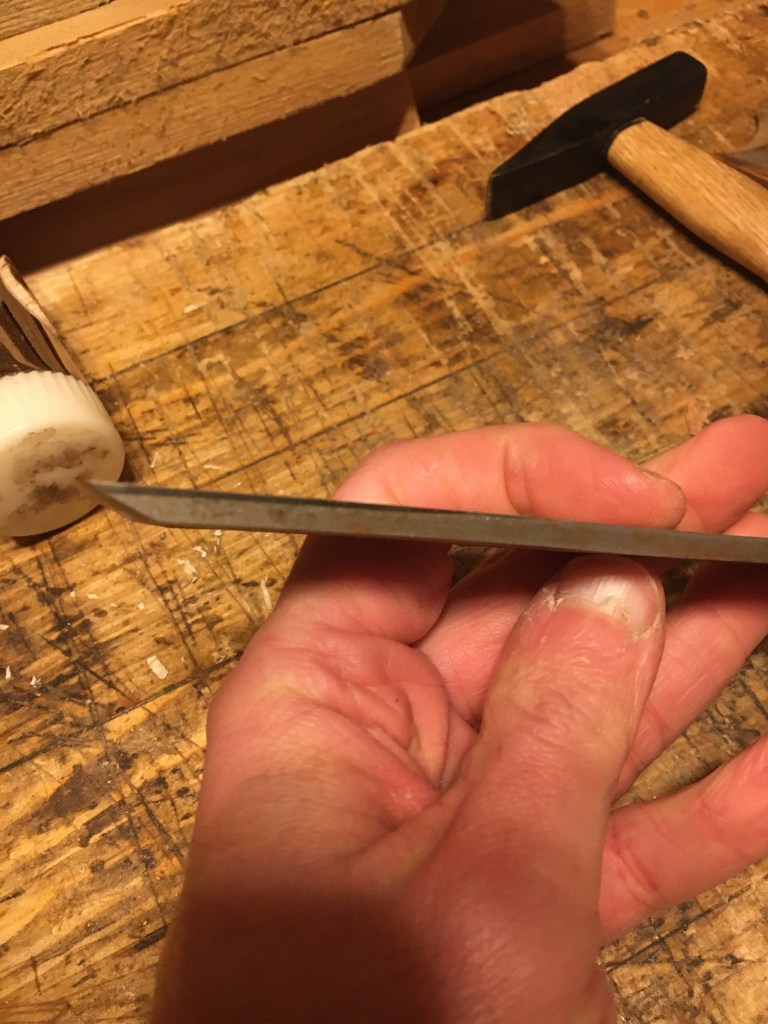
Una delle peculiarità dello sbozzino è comunque quella di avere una lama con il tagliente arcuato anzichè dritto. Solitamente il raggio di tale curvatura (circa 3 gradi) viene creato in modo tale che gli angoli della lama risultino smussati e più bassi di circa 3 millimetri rispetto al centro del tagliente mentre l’inclinazione del bisello varia tra i 30 e i 35 gradi, anche se è preferibile un’inclinazione di 35 gradi (qualcuno va anche oltre) data la tipologia di lavorazione particolarmente gravosa.
Le lame degli sbozzini sono più spesse delle normali lame per pialle, così da opporre più resistenza agli urti e anche più strette per migliorare l’efficacia in fase di rimozione dei trucioli ed ovviare al problema dello strappo delle fibre. La normale larghezza della lama di uno sbozzino si aggira attorno ai 3 – 4 cm.
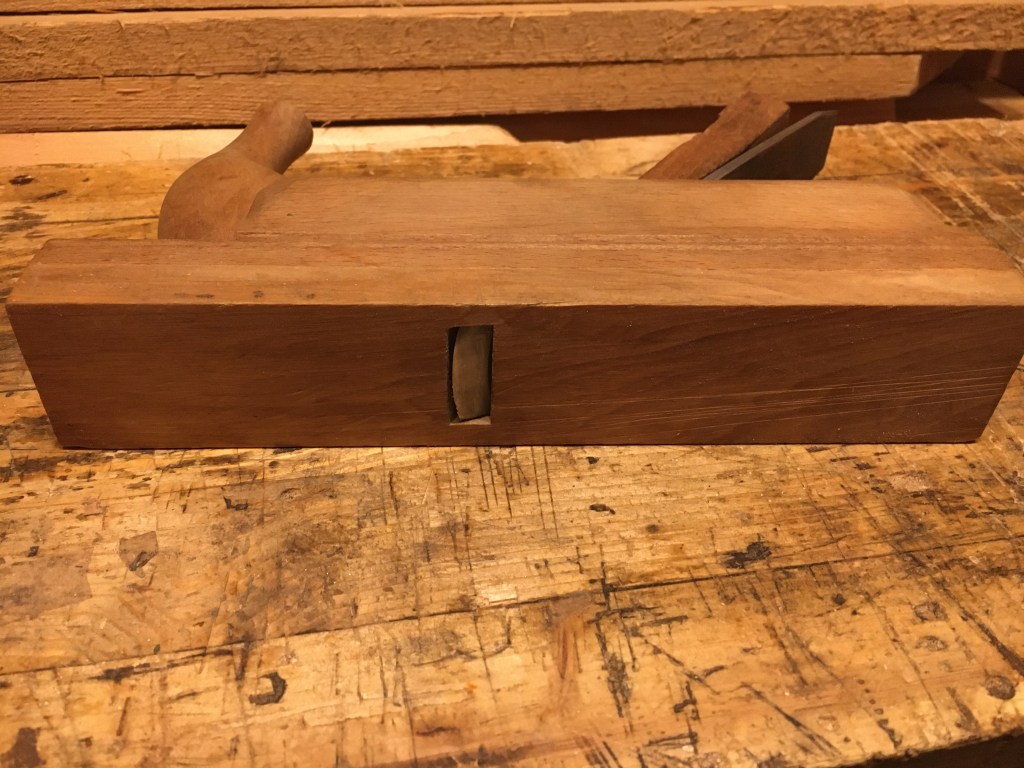
L’apertura della bocca dello sbozzino in legno è un’altra peculiarità, essendo più grande di una normale pialla da finitura. Questo è necessario per permettere il passaggio dei trucioli molto spessi senza che la pialla si intasi.
Lo sbozzino non è mai molto lungo e le sue misure variano dai 35 cm. ai 45 cm. circa. Esistono comunque varie tipologie di sbozzino: in legno, in metallo, con o senza manici, con una sola impugnatura anteriore o posteriore, con diversa larghezza della lama e della suola, ecc.
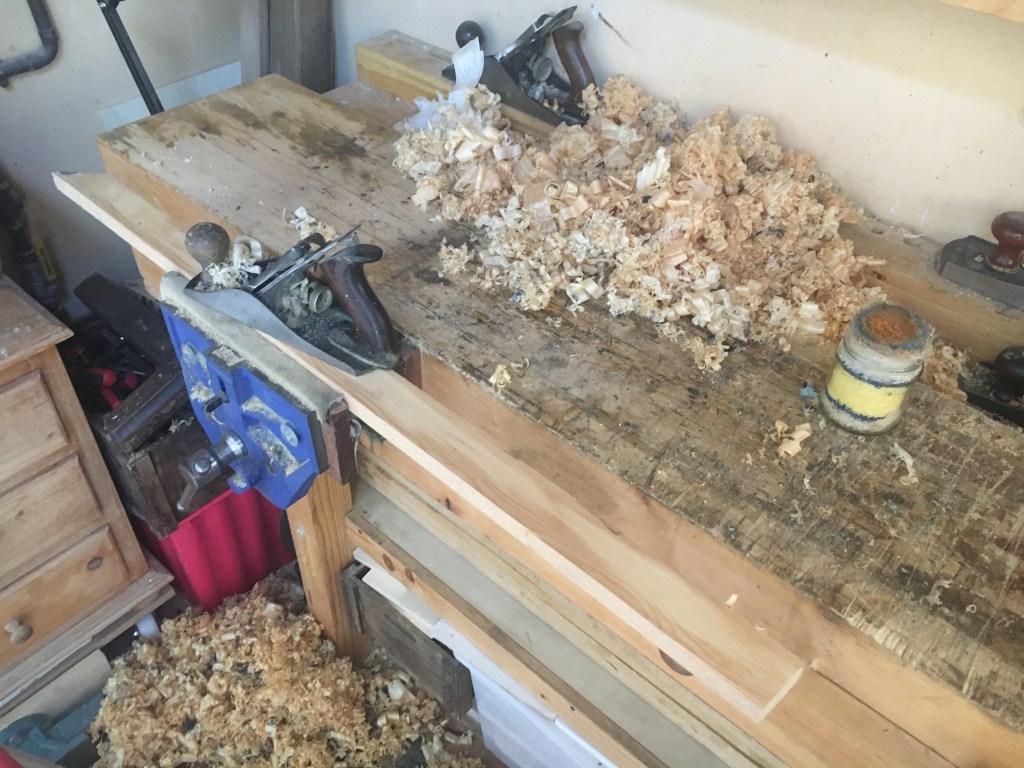
Per gli sbozzini in legno valgono grosso modo le stesse regole di utilizzo viste per le pialle da modanatura. Pialle in legno. Pialle per modanature / Wooden planes. Moulding planes. Quindi il settaggio si fa colpendo con un martello in legno o gomma o in ferro il retro della suola o sul corpo superiore frontale per far arretrare la lama o liberarla dal cuneo oppure sulla lama e poi sul cuneo per farla abbassare. Per migliorare lo scorrimento della suola si può usare della cera.
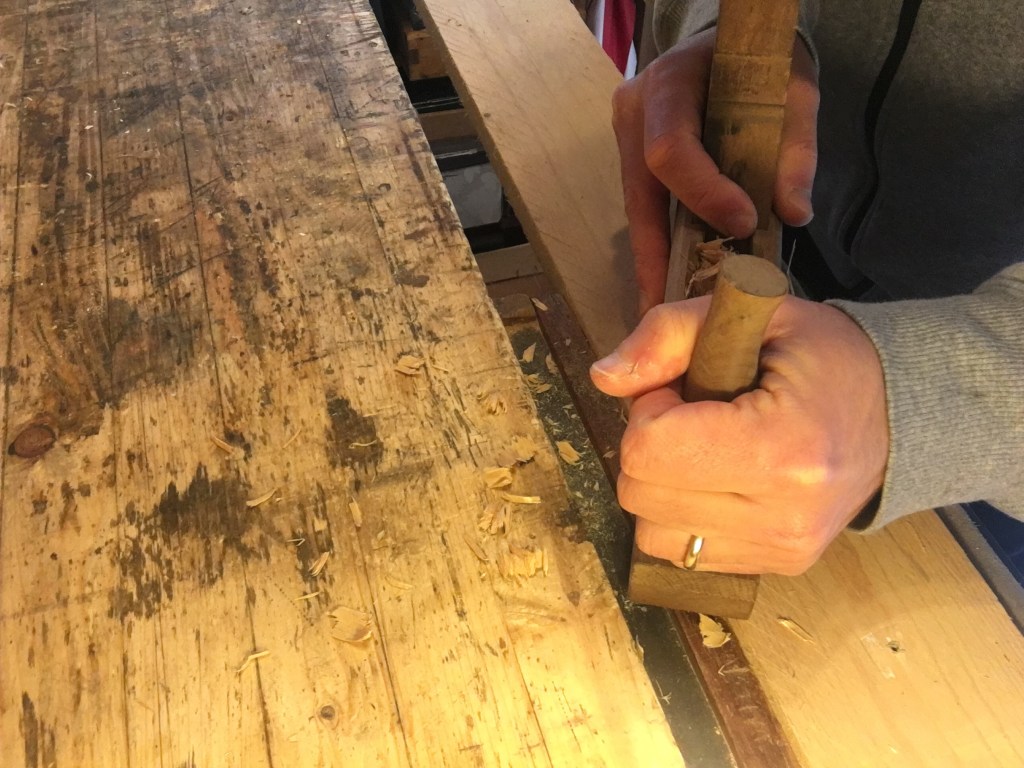
Lo sbozzino si impugna afferrando con una mano la parte posteriore (o il manico se presente) e con l’altra mano il corpo superiore anteriore o il corno (o manico) se presente. Per aumentarne l’efficacia di solito la lama viene fatta fuoriuscire molto dalla bocca. Così facendo si è in grado di asportare trucioli anche di alcuni decimi di millimetro.
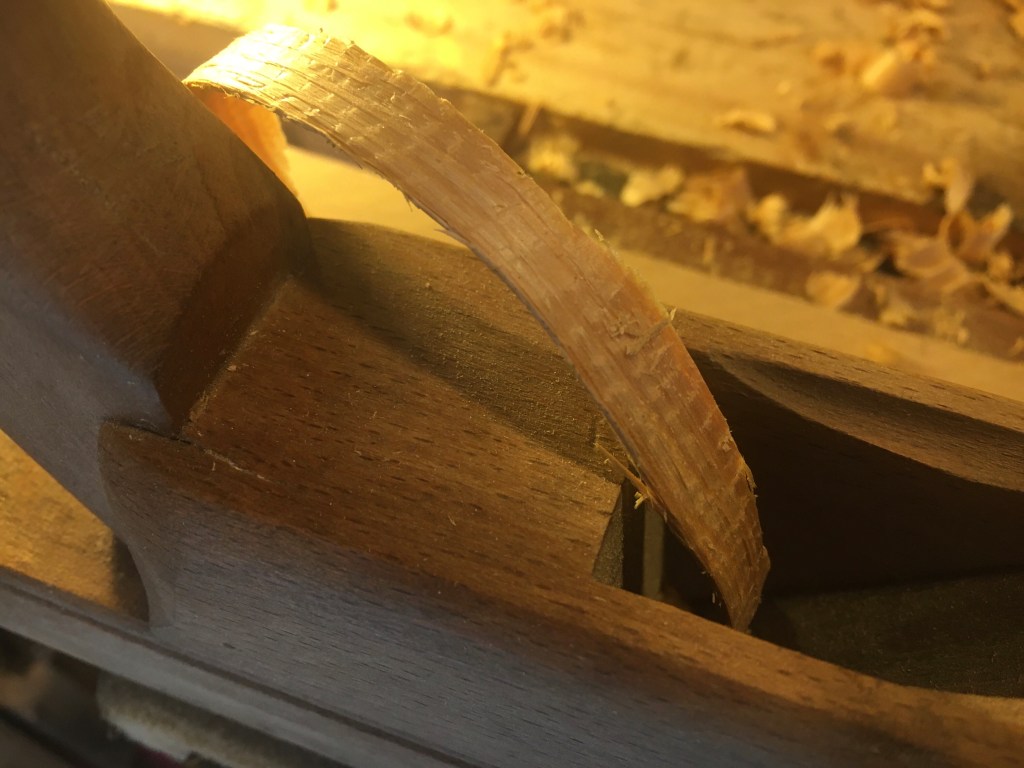
Il suo utilizzo prevede l’impiego di una certa forza. Passate rapide, brevi e decise fatte dapprima in diagonale per tutta la larghezza della tavola ovvero a 30 – 45 gradi rispetto alla direzione della vena, concentrandoci sulle parti più alte, seguite alla fine da passate più lunghe longitudinali nel senso della vena e con la lama più arretrata per uniformare la piallatura. Alla fine, come detto, dovremo intervenire con le pialle da finitura per uniformare e spianare il tutto in quanto la superficie piallata con lo sbozzino rimane visibilmente solcata.
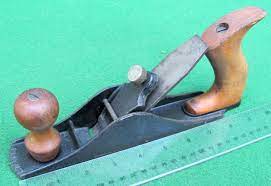
Come detto ad inizio articolo invece di acquistare uno sbozzino possiamo anche decidere di trasformare una vecchia pialla n. 4 inserendo una lama arcuata e allargando leggermente la bocca con una lima per poi agire sul frog arretrandolo di circa 3 mm. e lavorare facendo fuoriuscire molto il tagliente dalla bocca. Il peso della pialla e la larghezza della lama la rendono però meno adatta a questo tipo di lavorazione. In alternativa si può anche trasformare una stanley n. 78 che diventa molto più simile ad una Stanley n. 40 scrub plane.
La procedura da seguire per ricavare il tagliente arcuato prevede di tracciare sul dorso della lama con un pennarello nero indelebile un arco e quindi forgiarla con una mola a secco raffreddando spesso la lama per non perdere la tempra, ricavando in questo modo sia l’arco che il bisello (affilandolo a 30 – 35 gradi) per poi finire l’affilatura sulle pietre. Essendo un po’ difficoltoso descrivere nello specifico questi passaggi, per entrambi gli adattamenti vi rimando a due video di Paul Sellers che mostrano l’intero procedimento.
In ultima analisi è comunque sempre possibile preparare una lama ad hoc e montarla su una delle pialle da finitura che abbiamo in dotazione (meglio se su una n. 4) solo quando se ne ha la necessità. È però una soluzione poco comoda perché ci costringe tutte le volte a montare e smontare la lama e cambiare i settaggi e utile solo se reputiamo che le nostre lavorazioni abituali non ne giustifichino l’acquisto.
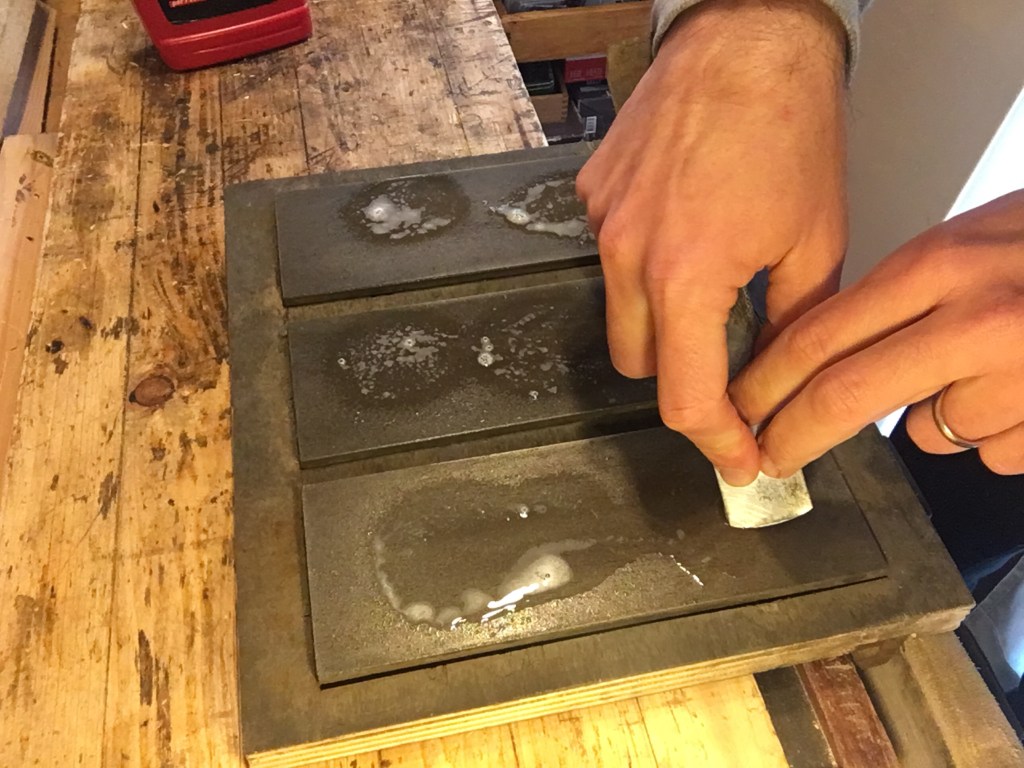
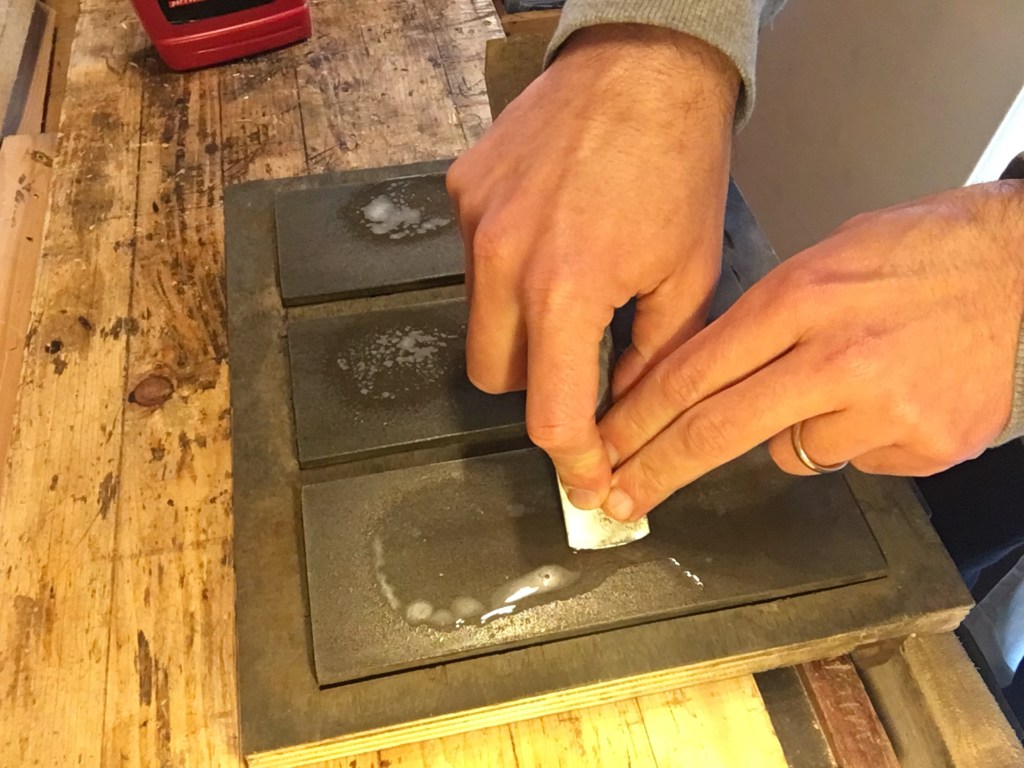
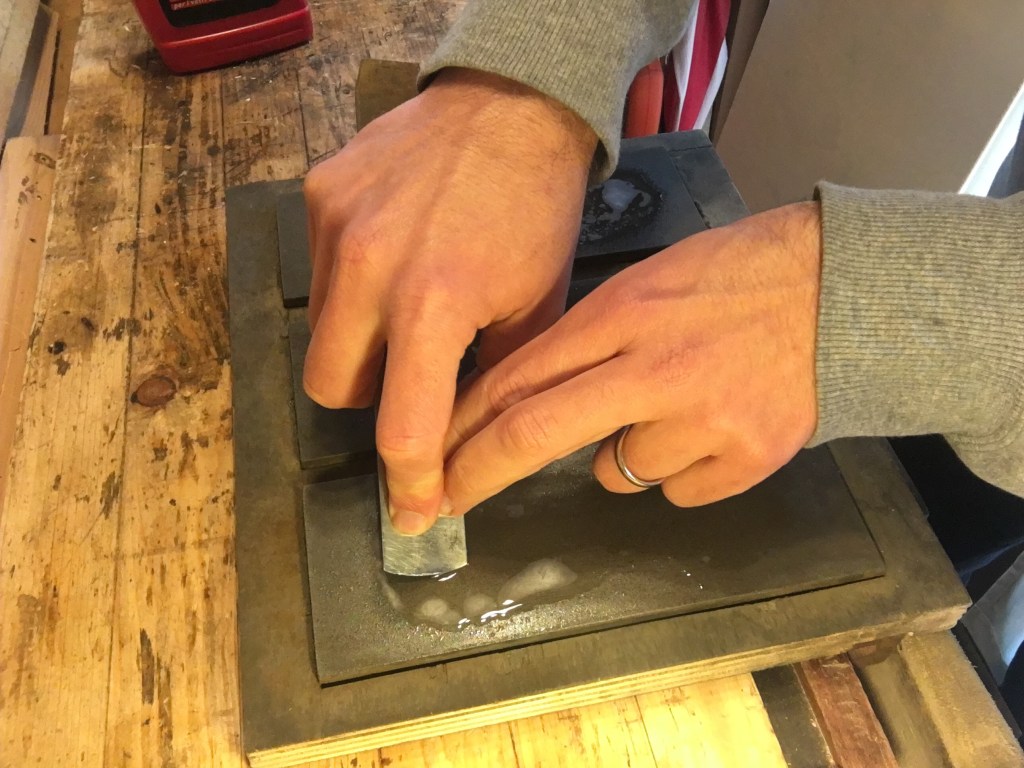
Lo sbozzino lavora con il tagliente rivolto verso il basso (bevel down). La sua affilatura, essendo di forma arcuata, può risultare difficoltosa e viene solitamente effettuata a mano libera sulle pietre (o sulle carte abrasive). Si puó fare dondolando la lama durante il movimento avanti e indietro di affilatura, cercando di mantenere sempre la stessa inclinazione del tagliente (procedura più semplice) oppure seguire la tecnica tradizionale (dove occorre fare un po’ di pratica) del classico movimento a figura di 8. Si può decidere di affilare la lama ad un grado di affilatura finissima (come per i taglienti delle lame da finitura) oppure fermarsi ad un’affilatura a 250 grit che, per il lavoro che deve fare, è sufficiente. E’ anche possibile creare il cosiddetto back bevel che si ottiene alzando leggermente il dorso della lama nella fase di spianatura e in prossimità del tagliente.
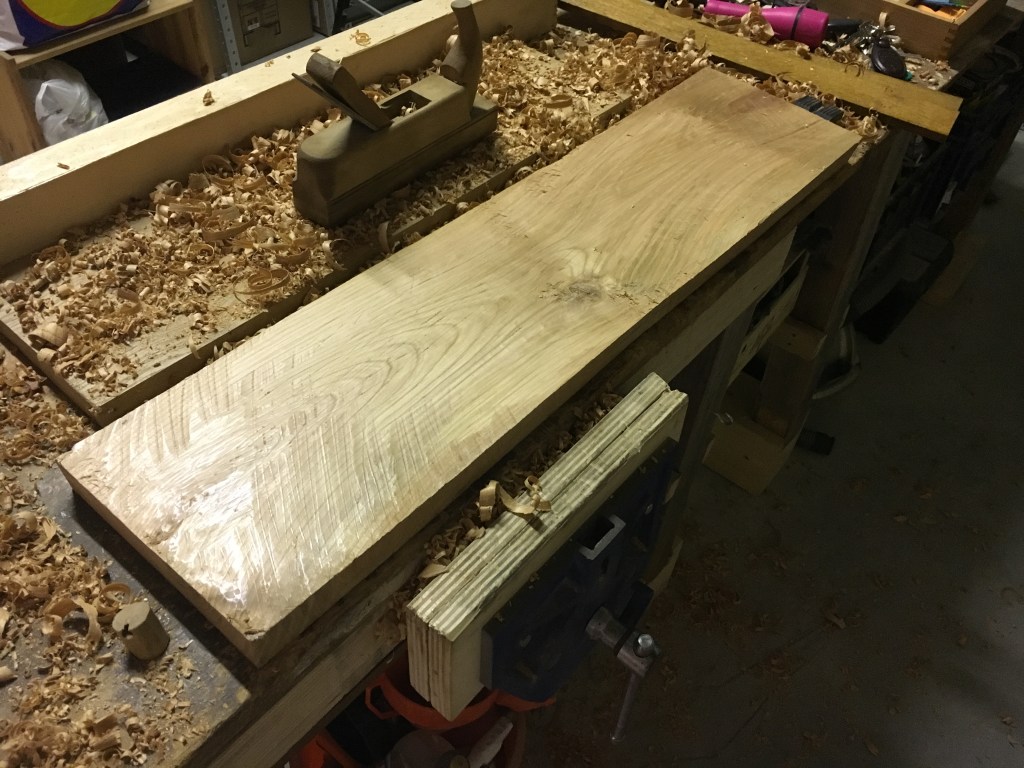
Lo sbozzino si rivela molto efficace oltre che nel lavoro di rettifica di tavole grezze, svergolate o imbarcate anche per rimuovere velocemente materiale da una costa di una tavola anziché segarla o se vogliamo dare un tono particolarmente rustico ad un piano in legno.
Un tempo lo sbozzino aveva maggiore ragion d’essere perché non esistevano le seghe a nastro e le pialle filo spessore. Oggi la scelta di possedere o meno uno sbozzino nel proprio laboratorio, al di là di motivazioni puramente nostalgiche, è legata al tipo di legno che solitamente lavoriamo. Se usiamo legno già piallato probabilmente lo sbozzino sarà superfluo. Ma se acquistiamo legno grezzo, vecchio, non piallato o legno che presenta difetti evidenti come svergolature e imbarcamenti allora lo sbozzino diventa un valido aiuto.
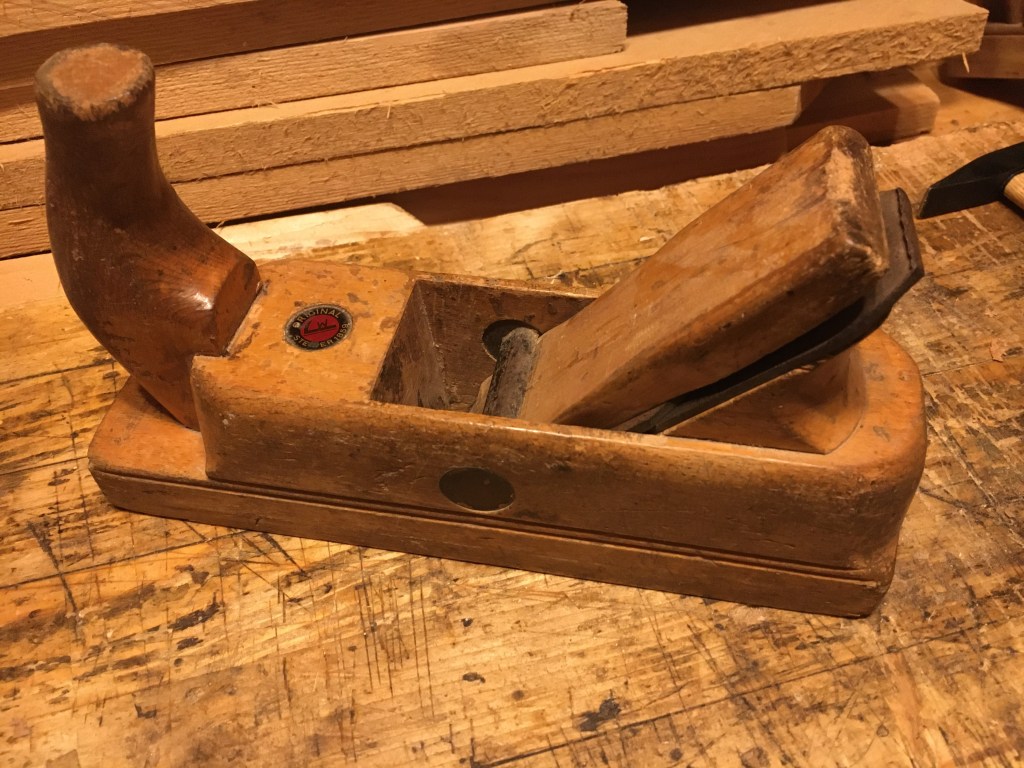
Gli sbozzini che ho linkato sopra sono al vertice della gamma ma se ne trovano anche di buoni a miglior prezzo o addirittura usati su Ebay o nei mercatini, come quello che possiedo io di marca sconosciuta.
—————————————————————
The scrub plane is a particular type of plane that is used to quickly remove large quantities of material from rough wooden boards or from boards that are twisted or cupped to level and bring everything to the same level. Being dedicated to roughing work, the planed surface remains remarkably furrowed and it is for this reason that the scrub plane is always followed by smoothing planes. The first scrub planes (in origin they were called roughing planes) were made of beech wood or other hard woods and the old woodworkers used wood plane as roughing planes which, due to wear, had lowered the sole and widened the mouth. Today it is perhaps the type of wooden plane that has most resisted the advent of metal planes. Stanley has produced in the past, but only in the USA, the most famous model of metal scrub plane, the Stanley no. 40 scrub plane, still available today on Ebay at prices that are not exactly cheap, also given its scarcity on the European market. Even today, the scrub plane is made of hard wood, especially the sole which is subject to intense wear and which is often simply glued to the base to facilitate replacement. It is also possible, as we shall see, to adapt a n.4 plane or a n.78 plane but if we are not very familiar with this kind of work it is advisable to buy a new one in wood, such as a scrub plane from ECE or ULMIA (both German companies) which enjoy an excellent reputation in addition to mounting the very useful front horn. Otherwise, we could buy the metal model produced by Veritas, which is also of excellent quality. Above are some links for purchasing, even if the prices are not cheap. The wooden scrub planes are light and glide excellently on the wood and these qualities, decisive when you have to do long and strenuous roughing sessions, make prefer them to their metal sisters. In its most common conformation, the wooden scrub plane does not include a cap iron and the blade is held in place by the wedge. The body is shaped and rounded in the corners to make the grip more comfortable. There are also many variants that perhaps cannot be considered as real scrub planes but which in any case lend themselves to heavy work (as they have a sufficiently wide mouth). These planes can mount blades with straight cutting edge and see the presence of the cap iron and are sometimes held together with the wedge by a clamp bar recessed in the sides, as in the case of the German model Steiner 1859 plane in the photo above. One of the peculiarities of the scrub plane is however that of having a blade with an arched edge instead of straight. Usually the radius of this curvature (3” radius) is created in such a way that the corners of the blade are rounded and lower by about 3 millimeters with respect to the center of the cutting edge while the inclination of the bevel varies between 30 and 35 degrees although an inclination of 35 degrees (some people even more) works better for the particularly heavy type of processing. The blades of the scrub planes are thicker than normal smoothing plane blades, so as to offer more resistance and also narrower to improve efficiency in the removal of shavings and overcome the problem of tear out of the fibers. The normal width of the blade of a scrub plane is around 3 – 4 cm. The opening of the mouth of the wooden scrub plane is another peculiarity, being larger than a normal smoothing plane. This is necessary to allow very thick chips to pass without the plane becoming clogged. The scrub plane is never very long and its measures vary from 35 cm. to 45 cm. about. However, there are various types of scrub plane: in wood, in metal, with or without handles, with a single front or rear handle, with different widths of the blade and sole, etc. For the wooden scrub planes roughly the same rules of use apply as for the molding planes. Then the setting is done by hitting the back of the sole or on the front upper body with a wooden or rubber or iron hammer to make the blade move back or free it from the wedge or on the blade and then on the wedge to make it lower. To improve the sliding of the sole, wax can be used. The scrub plane is held by taking the back (or the handle if present) with one hand and the upper front body or the horn (or handle) if present with the other hand. To increase its effectiveness, the blade is usually made to protrude a lot from the mouth. By doing so, it is possible to remove shavings of even a few tenths of a millimeter. Its use involves the use of a certain force. Quick, short and decisive passes made first diagonally for the entire width of the board or at 30 – 45 degrees with respect to the direction of the grain, focusing on the higher parts, followed by longer longitudinal passes in the direction of the grain retracting the cutting edge to even out the planing. Then we plane the rough surface with the smoothing planes. As mentioned at the beginning of the article, instead of buying a scrub plane we can also decide to transform an old n.4 plane inserting an arched blade and slightly widening the mouth with a file and then acting on the frog backing it by about 3 mm. and work with the cutting edge protruding a lot from the mouth. However, the weight of the plane and the width of the blade make it less suitable for this type of work. Alternatively, we can transform a stanley n. 78 which becomes much more like a Stanley No. 40 scrub plane. The procedure to follow to obtain the arcuate cutting edge involves tracing an arc on the back of the blade with a black indelible marker and then forging it with a dry wheel, often cooling the blade so as not to lose its temper, thus obtaining both the arc and the bevel, (between 30 – 35 degrees) and then finish the sharpening on the stones. For both adaptations, however, I refer you to the two videos above by Paul Sellers that show the entire process. Ultimately, however, it is always possible to prepare an ad hoc blade and mount it on one of our planes we have supplied (preferably on a No. 4 plane) only when necessary. However, it is an inconvenient solution because it forces us to assemble and disassemble the blade every time and change the settings and only useful if we believe that our usual processes do not justify the purchase. The scrub plane works with the bevel down. Its sharpening, being of an arched shape, can be difficult and is usually done freehand on the stones or on the abrasive papers. It can be done by rocking the blade during the back and forth sharpening movement, trying to maintain the same angle (simpler procedure) or follow the traditional technique (where a little practice is needed) of the classic figure-of-8 movement. very high level (as for the cutting edges of finishing blades) but a 250 grit sharpening may be enough for the work that has to be done. You can also create the so-called back bevel obtained by slightly raising the back of the blade in the flattening phase near the cutting edge. The scrub plane proves to be very effective as well as in planing rough, twisted or cupped boards also to quickly remove material from a board edge instead of sawing it or if we want to give a particularly rustic tone to a wooden top. At one time the scrub plane had a reason for being because there were no bandsaw and thickness planer. Today the choice of owning a scrub plane in one’s laboratory, beyond purely nostalgic reasons, is related to the type of wood we usually work. If we use wood that has already been planed, the scrub plane will probably be superfluous. But if we buy raw, old, unplaned wood or wood that has obvious defects, then the scrub plane becomes a valid help. The scrub planes I linked above are at the top of the range but there are also good ones at better prices or even used on Ebay or in markets, like the one I own of an unknown brand.

Scrivi una risposta a Piallare il legno. Piallatura lungovena / Planing wood. Planing along the grain | CreaRobi Cancella risposta