COME SQUADRARE UNA TAVOLA DI LEGNO GREZZO / HOW TO SQUARE A BOARD
English translation at the end of the article Nell’ultimo articolo abbiamo visto che molto spesso la miglior scelta possibile in fatto di acquisto di legno è quella di rivolgersi ad un rivenditore di legname. Tra le altre cose non di rado può accadere che abbiano alcuni pezzi di legno scartati perché presentano taluni difetti, come ad esempio
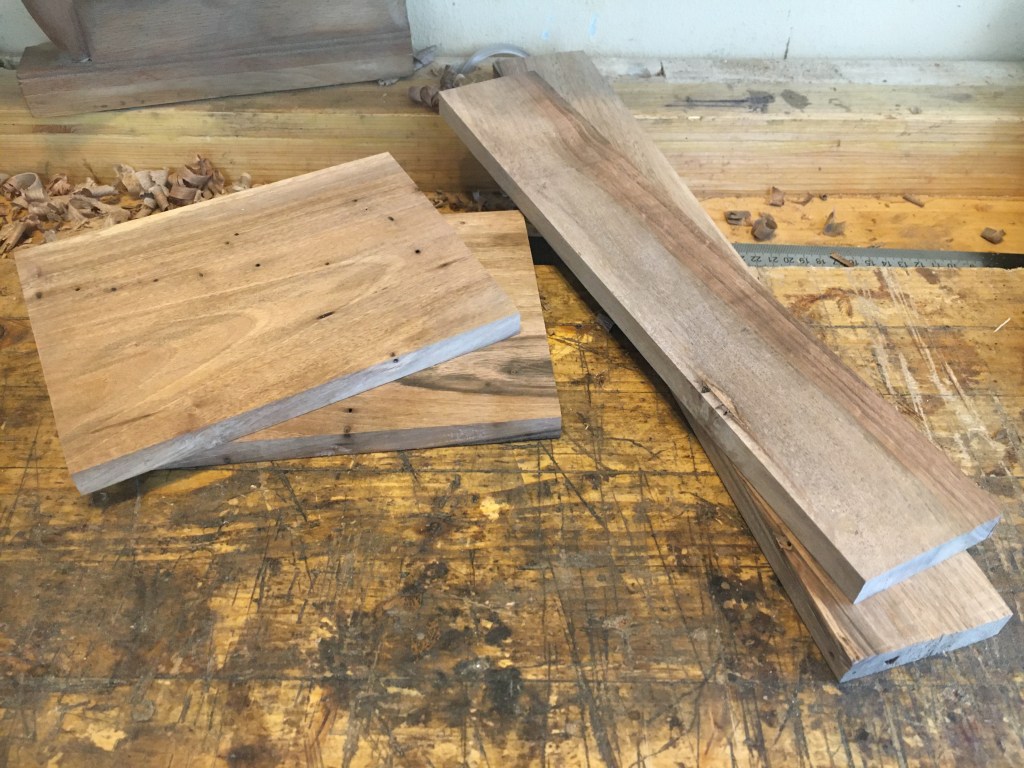
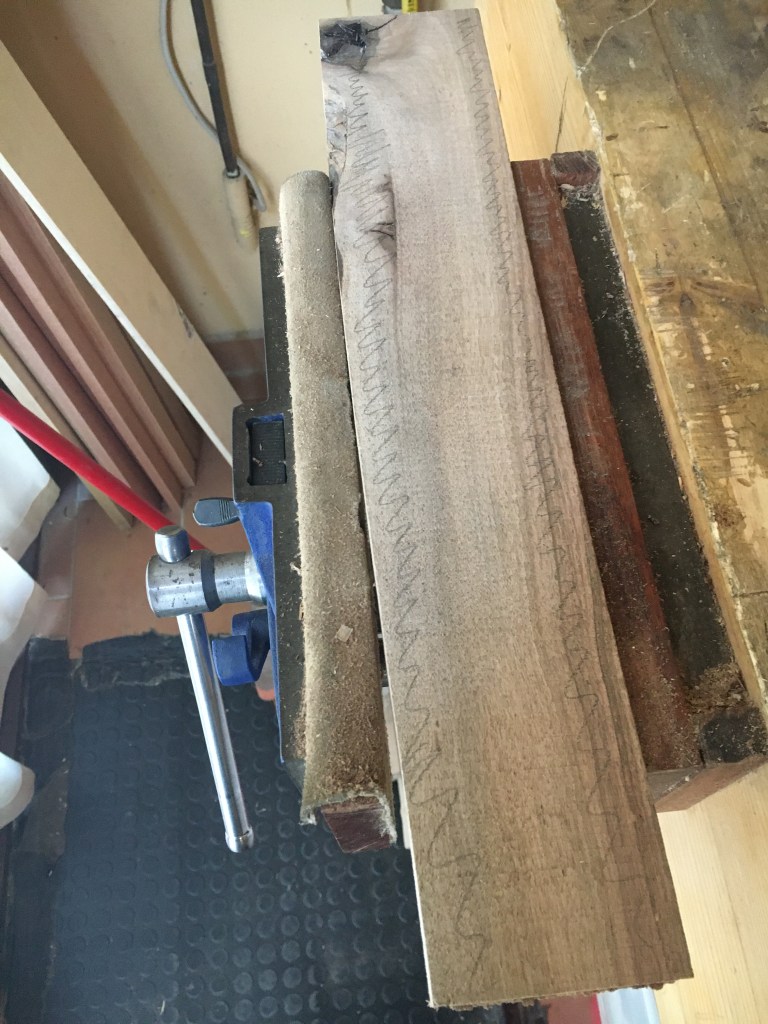
imbarcamenti, marciume, nodi e tarli che di fatto non lo rendono vendibile. E talvolta questi pezzi sono essenze particolarmente pregiate.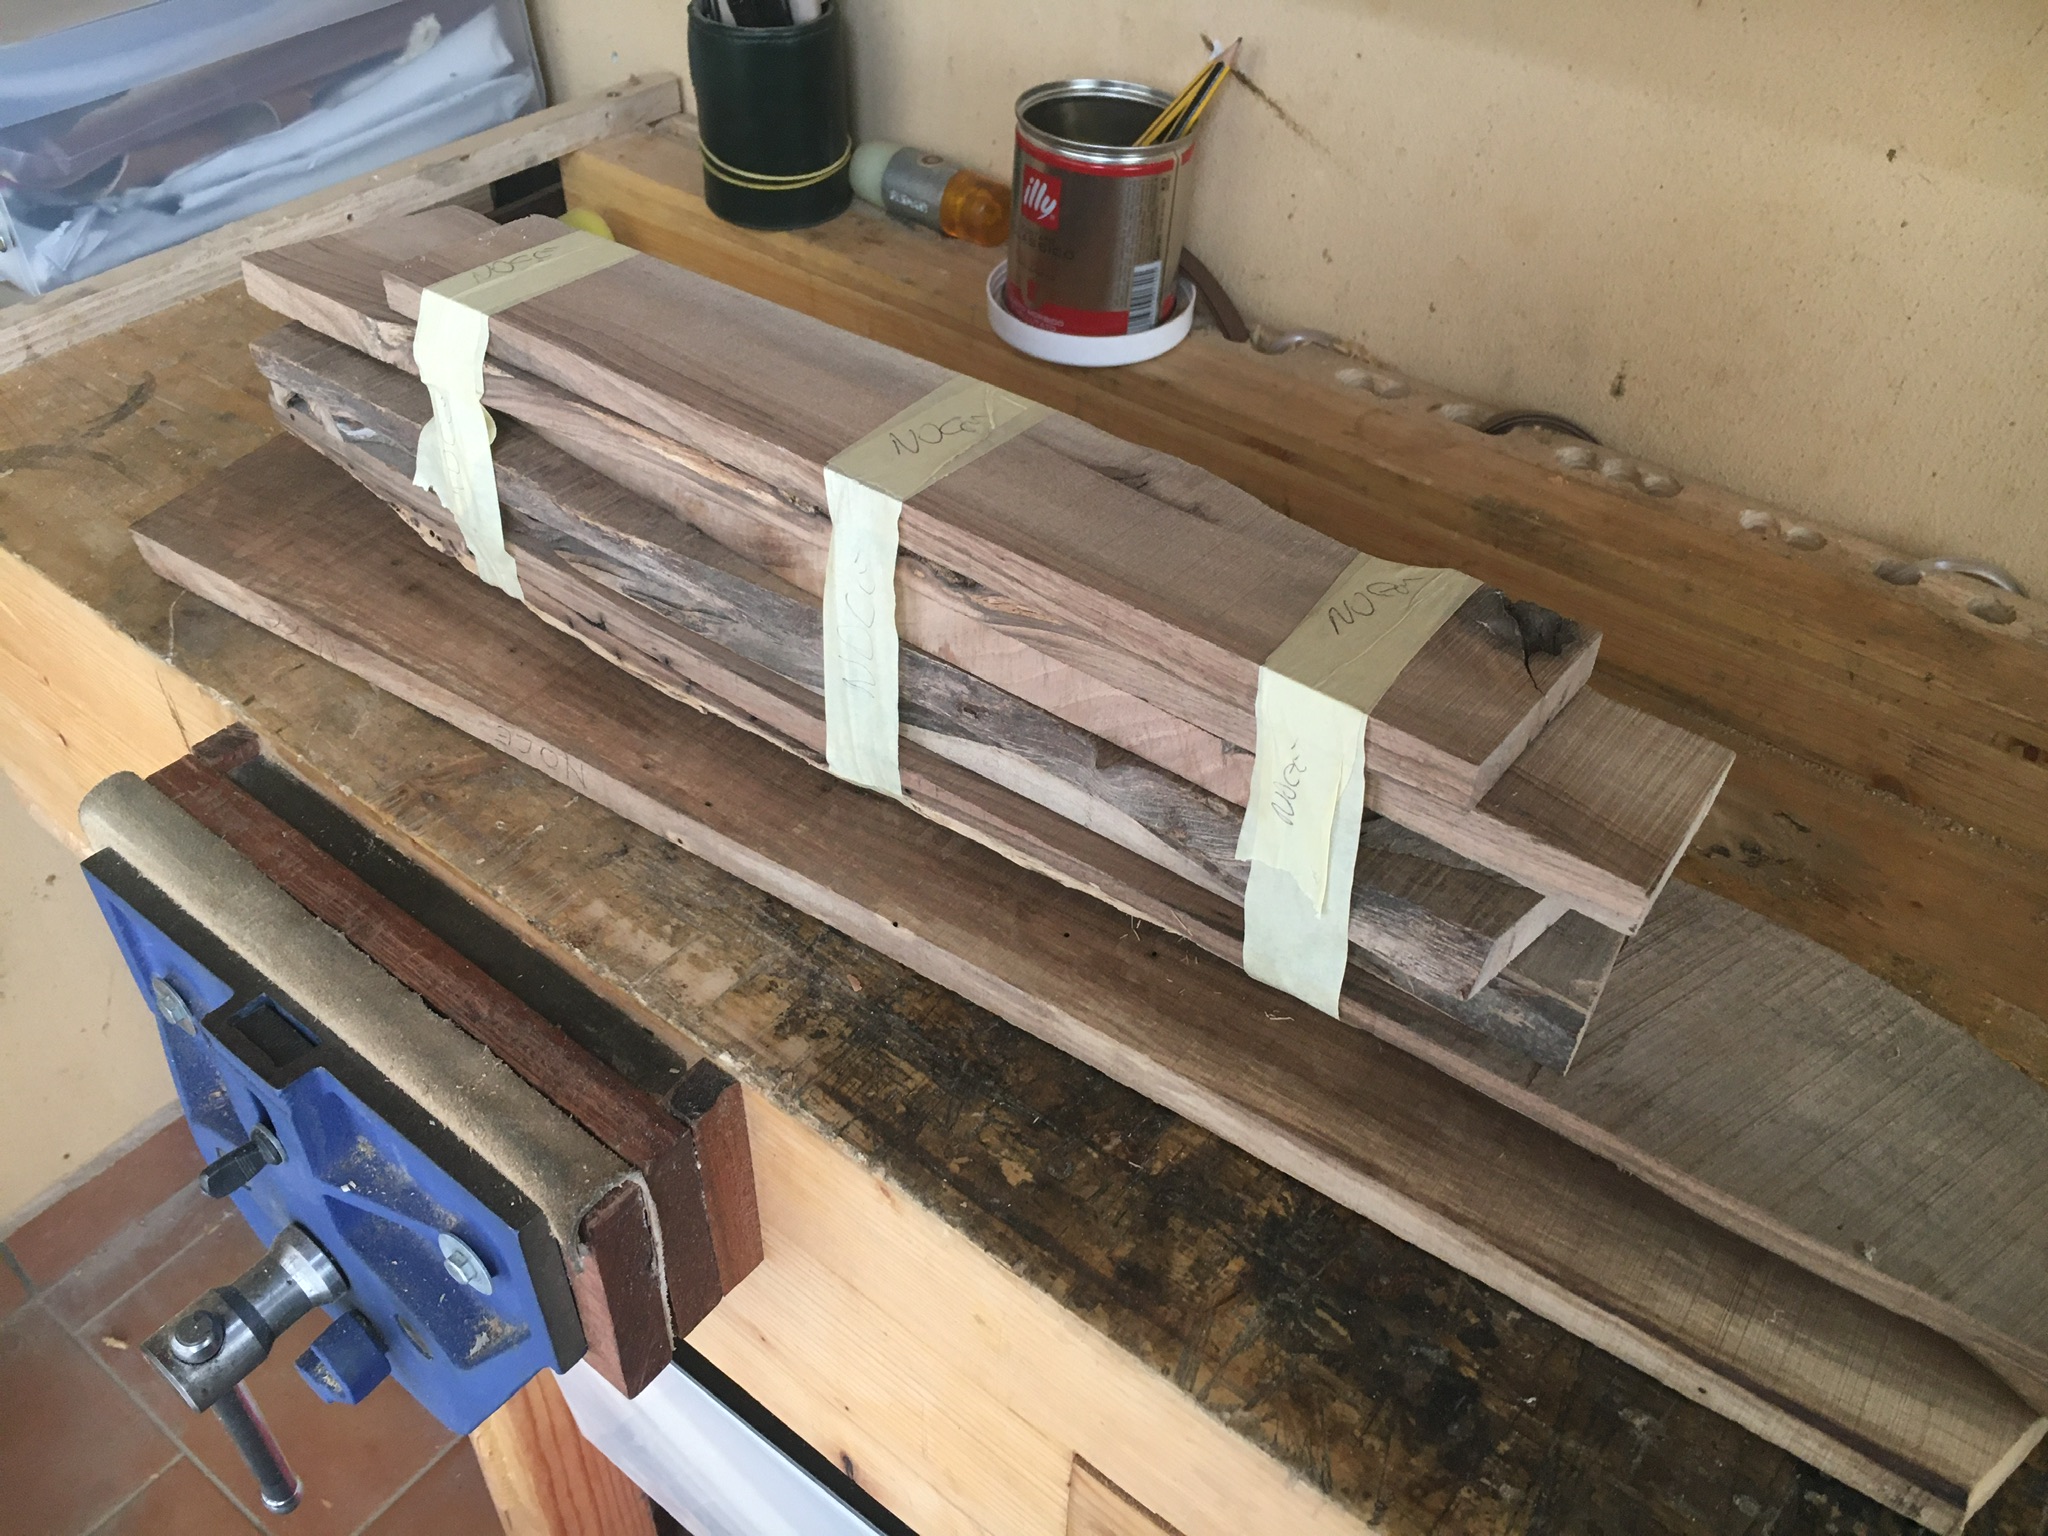 Il rivenditore, con il quale sono entrato in confidenza, mi aveva regalato parecchio tempo fa questo legno di noce nazionale che gli avanzava, e che presentava oggettivamente notevoli difetti. Non possedendo io alcun tipo di macchinario elettrico, chiesi se poteva sfettarmelo alla sega a nastro, in quanto di spessore considerevole. Ecco quindi ricavate alcune tavolette da 1,5 cm. di spessore buone per fare, ad esempio, delle scatolette portagioie. Il problema principale che bisogna affrontare con questo tipo di legno molto grezzo e pieno di difetti è riuscire ad ottenere delle superfici regolari e prive di imperfezioni, buone da poter essere assemblate con gli incastri. Sappiamo perfettamente che la buona riuscita di un manufatto si basa essenzialmente sulla precisione con la quale abbiamo rifinito i pezzi che dobbiamo unire. Occorre che questi siano perfettamente squadrati e quindi con i lati perpendicolari tra loro, della stessa lunghezza e con identico spessore. Ma come riuscirci quando, come in questo caso, abbiamo a che fare con legno che non ha alcun lato dritto e presenta altresì imbarcamenti, nodi e fessurazioni?
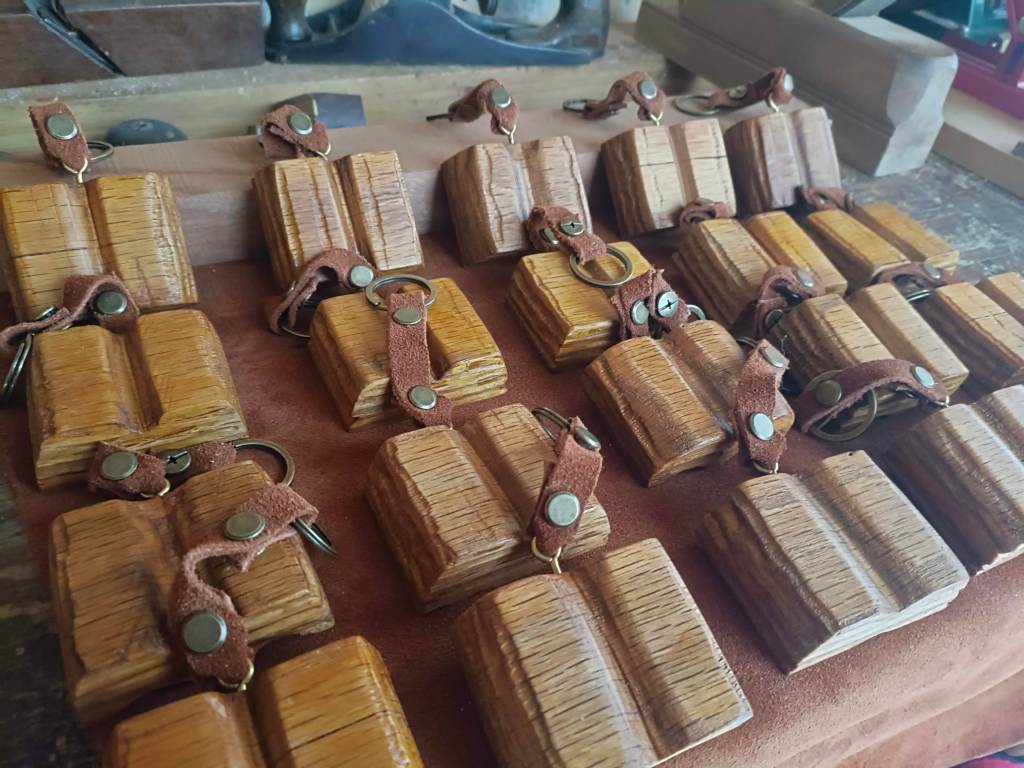
UN SEGRETO IN ROVERE VI ASPETTA AL SALONE DEL LIBRO DI TORINO
Solo 20 copie speciali dei miei libri avranno questo gadget unico numerato
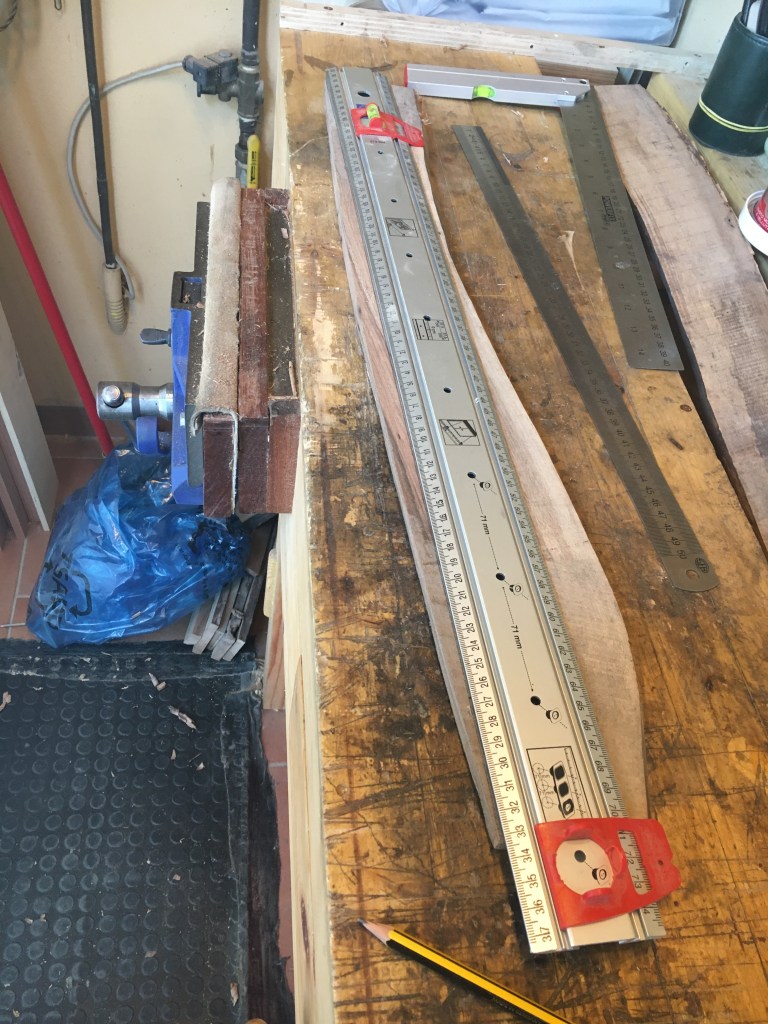
Come prima cosa osserviamo bene i nostri pezzi e cerchiamo di individuarne a priori i difetti, così da farsi un’idea delle dimensioni che possiamo ricavare. Le parti che sono assolutamente rovinate andranno preventivamente eliminate. Se i nodi sono stabili possiamo tranquillamente lasciarli. Le eventuali scheggiature potranno essere sistemate in una seconda fase, con la piallatura. Infine, la forma irregolare della tavola va verificata su ambedue le superfici, perchè spesso una delle due facce presenta variazioni di larghezza anche notevoli. È quindi chiaro, già da queste prime avvertenze, che il passaggio dallo stato di legno grezzo ed irregolare a legno piallato e squadrato lascerà sul campo un considerevole sciupio di legno. Detto questo, vediamo nello specifico come possiamo procedere.
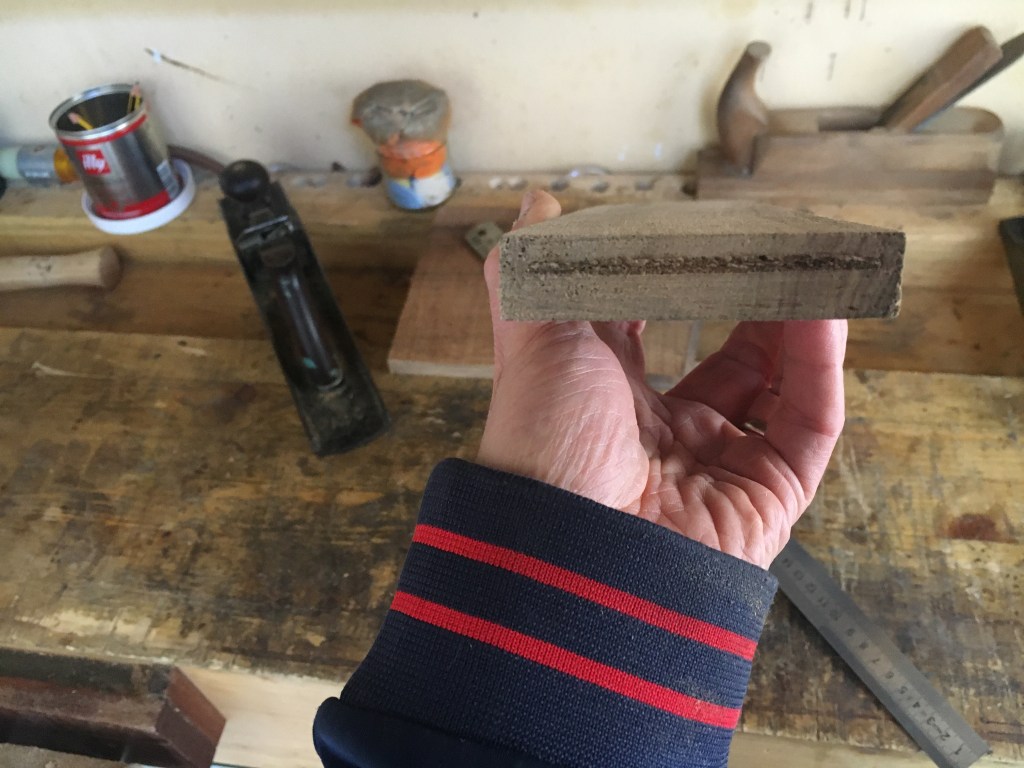
1. Se la tavola è imbarcata nel senso della larghezza, come di solito accade, presenterà una faccia con una concavità centrale (e i bordi rialzati) ed una faccia con una convessità (una gobba centrale). Per prima cosa pialliamo la superficie concava, abbassando i bordi, così da ottenere una superficie perfettamente piana.
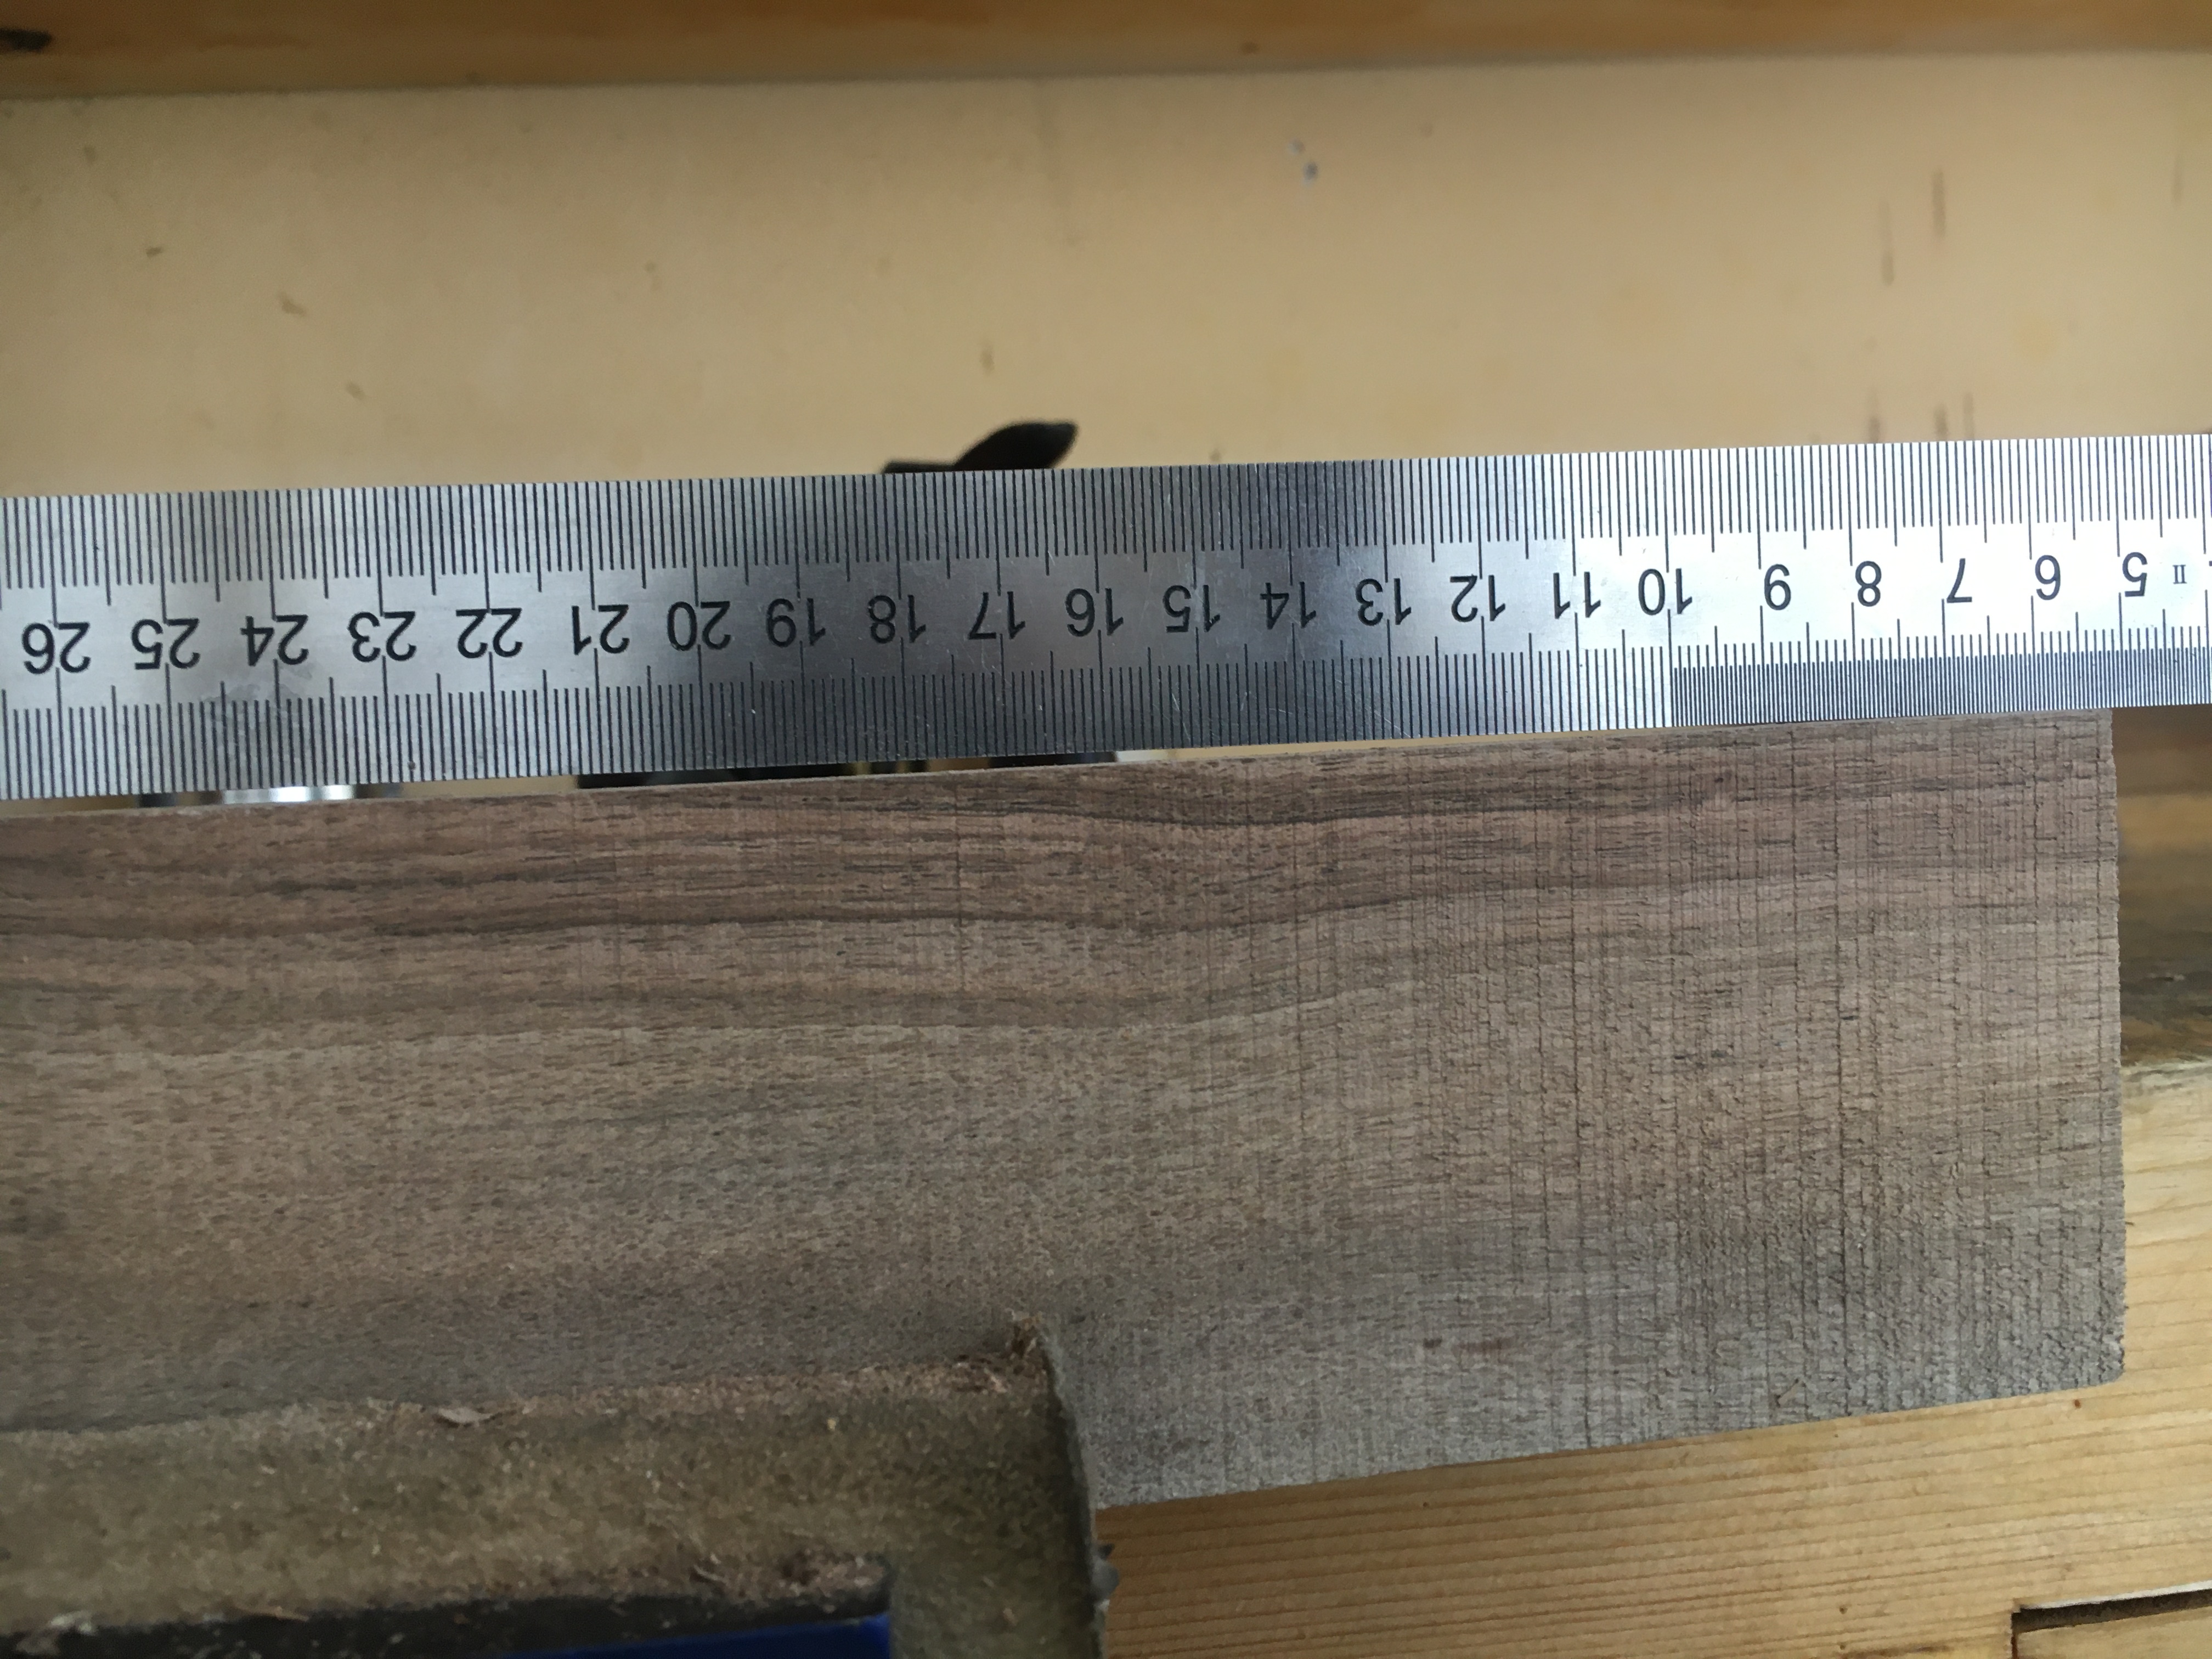 2. Non avendo una costa dritta di riscontro dobbiamo crearne una.
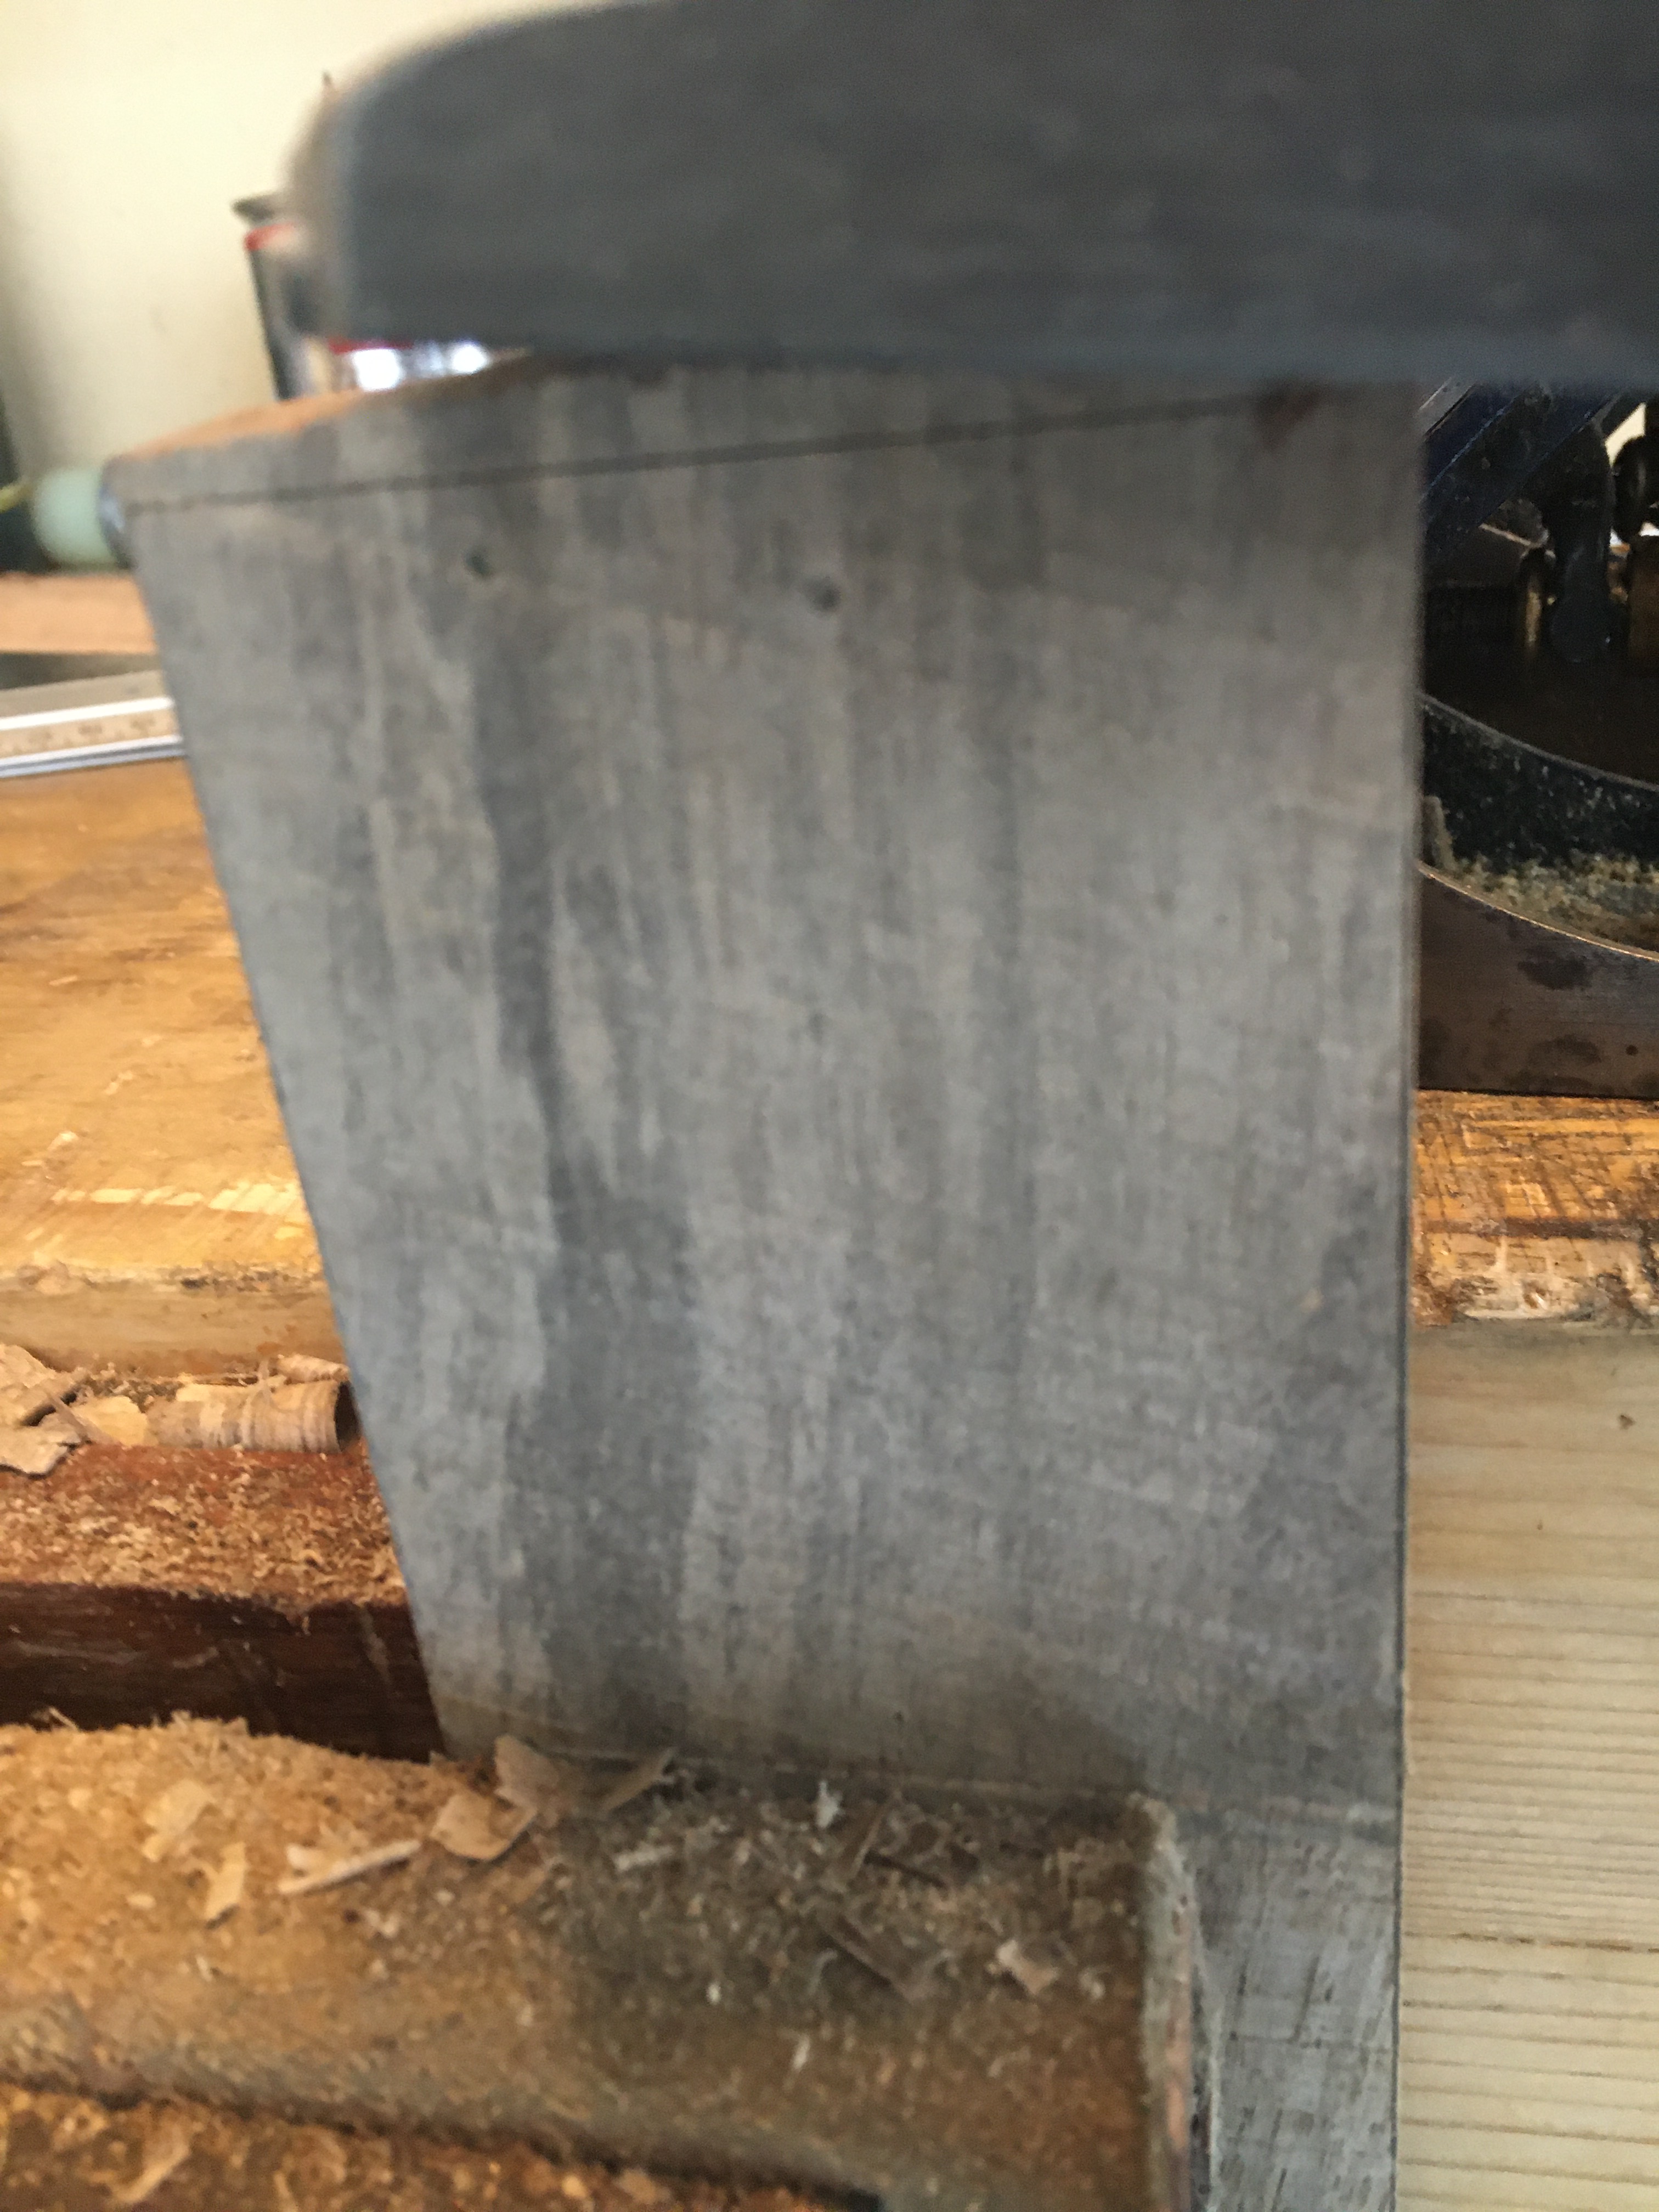
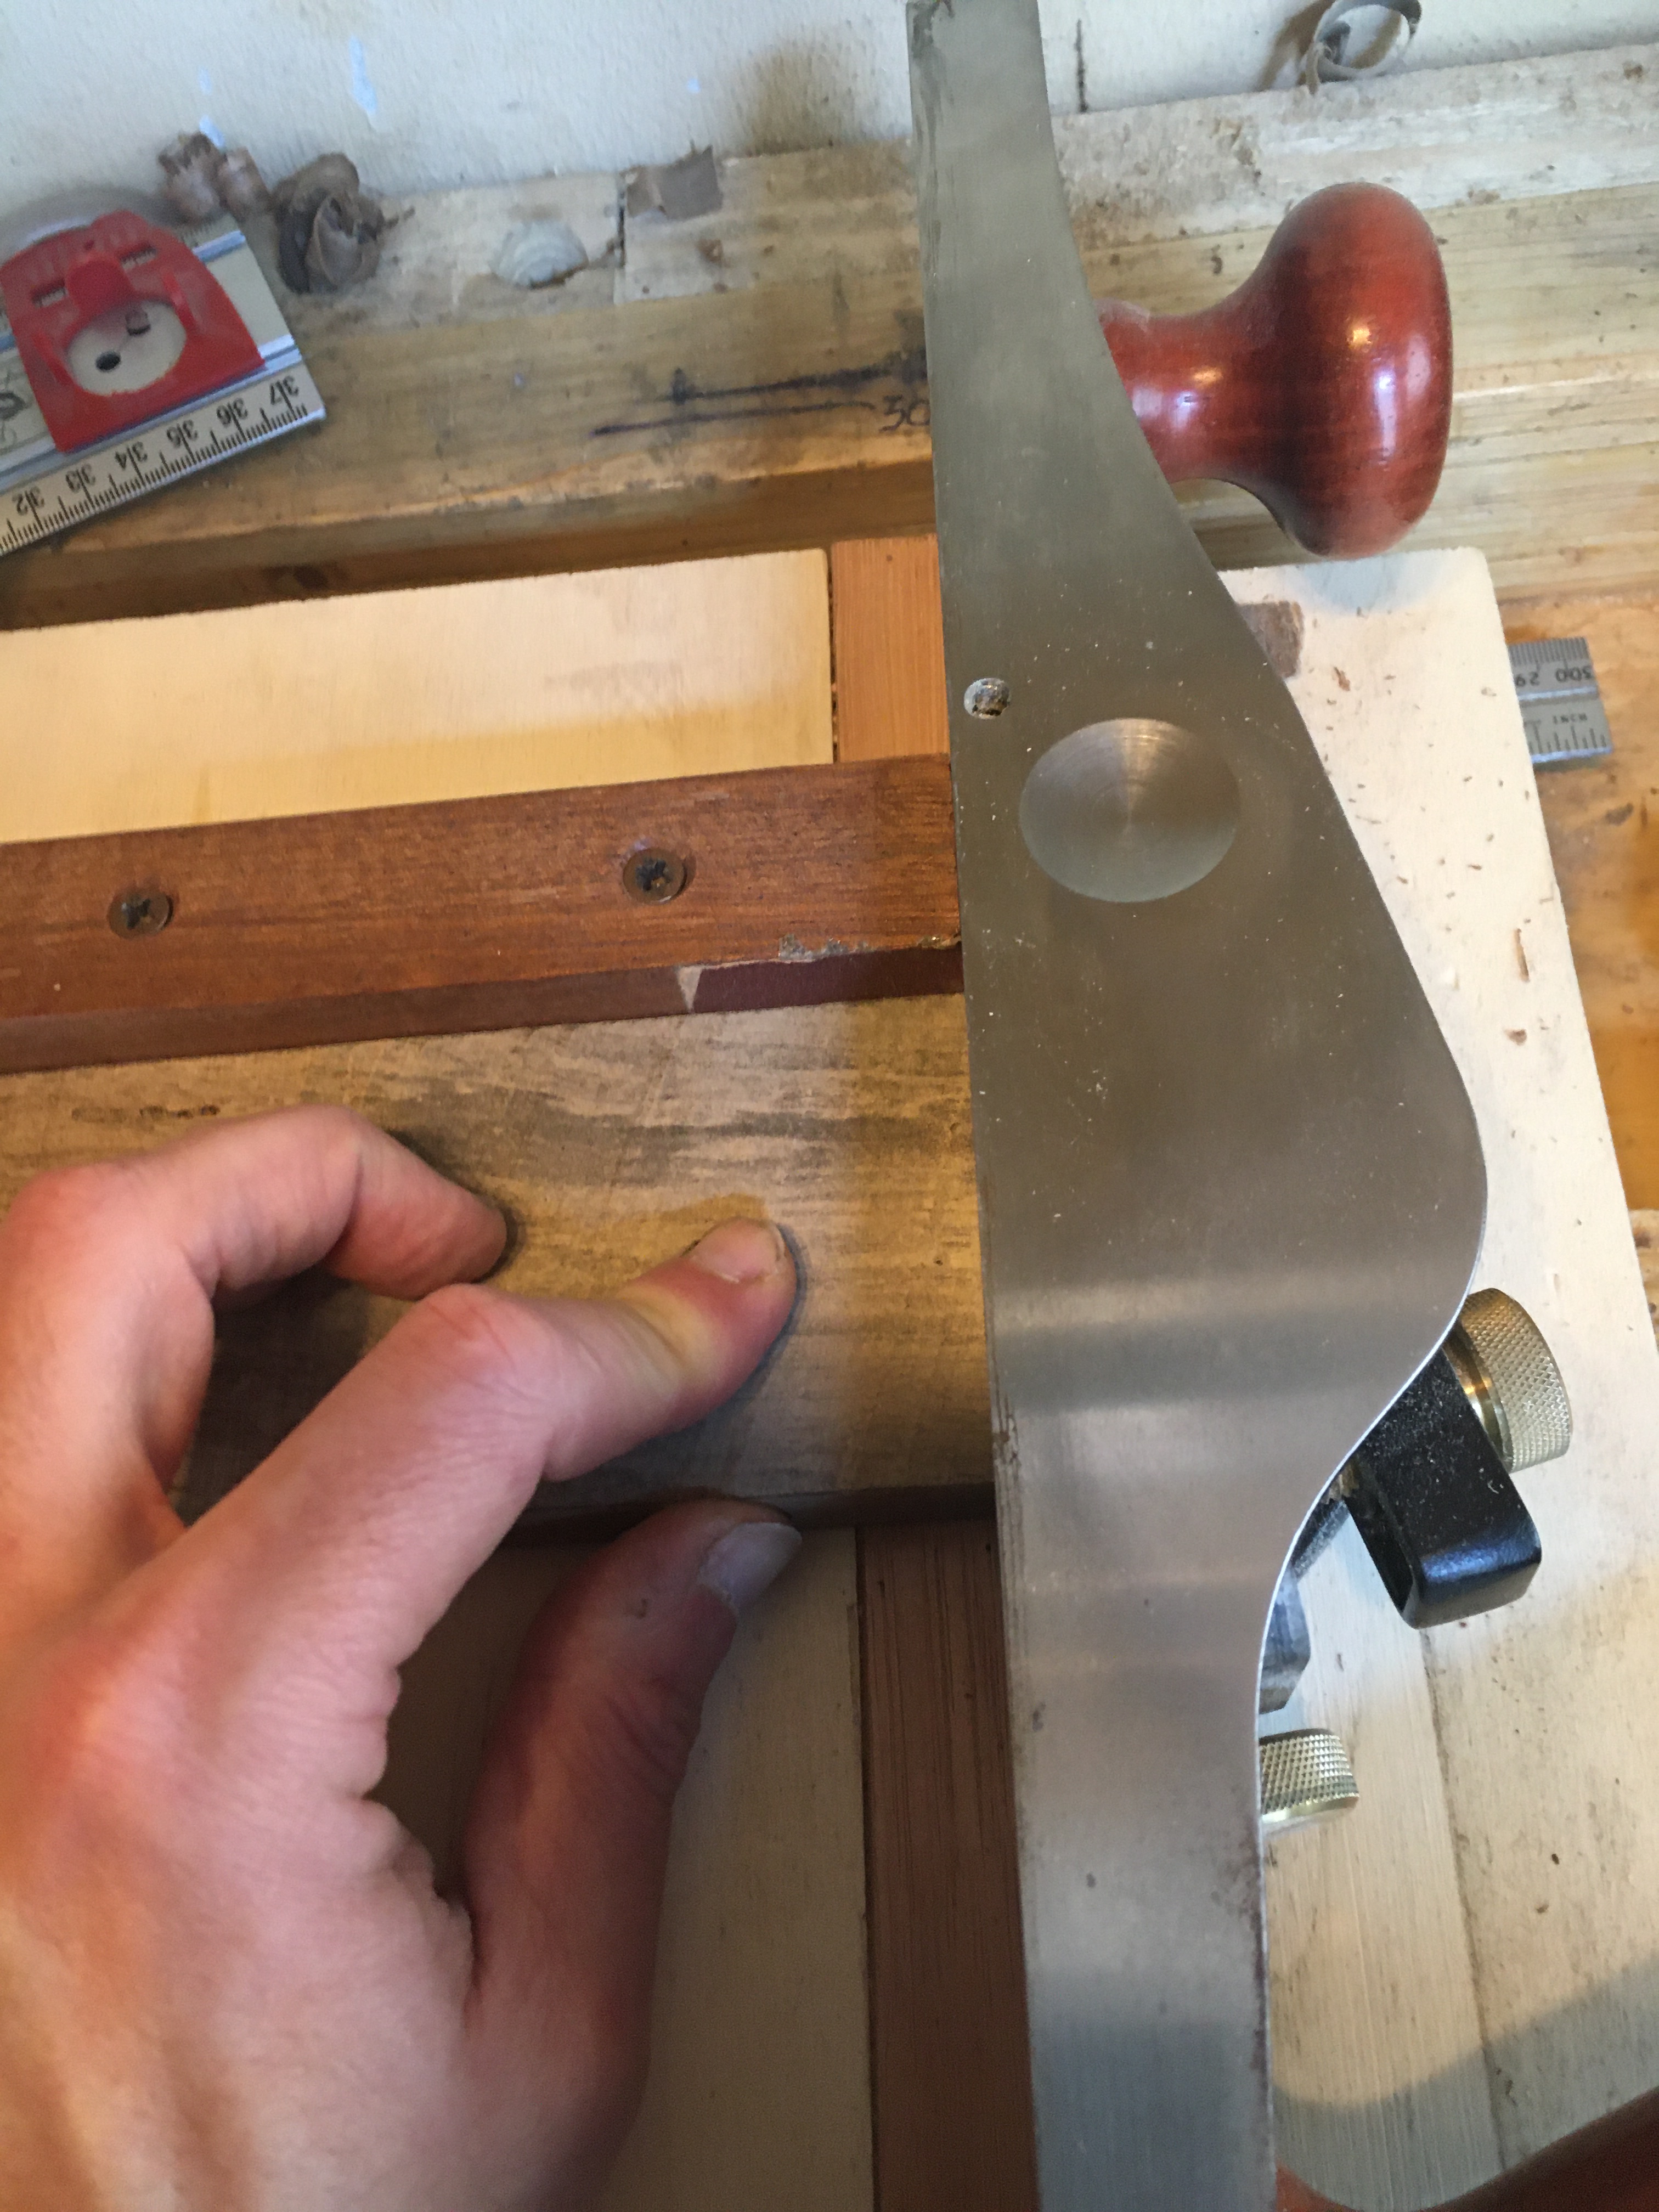
Con un righello tracciamo la massima larghezza possibile sul pezzo. Quindi pialliamo o seghiamo la costa fino al segno tracciato affinché la stessa diventi perfettamente dritta e a 90 gradi rispetto alla superficie piallata al punto 1).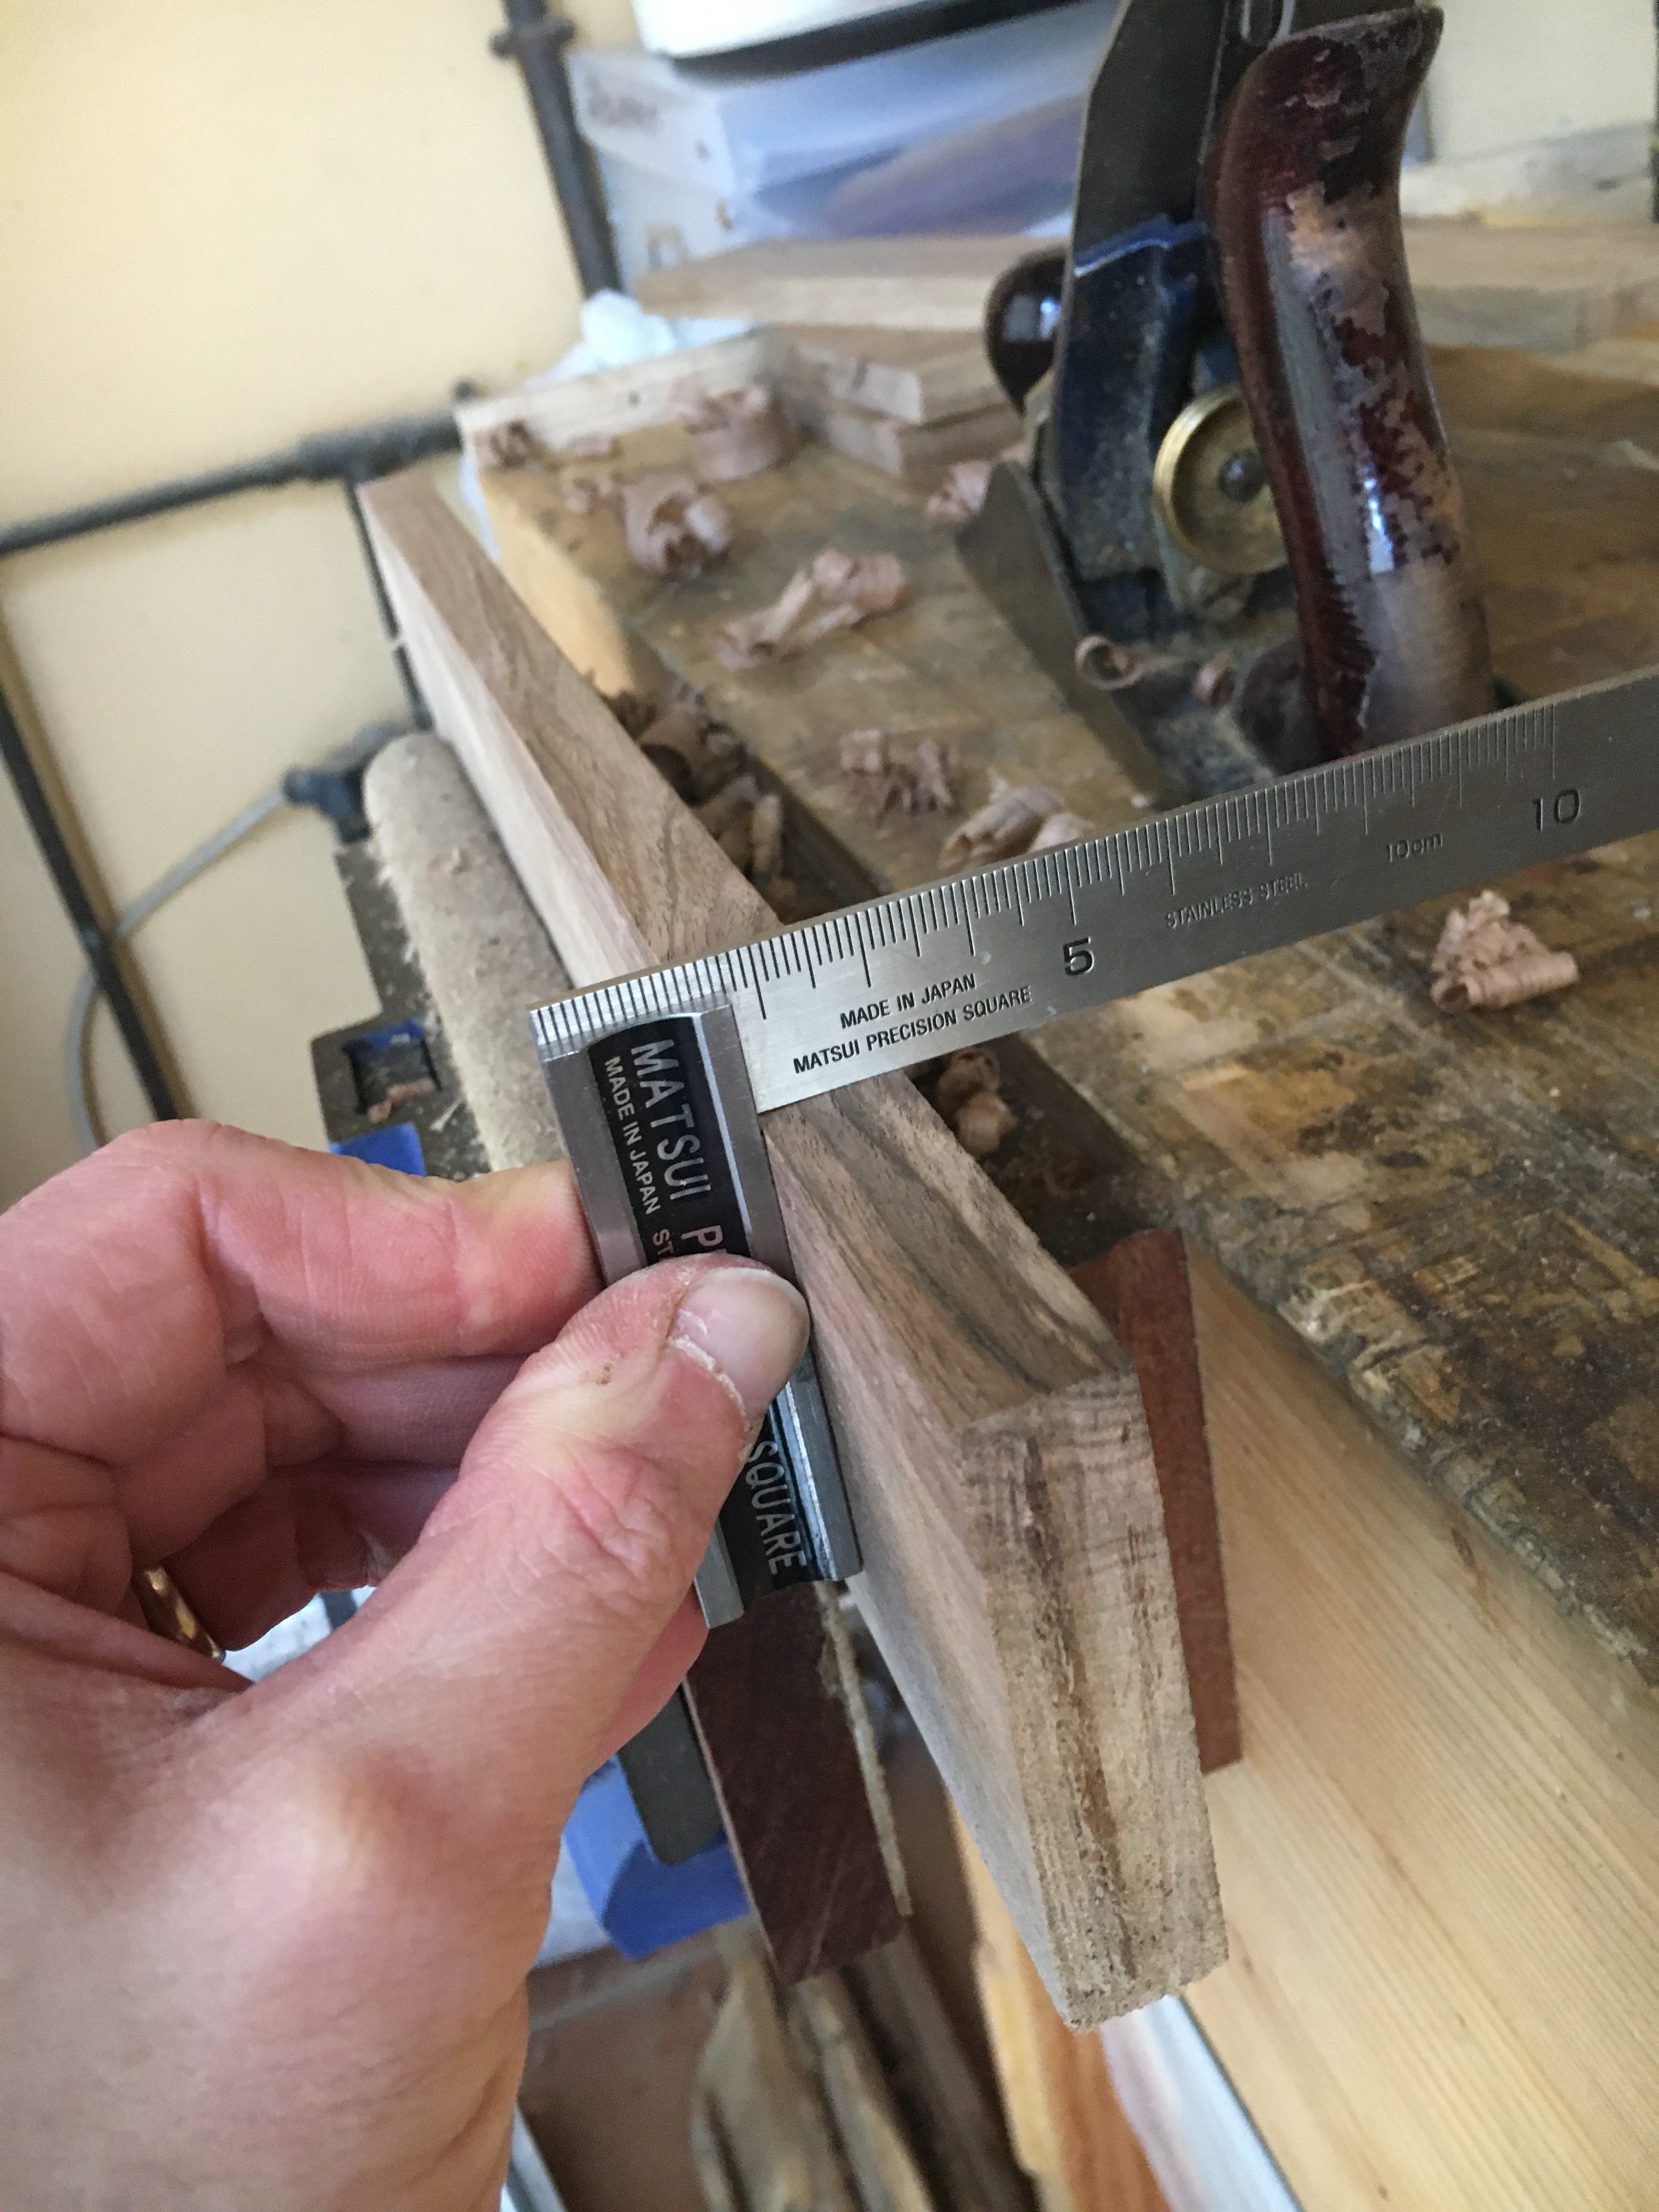 Verifichiamo con un righello e con una squadra.
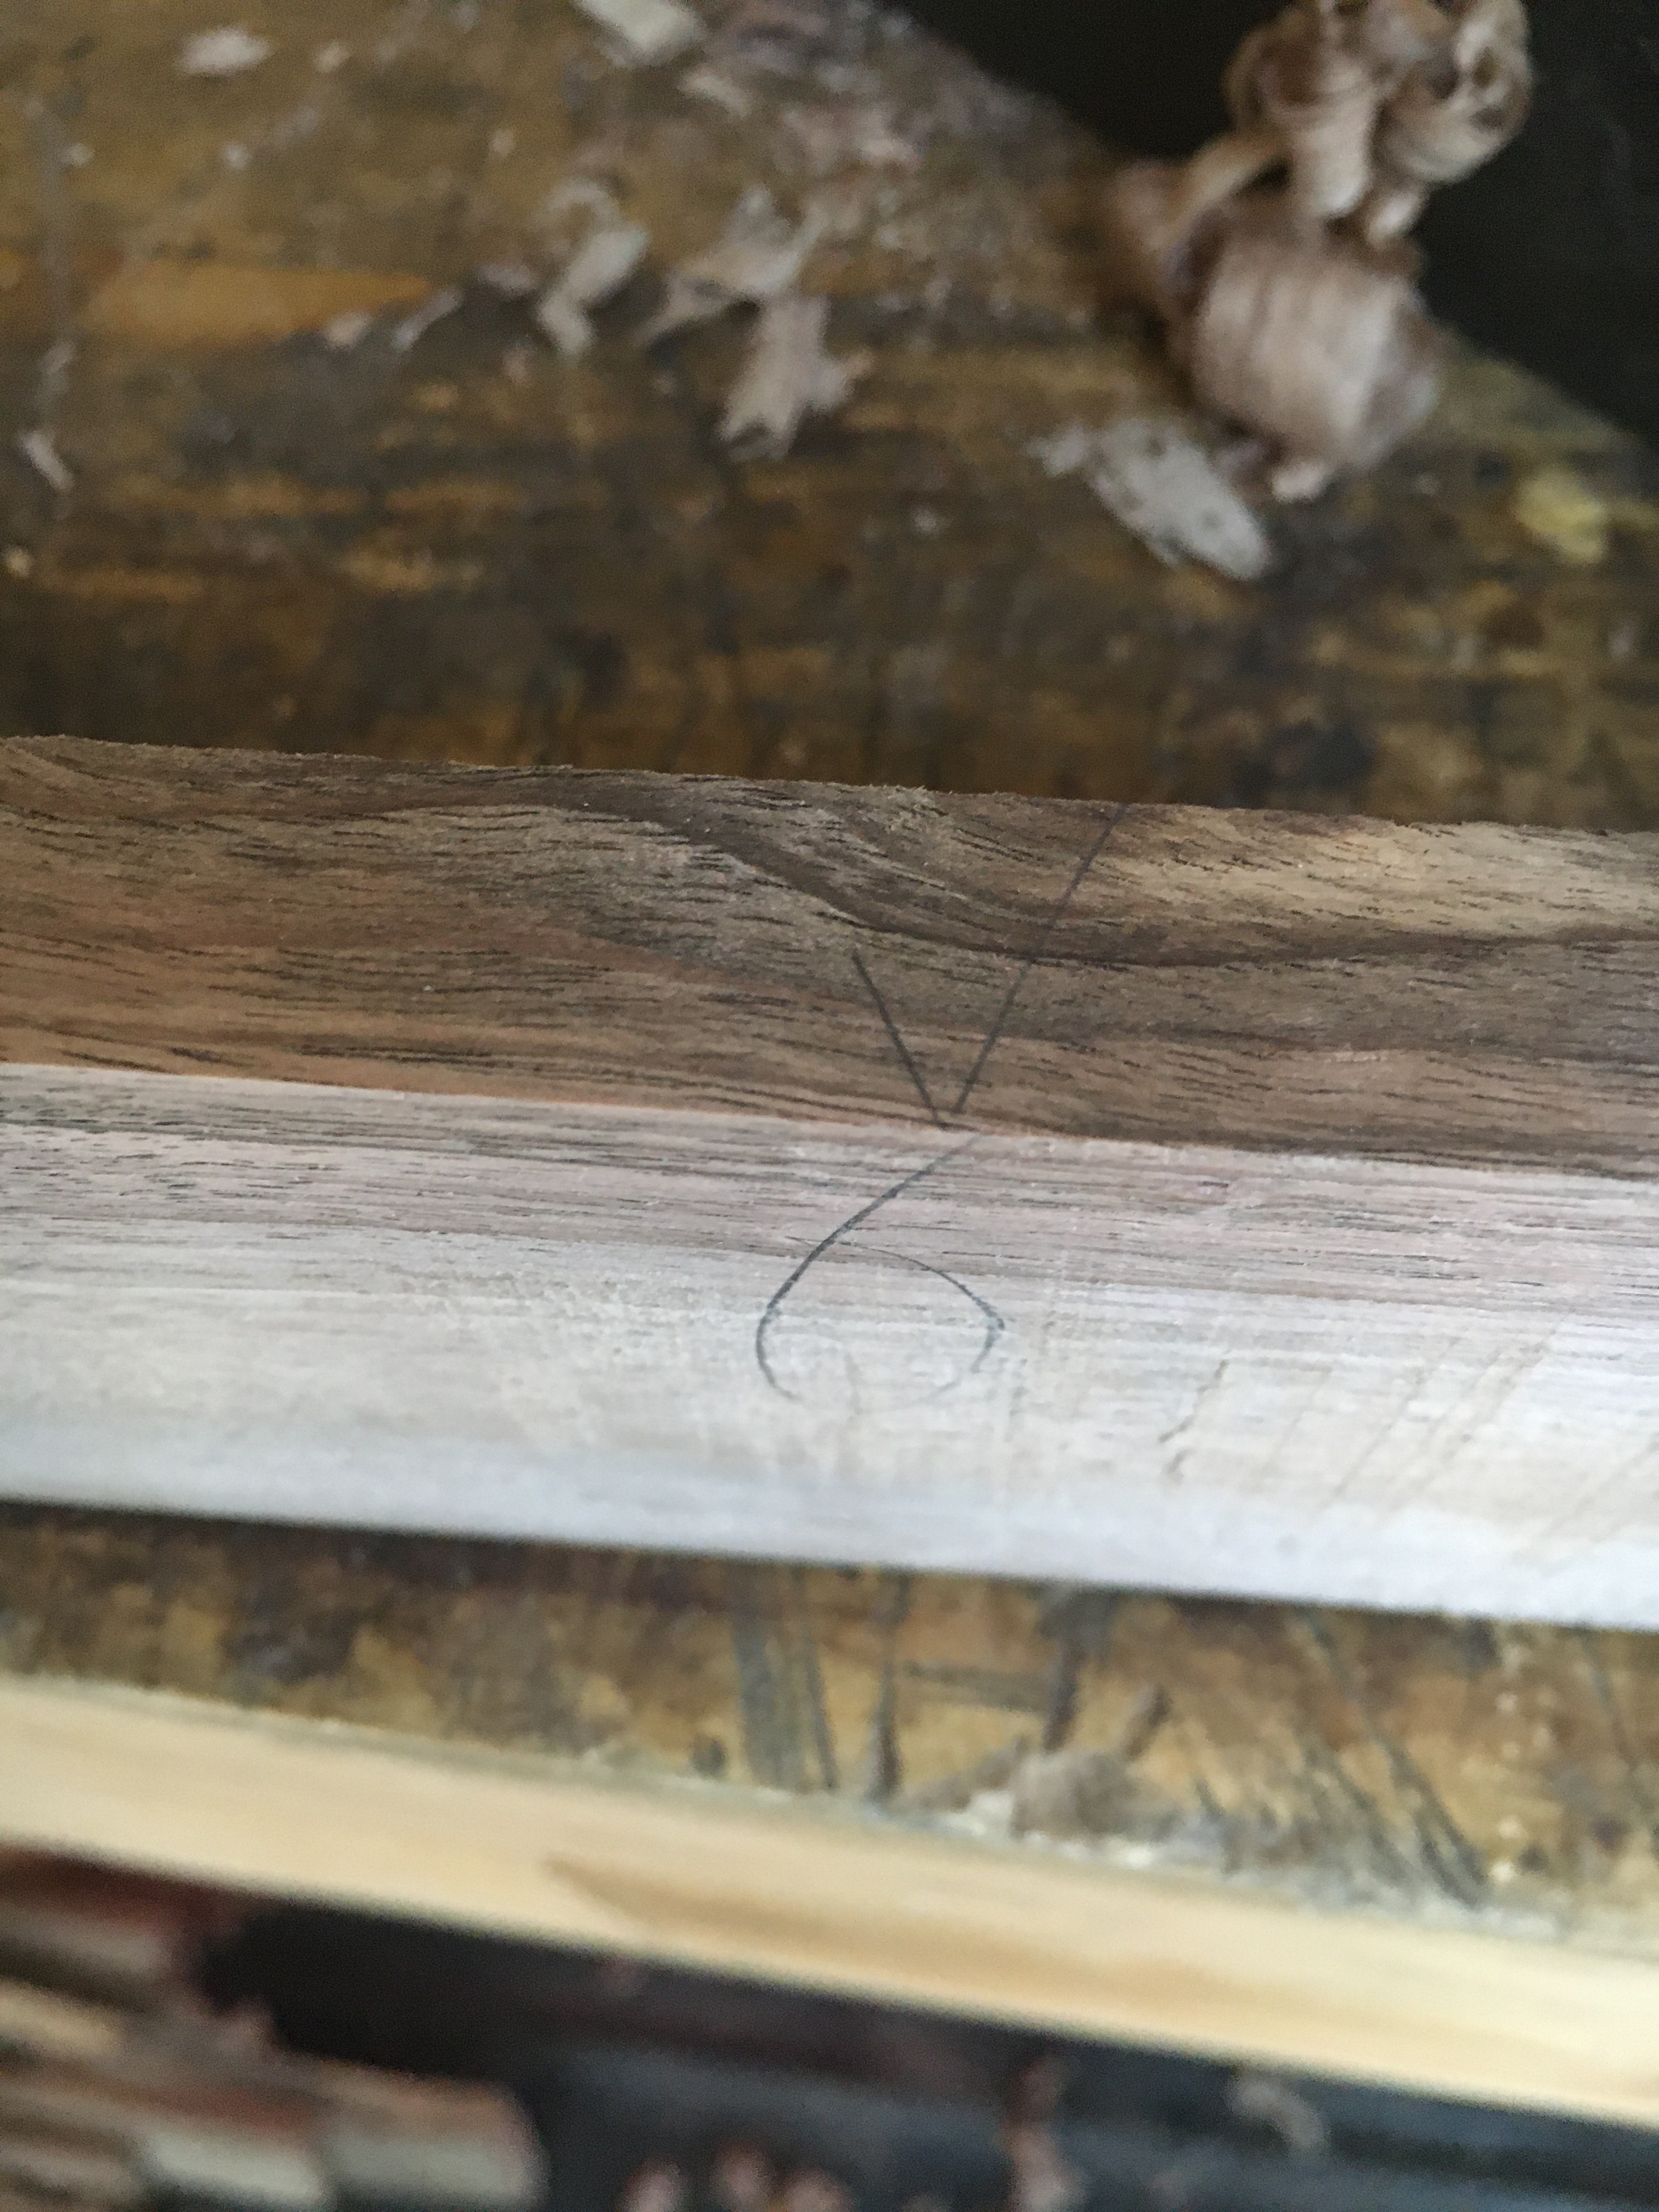 3. Segniamo a matita i due piani ottenuti così da ricordarci quali facce sono state piallate e verificate come in squadra tra loro.
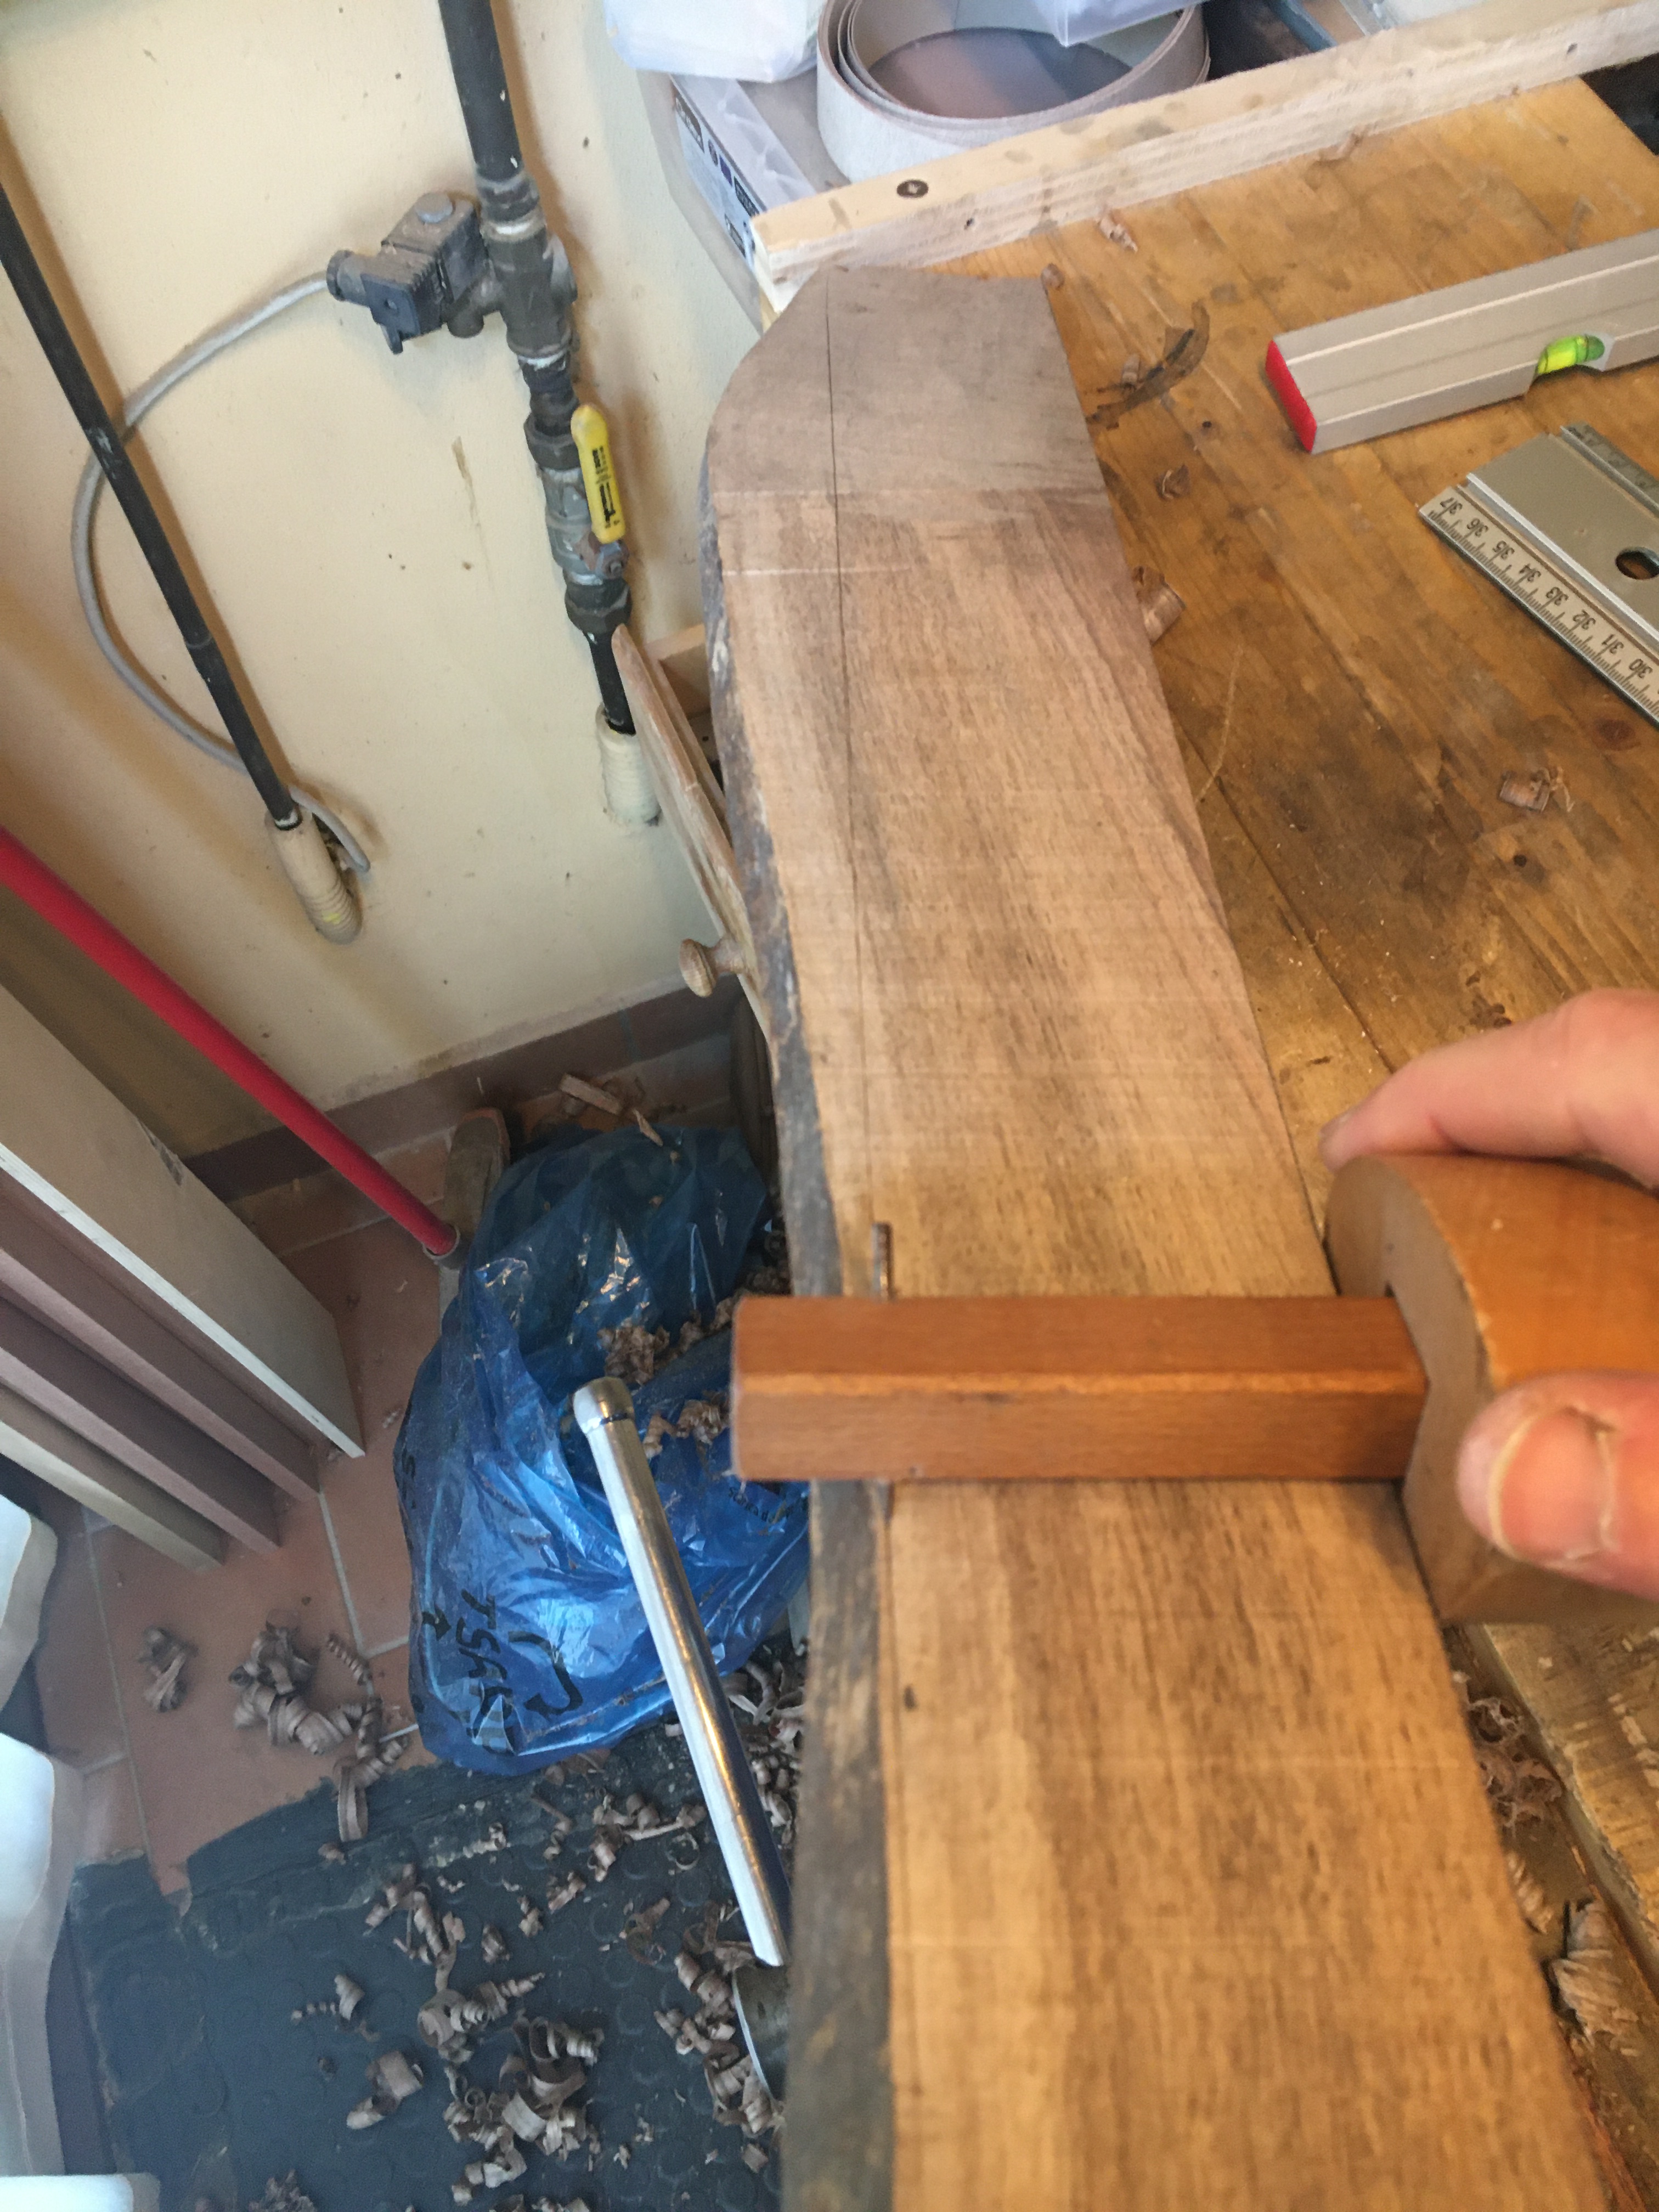 Con un truschino tracciamo dalla costa ottenuta al punto 2) una traccia il più vicino possibile alla costa opposta, riportandola su tutto il perimetro della tavola.
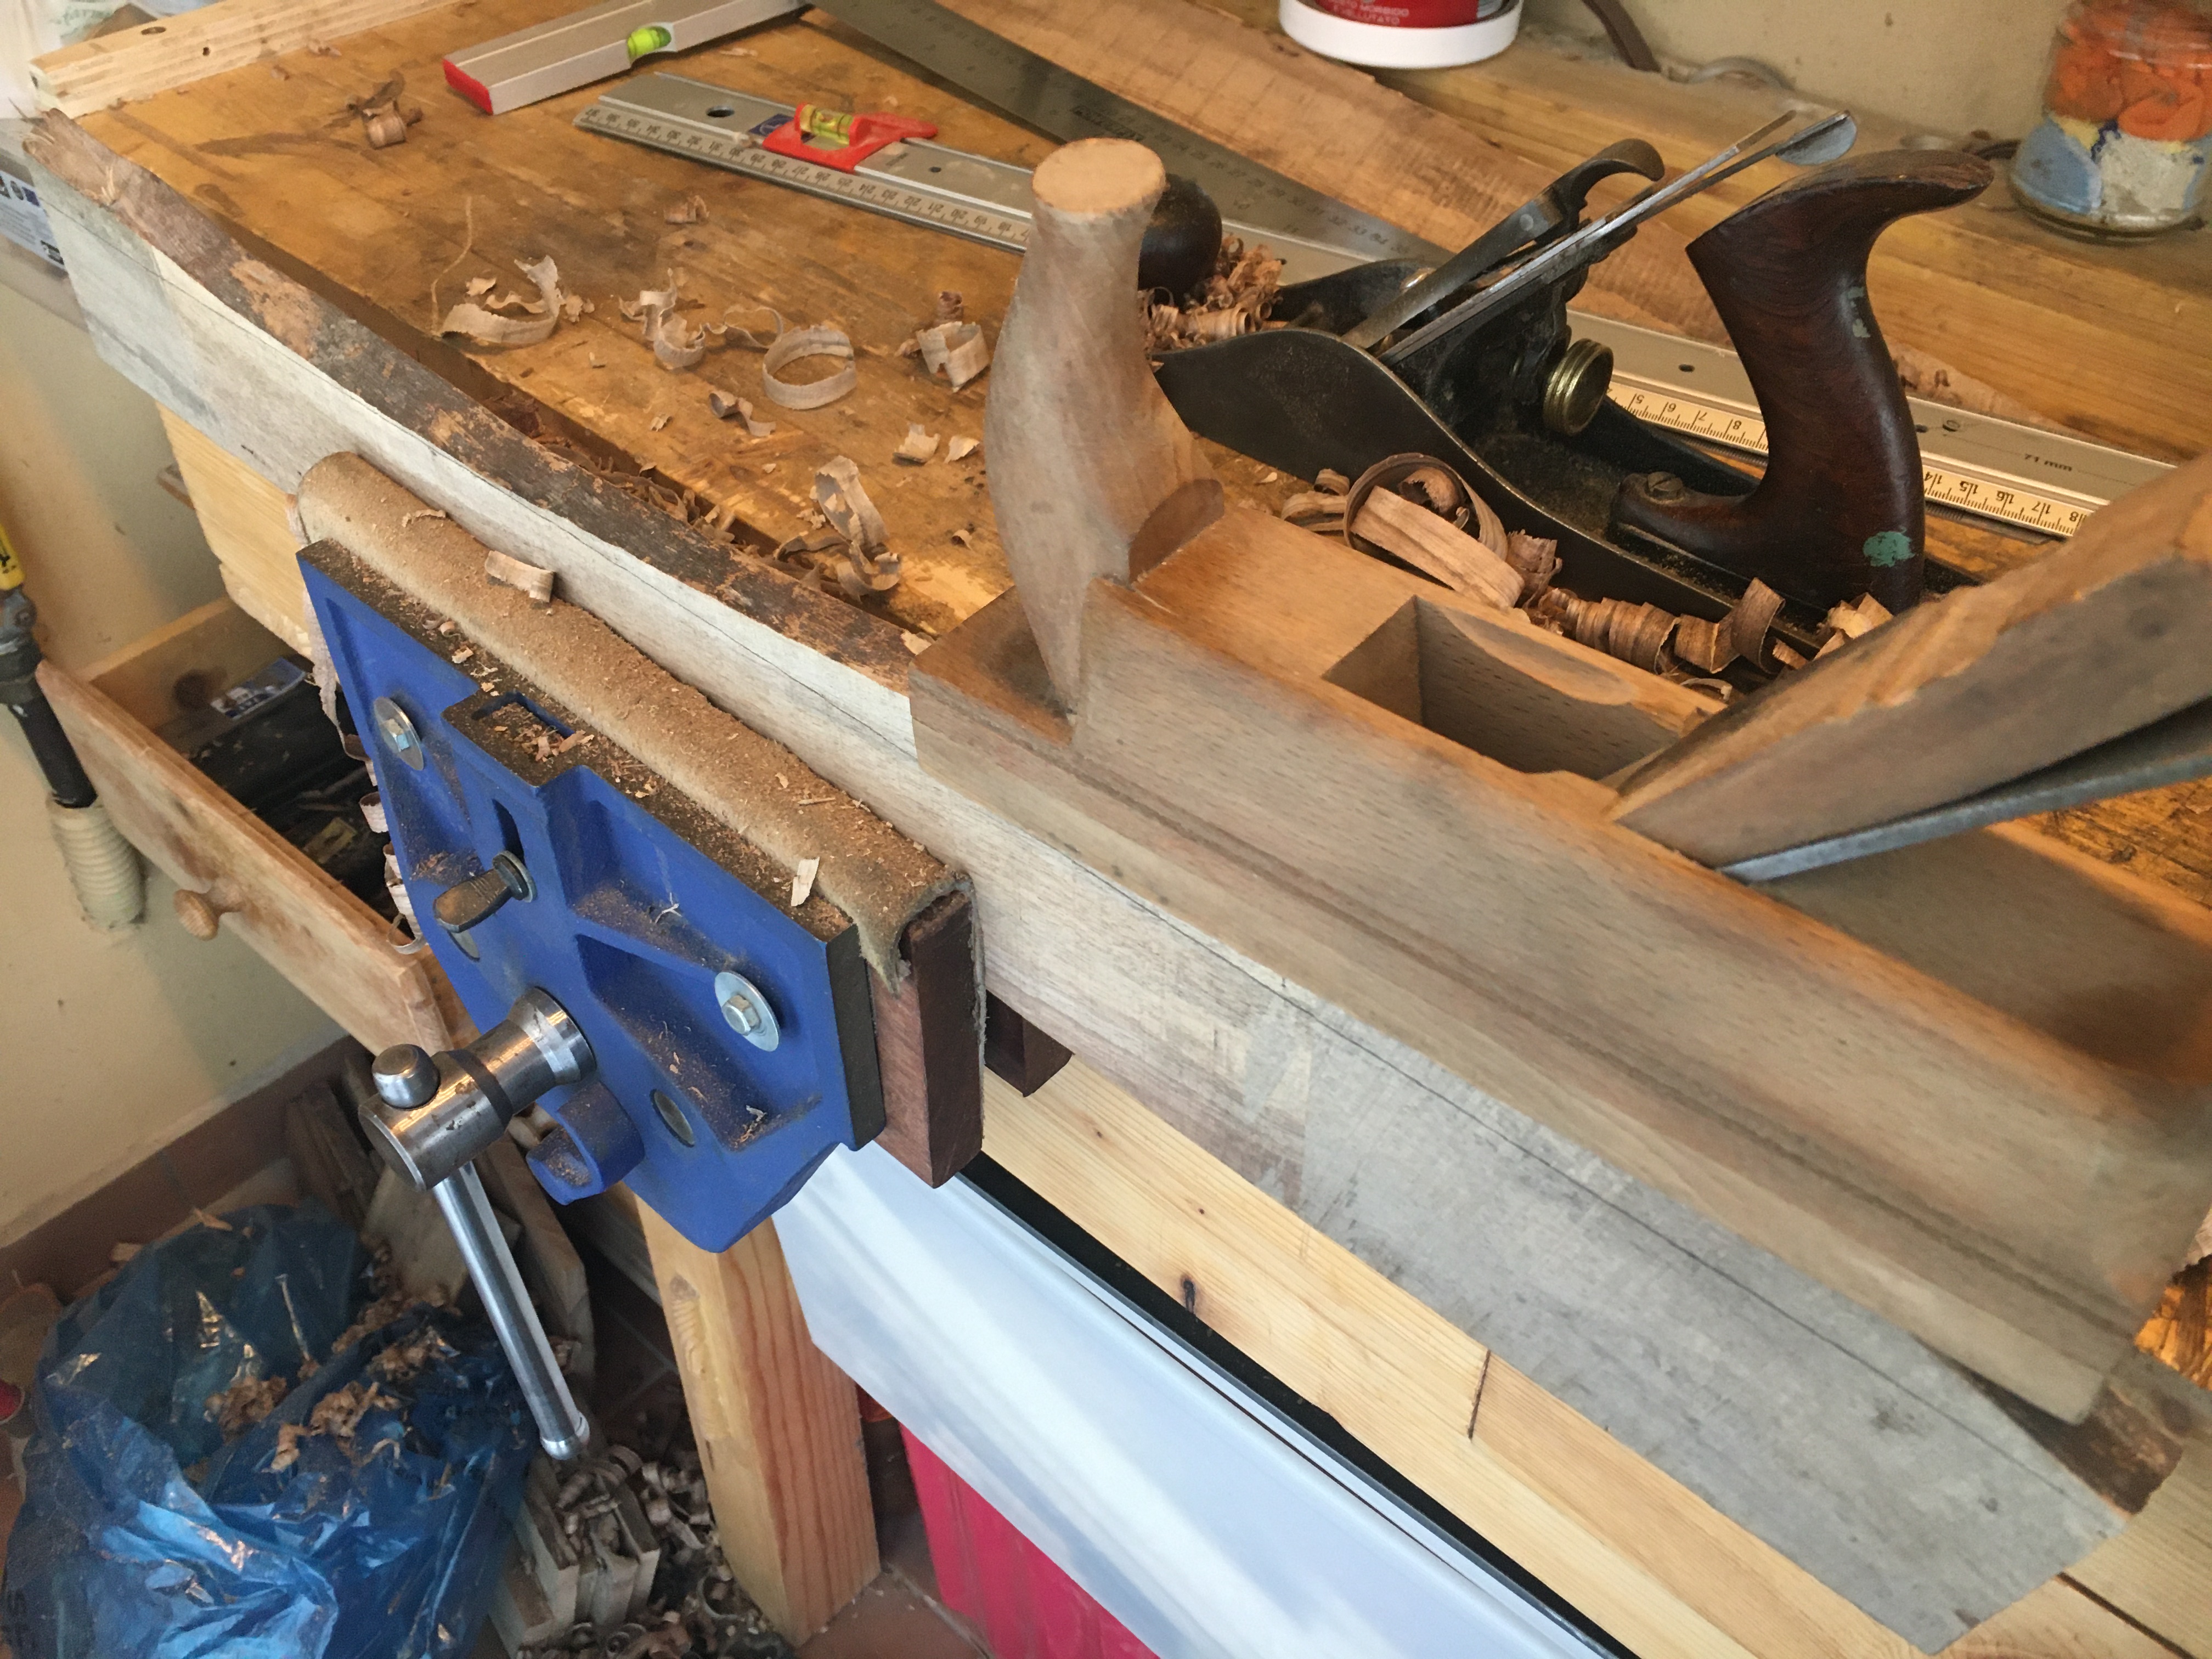 4. Pialliamo o seghiamo la seconda costa della tavola fino alla traccia fatta con il truschino.
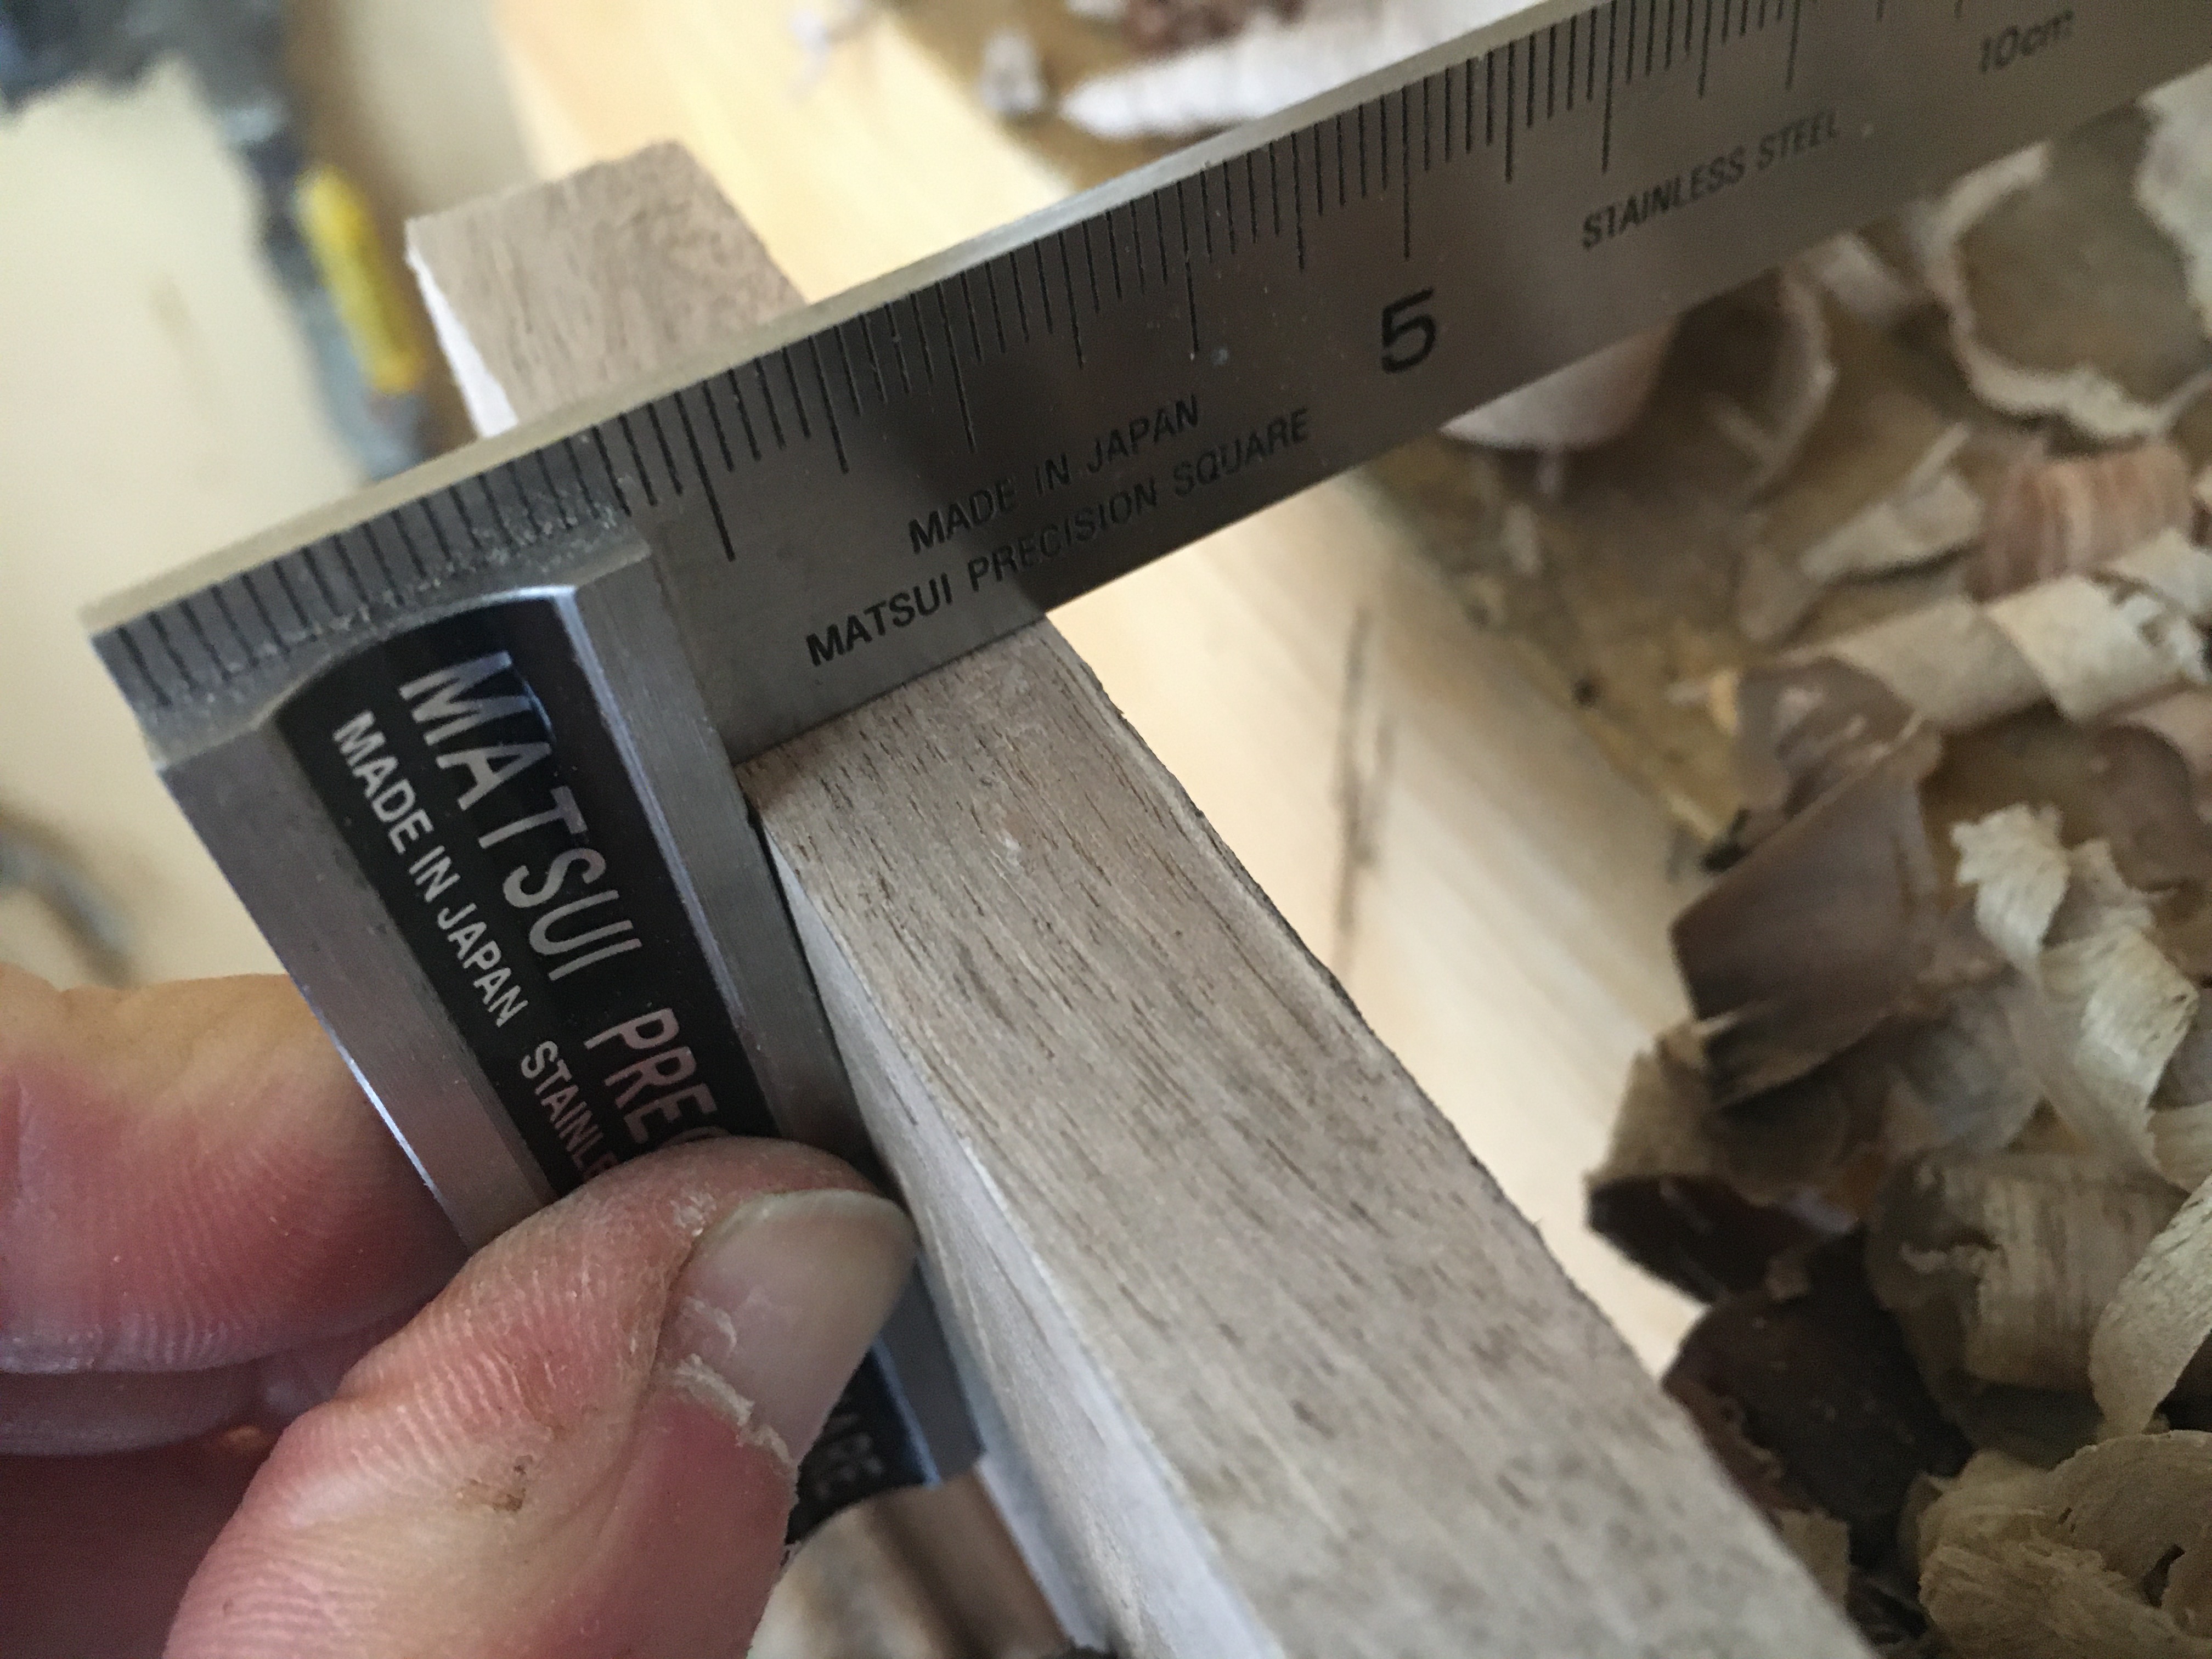 Anche in questo caso verifichiamo la perpendicolarità con una squadra.
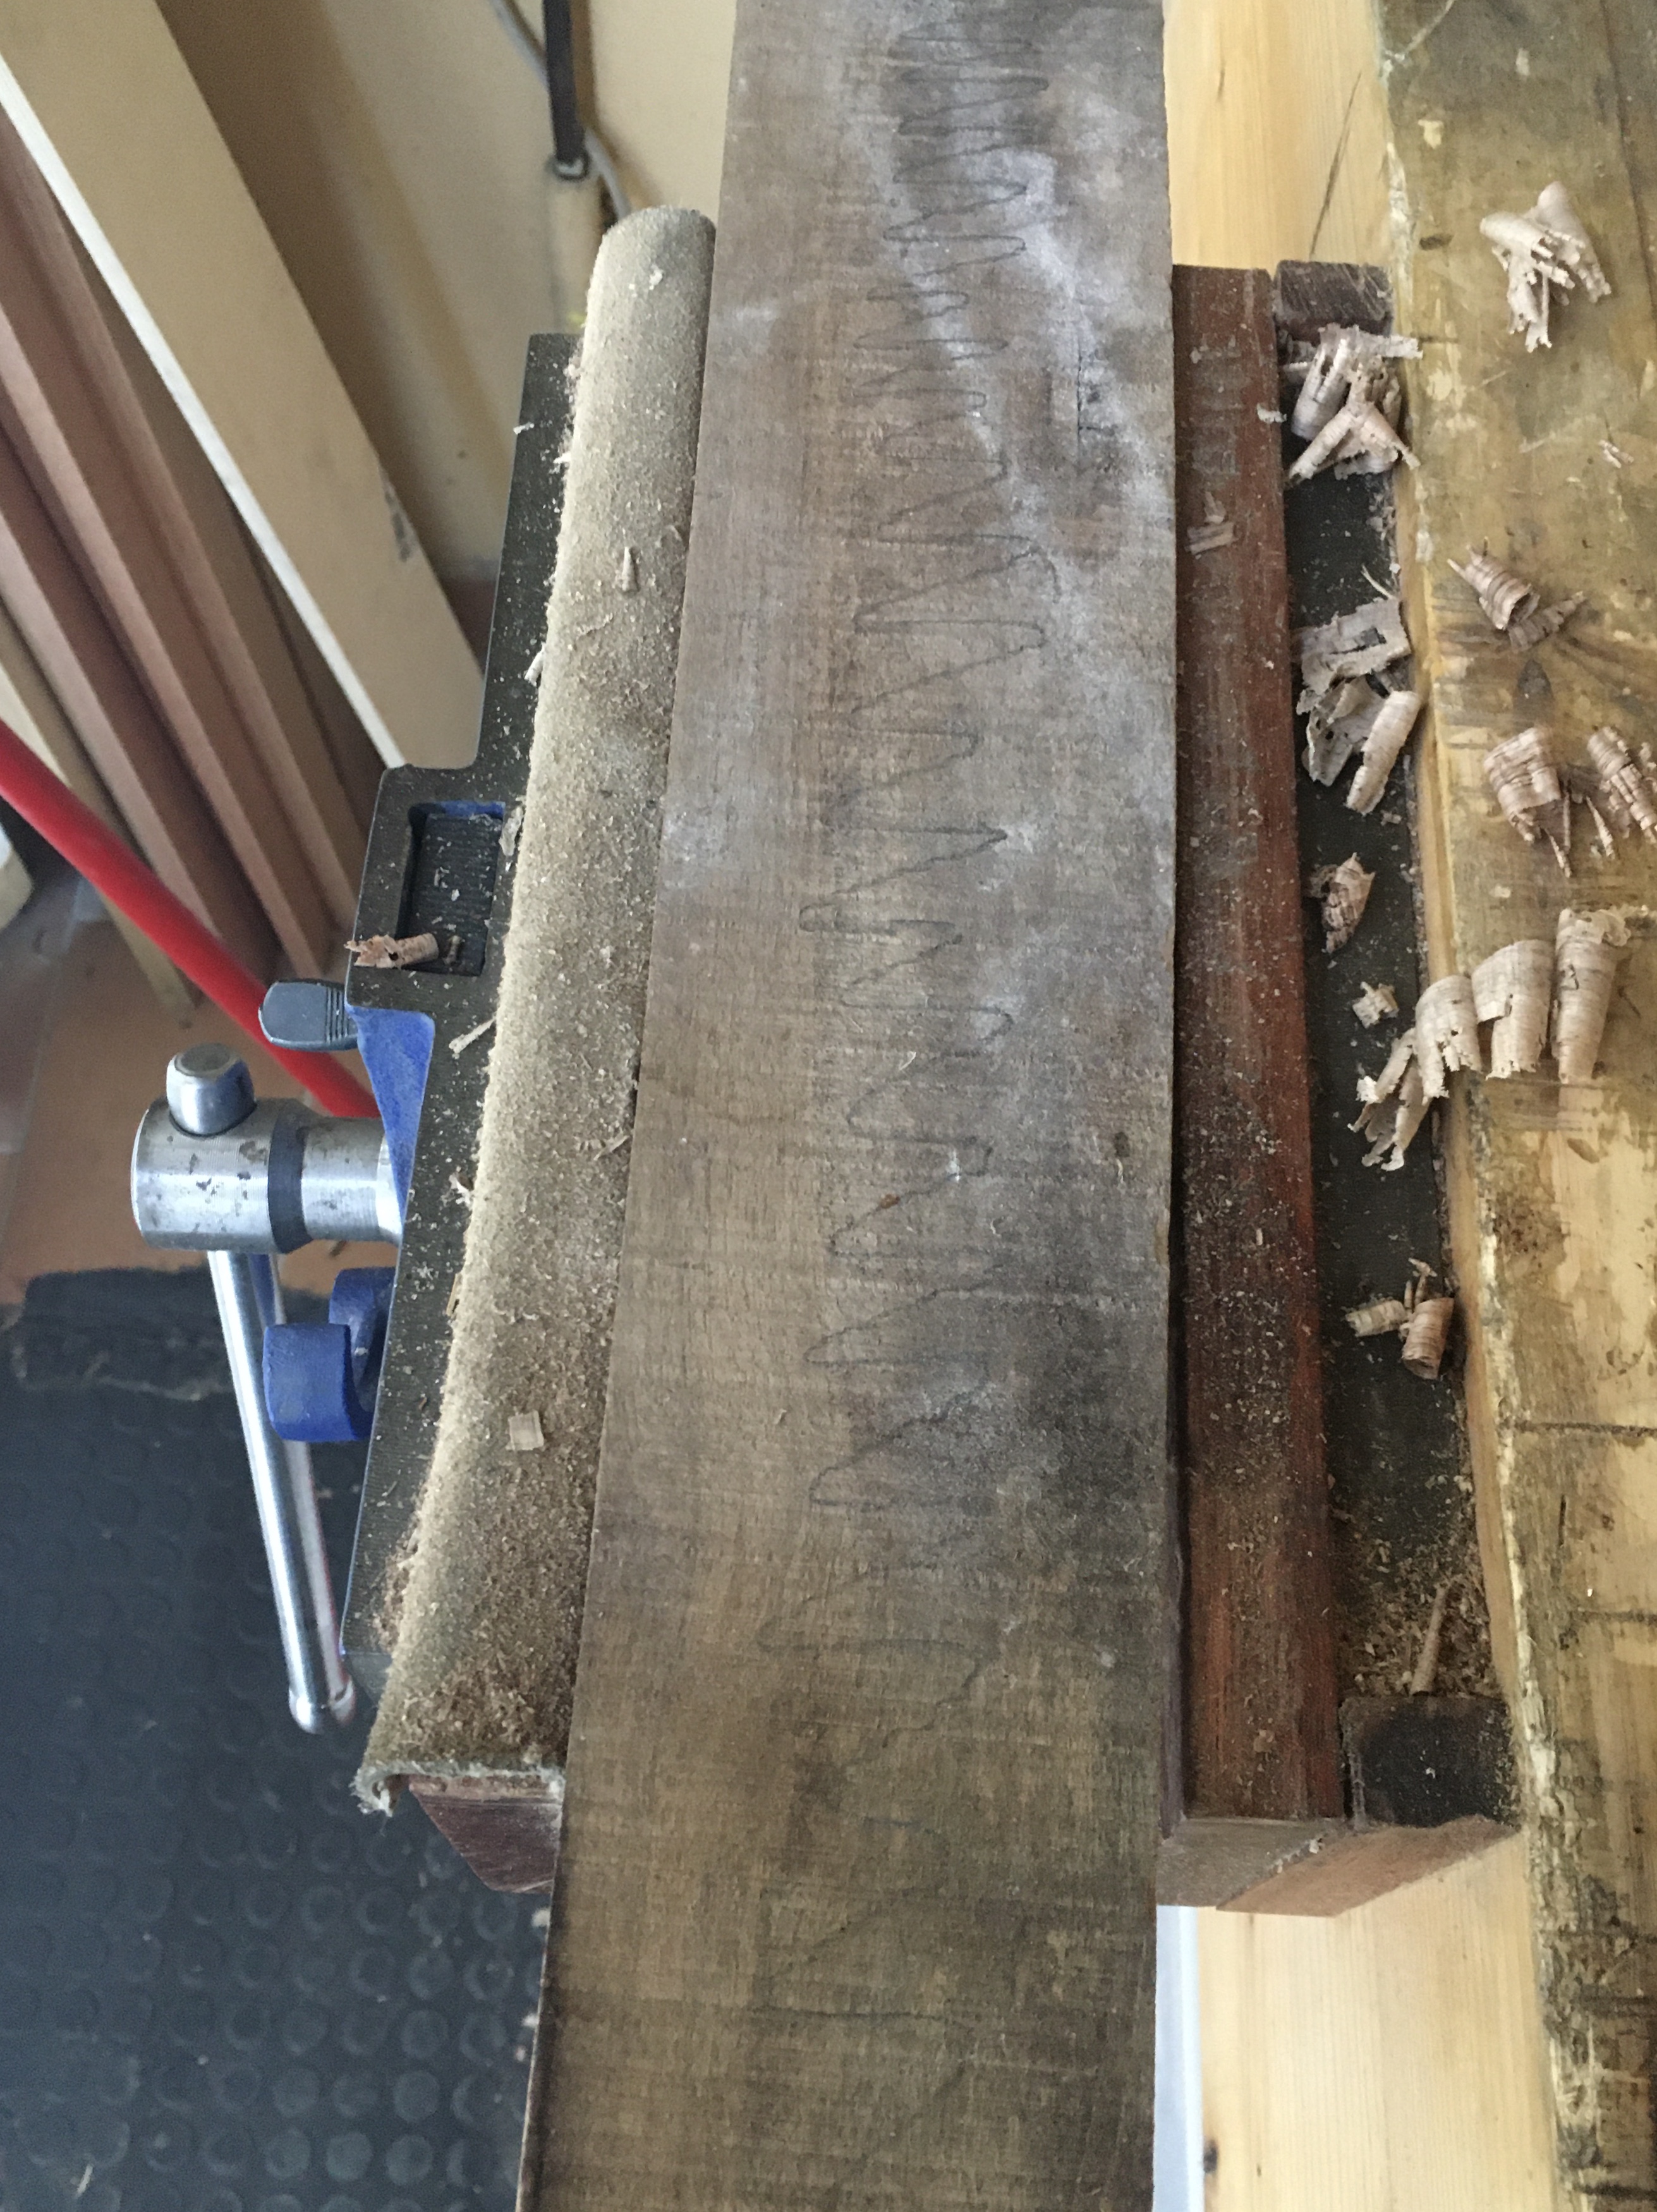
 5. Pialliamo la seconda faccia della tavola, quella con la convessità centrale, così da spianarla ed ottenere una superficie perfettamente piana.
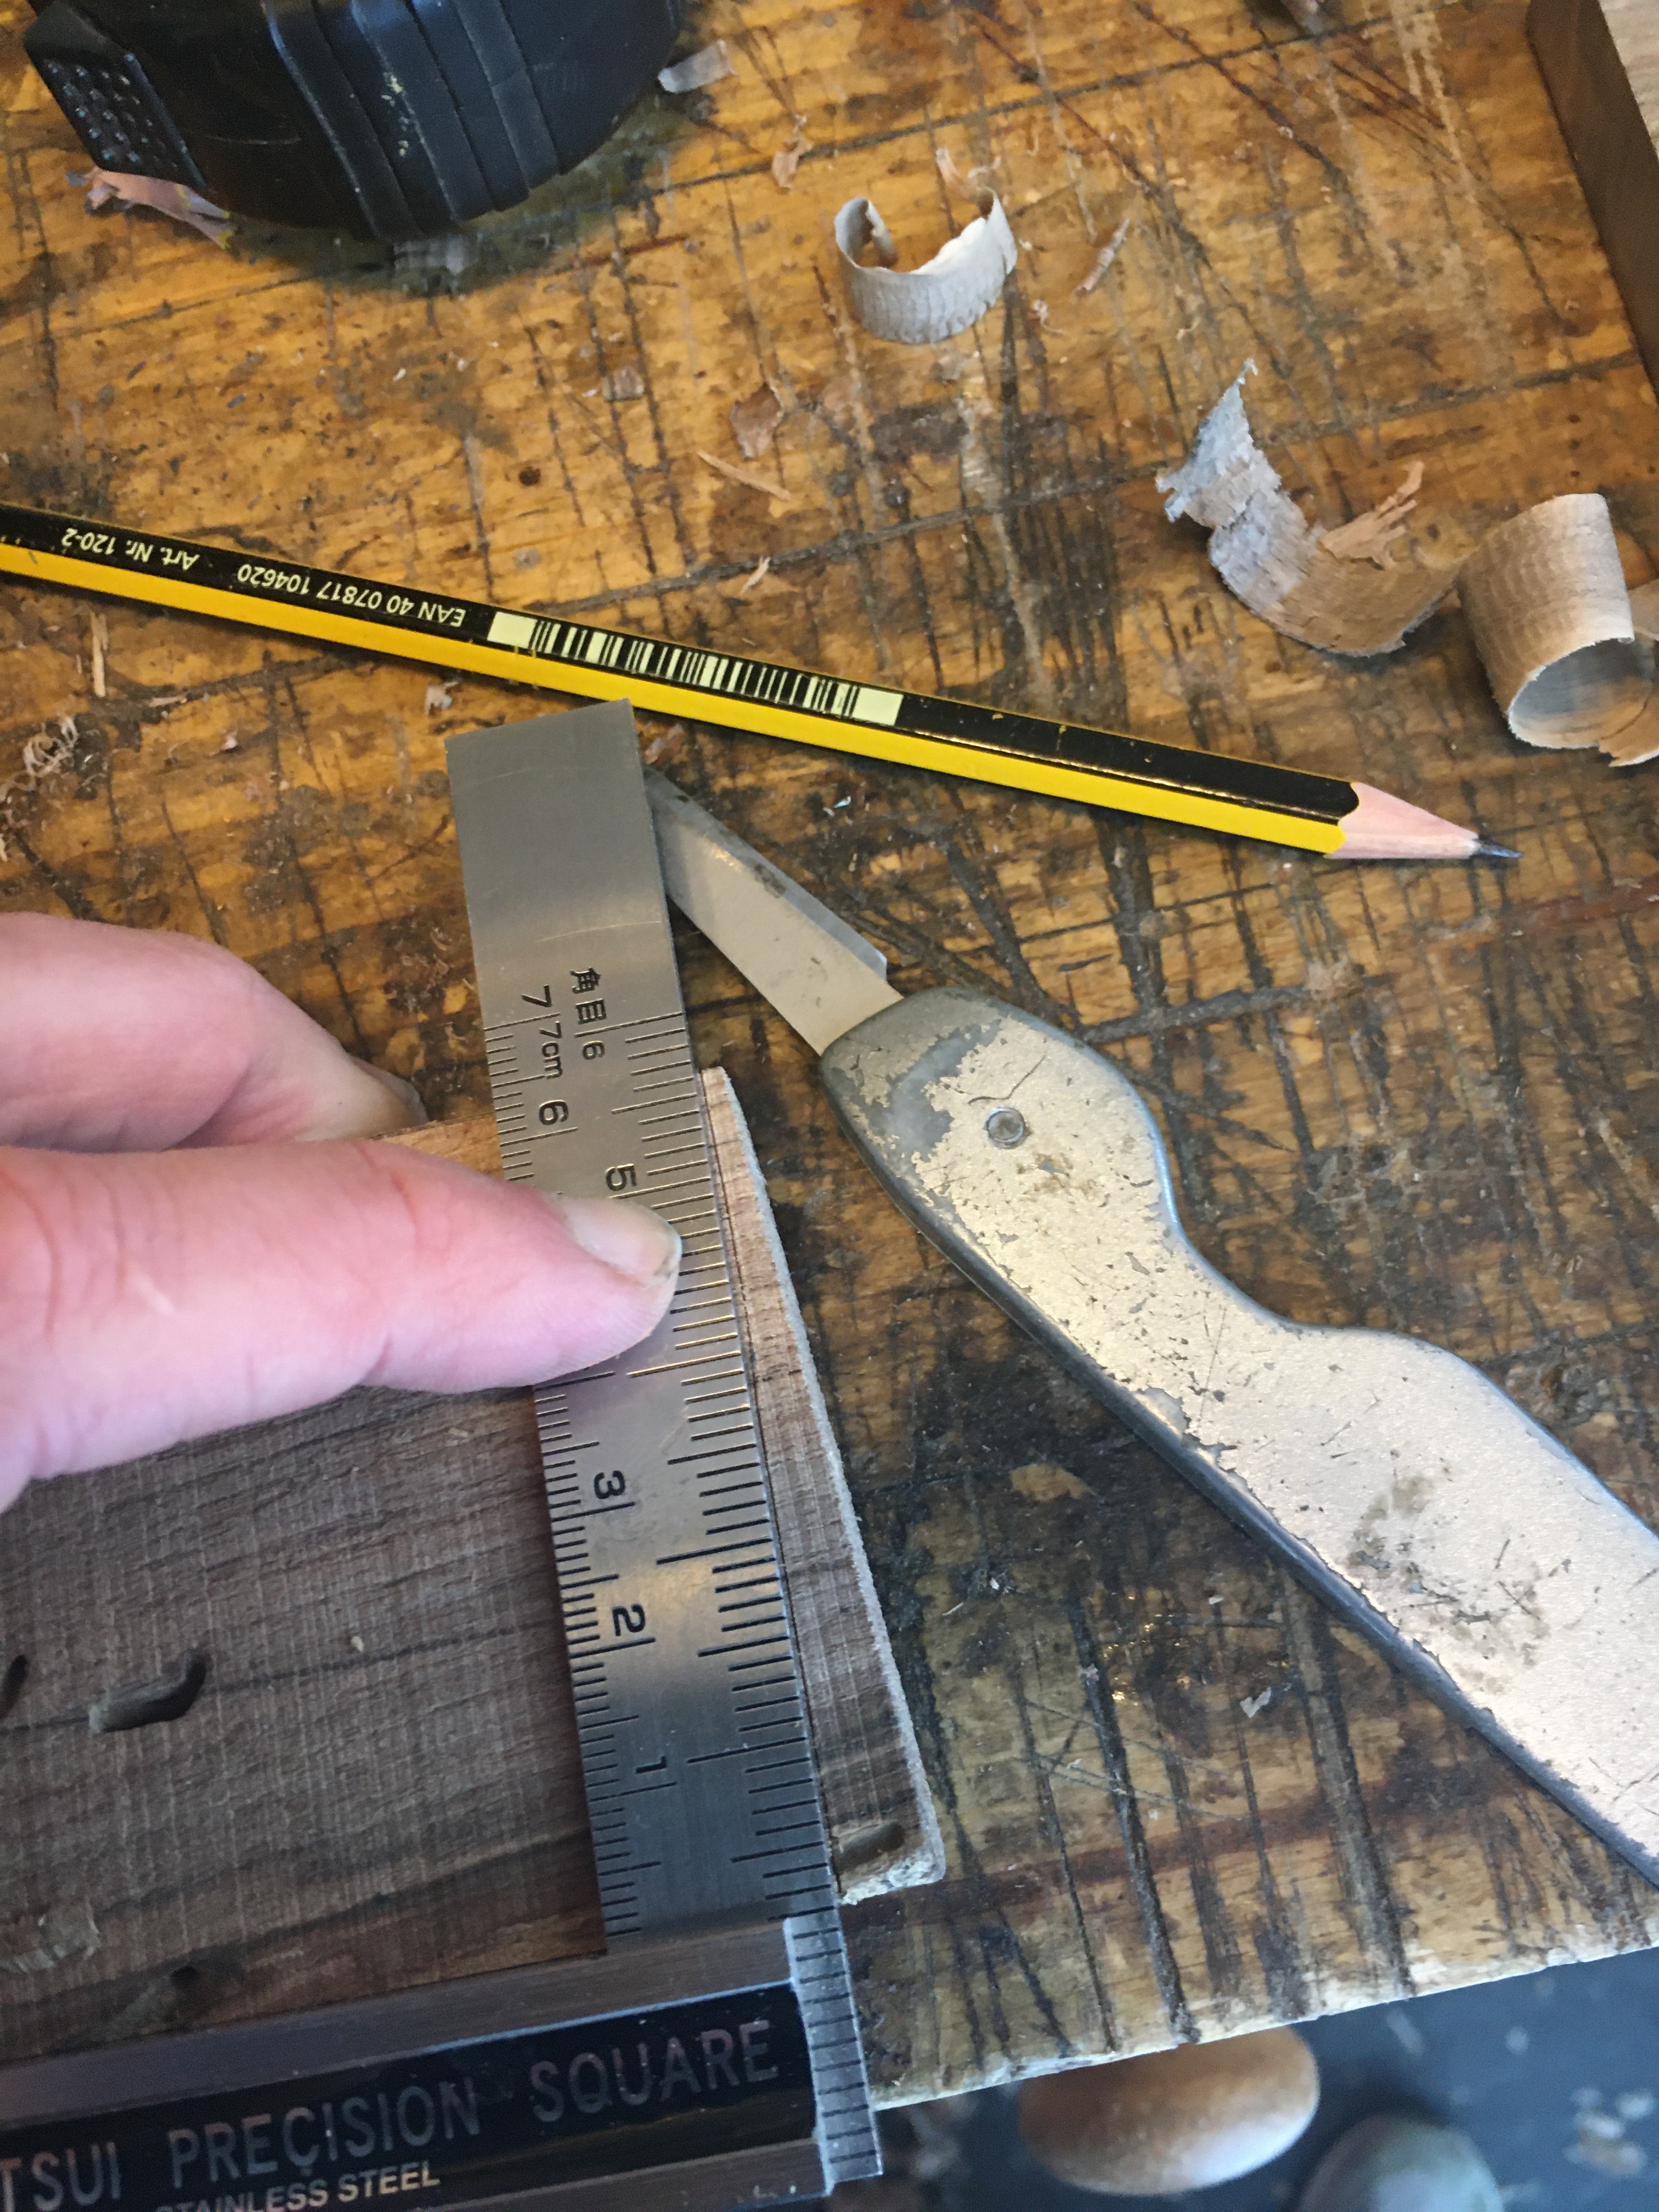
 6. Con una squadra segniamo una delle due teste della tavola su tutte e quattro le facce e pialliamo sino alla traccia, così da ottenere una superficie a novanta gradi con i lati lunghi della tavola e perpendicolare alle facce della tavola.
7. Facciamo infine la stessa operazione del punto 6) per la seconda testa della tavola.
8. Se la tavola non dovesse presentare imbarcamenti possiamo saltare tutte le fasi di piallatura delle facce e farle solo alla fine del procedimento.
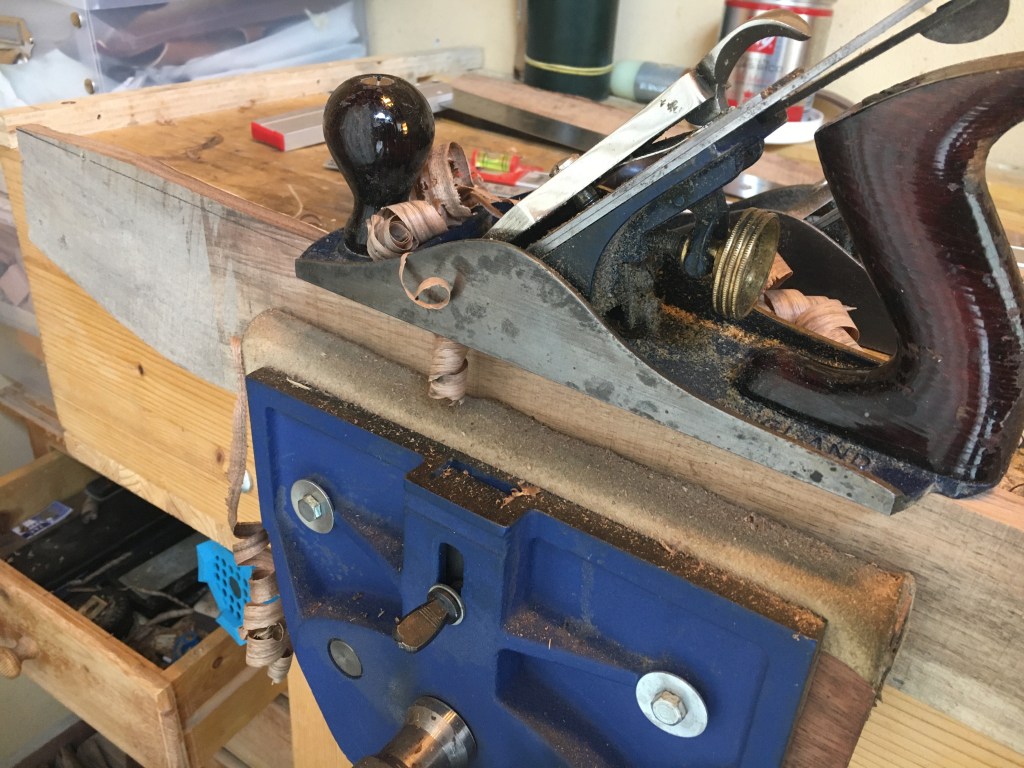
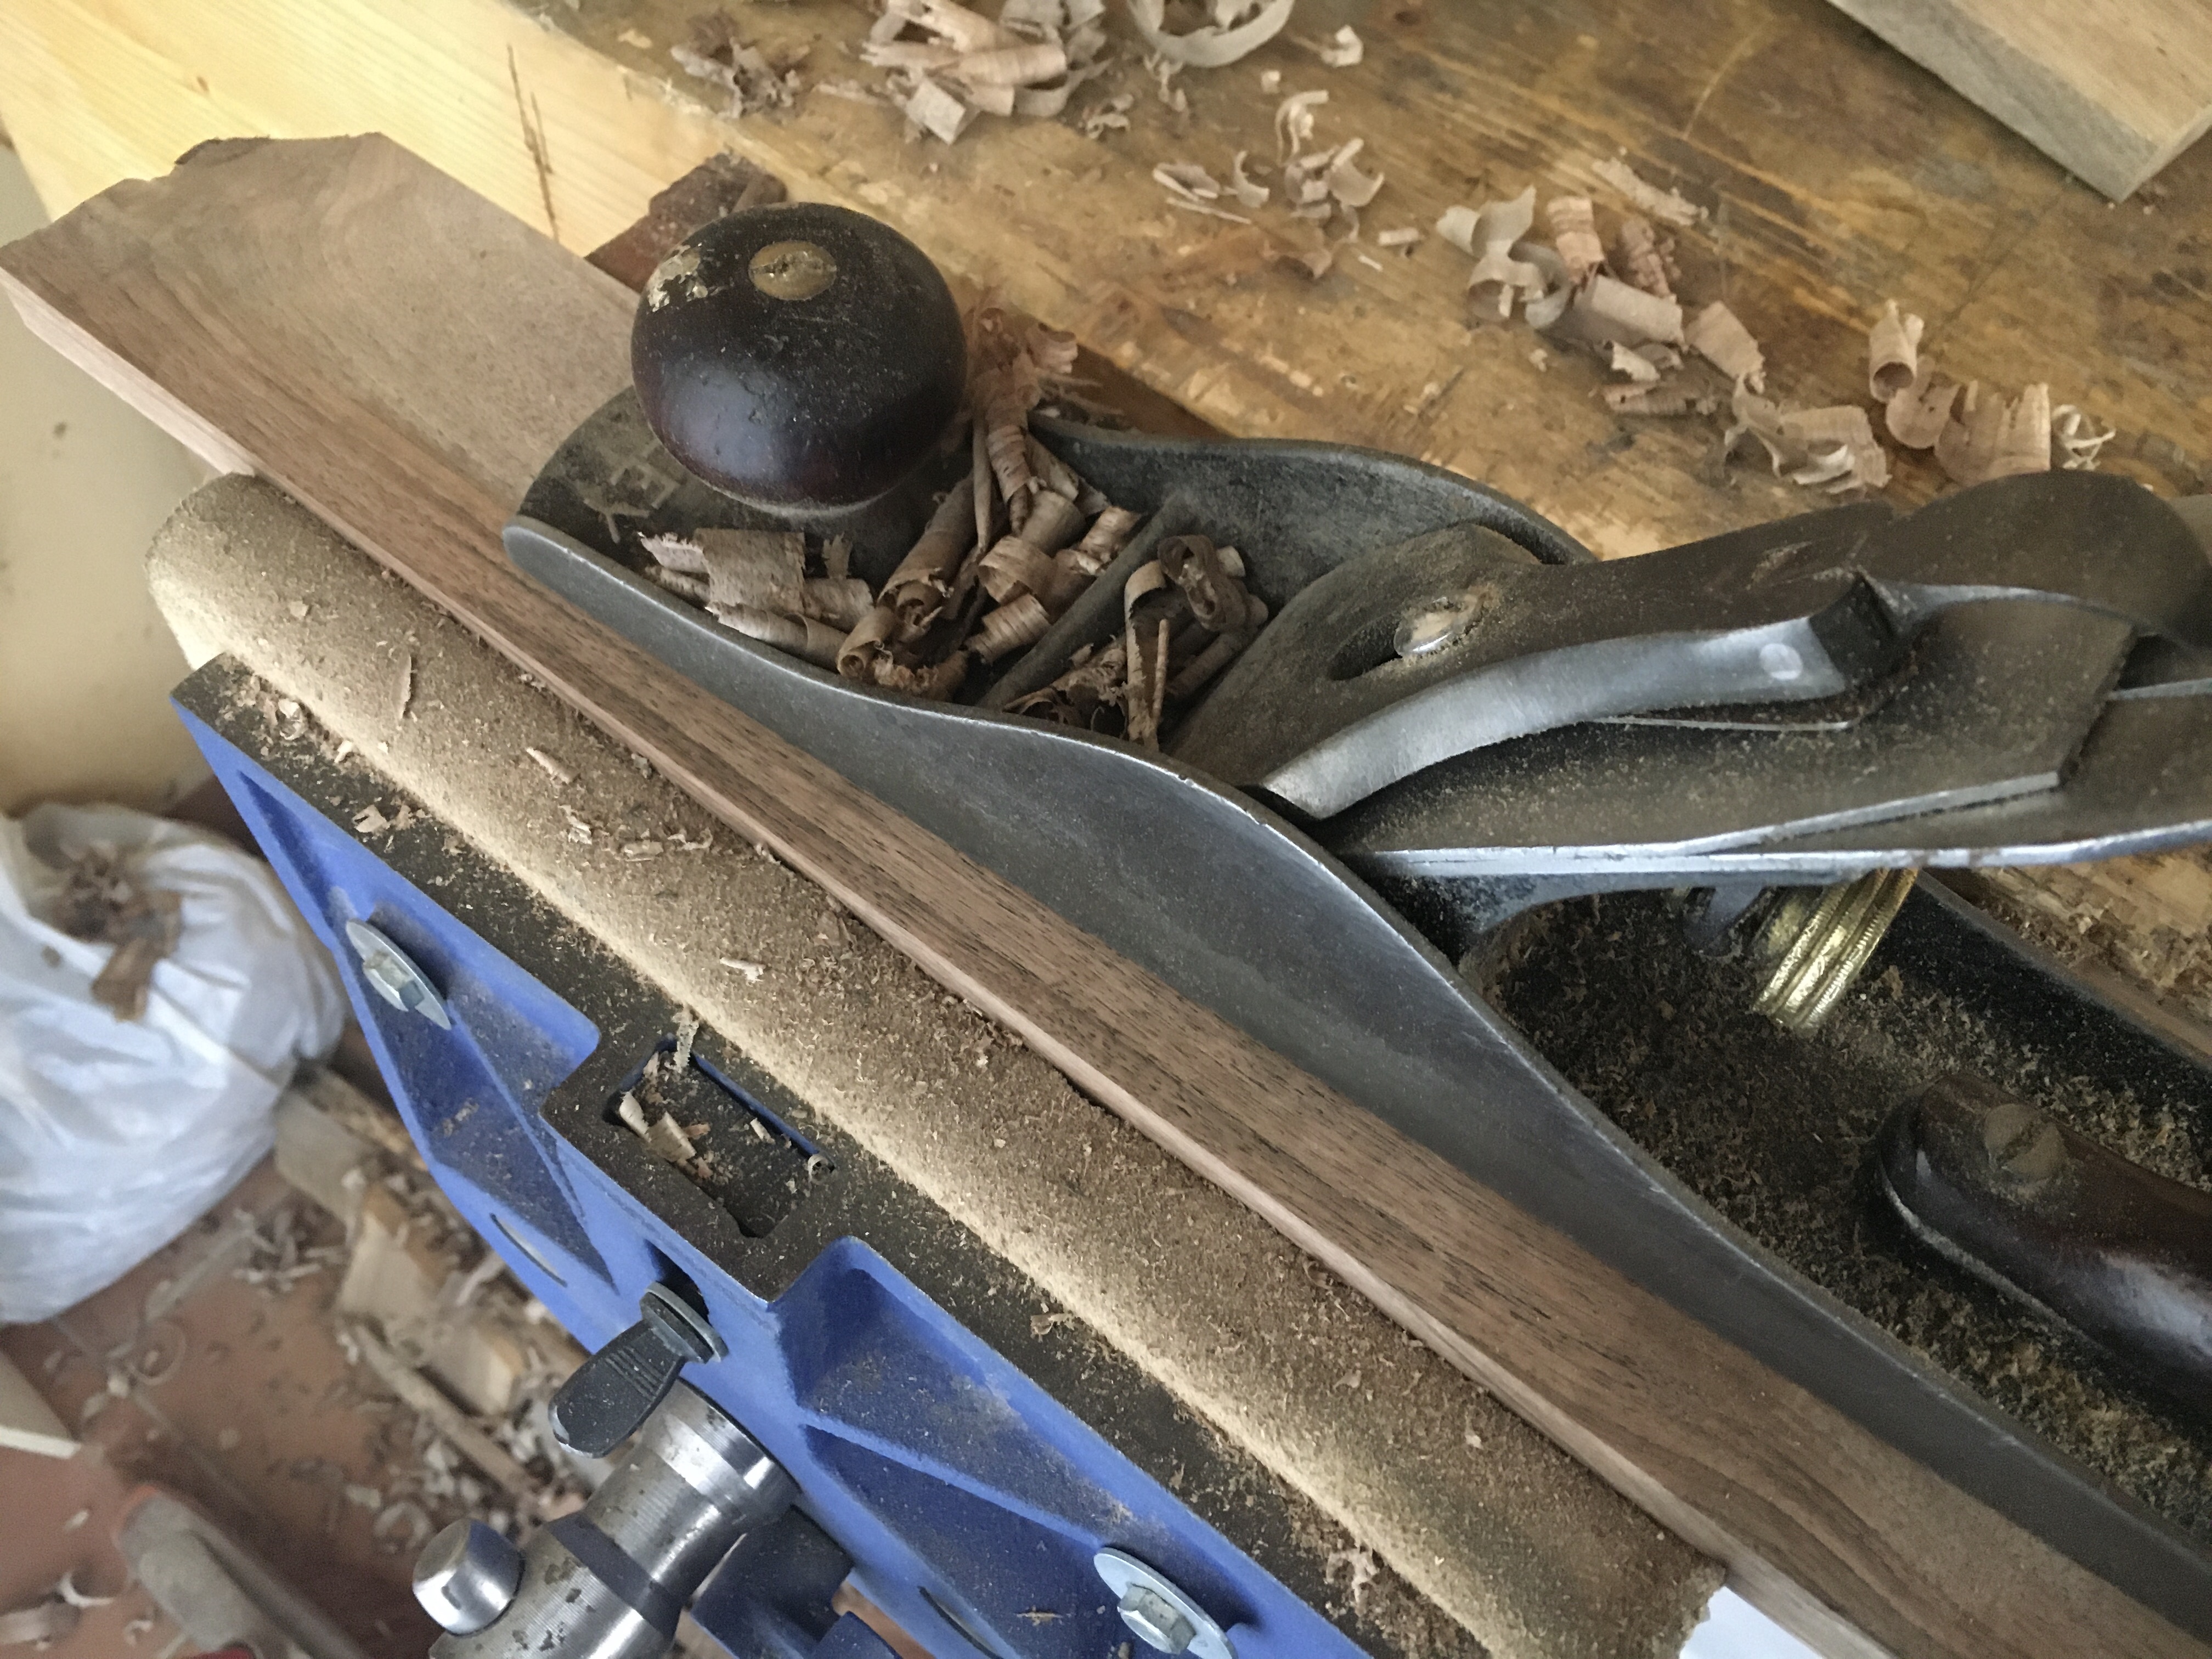
In definitiva lo schema da seguire è: spianare una prima faccia, rettificare una costa adiacente, rettificare l’altra costa adiacente, spianare la seconda faccia, rettificare le teste. Se il materiale da rimuovere è tanto possiamo utilizzare preventivamente uno sbozzino (se non addirittura decidere di segare) e poi rifinire con una pialla da banco (una n. 4 o n. 5). Per le rifiniture del legno di testa possiamo aiutarci con una shooting board oppure operare solo con una pialla n. 4 o una block plane. Controlliamo spesso il nostro lavoro con un righello metallico, per verificare la planarità delle superfici e delle coste, e con una squadra per le perpendicolarità.
______________________________________________________________
In the last article we have seen that very often the best possible choice when it comes to purchasing wood is to go to a timber dealer. Not infrequently, it may happen that they have some pieces of wood discarded because they have certain defects, such as cup, rot, knots and woodworms that in fact do not make it salable. Sometimes the discarded essence can be particularly valuable as it happened to me, for example.The dealer, with whom I entered into confidence, had given me a long time ago this national walnut wood that was left over, and which objectively presented significant defects. Since I did not own any type of electric machine, I asked if he could play it on the band saw, as it was of considerable thickness. Here are some 1.5 cm pieces. thick, good for making jewelry boxes, for example. The main problem that must be faced with this type of very rough and defect wood is being able to obtain smooth and imperfection-free surfaces, which are good to be assembled with joints. We know perfectly well that the success of a product is essentially based on the precision with which we have finished the pieces that we have to join. These must be perfectly squared and therefore with the sides perpendicular to each other, of the same length and with identical thickness. But how can we do this when, as in this case, we are dealing with wood that has no straight side and also has boats, knots and cracks?First of all, let’s take a good look at our pieces and try to identify the defects in advance, so as to get an idea of the dimensions that we can obtain. The parts that are absolutely ruined will have to be eliminated in advance. If the knots are stable we can safely leave them. Any chipping can be arranged in a second step, with the planing. Finally, the irregular shape of the board must be verified on both surfaces, because often one of the two faces has variations of width which are also notable. It is therefore clear, already from these first warnings, that the passage from the state of rough and irregular wood to planed and squared wood will leave a considerable waste of wood on the field. That said, let’s see specifically how we can proceed.
1. If the board is cupped, as usually happens, it will have a face with a central concavity (and raised edges) and a face with a convexity (a central hump). First we plane the concave surface, lowering the edges, so as to obtain a perfectly flat surface.
2. Not having a straight edge, we have to create one.With a ruler we trace the maximum possible width on the piece. Then we plane or saw the edge up to the mark drawn so that it becomes perfectly straight and at 90 degrees to the planed surface in point 1).
We check with a ruler and with a square.
3. We mark with a pencil the two faces obtained so as to remember which faces have been planed and squared.
With a marking gauge we trace from the edge obtained in point 2) a mark as close as possible to the opposite edge, transferring it on the whole perimeter of the board.
4. We plane or saw the second edge of the board up to the trace made with the marking gauge.
Also in this case we verify the perpendicularity with a square.
5. We plane the second face of the board, the one with the central convexity, so as to level it and obtain a perfectly flat surface.
6. With a square we mark one of the end grain of the board on all four sides and plane up to the trace, so as to obtain a surface at ninety degrees with the long sides of the board and perpendicular to the faces.
7. Finally, we do the same operation as in point 6) for the other end grain.
8. If the table does not have cups, we can skip all the planing phases of the faces and do them only at the end of the procedure.
So, to summarize: planing a first face, planing and squaring an adjacent edge, planing and squaring the other adjacent edge, planing the second face, squaring the end grains. If there is a lot of material to be removed, we can first use a scrub plane (if not even decide to saw) and then finish with a bench plane (a No. 4 or No. 5). For planing the end grains we can help with a shooting board or planing with a n. 4 plane or a block plane. We often check our work with a metal ruler, to check the flatness of the surfaces and edges, and with a square for perpendicularities.

Scrivi una risposta a Piallare il legno. Piallatura lungovena / Planing wood. Planing along the grain | CreaRobi Cancella risposta