
AFFILARE UNA SEGA. LIME TRIANGOLARI, LIMA PIATTA E PINZA STRADASEGHE / SHARPEN A SAW. TRIANGULAR SAW FILES, FLAT FILE AND SAWSET
English translation at the end of the article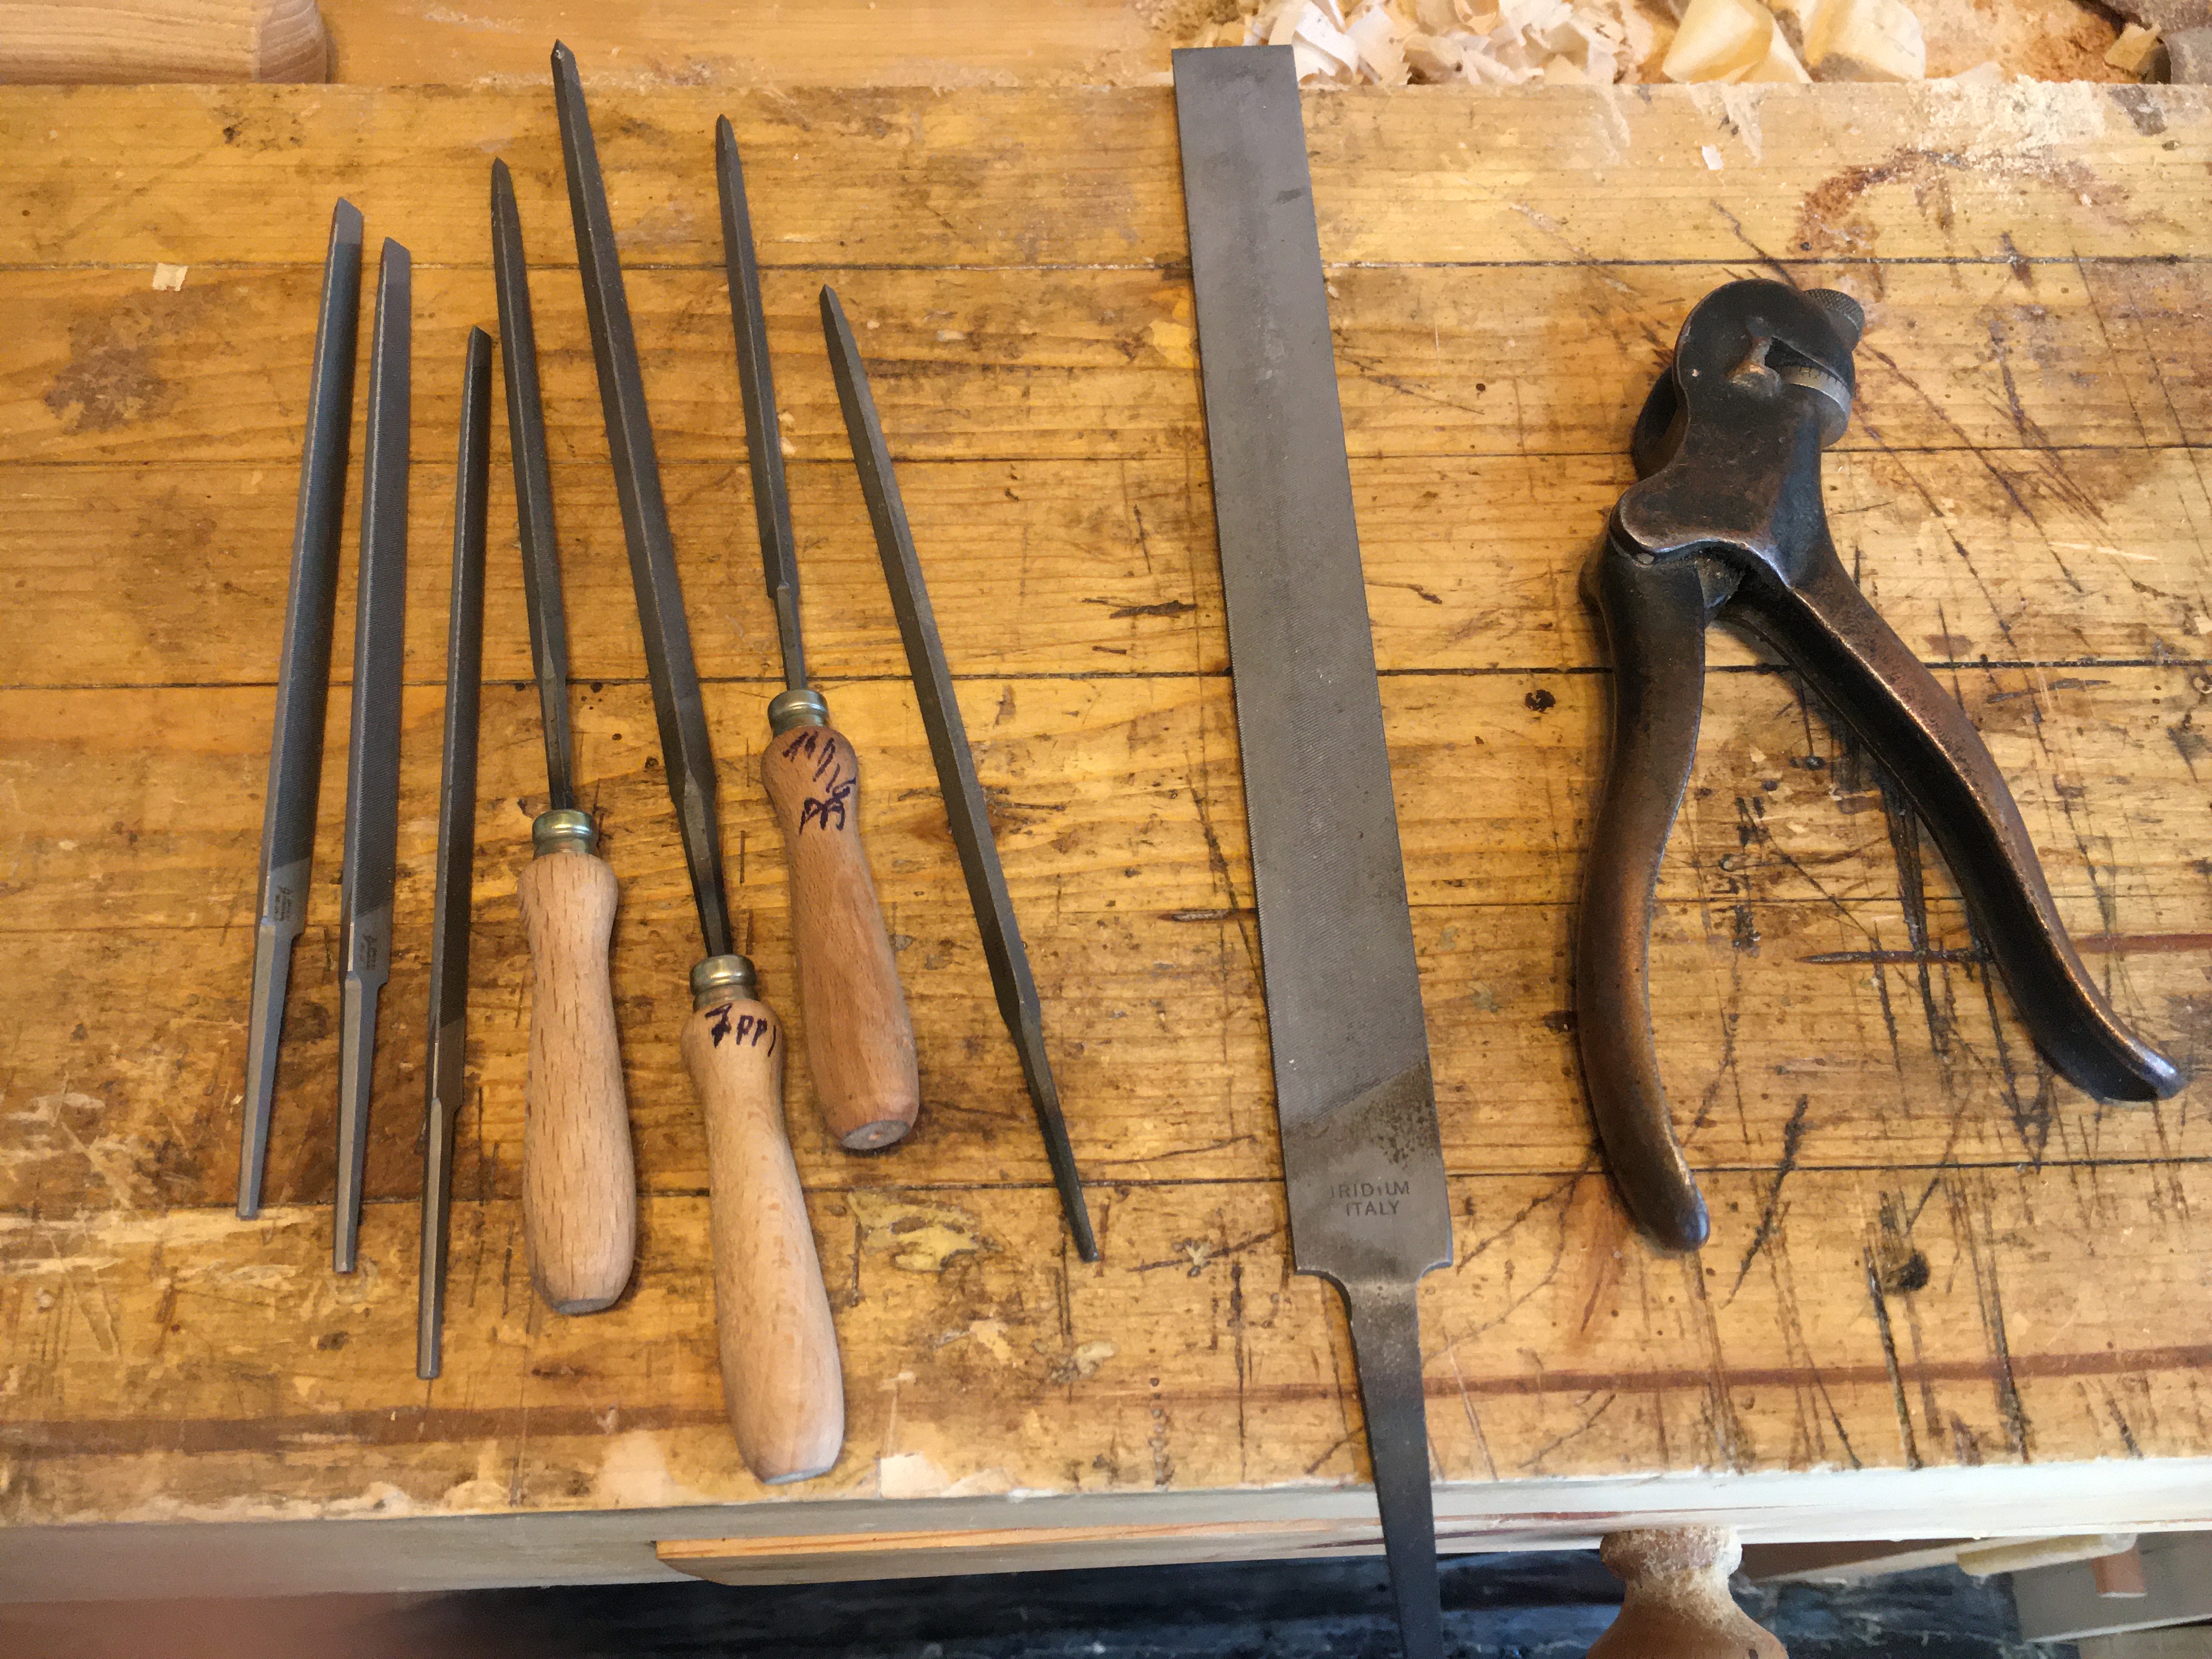 Nella falegnameria amanuense l’affilatura delle lame degli attrezzi è di fondamentale importanza. Come abbiamo visto nei precedenti post il procedimento differisce significativamente a seconda che si debba affilare la lama di una pialla (o di uno scalpello) o i denti di una sega. Per quest’ ultime non sempre è possibile procedere all’affilatura e non tutte si affilano allo stesso modo. Di seguito indico i link dedicati
all’argomento.
Come affilare una sega / How to sharpen a saw
Utilizzo delle Seghe Occidentali / To use Western Saws
Riguardo le Seghe / About Saws
Qualunque sia il procedimento utilizzato, avremo comunque bisogno di alcuni utensili per così dire “ausiliari”. Vediamoli nel dettaglio.
LIME TRIANGOLARI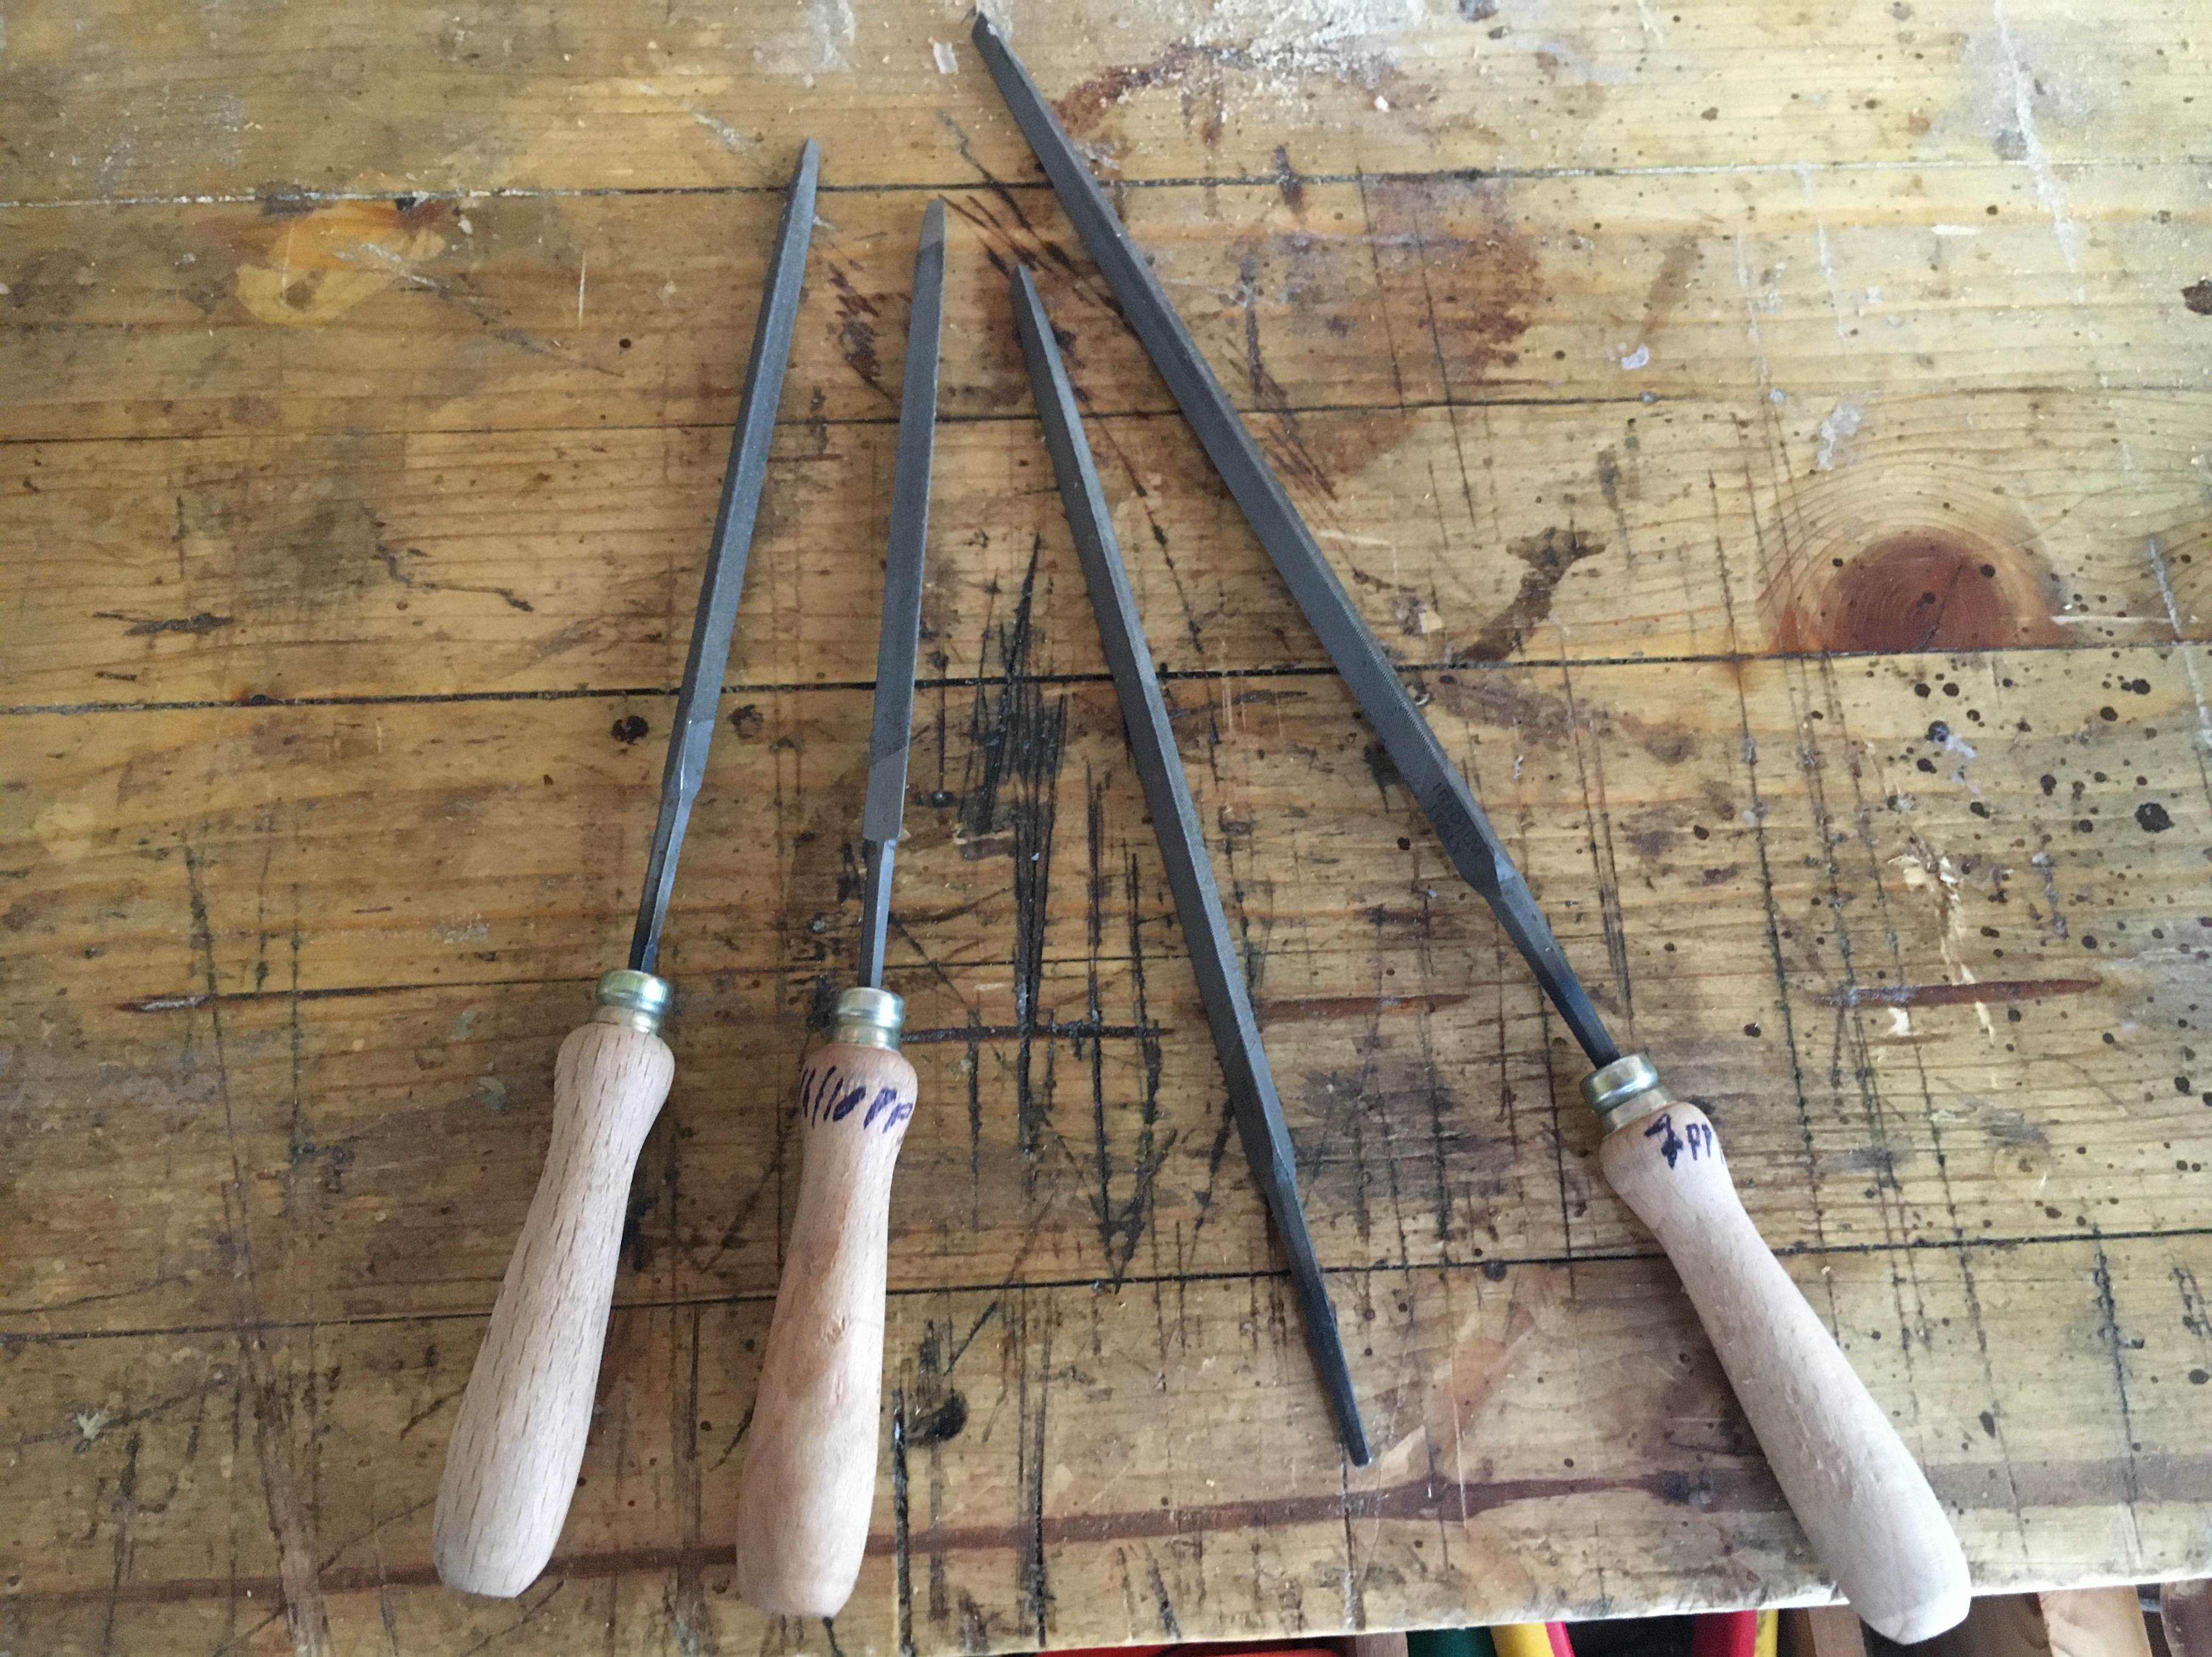
Questo tipo di lime sono del tutto simili alle normali lime per ferro e legno ma hanno la caratteristica di essere sagomate in modo tale da potersi inserire tra un dente e l’altro della sega. Sono quindi facilmente riconoscibili in quanto di forma triangolare (con angoli di 60 gradi così da formare un triangolo equilatero) e rastremate verso la punta così da permetterne un più facile inserimento tra i denti ed una maggior efficacia in fase di affilatura.
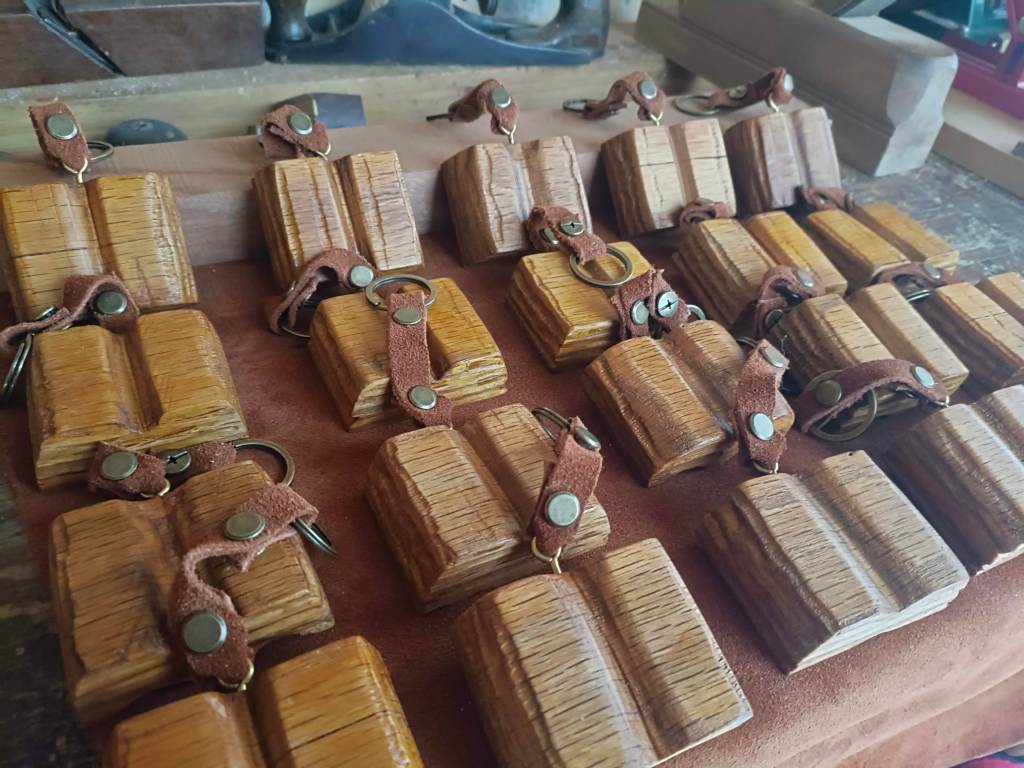
UN SEGRETO IN ROVERE VI ASPETTA AL SALONE DEL LIBRO DI TORINO
Solo 20 copie speciali dei miei libri avranno questo gadget unico numerato
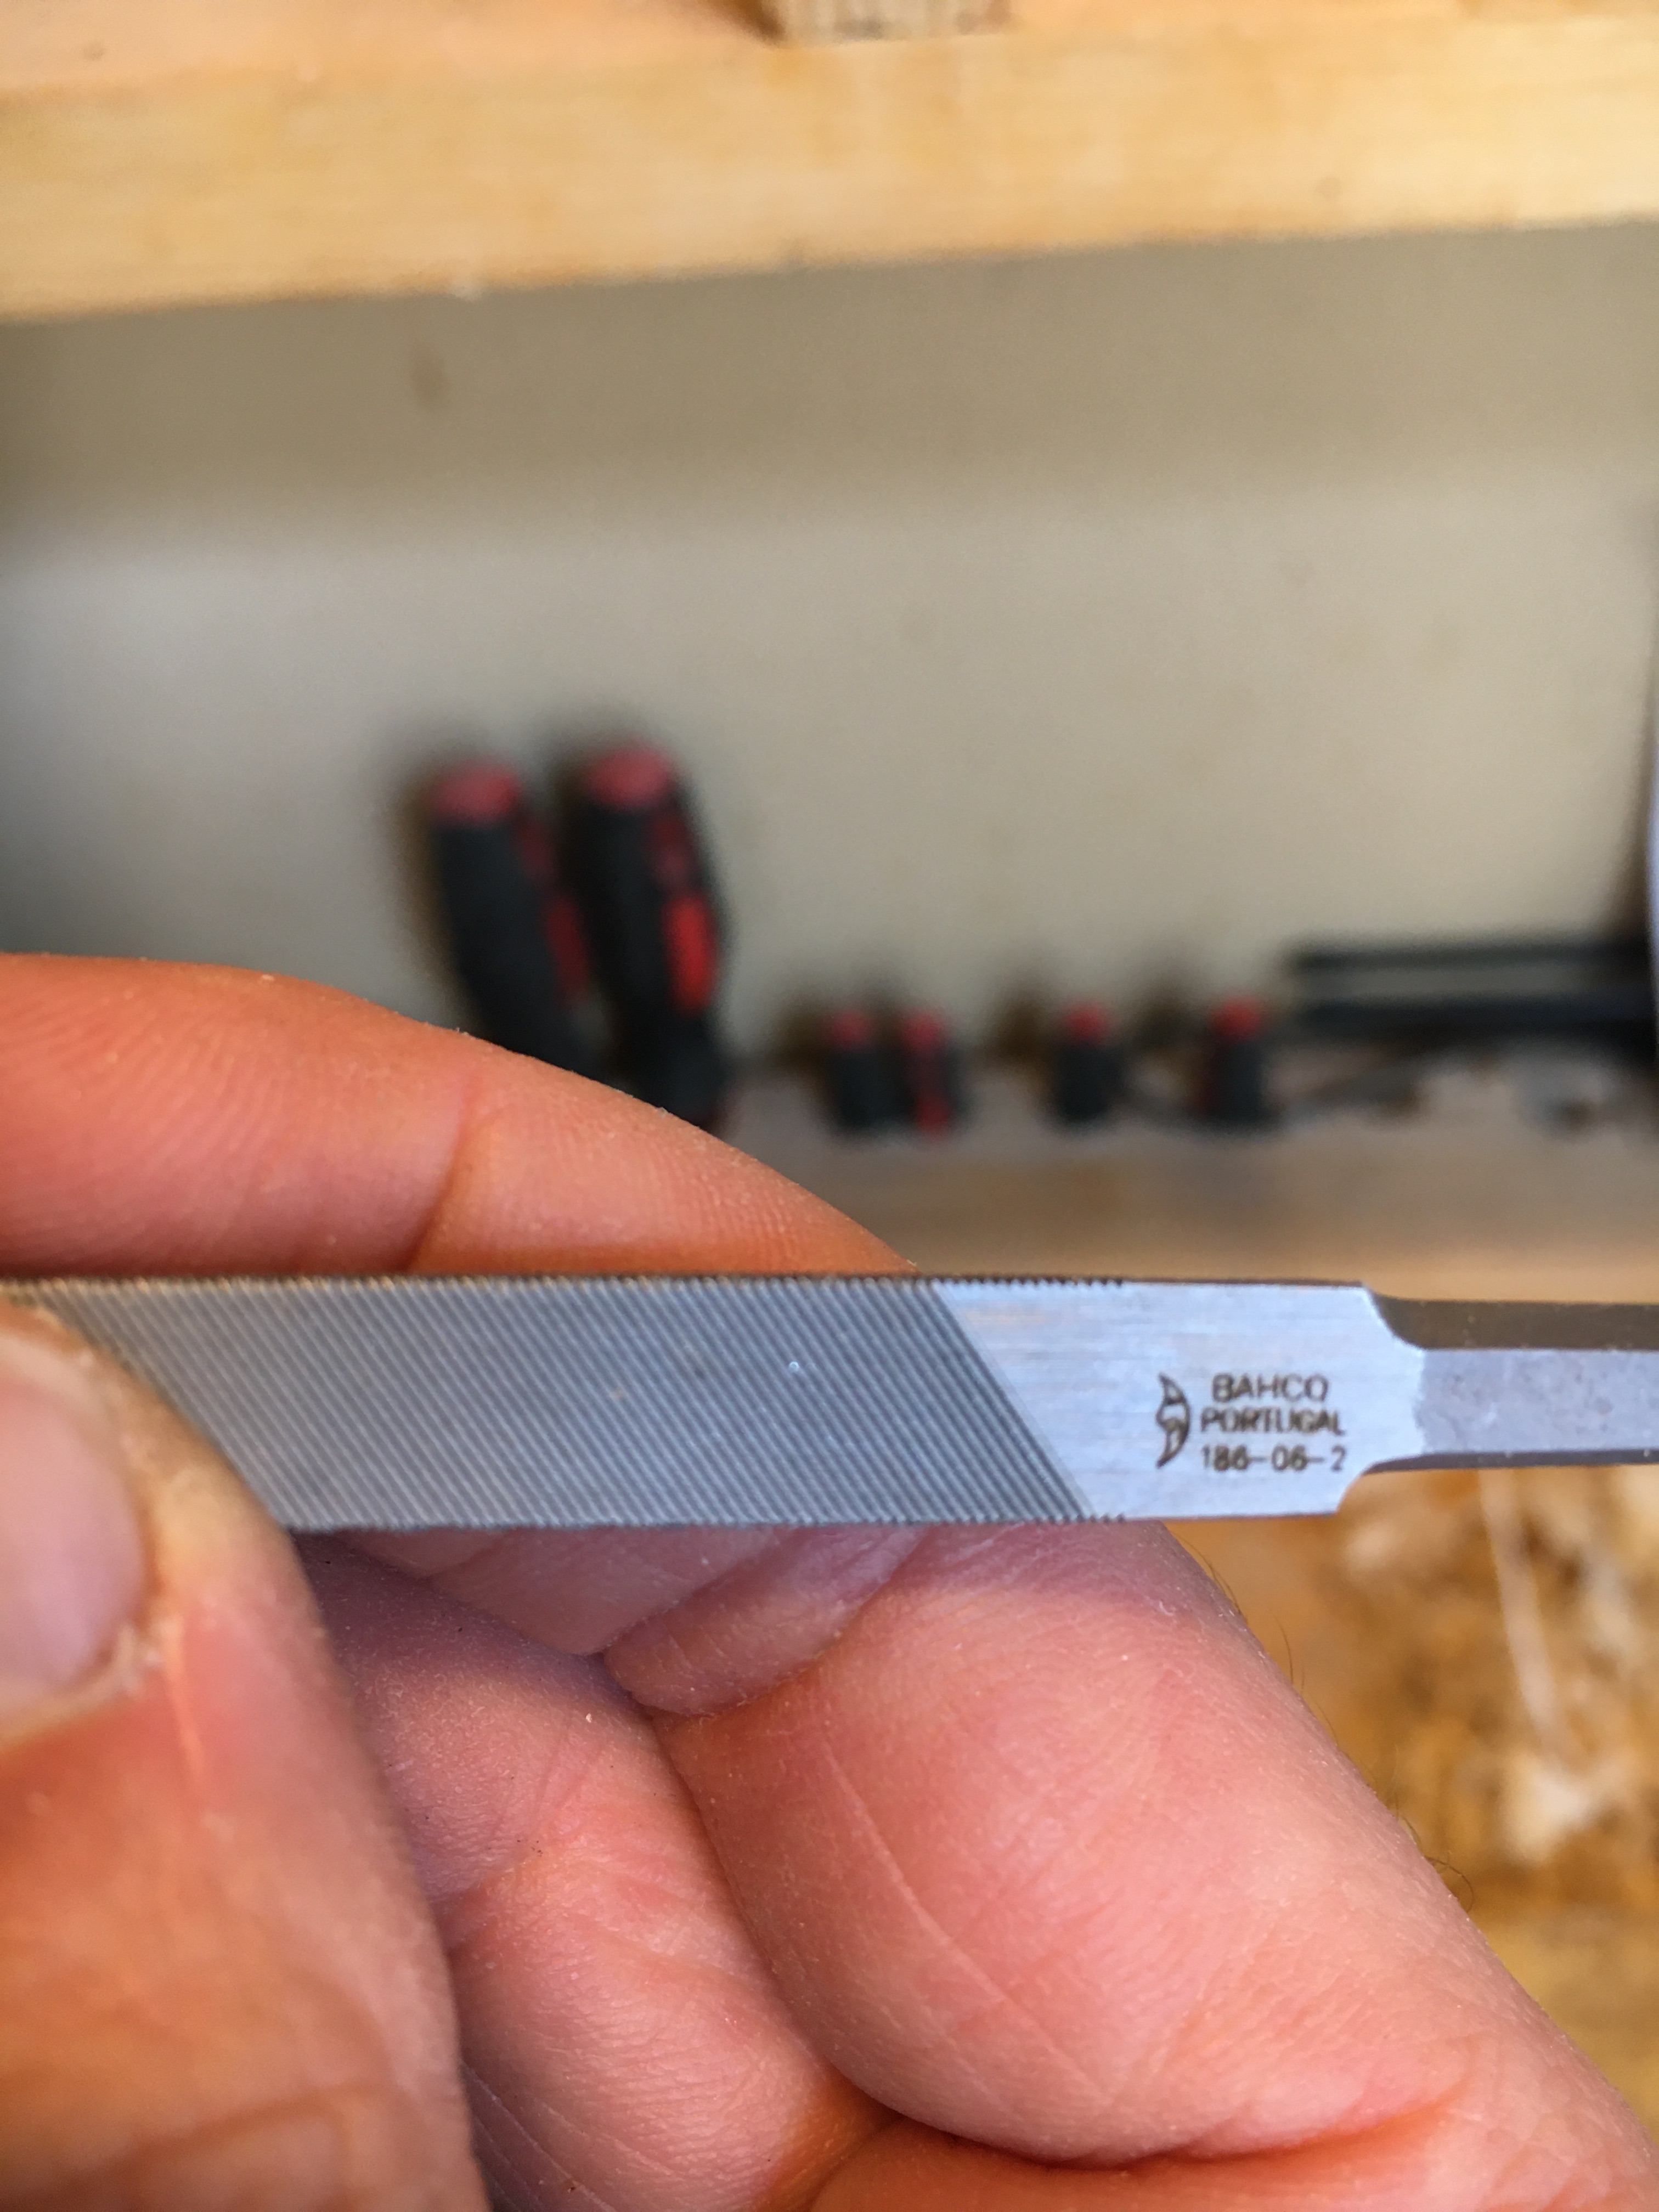
Alcuni modelli sono utilizzabili da entrambe le parti (double ended) in quanto presentano la filettatura su ambedue le estremità della lima. Ad un primo sguardo queste lime presentano solo tre lati in grado di affilare. In realtà i lati in grado di lavorare sui denti sono sei , in quanto tra le facce più grandi è presente un piccolo smusso, anch’esso in grado di affilare, che andrà a limare la gola esistente tra un dente e l’altro. Le lime sono ovviamente costituite di un metallo più duro della lama della sega.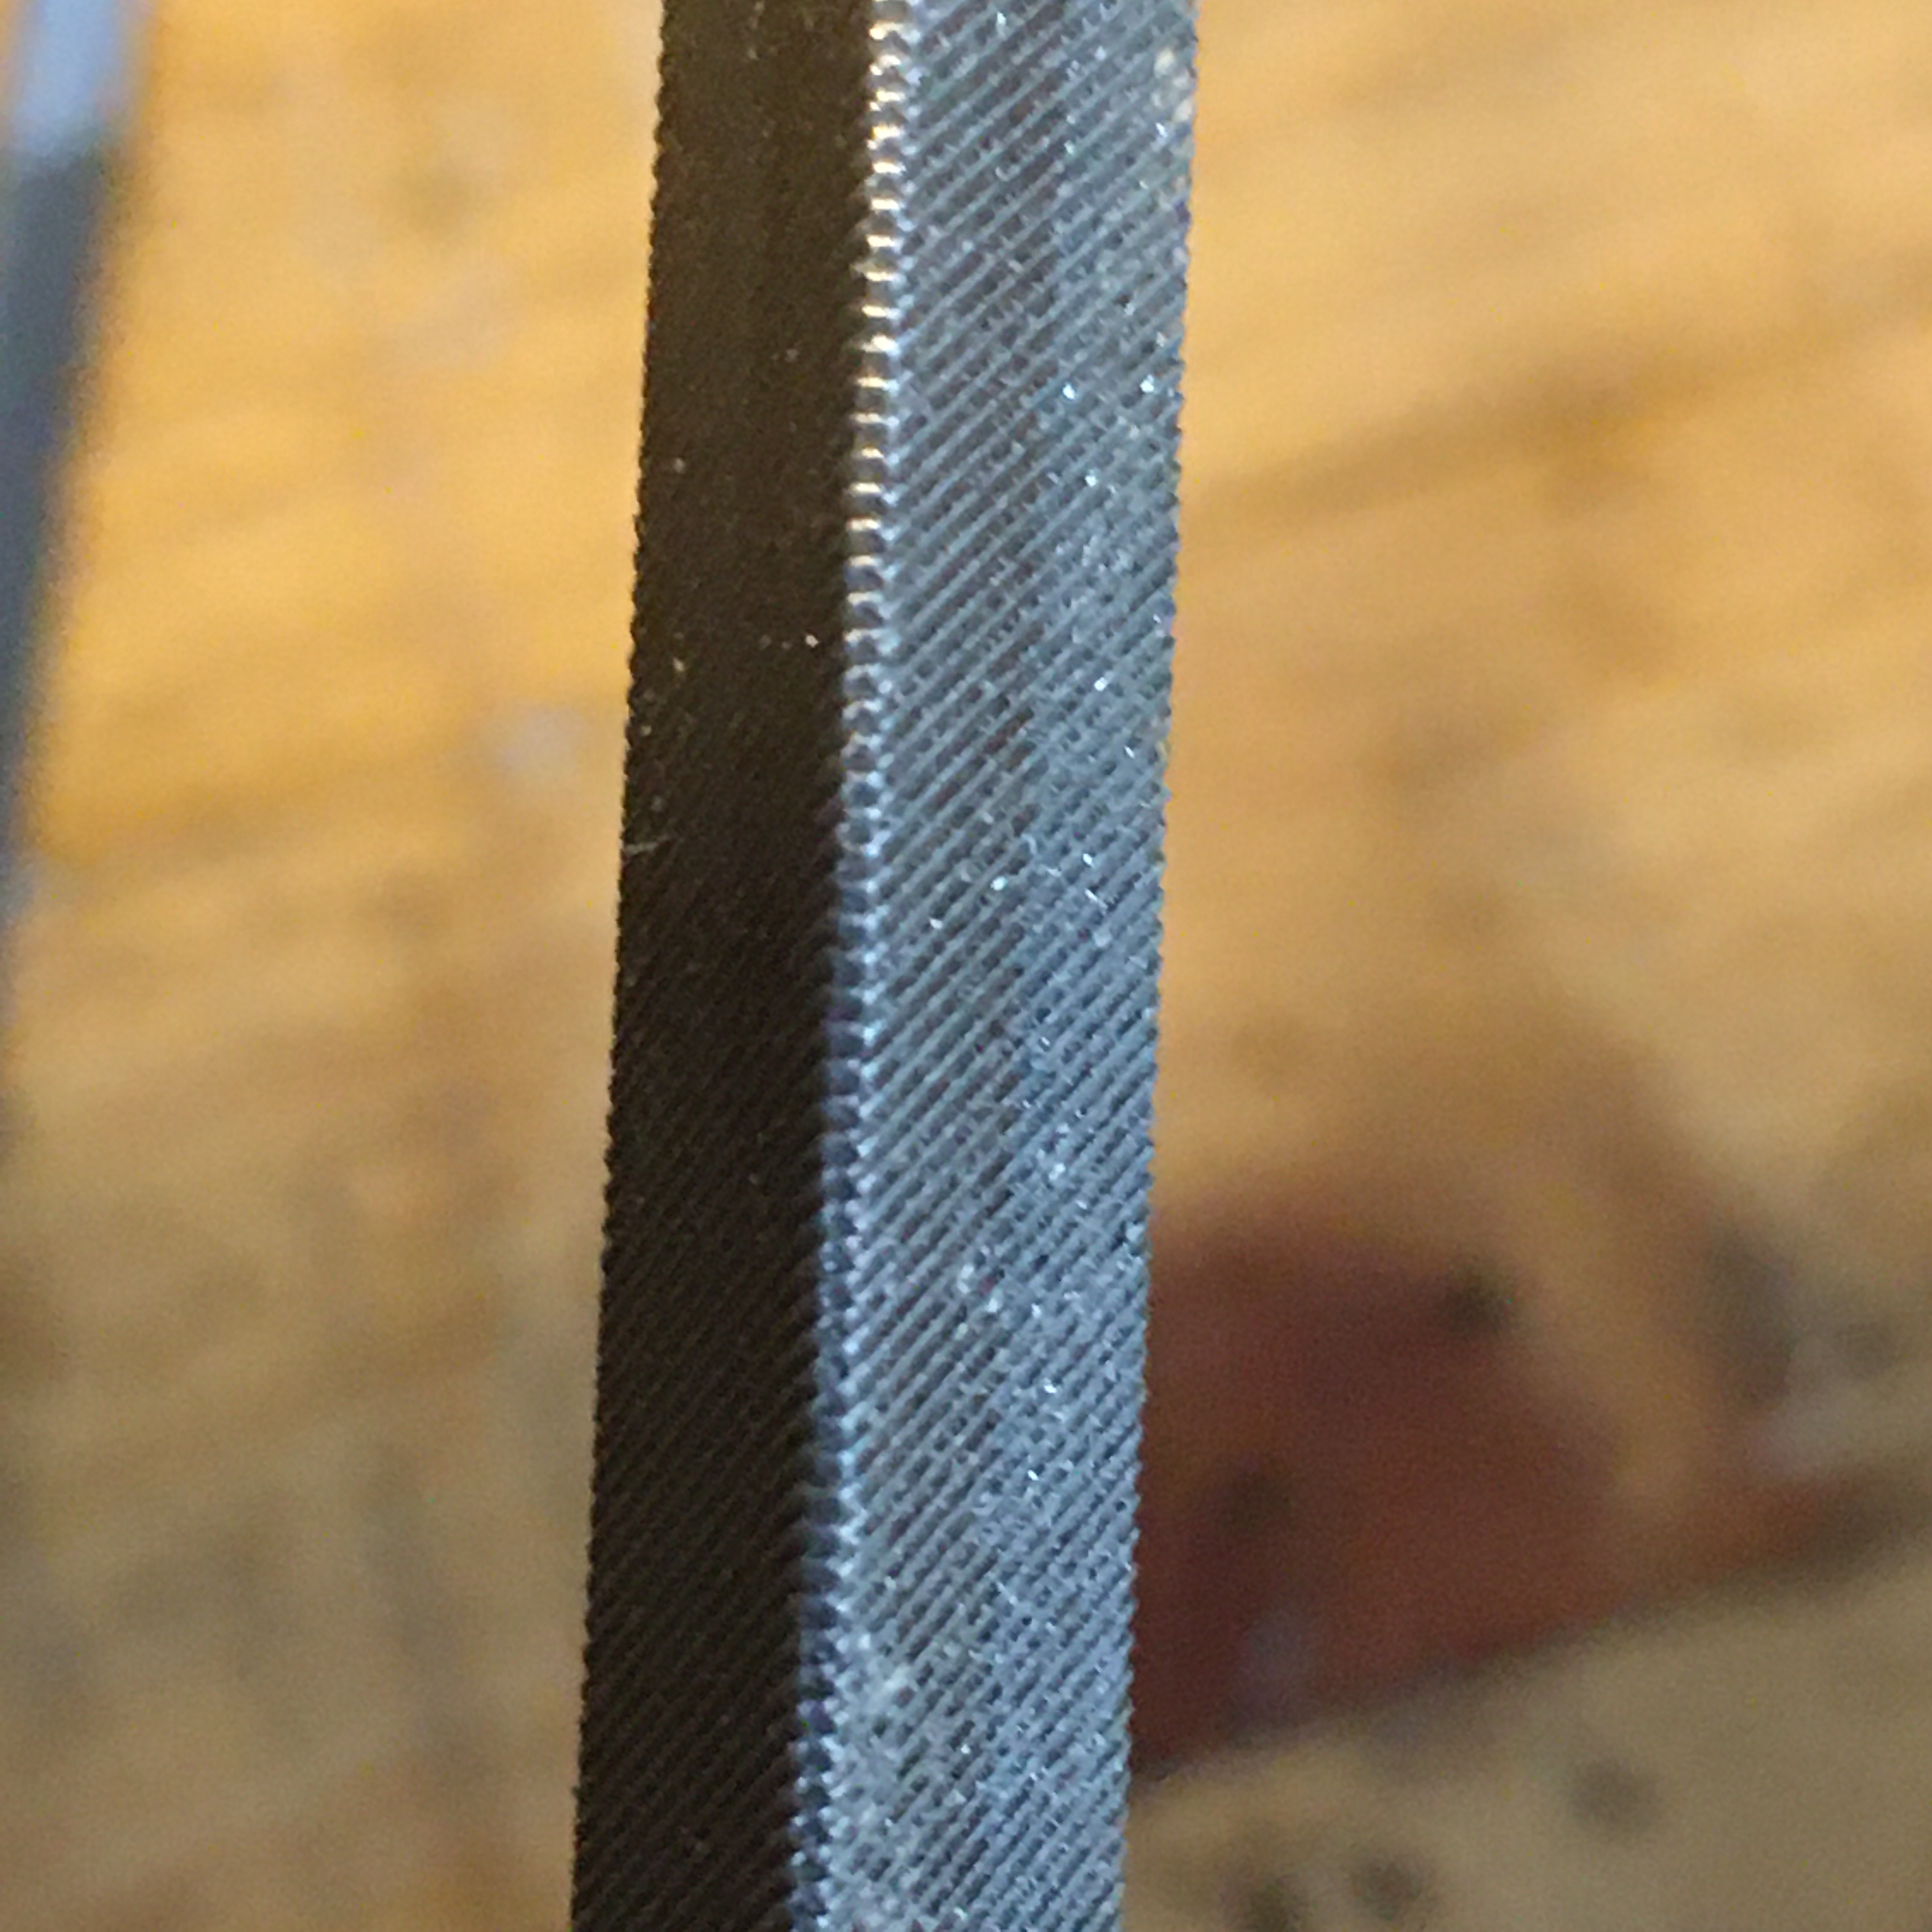
La loro qualità è un fattore da tenere in debita considerazione in fase di acquisto. Meglio non acquistare lime economiche, talvolta non in grado di sostenere neanche un ciclo di affilatura, ma cercare un prodotto di buona/ottima qualità a costo di spendere qualcosa di più.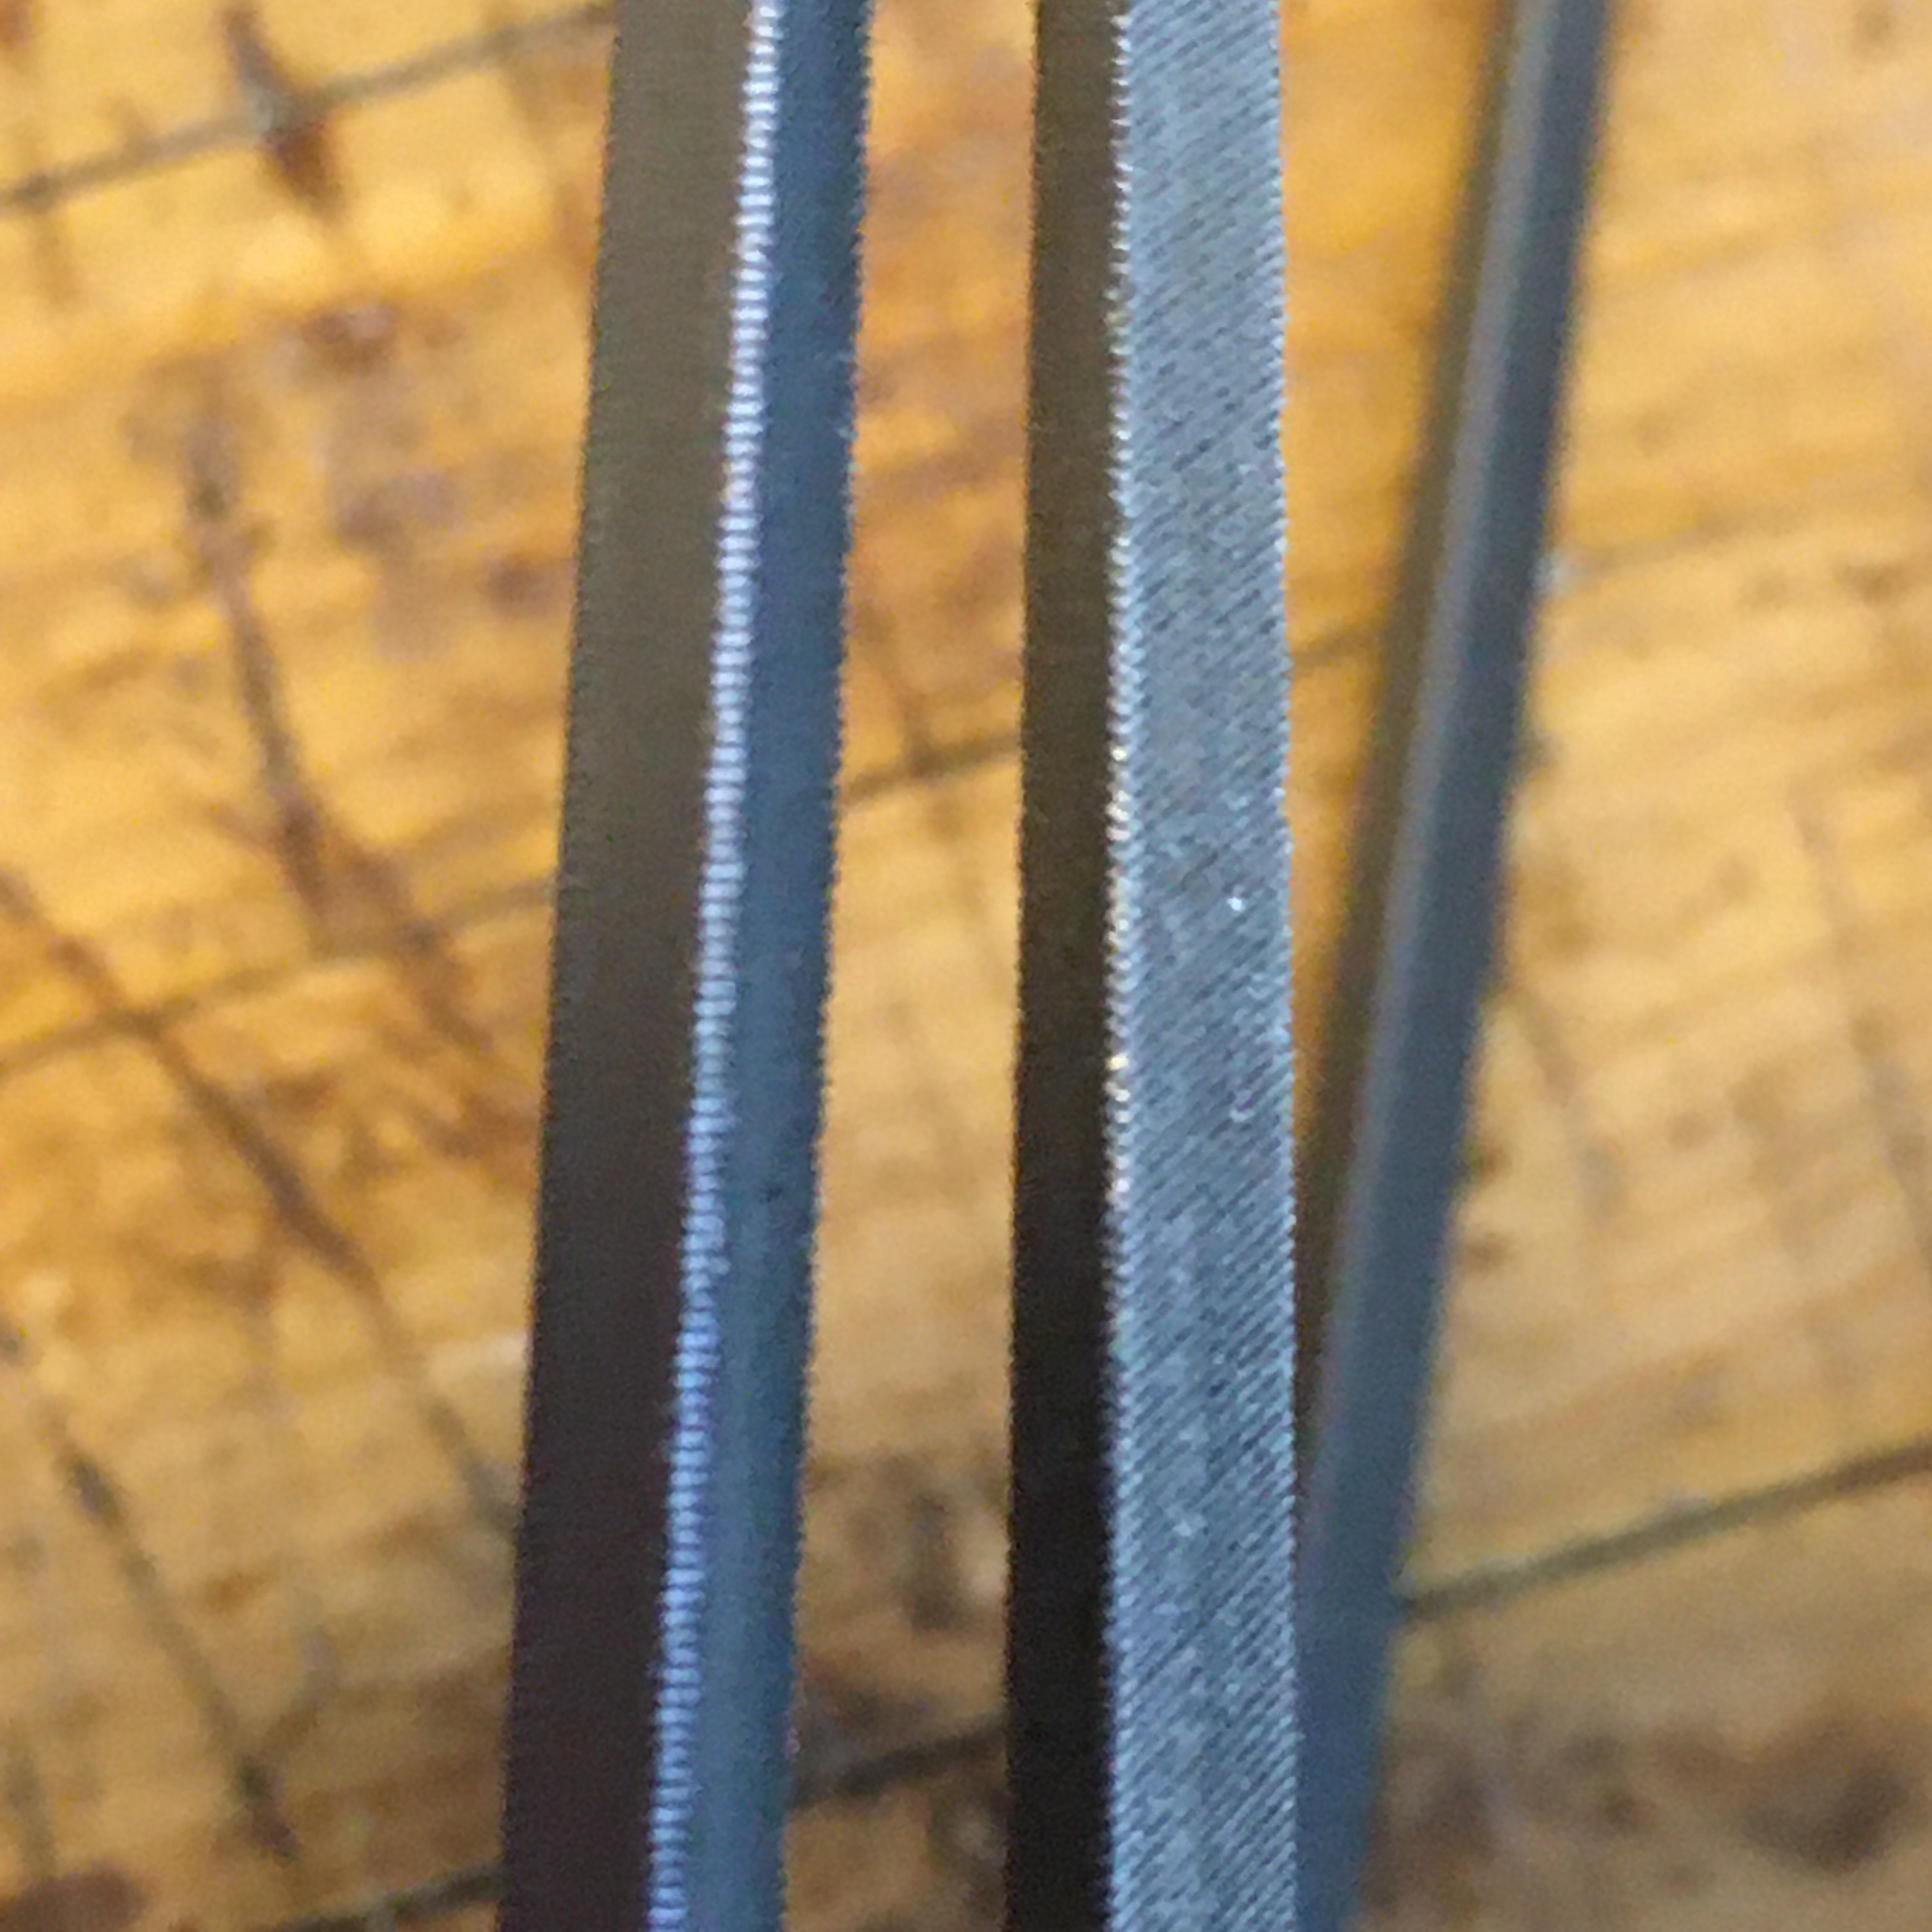
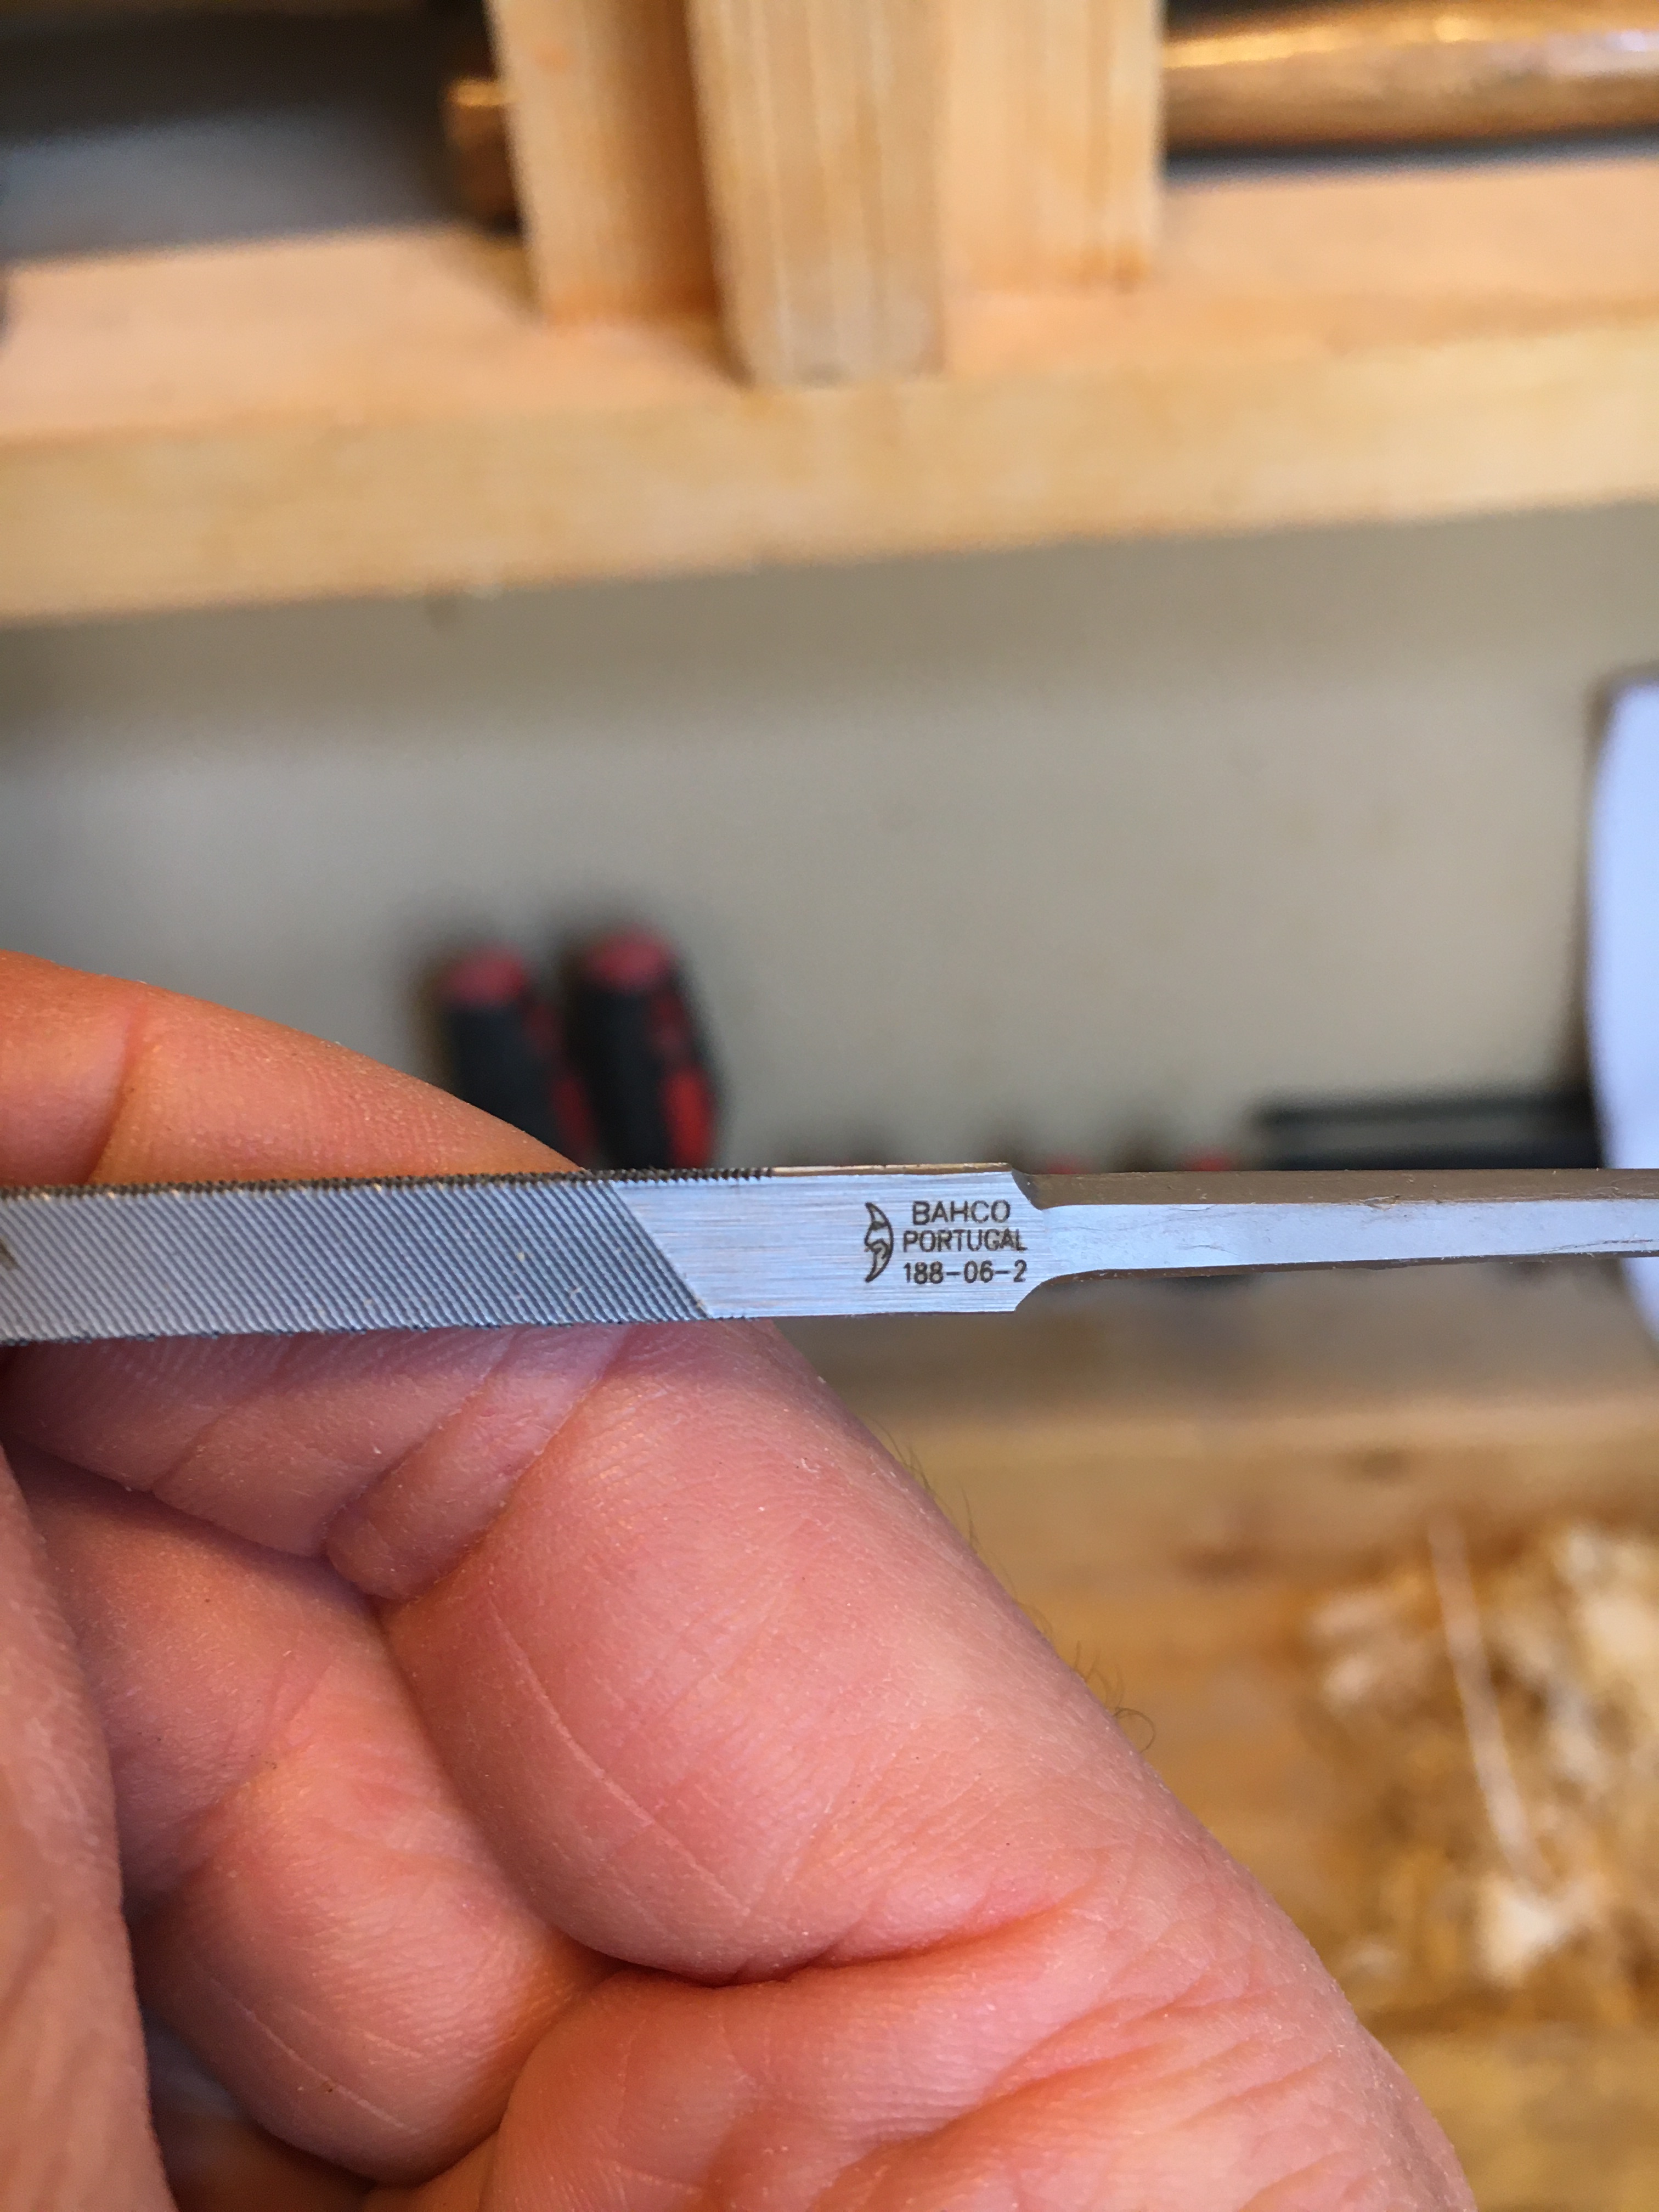
Le lime della Corradi, ad esempio, sono buone lime e costituiscono un buon rapporto qualità prezzo. Le ho acquistate qualche anno fa e, dopo circa 20 cicli di affilatura, la loro capacità abrasiva, seppur sicuramente ridotta, rimane buona. Volendo comunque inserire una valida alternativa di una marca blasonata, così da poter fare un confronto in futuro, ho acquistato su Amazon tre lime della Bahco.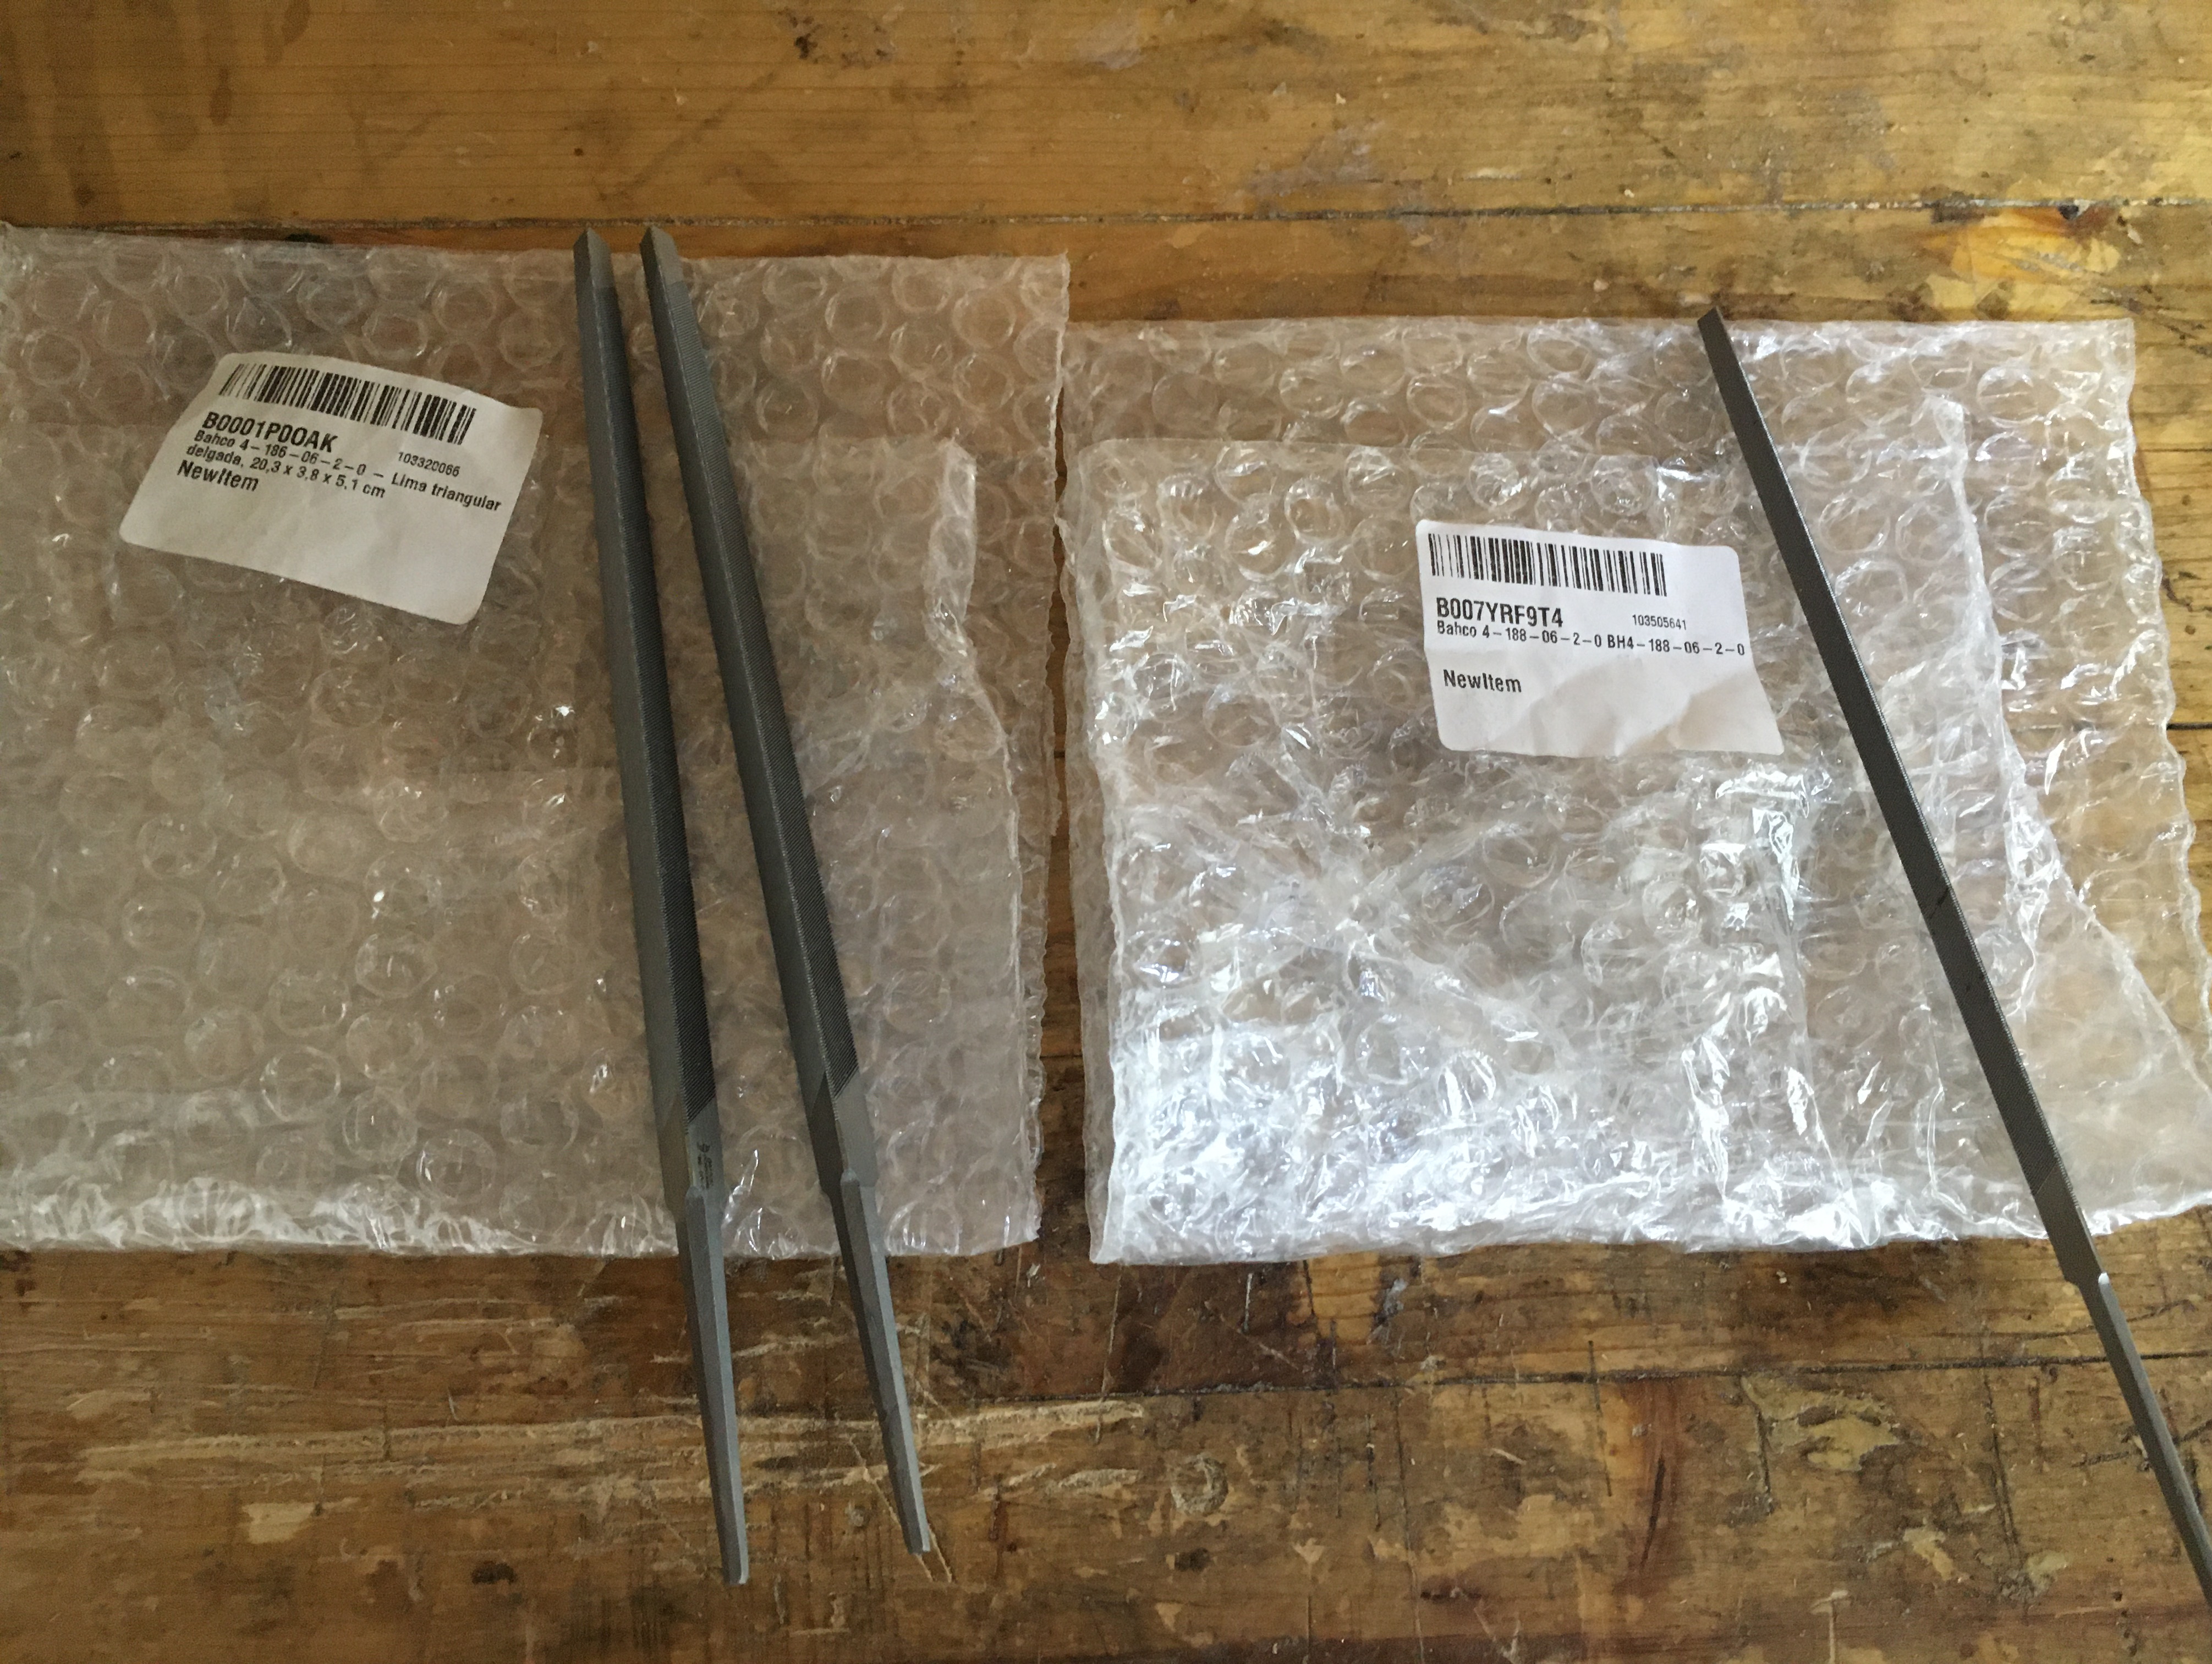
Paul Sellers ne parla molto bene, addirittura attestandole ad una durata di 50 affilature ed oltre. Questo starebbe a significare che, per l’uso che ne faccio, potrebbero durarmi quasi una vita. Il prezzo, complice sicuramente la recensione positiva del falegname britannico, è lievitato negli ultimi tempi e la spesa non è certo irrisoria (circa 32 euro per tre lime). Lascio di seguito i link per l’acquisto sia delle lime Corradi che delle lime Bahco.
https://www.rma-tools.com/index.php?main_page=product_info&cPath=67_99_103&products_id=565&zenid=fcef062b6d270a426af5a2067c75fa4f
https://www.amazon.it/gp/aw/d/B007YRF9T4/ref=yo_ii_img?ie=UTF8&psc=1
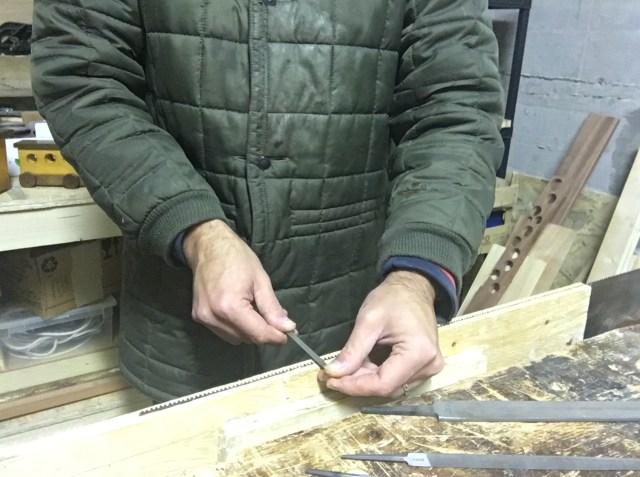
Le lime si utilizzano in un movimento a spingere e mai a tirare. Questo, sia per assecondare la naturale filettatura della lima stessa, sia per non consumarla inutilmente nel movimento a ritroso. Ogni passaggio con la lima tra un dente e l’altro affila il dorso di un dente, quello del dente successivo e la gola tra i due denti. Il passaggio deve essere breve, fermo e deciso evitando di imprimere troppa forza.
Quante passate fare dipende dallo stato di usura della sega. Una sega nuova può anche non necessitare di affilatura o, se proprio vogliamo, possiamo fare una sola passata. Per un normale grado di usura invece, due passate sono di solito sufficienti. Nelle seghe che tagliano lungo vena (ripcut) la lima va mantenuta in posizione dritta e parallela al banco. Nell’affilatura delle seghe che tagliano traverso vena (crosscut) invece la lima va tenuta inclinata di 60 gradi rispetto alla direzione di affilatura (assecondando quindi l’angolo di incontro delle facce della lima) e sempre parallela alla superficie del banco. E’ buona regola, per evitare di farsi male durante l’affilatura, provvedere ad inserire il manico nel codolo, ove le lime ne fossero sprovviste.
In commercio esistono svariati formati di lime. Le categorie principali sono la slim, extra slim e double extra slim. La loro lunghezza varia tra i 10 cm. ed i 25 cm. A seconda del tipo di sega che dobbiamo affilare dovremo utilizzare la lima appropriata. La regola vuole che la faccia della lima sia di altezza poco più che doppia rispetto all’altezza del dente della sega. Da ciò discende che le lime più piccole sono utilizzate per le seghe più piccole e con maggior numero di denti (tenon saw e dovetail saw). Per le seghe più grandi (panel saw) si utilizzano lime di maggiori dimensioni. Una stessa lima può essere utilizzata indifferentemente sia su una sega ripcut che su una sega crosscut. Nella tabella che segue riepilogo le lime che si possono utilizzare rispetto alle seghe.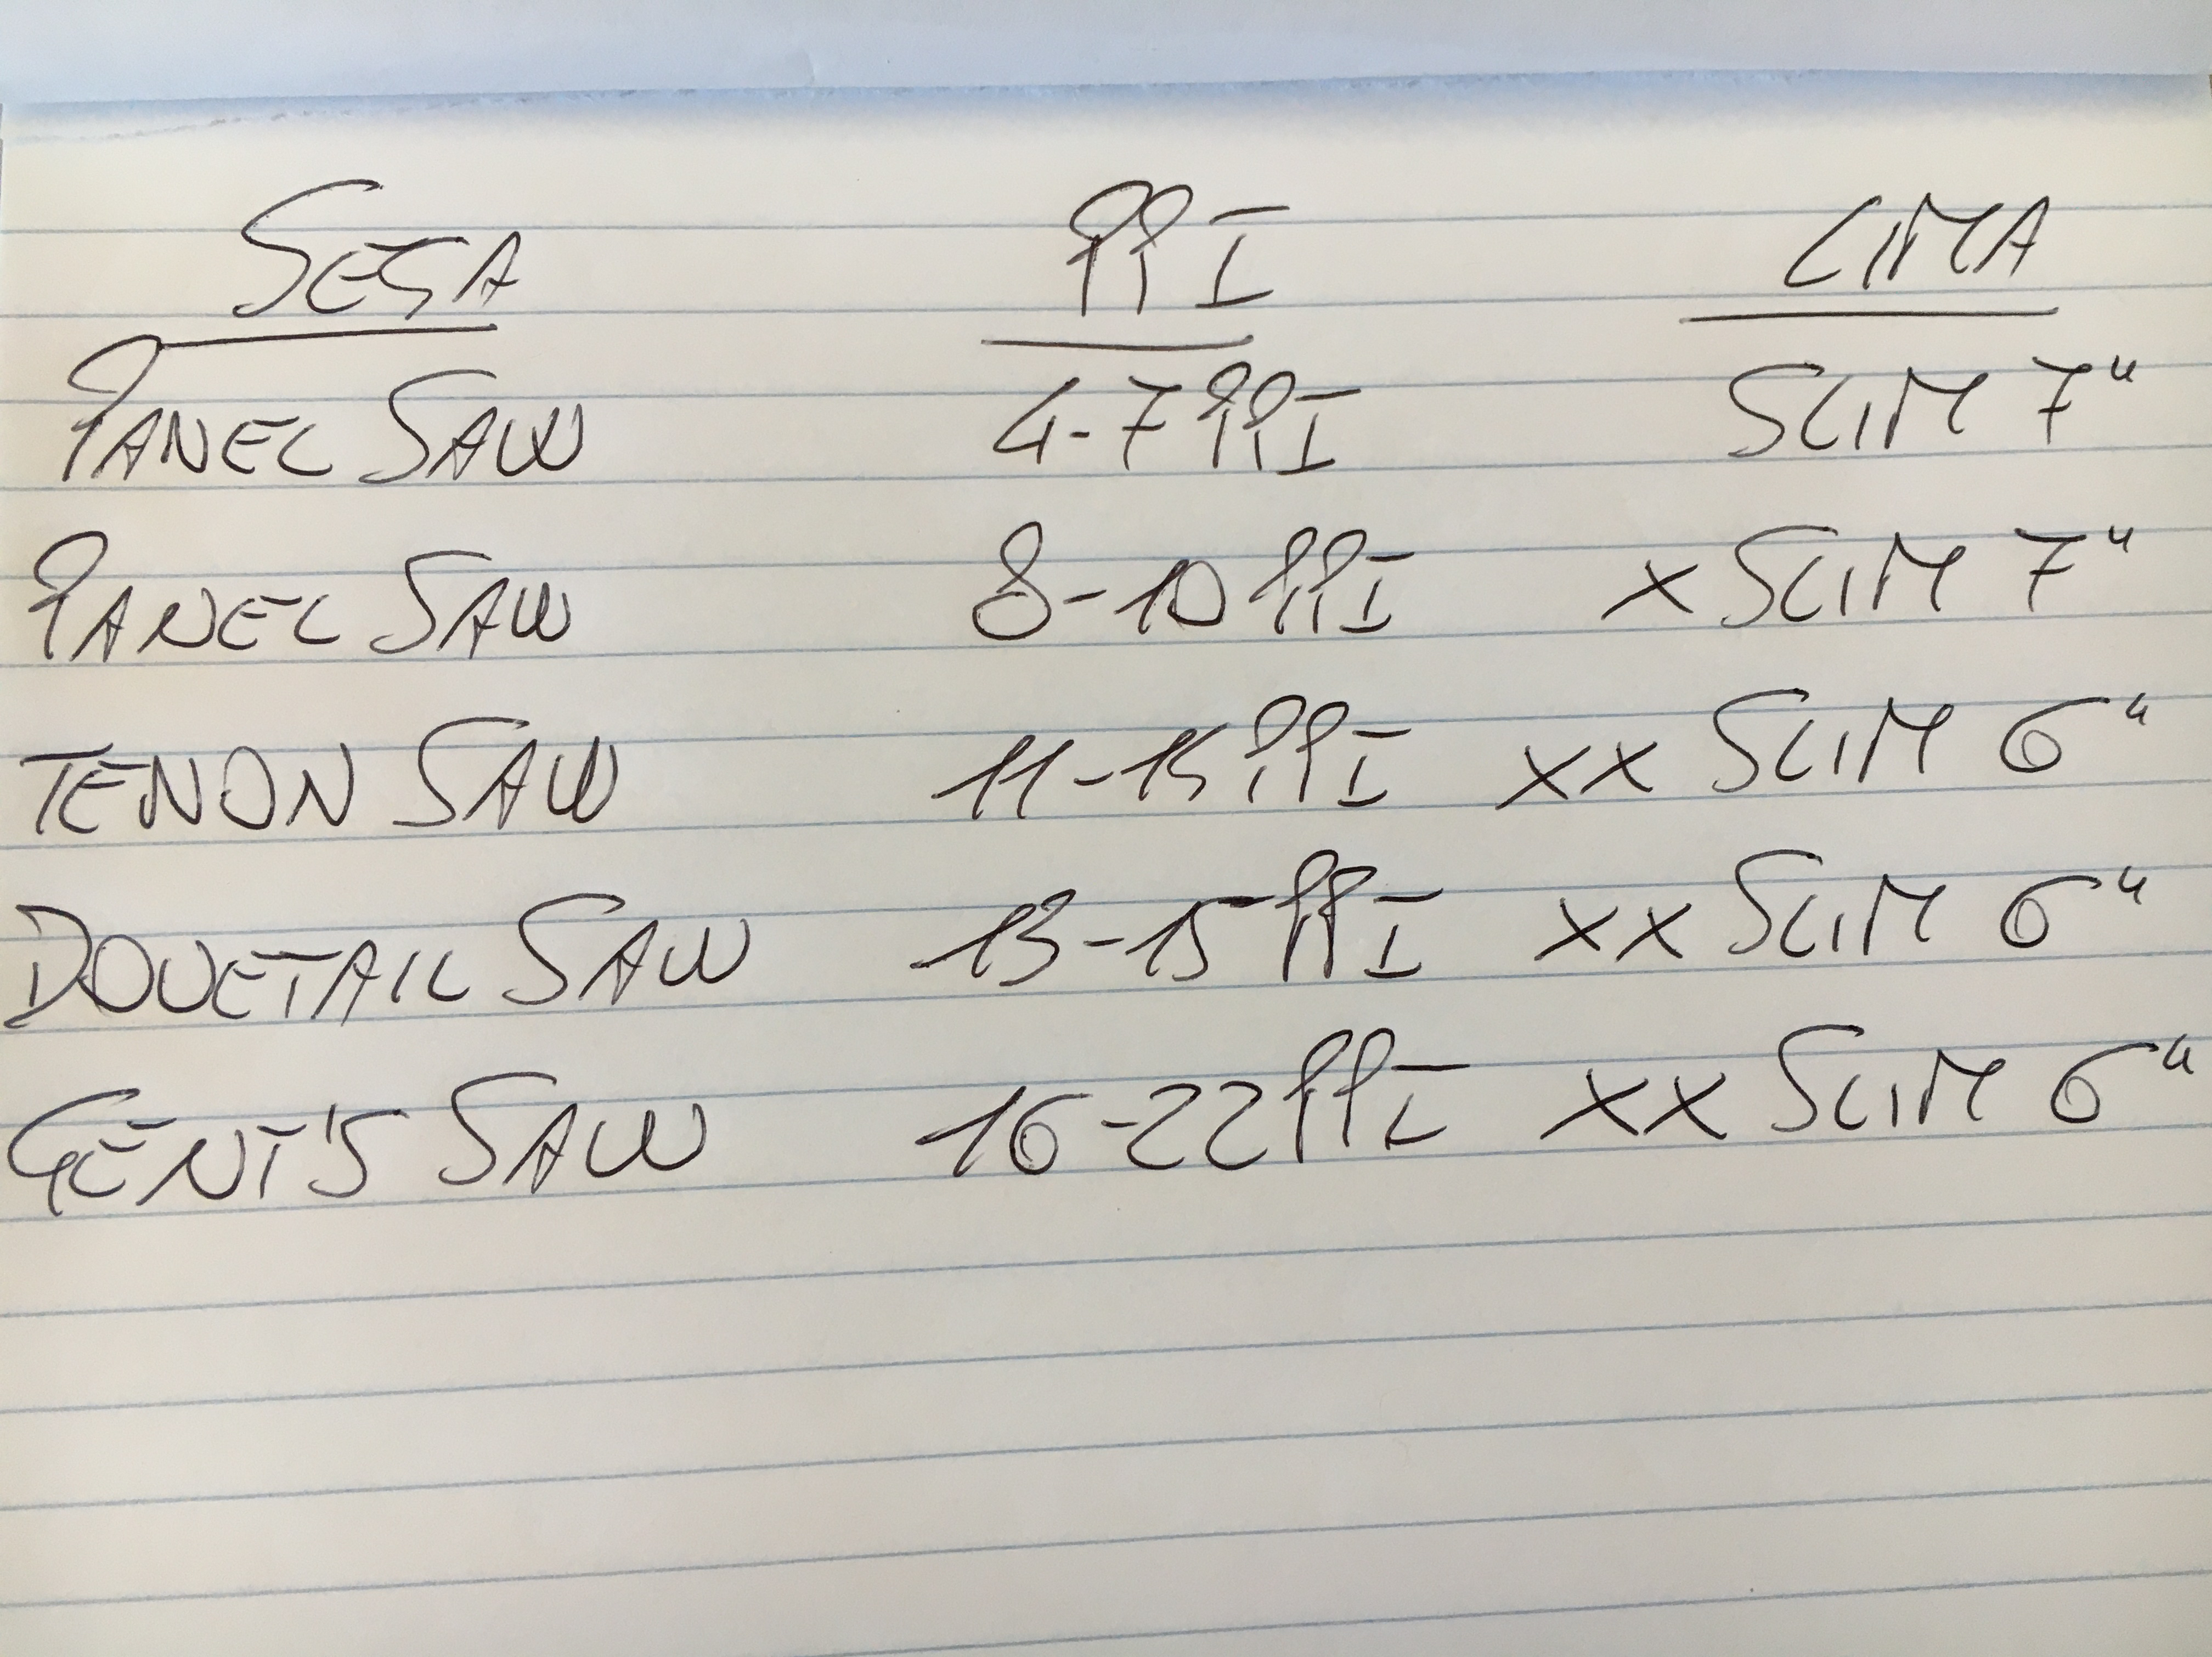
Nella pratica l’acquisto dei tre tipi di lima indicati nella tabella copriranno tutte le nostre necessità di affilatura di seghe fino a 22 PPI. Le seghe sopra i 16 PPI sono comunque difficili da riaffilare e per questo, secondo me, non risulta conveniente acquistare le relative lime.
Per mantenere in buona efficienza le lime, ogni tanto è bene pulirle con una spazzola a setole metalliche avendo l’accortezza di spazzolare parallelamente ai denti della lima, dentro le scanalature e non di traverso, così da non danneggiarne i taglienti.
LIMA A FACCIA PIATTA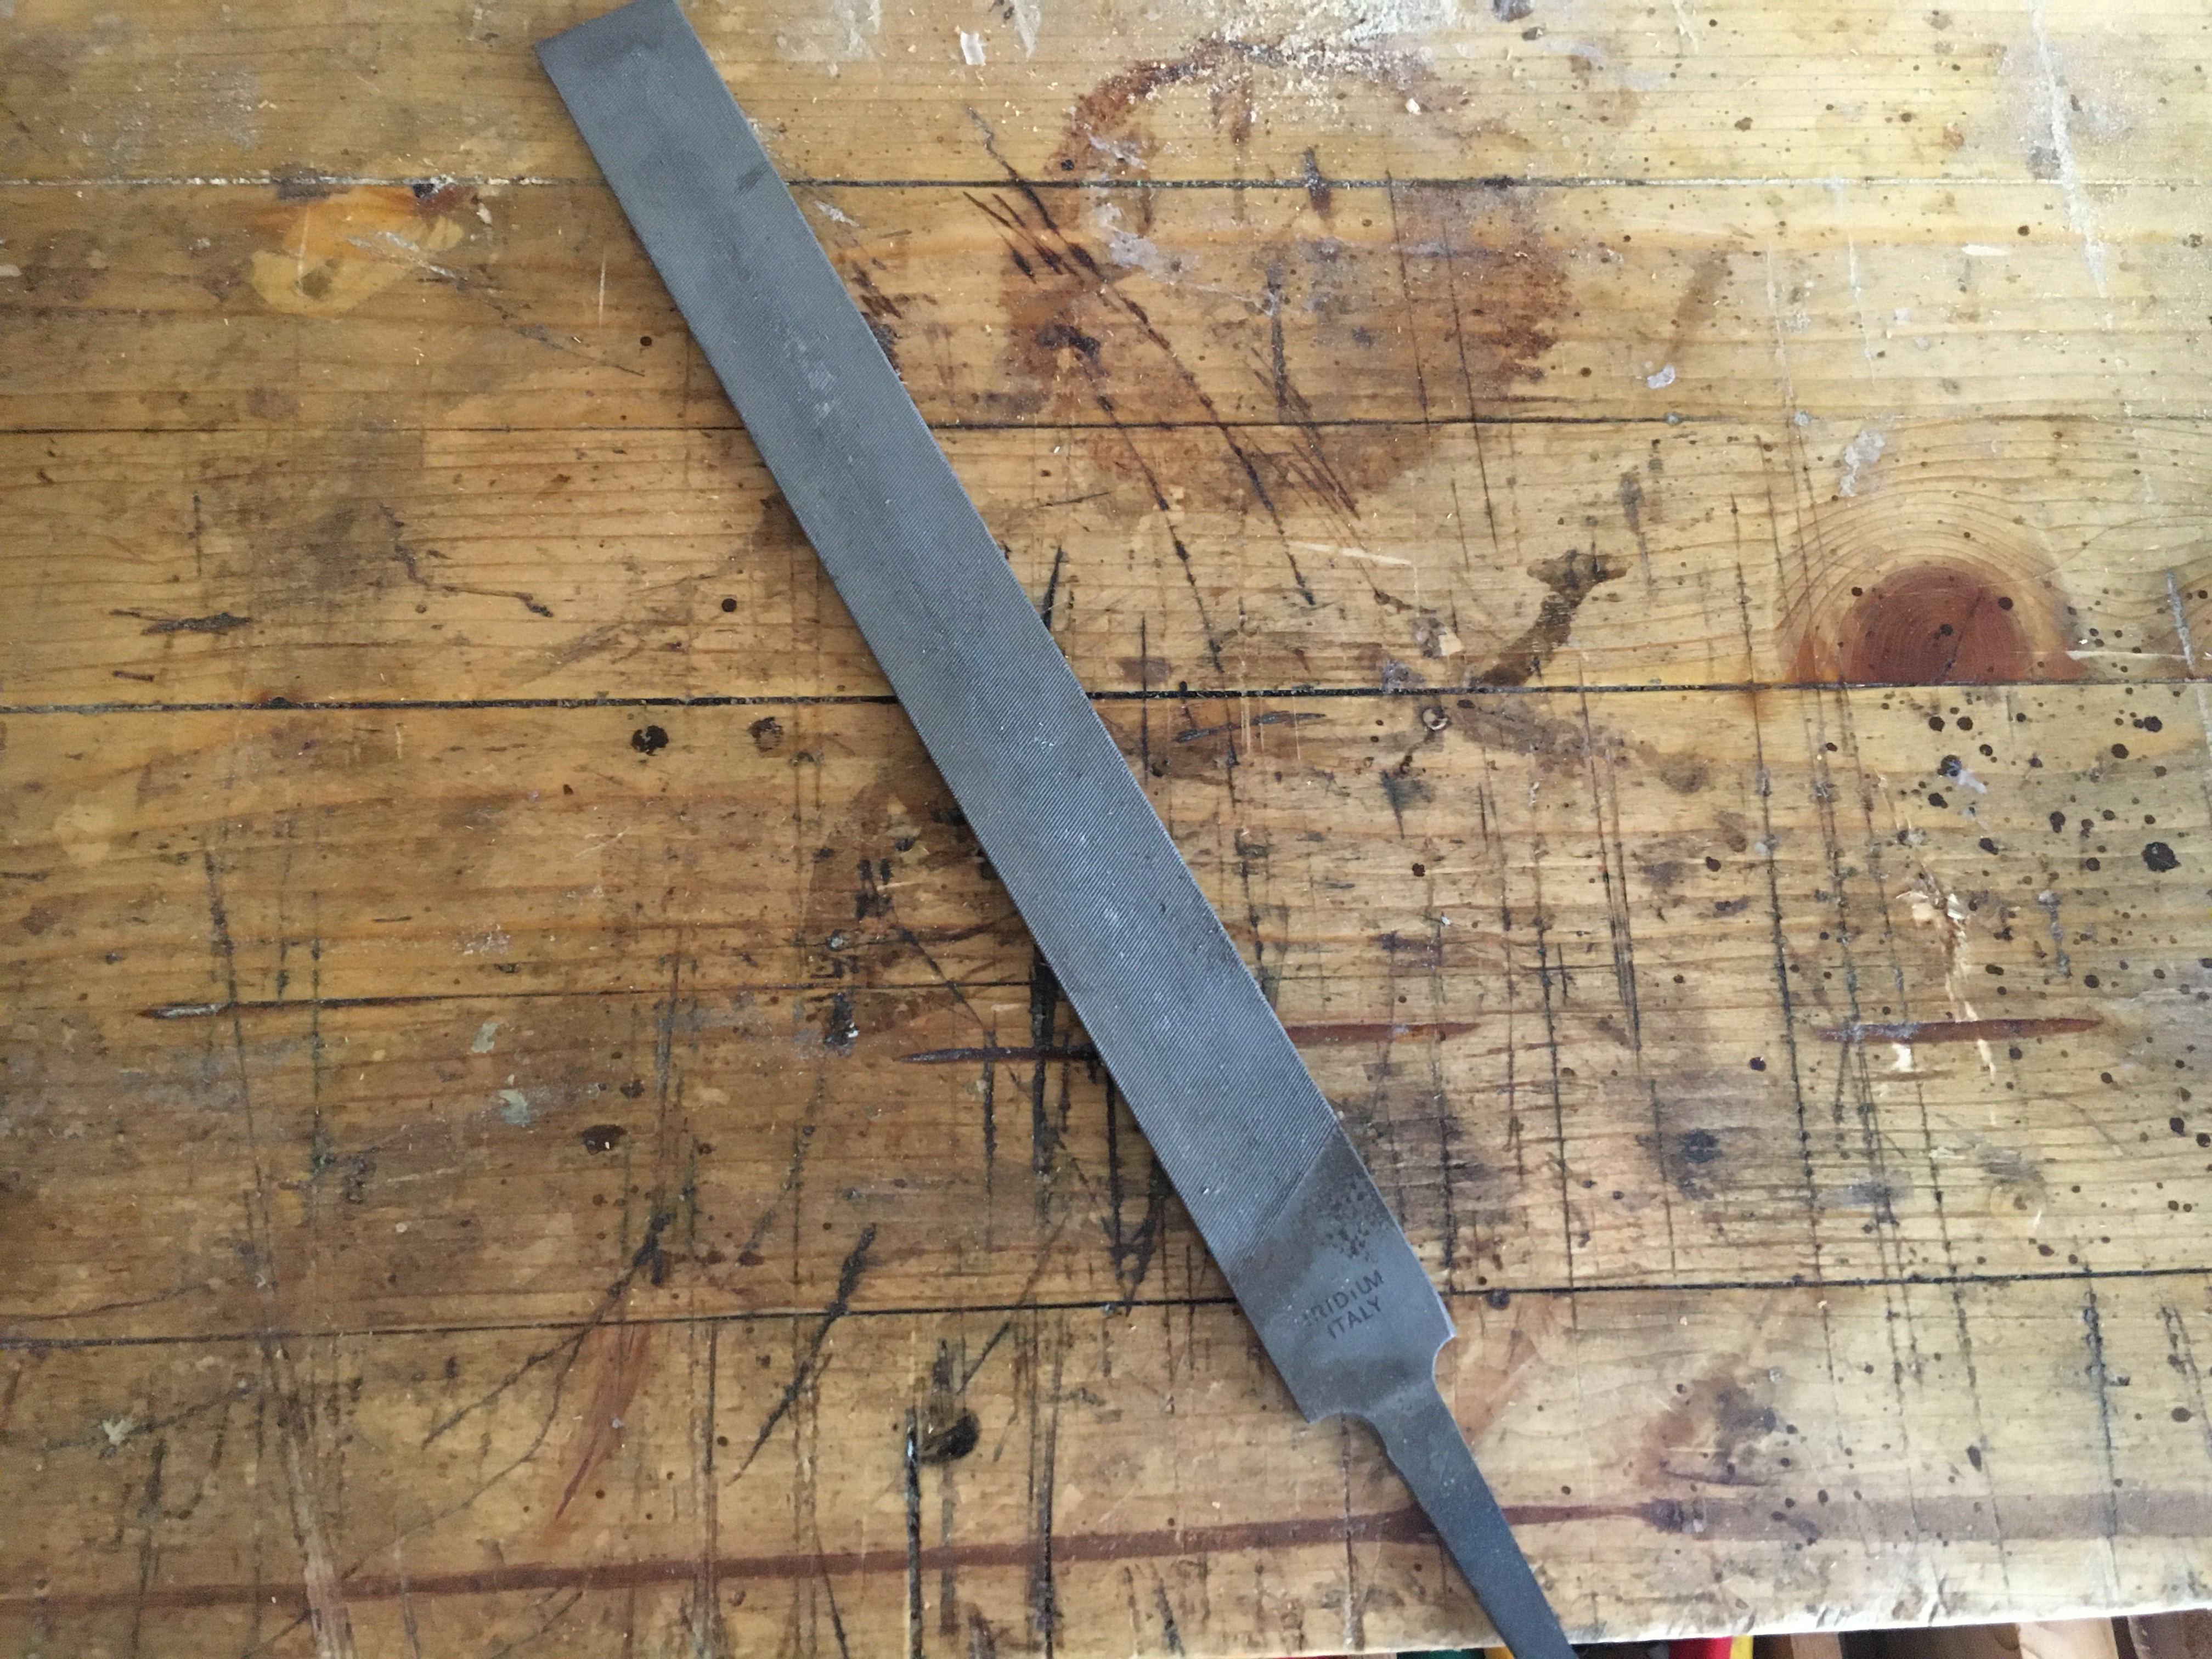
La lima a faccia piatta è una normalissima lima da affilatura. Dovrebbe comunque avere dimensioni tali da permetterci di lavorare con comodità sulla lama della sega. Solitamente si usano di lunghezza compresa tra i 25 cm. ed i 30 cm. In passato ho acquistato questo tipo di lima, della quale inserisco il link, e che posso consigliare.
Viene solitamente utilizzata prima dell’affilatura con le lime triangolari e serve a livellare i denti della sega. Due o tre passate, da effettuarsi nel senso di direzione dei denti, sono di solito sufficienti a portare i denti tutti alla stessa altezza. Durante le passate è importante mantenere la lima il più possibile parallela al banco di lavoro. In questo possiamo eventualmente aiutarci con un ausilio auto costruito.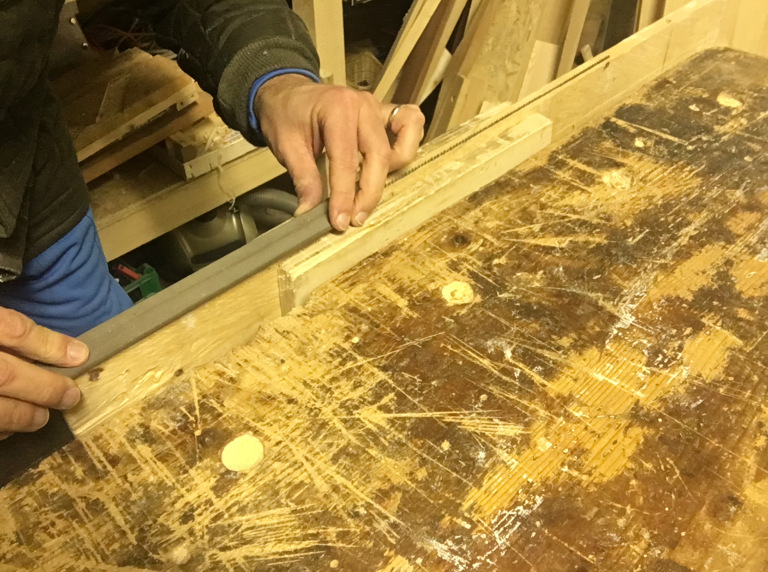
Questo tipo di lima deve essere utilizzata senza il manico, che sarebbe d’intralcio andando a sbattere sulla lama della sega.
PINZA STRADA SEGHE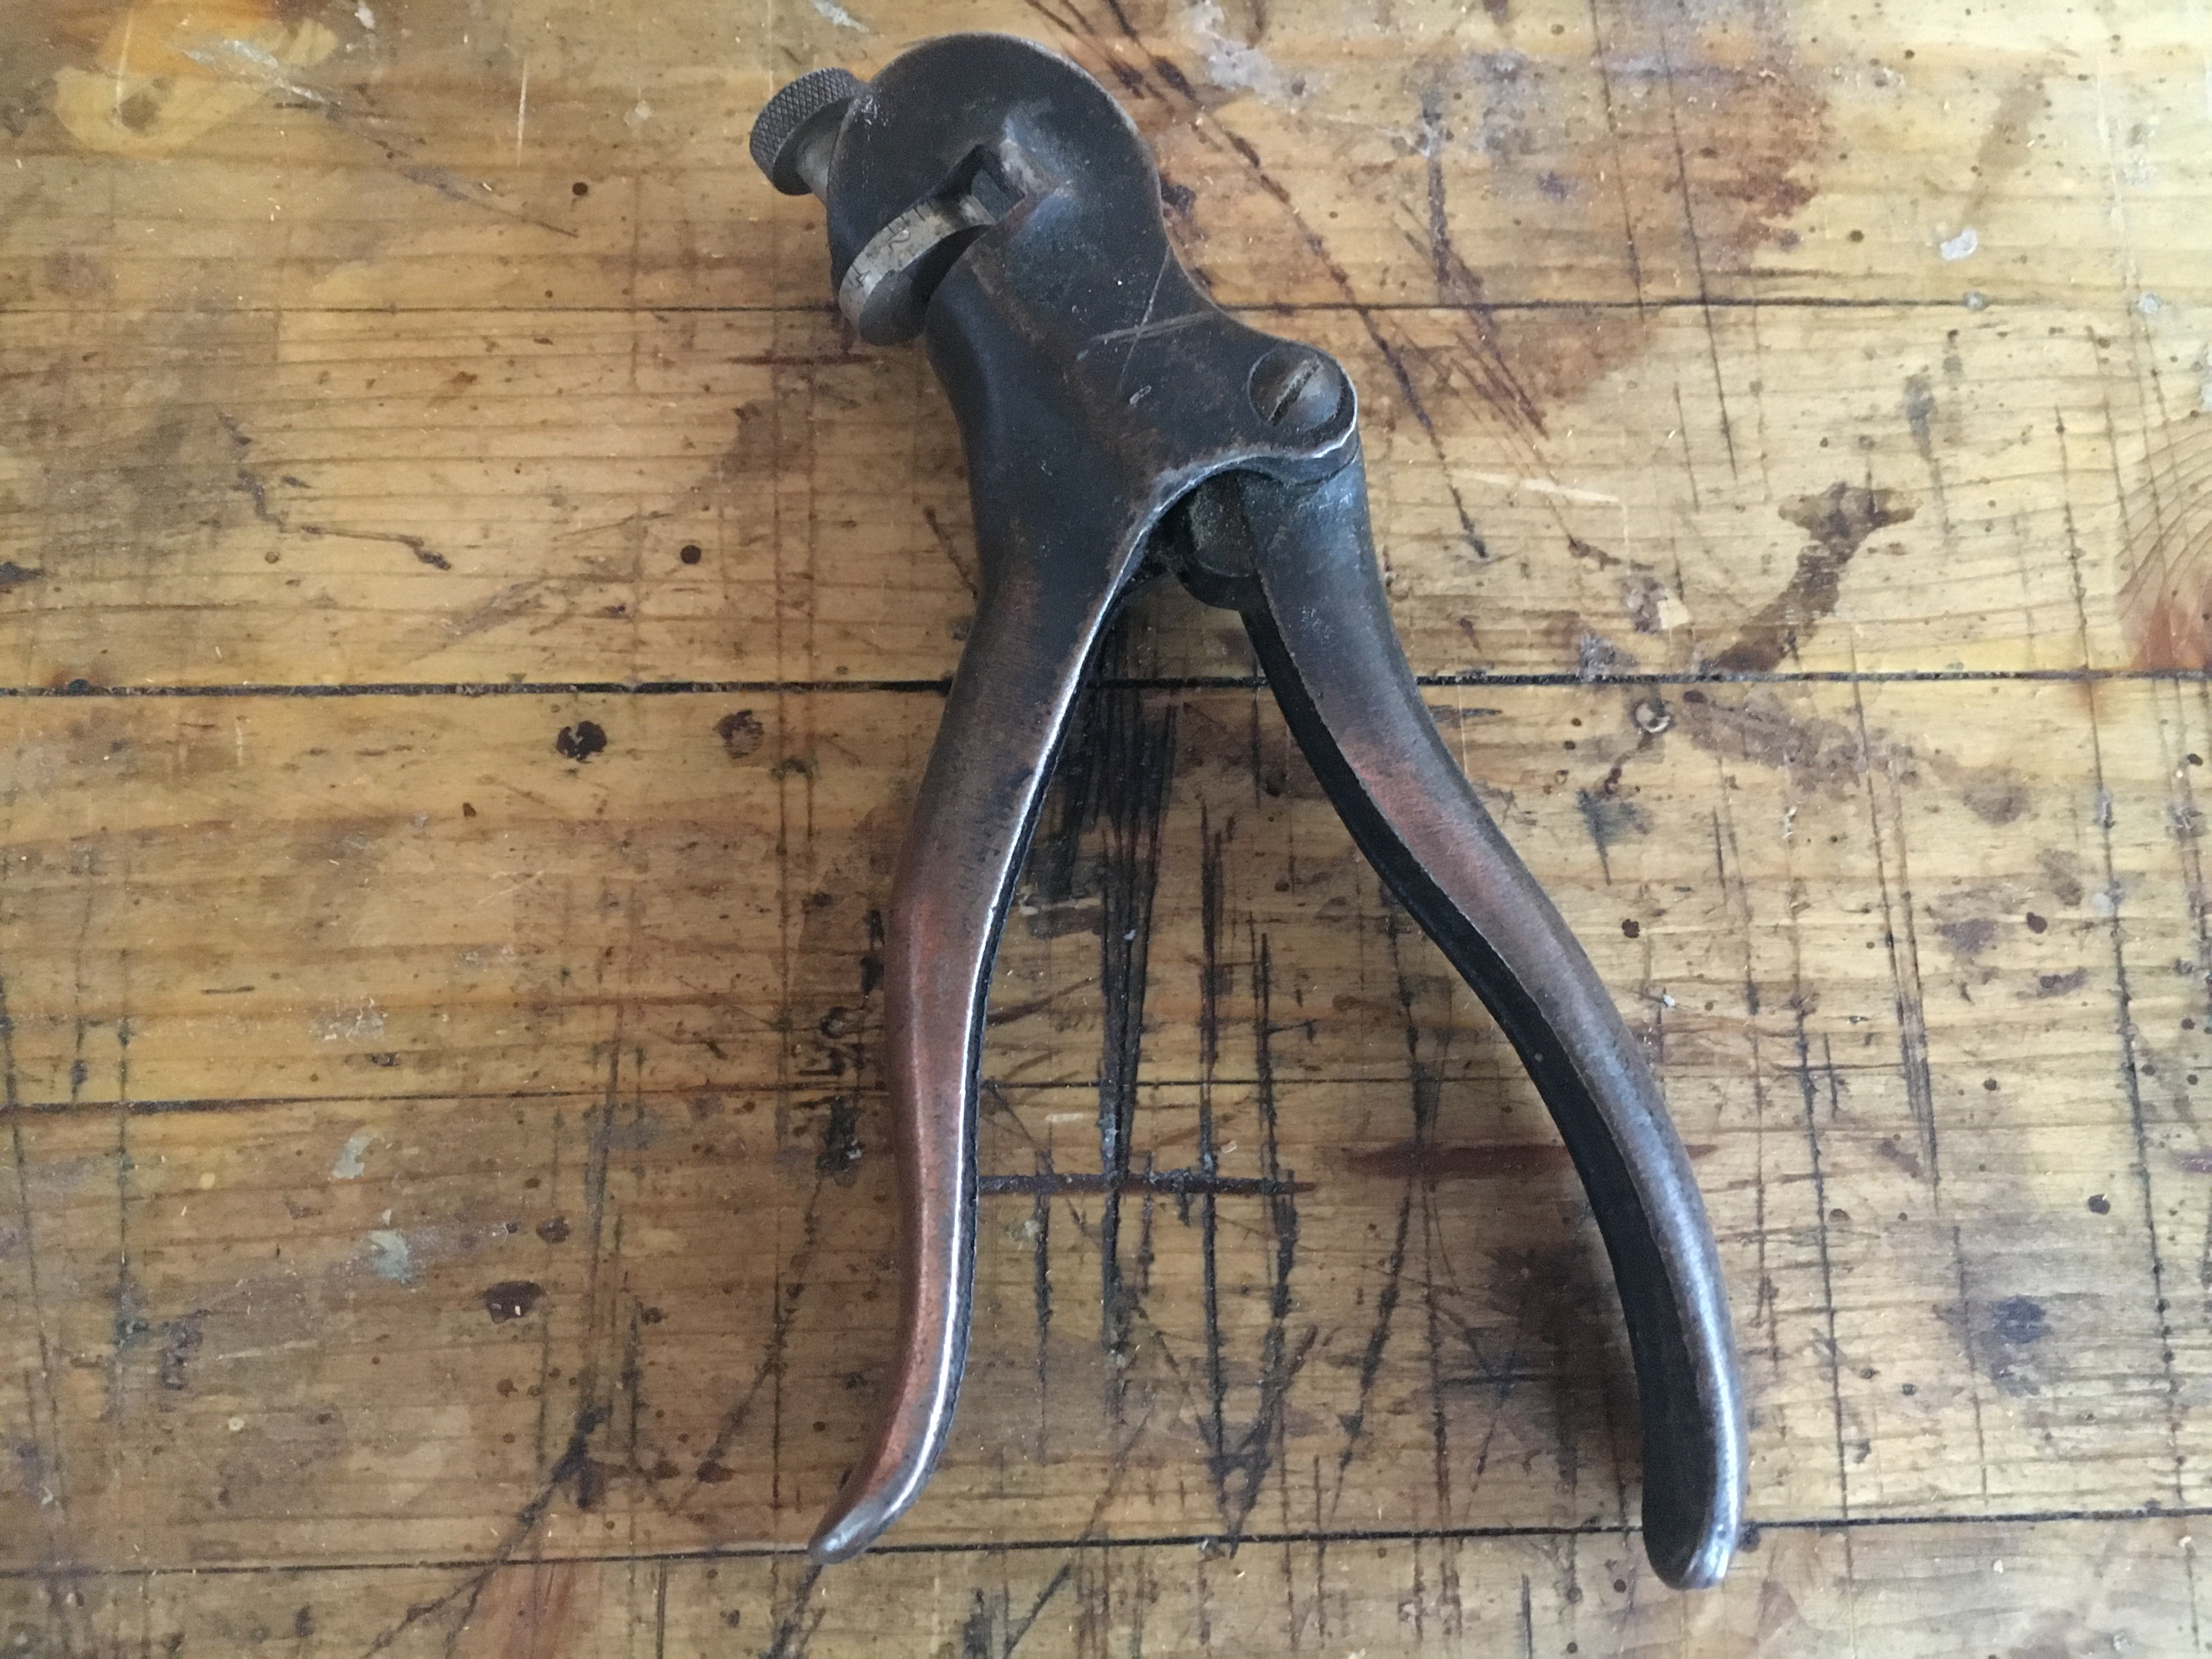
La pinza strada seghe è un ausilio che serve per la stradatura dei denti della sega. Per stradatura si intende quel procedimento con il quale i denti della sega vengono piegati alternativamente nelle due direzioni opposte così da creare un passaggio (una strada, da qui il nome stradatura) per tutta la lunghezza della lama, che possa permettere alla sega di tagliare senza incepparsi. All’atto pratico otterremo un taglio più largo dello spessore della lama della sega. Come detto in un precedente post la stradatura non è sempre necessaria, ma opportuna solo quando si avverta che, nella fase di rientro della sega nel movimento di taglio, questa opponga troppa resistenza.
Una stradatura troppo accentuata non è consigliabile perché avremo uno spessore di taglio eccessivo e dovremo imprimere troppa forza in fase segagione, mentre una stradatura insufficiente o assente farà si che la sega tagli poco o addirittura si inceppi nel legno.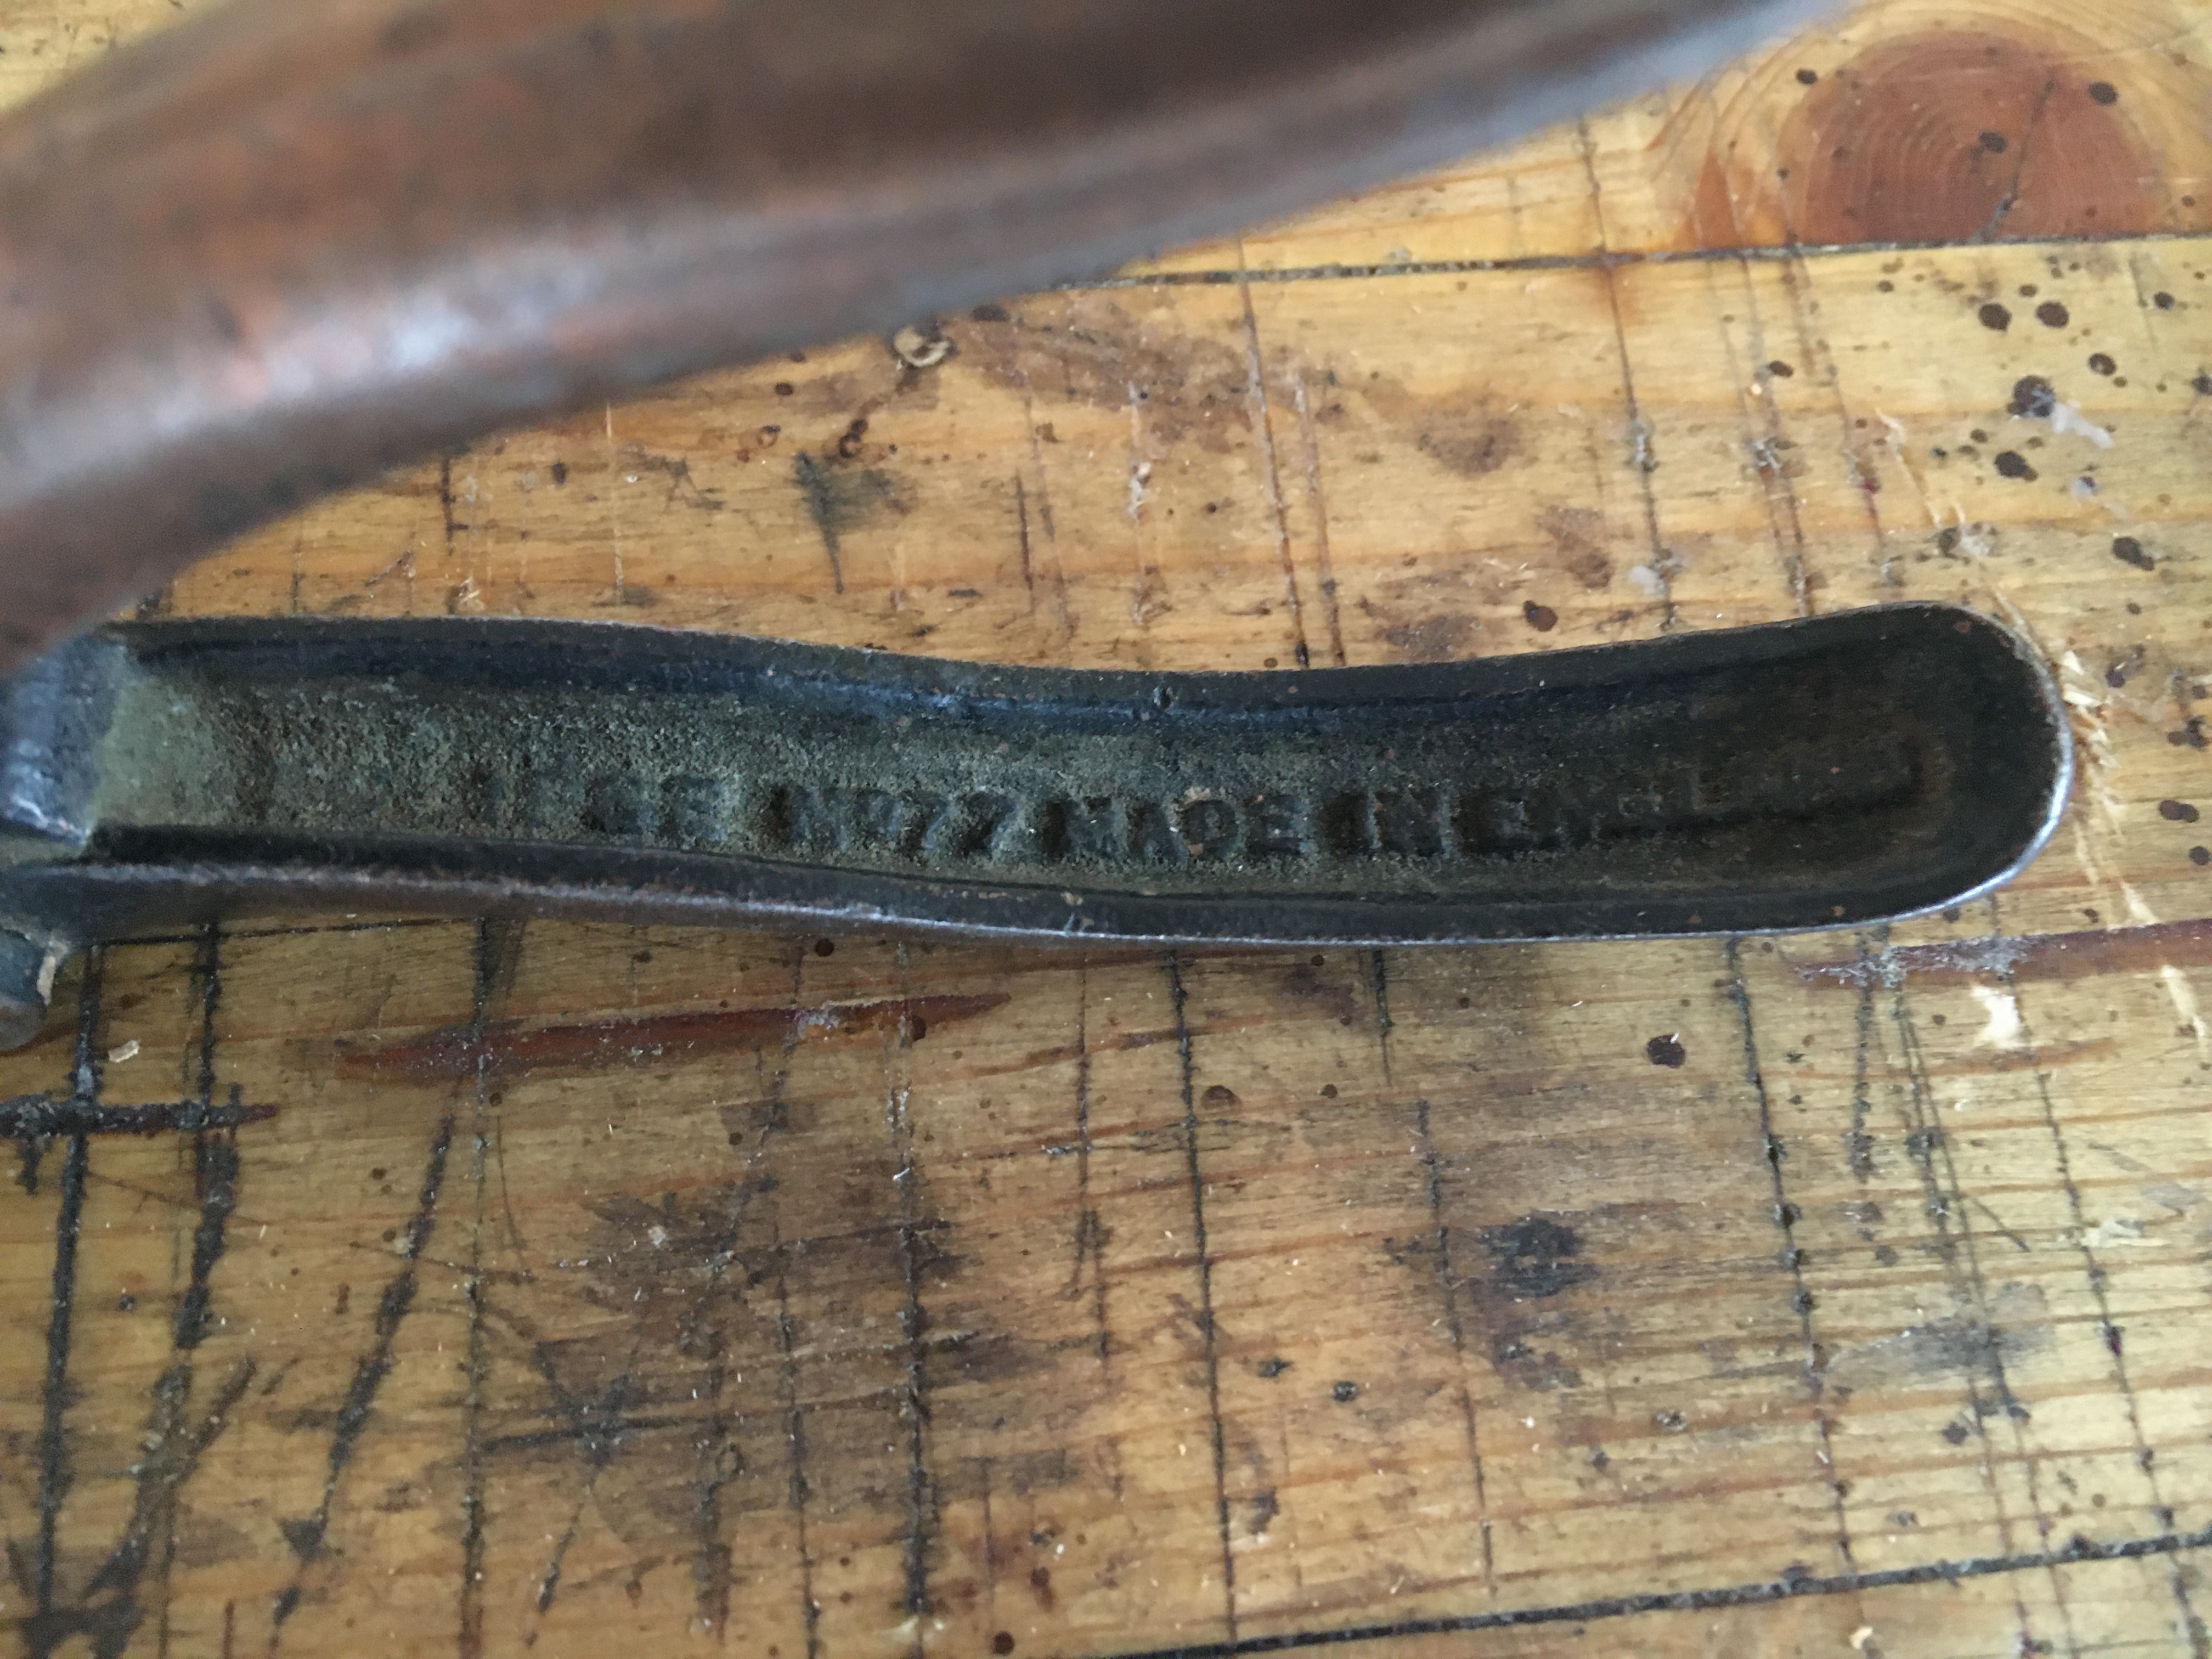
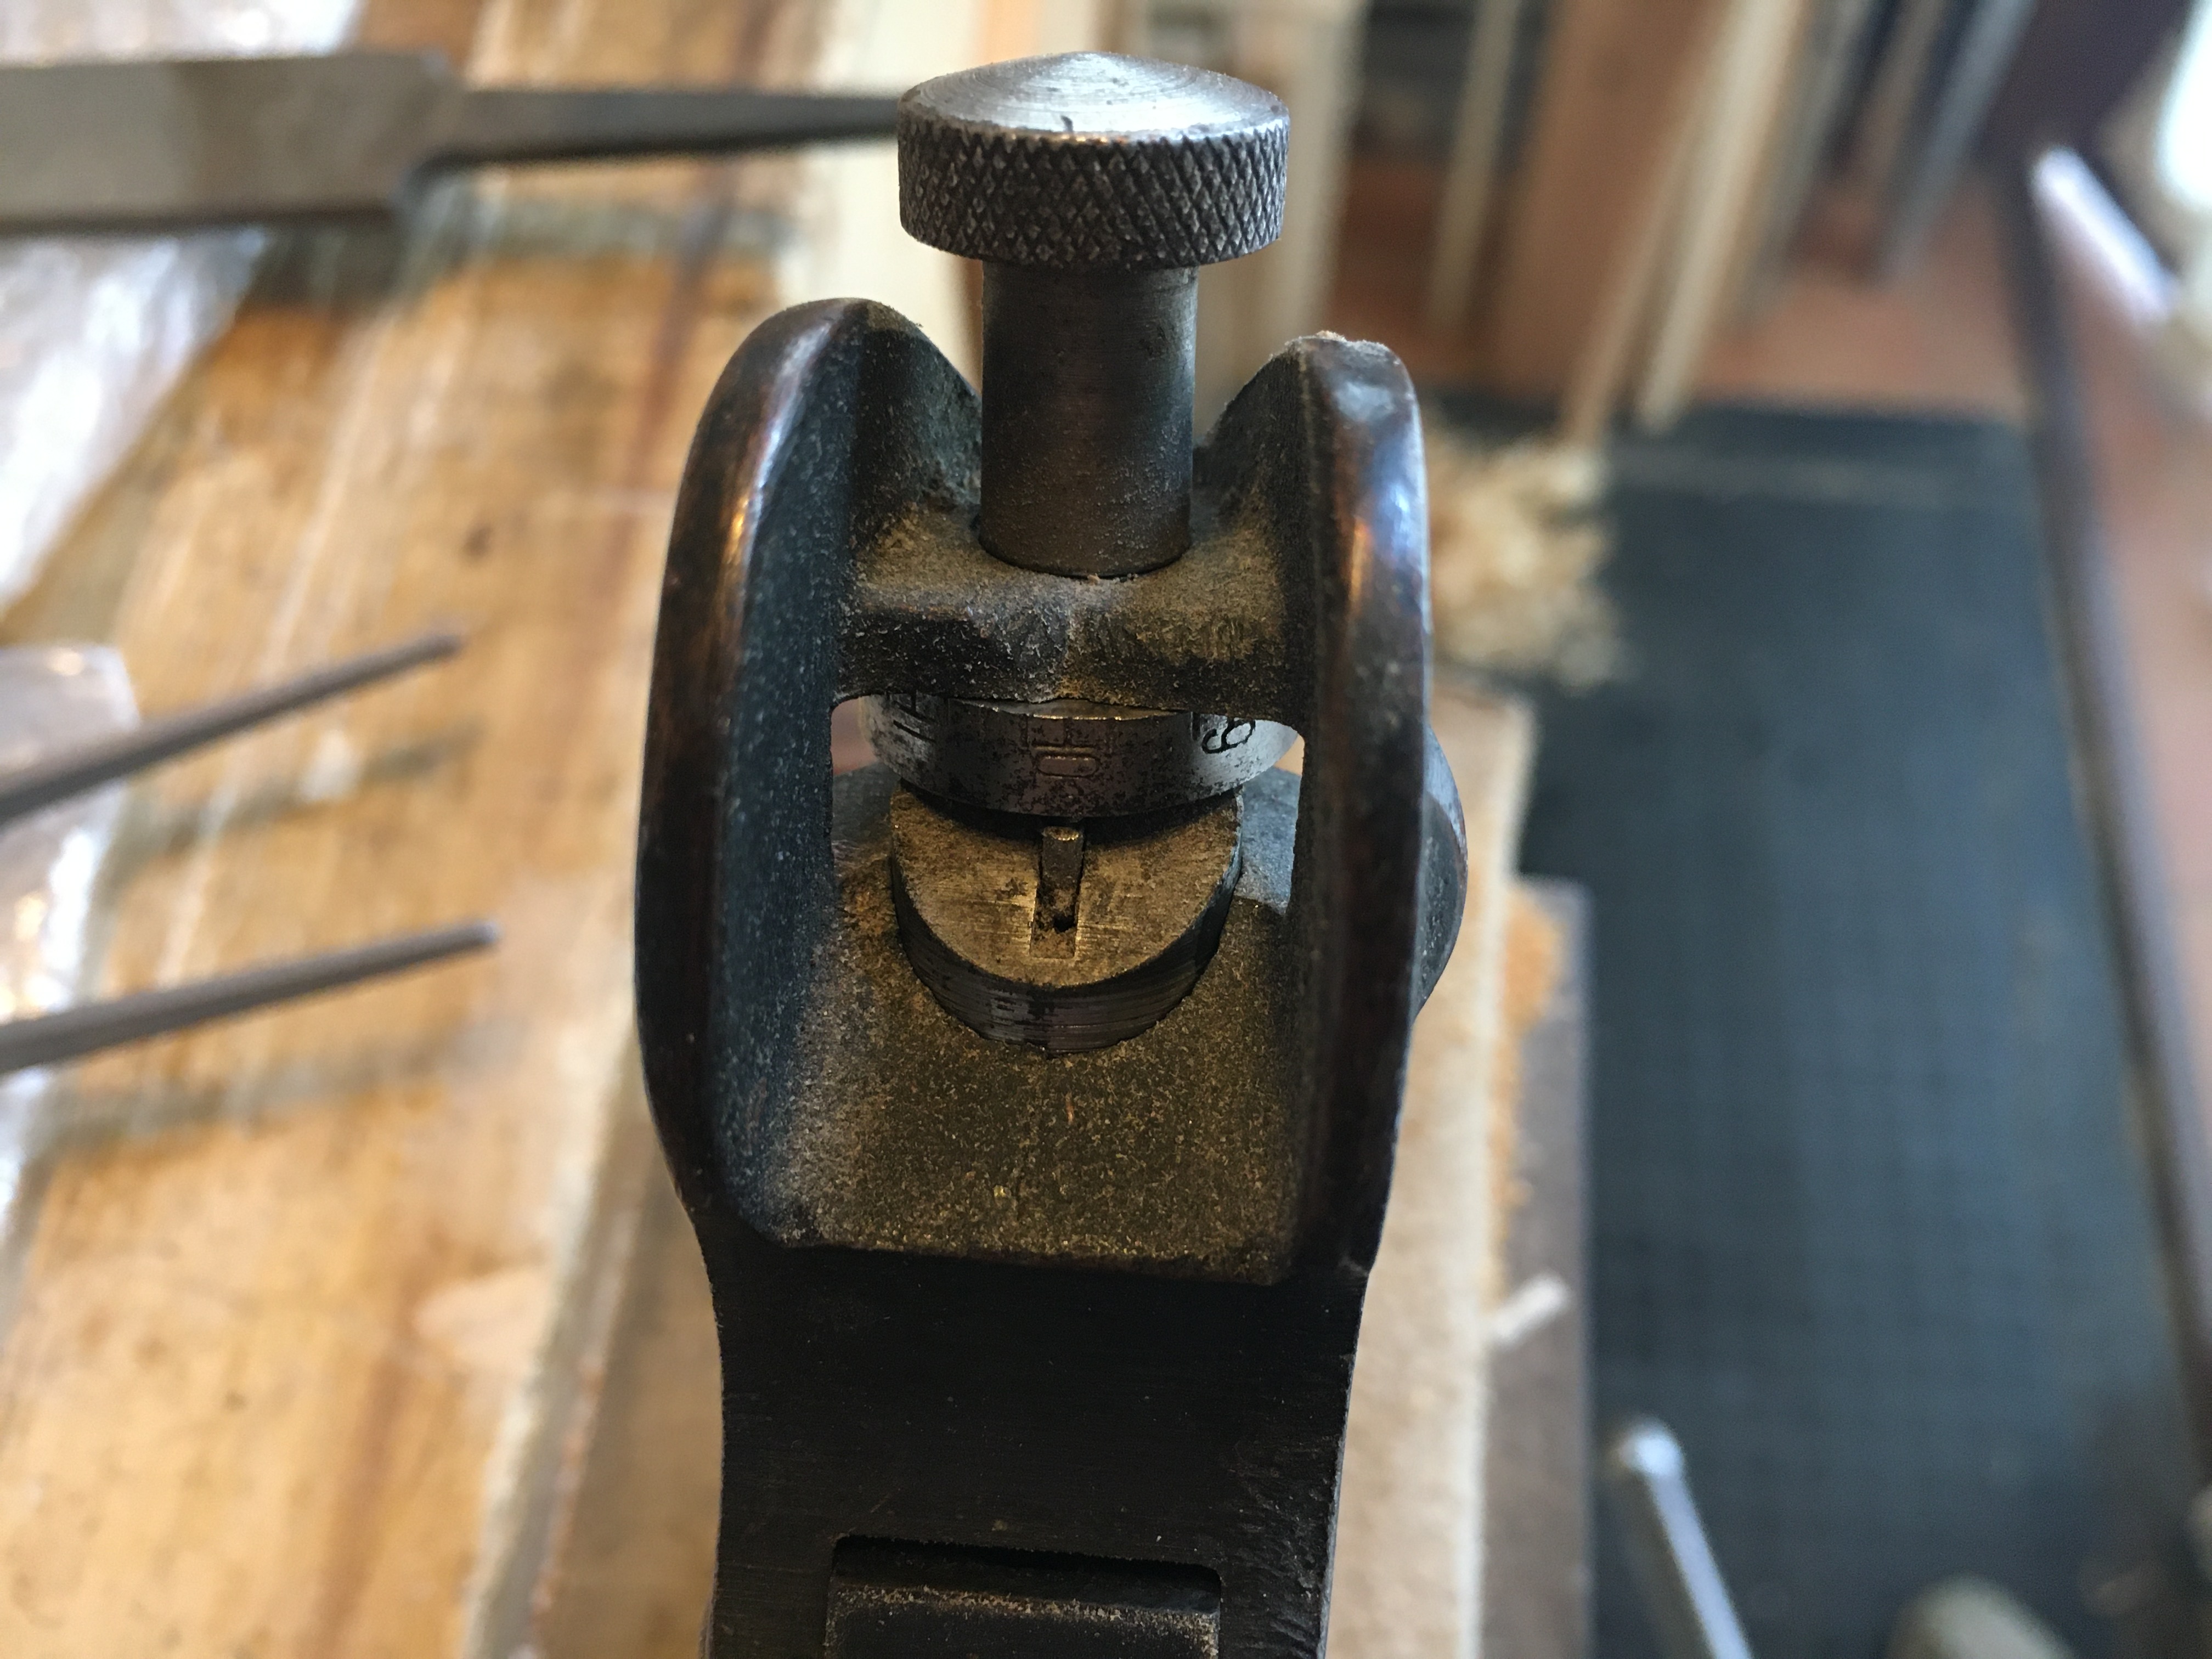
Su Ebay si trovano pinze strada seghe usate per pochi euro. Il mio consiglio è quindi quello di cercare sull’usato Ebay acquistando la storica Eclipse n. 77 (scrivendo in inglese “saw set eclipse 77”). Se ne trovano ancora molte, ad un prezzo accessibile ed in ottime condizioni. Tra queste meglio cercare quelle che possiedono il pistoncino spingi dente più stretto. Per riconoscerle, un metodo che ho riscontrato essere valido, è quello di guardare alla scritta all’ interno di uno dei due manici. Se la scritta “Eclipse n° 77 Made in England” è riportata in rilievo e per esteso su tutta una riga allora si tratta dei primi modelli di pinza con il pistoncino più stretto che meglio si adatta alle varie grandezze dei denti della sega quindi anche ai denti più piccoli. Le versioni più recenti invece hanno il pistoncino più spesso e quindi hanno maggiore difficoltà a lavorare sulle seghe che presentano denti più piccoli. Quest’ultime sono riconoscibili perchè riportano sul manico la scritta in rilievo su due righe anziché su una. Una valida alternativa alle pinze Eclipse sono le giapponesi Somax 250.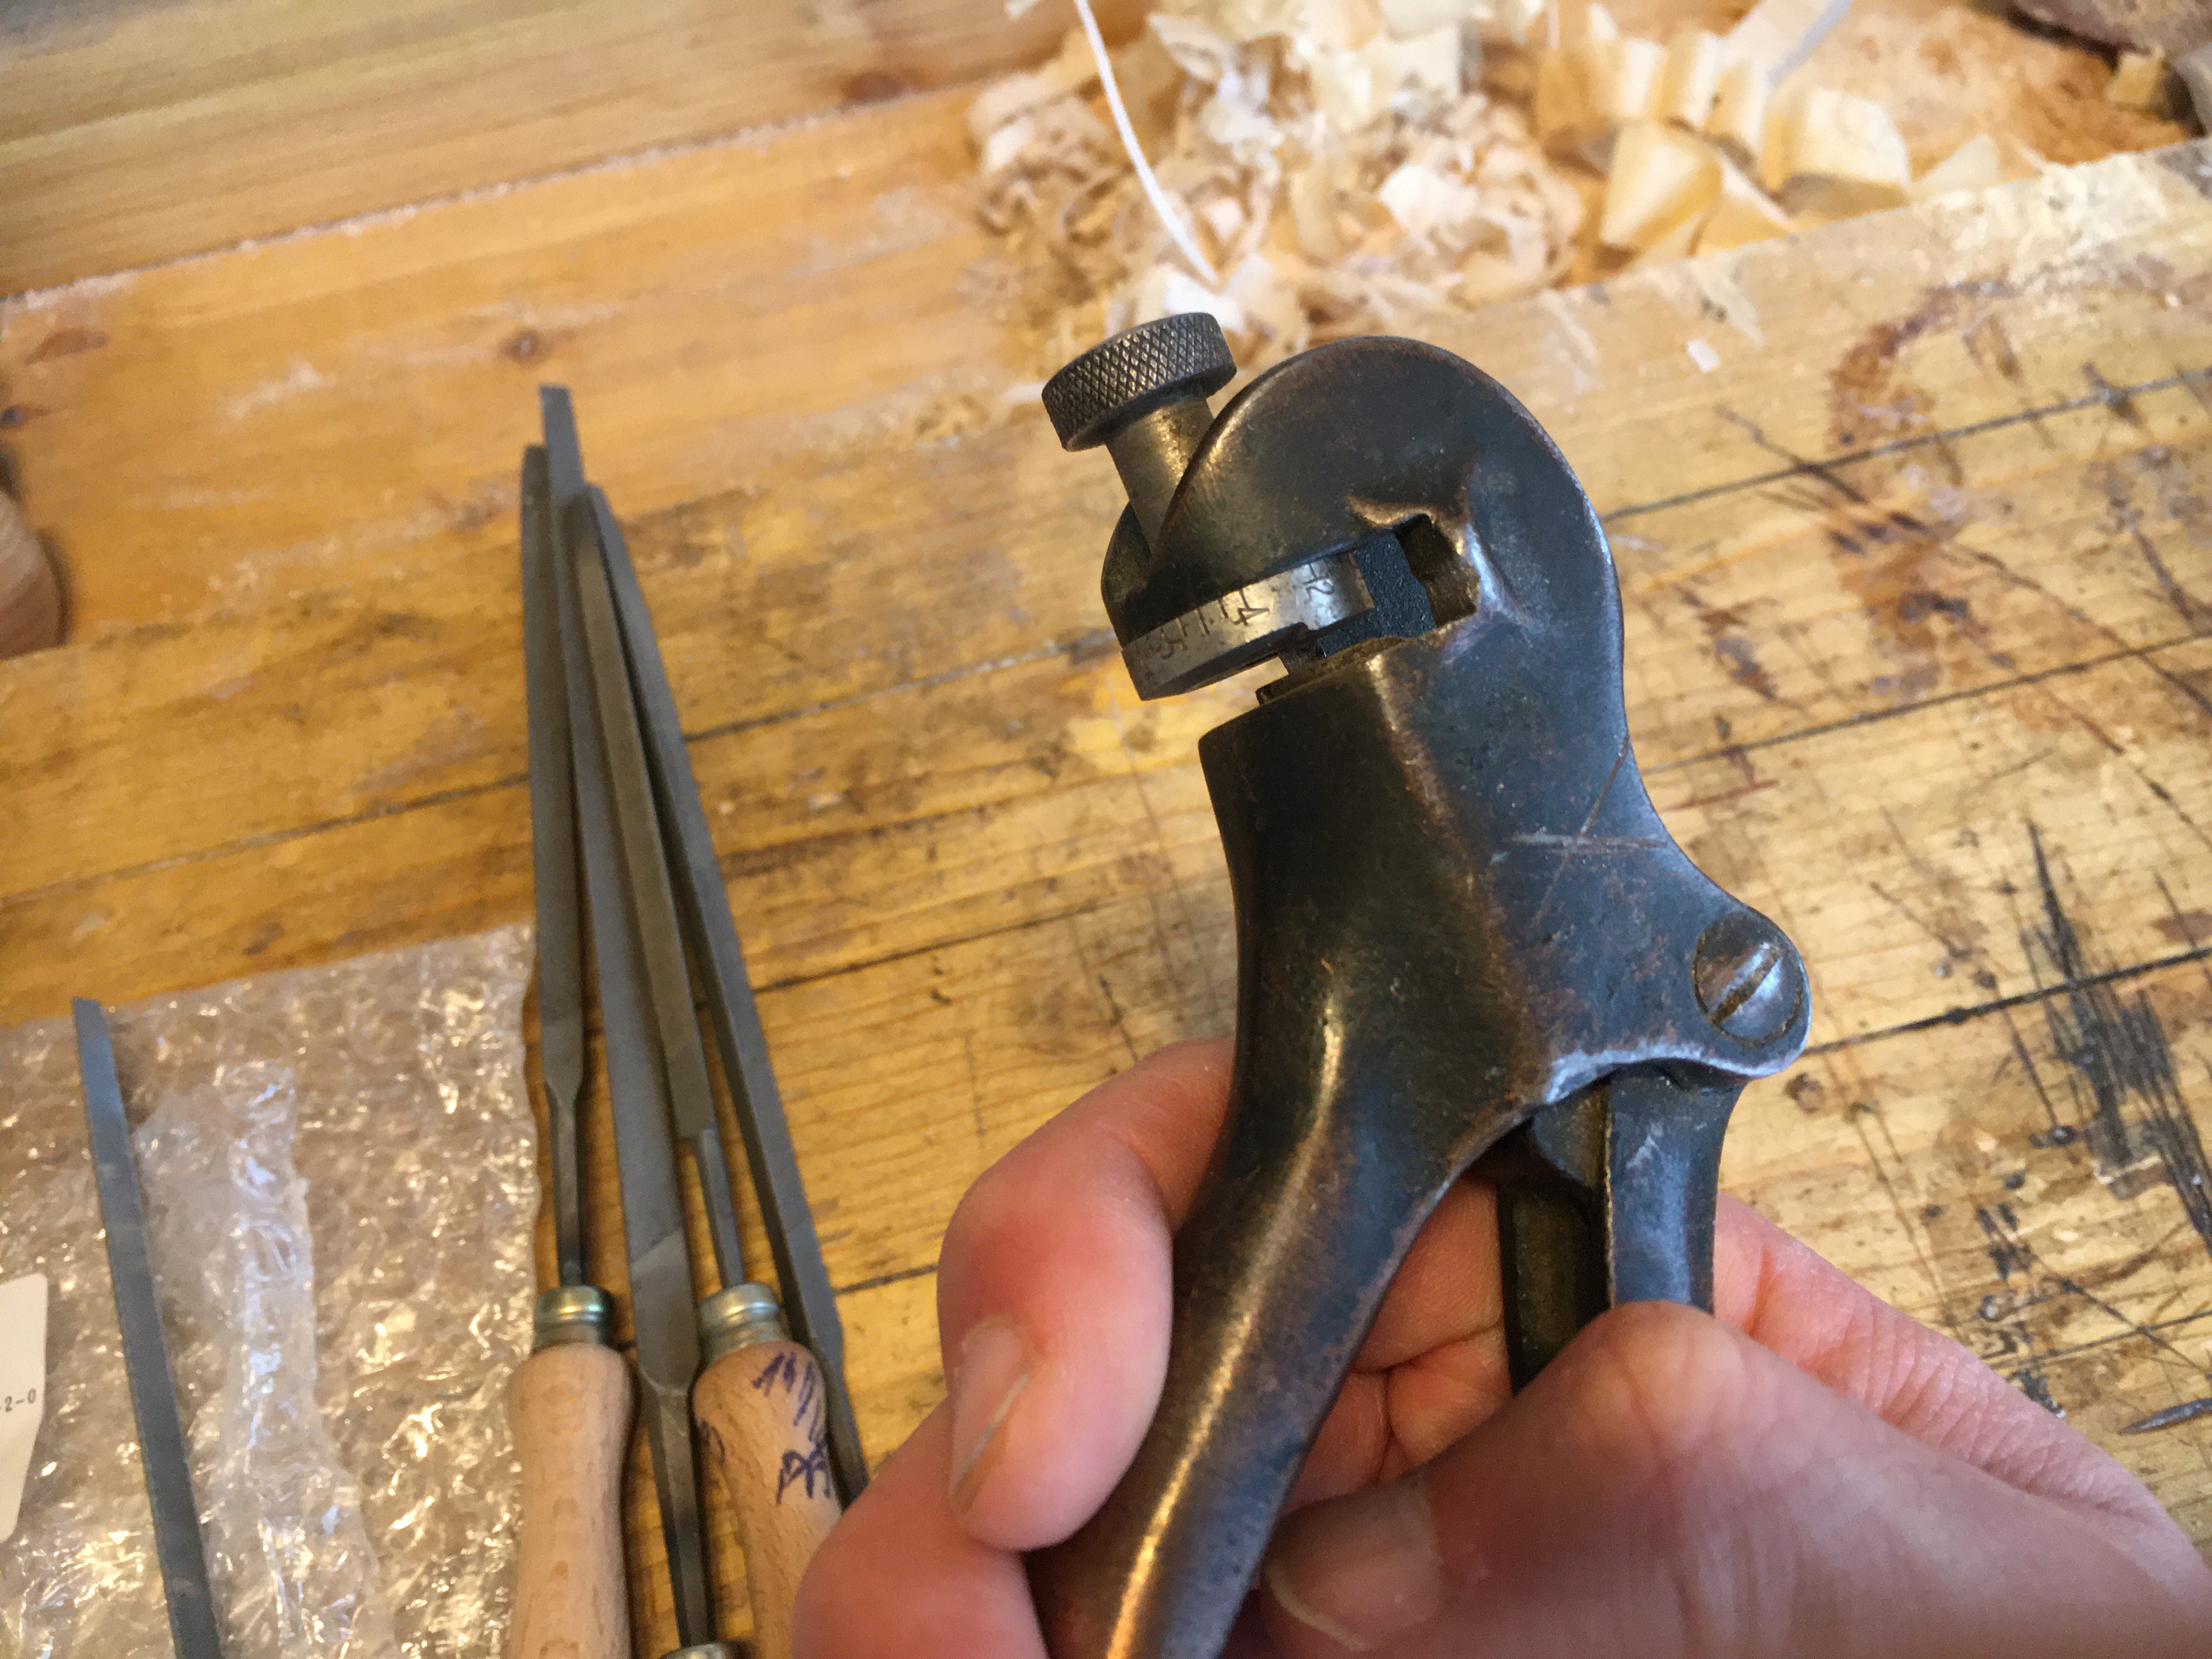
La pinza strada seghe funziona stringendo i due manici (solo uno dei due manici è mobile) proprio come una pinza. Chiudendosi, agiscono su un meccanismo che fa fuoriuscire dalla base metallica un pistoncino che spinge la lama della sega contro un disco di metallo. A questo punto dal centro del pistoncino fuoriesce un martelletto, che va a piegare il dente nella parte opposta rispetto alla nostra, premendolo contro il disco metallico. Quest’ultimo disco metallico ha uno spessore che si assottiglia al diminuire del numero dei PPI (points per inch, punte dei denti per pollice). La distanza tra questo disco e la base della pinza determina quindi la corsa del pistoncino e di conseguenza l’angolo di piegatura del dente, che risulterà maggiore al diminuire del numero dei PPI. I numeri dei PPI sono incisi sul disco metallico e vanno solitamente da 4 PPI a 12 PPI, da far corrispondere al numero di PPI della sega che dobbiamo affilare. Allentando la rotella zigrinata presente sulla pinza si libera il disco metallico potendolo ruotare fino alla posizione desiderata. Successivamente si stringe di nuovo la rotella per mantenerlo bloccato.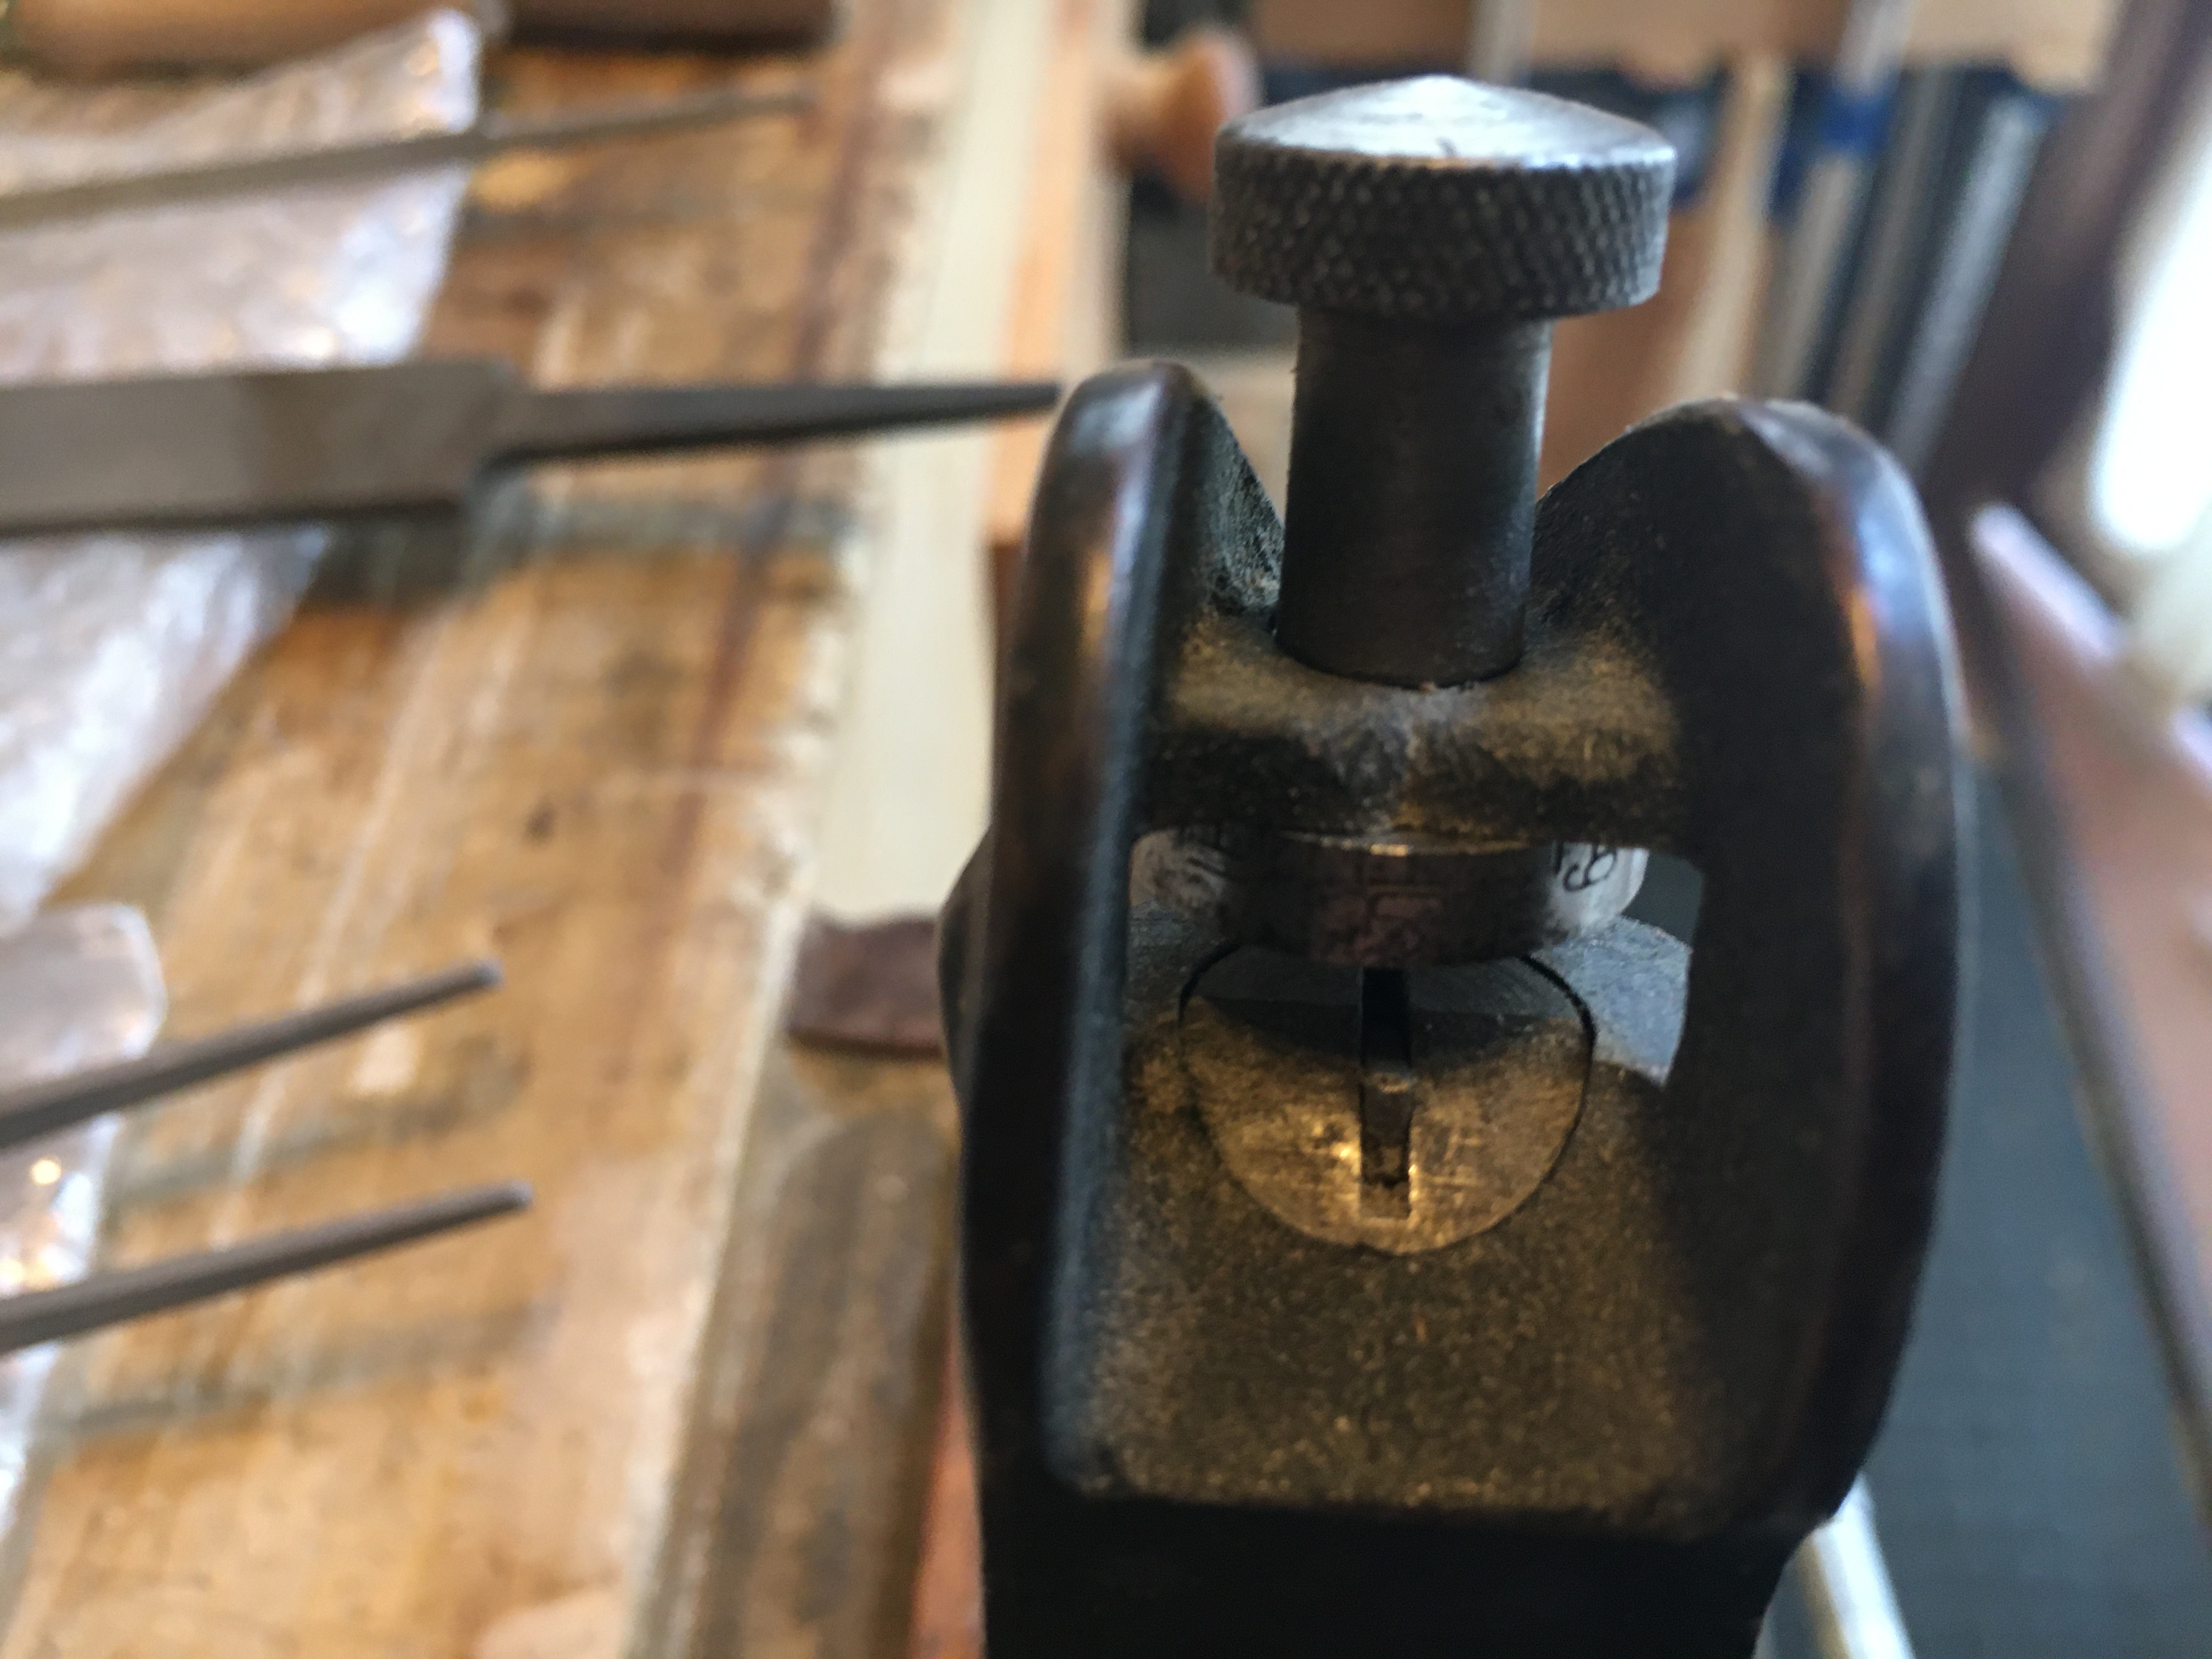
Volendo riepilogare: se vogliamo affilare una sega a 7 PPI dovremo bloccare il disco sulla posizione a 7 PPI e l’angolo di piegatura del dente (stradatura) sarà maggiore di una sega affilata a 10 PPI.
Facendo combaciare precisamente il numero di PPI presente sulla pinza strada seghe con il numero dei denti della sega la stradatura risulterebbe comunque troppo aggressiva. Un buon compromesso si ottiene lasciando la rotella posizionata tra 8 PPI e 12 PPI per qualunque tipo di sega che vada tra i 4 PPI ed i 12 PPI.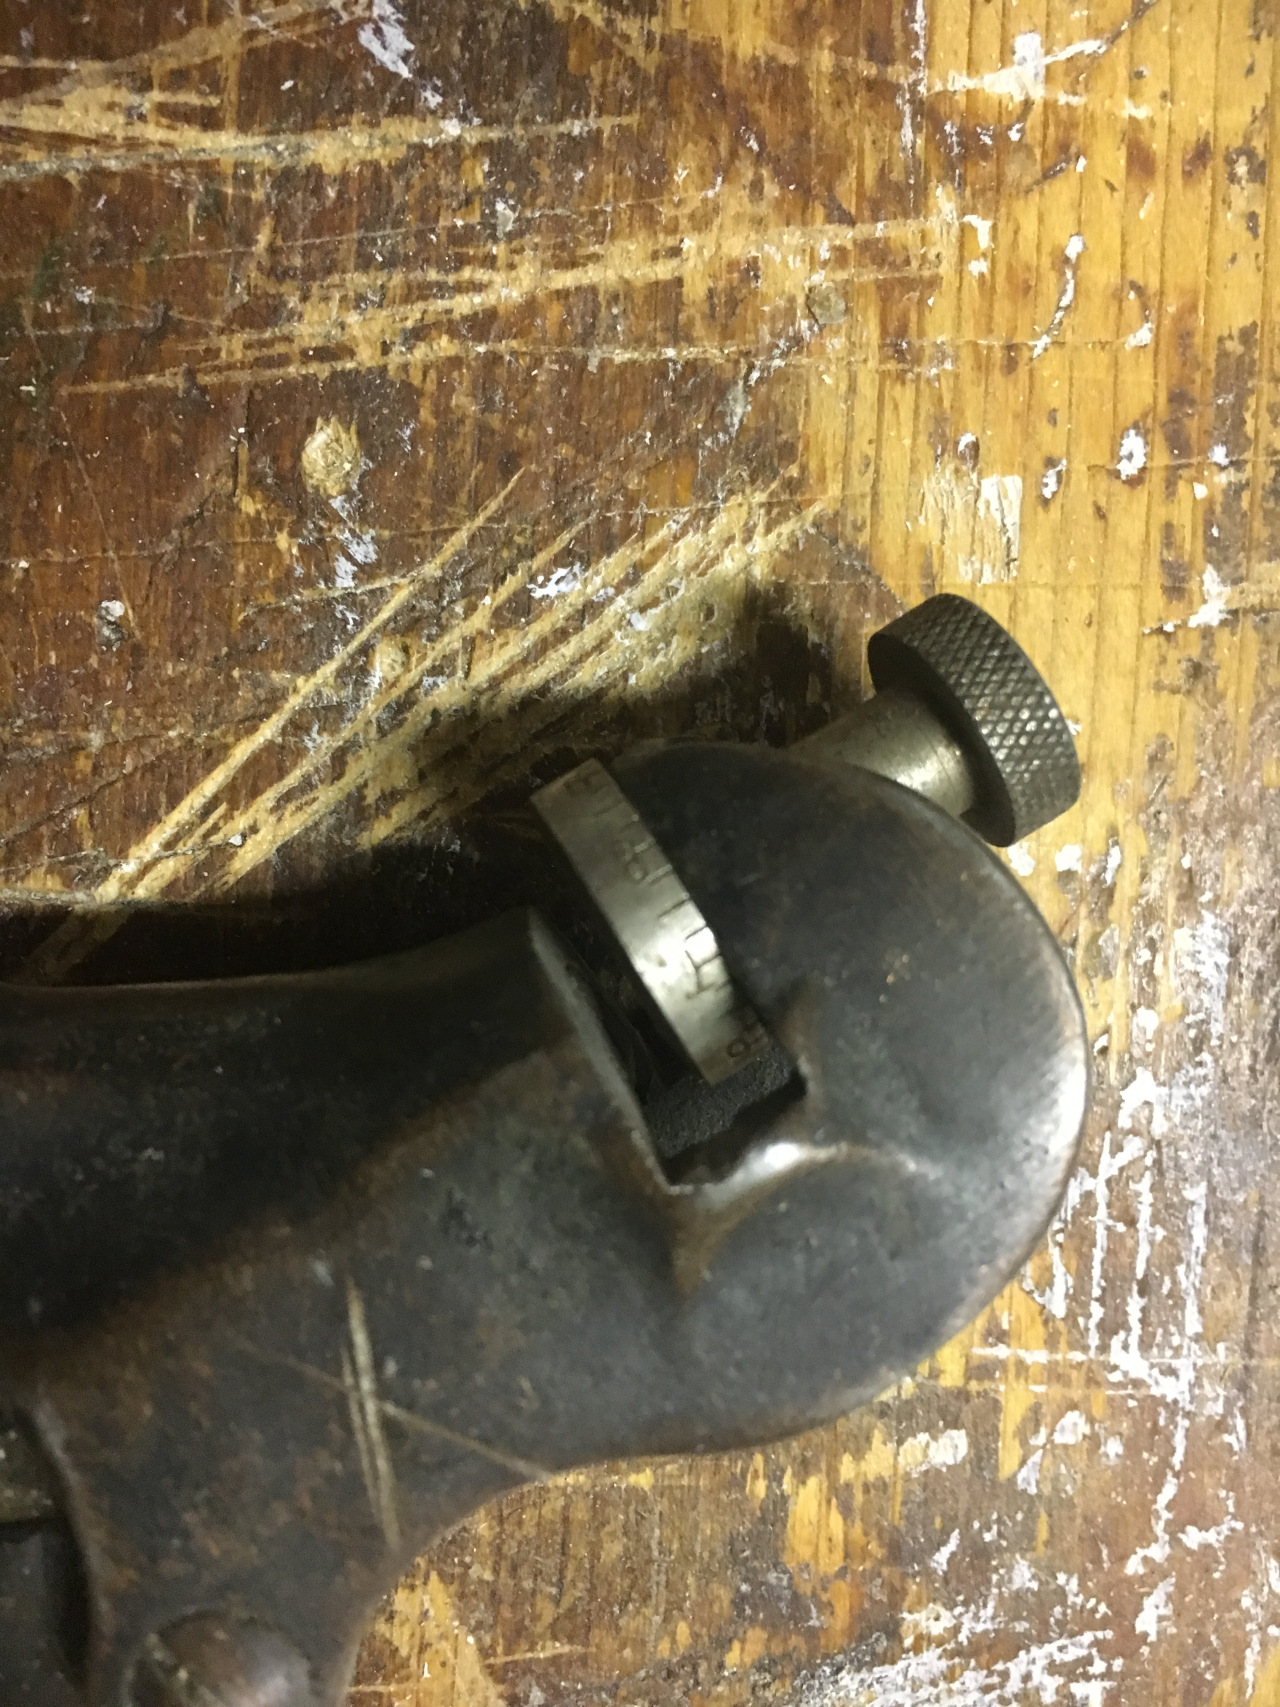
La pinza strada seghe va appoggiata alla base dei denti della sega avendo cura che il pistoncino vada a poggiarsi precisamente sulla faccia del dente o vicino alla sua punta per poi piegarlo in direzione opposta alla nostra, fin contro il disco metallico. Si procede quindi piegando alternativamente i denti, (quindi piegandone uno e saltando il successivo) fino alla fine di un lato della lama. Si gira quindi la sega e si ricomincia con lo stesso procedimento piegando solo i denti che non avevamo piegato in precedenza.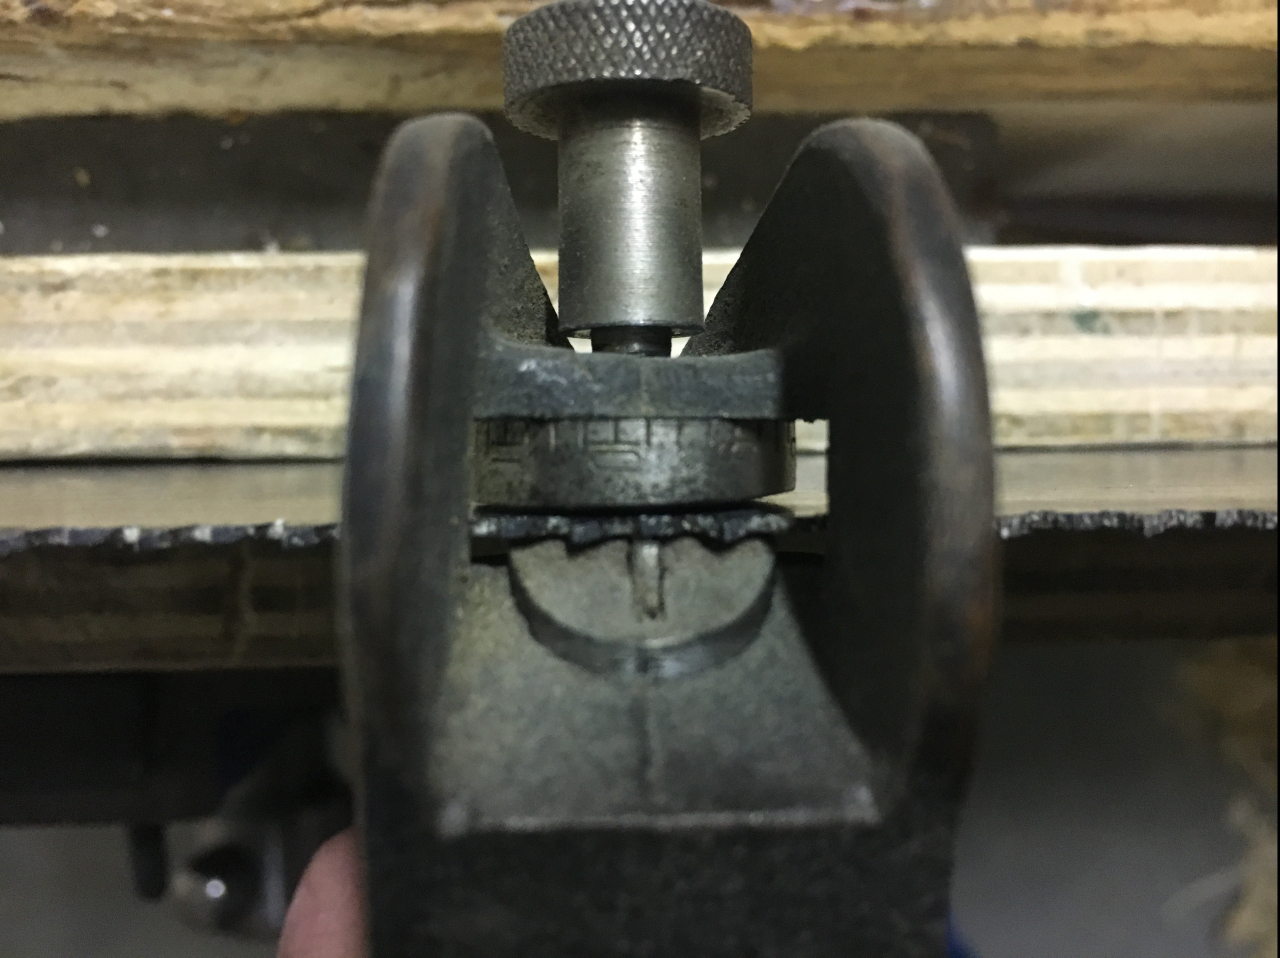
L’accortezza è quella di piegare i denti nella giusta direzione, ovvero in quella già presente o già preparata dalla fabbrica (se la sega è nuova). Se pieghiamo i denti nella direzione sbagliata questi potrebbero spezzarsi. Se non si riesce a capire bene la direzione nella quale piegare possiamo guardare i denti vicino al manico. Questi ultimi solitamente mantengono la stradatura originaria, in quanto meno sfruttati durante il taglio. Se proprio non si riesce più a distinguere la stradatura potremo allora fare la stradatura nella direzione che preferiamo.
Le seghe nuove solitamente non hanno bisogno di essere stradate. Solo quando dobbiamo riaffilare una sega già usata possiamo valutare l’opportunità di effettuare anche la stradatura. Le seghe possono essere stradate da 4 PPI fino a 22 PPI. Sul mercato, la maggioranza delle pinze strada seghe, è destinata alla stradatura di seghe dai 4 PPI ai 12 PPI. La stradatura (e l’affilatura) sopra i 16 PPI risulta difficoltosa. Un metodo per poterla effettuare consiste nell’utilizzare un punteruolo metallico, battendo leggermente una sola volta sul dente con la sega reclinata su un fianco e su una superficie morbida in grado di permettere la piegatura, come ad esempio su una tavoletta di legno.
Se ci rendiamo conto che abbiamo dato troppa stradatura possiamo ridurla poggiando la sega su un fianco appoggiandola su un’incudine o su martello di ferro e martellando leggermente il fianco dei denti con un secondo martello di ferro.
L’affilatura e la stradatura non sono procedimenti difficili. Richiedono però sicuramente una buona dose di pratica e precisione. I primi tempi è consigliabile fare esperienza con le seghe più grandi, fino a 10 PPI. In seguito potremo passare ad affilare quelle più piccole. Mettiamoci in una posizione la più comoda possibile, meglio se seduti, ed in modo da avere la zona di lavoro ben illuminata. All’ occorrenza possiamo aiutarci con delle guide o dei sostegni per la sega. Serriamo la sega tra due pezzi di legno opportunamente sagomati o nell’ apposito supporto (vedremo questi ausili in un prossimo post) e cominciamo ad affilare.
_______________________________________________________________________________________________________
In woodworking by hand sharpening is very important. As seen in previous posts, the procedure differs significantly depending on whether a plane (or a chisel) or the teeth of a saw must be sharpened. For the latter it is not always possible to sharpen and not all saws are sharpened in the same way. For more information above you find the dedicated links about the saws.
Whatever the procedure used, we will still need some “auxiliary” tools. Let’s see them in detail.
TRIANGULAR SAW FILES
This type of file is similar to common metal and wood files but has the characteristic of being tapered so that it can be put between one tooth and another of the saw. They are therefore easily recognizable as they are of a triangular shape (with 60 degree angles to form an equilateral triangle) and tapered towards the tip so as to allow easier insertion between the teeth and greater effectiveness in the sharpening phase.
Some models can be used on both sides (double ended) as they have the single cut teeth on both ends of the file. At first sight these files have only three sharpening faces. In reality there are six faces that can work on the teeth, as between the larger faces there is a small bevel, that can sharpen the gullet between the teeth. The files are obviously made of a metal that is harder than the saw blade.
Their quality is a factor to be taken into due consideration when you are buying one. Better not to buy cheap files, sometimes not able to sustain even a sharpening cycle, but to look for a good / excellent quality product even if you have to pay much more to buy them.
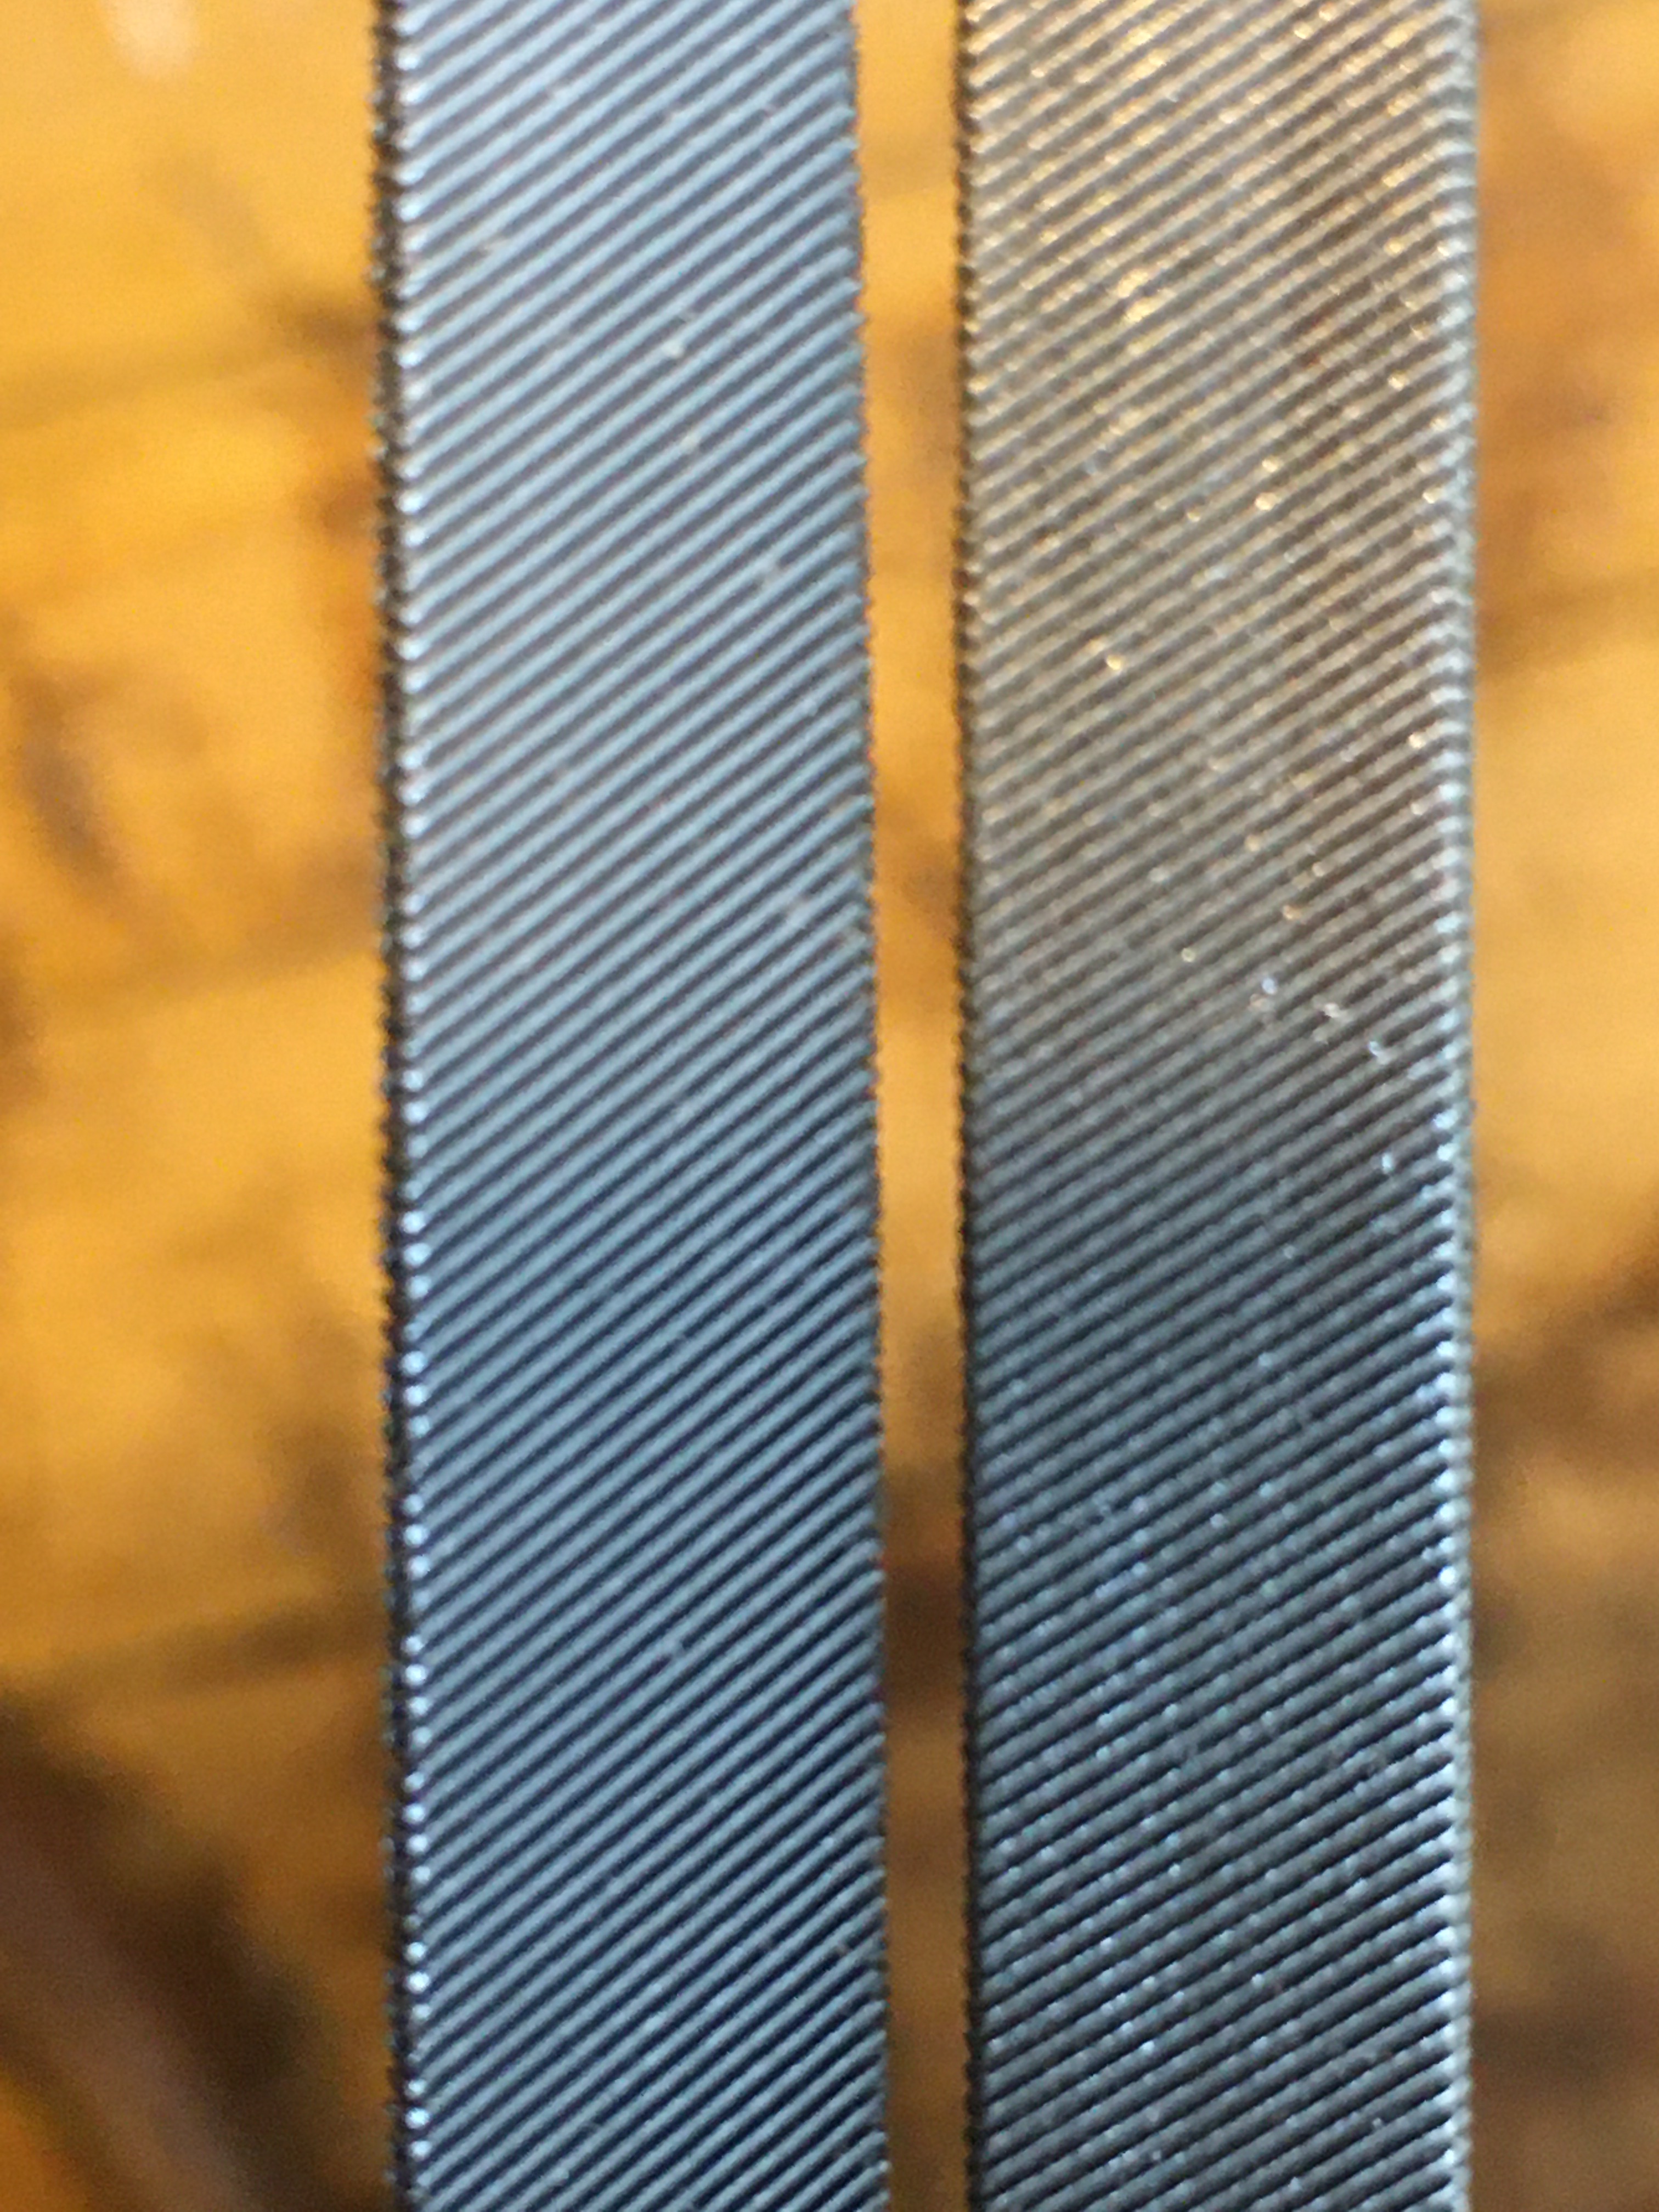
On the photos above, on the left a new Bahco file. On the right a Corradi used file.
Corradi files, for example, are good files and are a good value for money. I bought them a few years ago and, after about 20 sharpening cycles, their abrasive capacity, although certainly reduced, remains good. Anyway, because I wanted to insert a valid alternative of a well renowned brand, so that I could make a comparison in the future, I bought three Bahco files on Amazon.
Paul Sellers wrote good things about them, attesting to a duration of 50 sharpening and more. This would mean that, for the use I make of them, they could last me almost a lifetime. The price has certainly risen due to the positive review of the British woodworker (around 32 euros for three files).
I put the links below for the purchase of both Corradi and Bahco files.
https://www.rma-tools.com/index.php?main_page=product_info&cPath=67_99_103&products_id=565&zenid=fcef062b6d270a426af5a2067c75fa4f
https://www.amazon.it/gp/aw/d/B007YRF9T4/ref=yo_ii_img?ie=UTF8&psc=1
The files are used in a forward and never pull stroke. This, to support the single cut teeth of the file itself, and not to wear it unnecessarily on the reverse stroke. Each stroke with the file between one tooth and another sharpens the back of a tooth, the front of the next tooth and the gullet between the two teeth. The stroke must be short, firm and decisive, giving not too much pressure.
How many strokes depend on the wearing of the saw. A new saw may not even need sharpening or, if you really want to, you can only do one stroke. For a normal wearing, on the other hand, two passes are usually sufficient. In ripcut saws that cut a the file must be kept in a straight position and parallel to the bench top. In sharpening crosscut saws the file must be held at 60 degrees in relation to the direction of sharpening (so according the 60 degrees angles of the file) and always parallel to the bench top. It is a good rule, to not to get hurt during sharpening, to insert the tang in a handle, where the file is not provide with.
There are various formats of files on the market. The main categories are the slim, extra slim and double extra slim. Their length varies between 10 cm. and 25 cm. Depending on the type of saw that we need to sharpen we will have to use the appropriate file. The rule is that the face of the file is a little more than twice the height of the saw tooth. From this it follows that the smaller files are used for smaller saws with more teeth (tenon saw and dovetail saw). For larger saws (panel saw) larger files are used. The same file can be used indifferently both on a ripcut saw and on a crosscut saw. The above photo summarizes the files that can be used with respect to the saws.
In practice, the purchase of only three types of files will take care of all our saw sharpening needs up to 22 PPI. The saws above the 16 PPI are however difficult to sharpen and for this reason, in my opinion, it is not convenient to buy the related files.
To keep the files in good working order, every now and then it is good to clean them with a metal bristle brush taking care to brush parallel to the teeth and into the grooves between them and not into the edges of the teeth so as not to damage them.
FLAT FILES
The flat-faced file is a common sharpening file. However, it should be large enough to allow us to work comfortably on the saw blade. Usually they are used in lengths between 25 cm. and 30 cm. In the past I purchased the file linked below, which I can recommend it.
It is usually used before sharpening with triangular files and is used to level the teeth of a saw. Two or three strokes, to be carried out in the direction of the teeth, are usually sufficient to bring the teeth all to the same height. During the stroke is important to keep the file as parallel as possible to the bench top. For this operation we can use a guide.
This type of file must be used without the handle, which would get in the way by hitting the saw blade.
SAWSET
The sawset is a device that is used for setting the teeth of the saw. Sawset is the process by which the teeth of the saw are alternately bent in the two opposite directions so as to create a passage (saw kerf) for the whole length of the blade that can allow the saw to cut without jamming. So the kerf in the wood will be wider than the width of the saw blade. As mentioned in a previous post the sawset is not always necessary, but appropriate when in the reversal stroke of the saw we feel too much resistance.
Oversetting the teeth is not advisable because we will have an excessive cutting thickness and we will have to put too much force in the sawing, while an insufficient or absent setting will cause the saw to cut little or even binding in the wood.
On Ebay there sawsets used for a few euros. My advice is therefore to search for used on Ebay by purchasing the famous Eclipse n. 77. There are still many, at an affordable price and in excellent condition. Among these it is better to look for those that have the finer hammer. To recognize them, a method that I found to be valid, is to look at the writing inside one of the two handles. If the inscription “Eclipse n ° 77 Made in England” is shown in relief and extended over a whole line then it is the first models of pliers with the finer hammer that best fits the various sizes of the teeth of the saw and therefore also to the smaller teeth. The more recent versions instead have the thicker hammer and therefore have greater difficulty to work on the saws that have smaller teeth. The latter are recognizable because they have on the handle the writing in relief on two lines instead on one. A valid alternative to Eclipse pliers are the Japanese Somax 250.
The sawset works by squeezing the two handles (only one handle is moveable) just like a plier. By closing, they act on a mechanism that makes a small plunger come out of the metal base and push the saw blade against an opposite disc. At this stage a hammer emerges from the plunger and bend the tooth on the opposite side against the disc.This last metal disc has a thickness that becomes thinner as the number of PPI (points per inch, teeth tips per inch) decreases. The distance between this disc and the base of the sawset therefore determines the stroke of the hammer and consequently the angle of bending of the tooth, which will be greater as the number of PPIs decreases. The PPI numbers are engraved on the metal disc and usually range from 4 PPI to 12 PPI, to match the PPI number of the saw that we need to sharpen. By loosening the knurled wheel on the sawset, the metal disc is released so that it can be rotated to the desired position. Then tighten the wheel again to keep it locked.
To summarize: if we want to sharpen a 7 PPI saw we will have to lock the disc on the 7 PPI position and the bending angle of the tooth will be greater than a 10 PPI sharp saw.
By precisely matching the number of PPIs present on the sawset with the number of teeth of the saw, the setting would still be too aggressive. A good compromise is obtained by leaving the wheel positioned between 8 PPI and 12 PPI for any type of saw ranging between 4 PPI and 12 PPI.
The sawset must rest against the base of the saw blade, taking care that the hammer rests precisely on the face of the tooth or near its tip and then bends it in the opposite direction to ours, against the metal disc. Then proceed by alternately bending the teeth, (then bending one and skipping the next) up to the end of one side of the blade. Then turn the saw and start again with the same procedure by bending only the teeth that we had not bent before.
Attention bending the teeth in the right direction, that is in the one already present or already prepared by the factory (if the saw is new). If we bend our teeth in the wrong direction these could break. If you cannot understand the direction in which to bend we can look at the teeth near the handle. The latter usually maintain their original set up, as they are less used during cutting. If it is just not possible to distinguish the previous bending we can then make the set in the direction we prefer.
New saws usually do not need to be set. Only when we have to sharpen an already used saw can we evaluate the opportunity to make the setting. Saws can be set from 4 PPI up to 22 PPI. On the market, most sawsets are intended for setting saws from 4 PPI to 12 PPI. The setting (and the sharpening) above the 16 PPI is difficult. One method to carry it out is to use an awl, tapping only once on the tooth with the saw reclined on its side and on a soft surface able to allow bending, such as on a wooden board.
If we realize that we have given too much setting we can reduce it by resting the saw on its side by placing it on an anvil or on an iron hammer and lightly hammering the side of the teeth with a second iron hammer.
Sharpening and setting are not difficult procedures. However, they certainly require a good deal of practice and precision. If you are a beginner it is better to make experience with larger saws, up to 10 PPI. Later we can switch to sharpening the smaller ones. Put yourself in a position as comfortable as possible, better if seated, and with good light on the working area. If necessary we can help ourselves with guides or a saw vice for the saw. Tighten the saw between two suitably shaped pieces of wood or in a saw vice (we’ll see these devices in a future post) and start to sharpen.

Scrivi una risposta a Segare il legno. Il taglio lungovena. Cartellare o sfettare il legno / Sawing the wood. With the grain cut. Resawing the wood | CreaRobi Cancella risposta