REALIZZARE UN PENSILE PER IL LABORATORIO / HOW TO MAKE A TOOL CABINET FOR THE LAB
English translation at the end of the article
La realizzazione di un pensile può rivelarsi un lavoro abbastanza complesso. Questo per le dimensioni dell’oggetto, che richiedono spazi di manovra adeguati, ma anche per una certa manualità nell’impiego delle varie tecniche costruttive che dovranno essere utilizzate.
Un pensile può essere realizzato in tanti modi diversi ma comunque venga costruito dovrà soddisfare alcuni canoni strutturali, in primis l’essere in grado di sostenere il suo stesso peso, una volta fissato al muro, oltre al peso degli oggetti che andremo a metterci sopra. Stabilire con certezza quanto un pensile possa sostenere di peso é difficile e dipende da tanti fattori. Sicuramente più un legno é spesso, solido, privo di nodi, fessurazioni e ben stagionato maggiori saranno le garanzie di stabilità e resistenza. In commercio ci sono legni che più di altri si prestano ad essere utilizzati per questo tipo di lavori. Il multistrato ad esempio è ottimo per fare i ripiani in quanto la sua struttura a strati incollati gli conferisce un’ottima resistenza allo sforzo. Per la carcassa del pensile invece non è tanto importante il tipo di legno utilizzato, potendo impiegare dall’abete al rovere, al castagno, ecc. quanto gli incastri usati per farla.
Il miglior incastro in assoluto per le carcasse dei pensili (e non solo) sono le code di rondine. Le giunzioni d’angolo della carcassa realizzate con questo tipo di unione garantiscono un’eccellente resistenza sia al peso che alle torsioni. Un ruolo importante lo riveste anche il sistema di aggancio al muro. Se non prevediamo un supporto inferiore fissato al muro che aiuti a reggere il peso, dotiamoci di buone barre in metallo alla quali Il pensile dovrà essere agganciato.

Il pensile che ho realizzato nel 2018 é stato realizzato utilizzando le tecniche tradizionali di falegnameria classica e doveva servire come sopra banco per il mio laboratorio. Non doveva essere particolarmente bello e ricercato e quindi ho cercato di realizzarlo il più semplice possibile utilizzando un legno economico e che fosse anche leggero. Le dimensioni sono state per me il limite maggiore. Avrei potuto realizzarlo anche più grande ma purtroppo lo spazio dove sarebbe stato poi successivamente inserito mi ha imposto di farlo piuttosto ridotto. Quindi ho usato legno di abete di spessore 2 cm. per delle dimensioni finali del pensile di 100 cm. per 20 cm. per 80 cm. di altezza; multistrato di abete da 2 cm. per i ripiani e multistrato da 6 mm. per i pannelli degli sportelli ed il retro del pensile. Non scriverò in questo articolo di come si fanno gli incastri a coda di rondine e a tenone e mortasa di cui ho già diffusamente parlato in vecchi articoli e che comunque segnalerò durante la stesura di questo post.
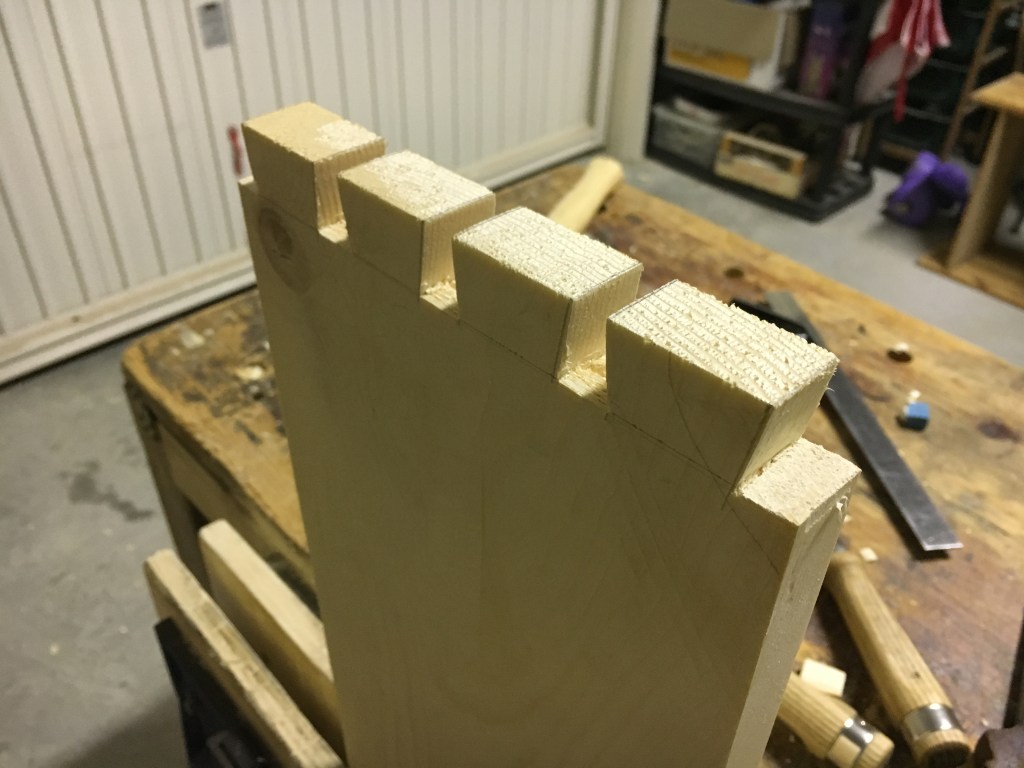
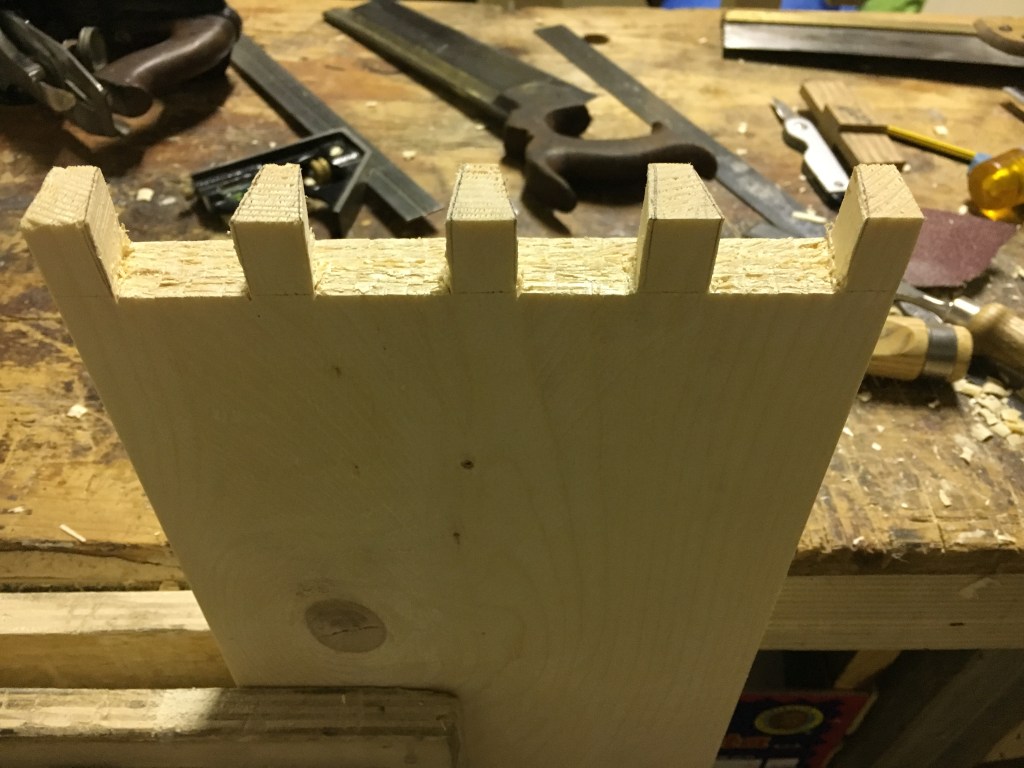
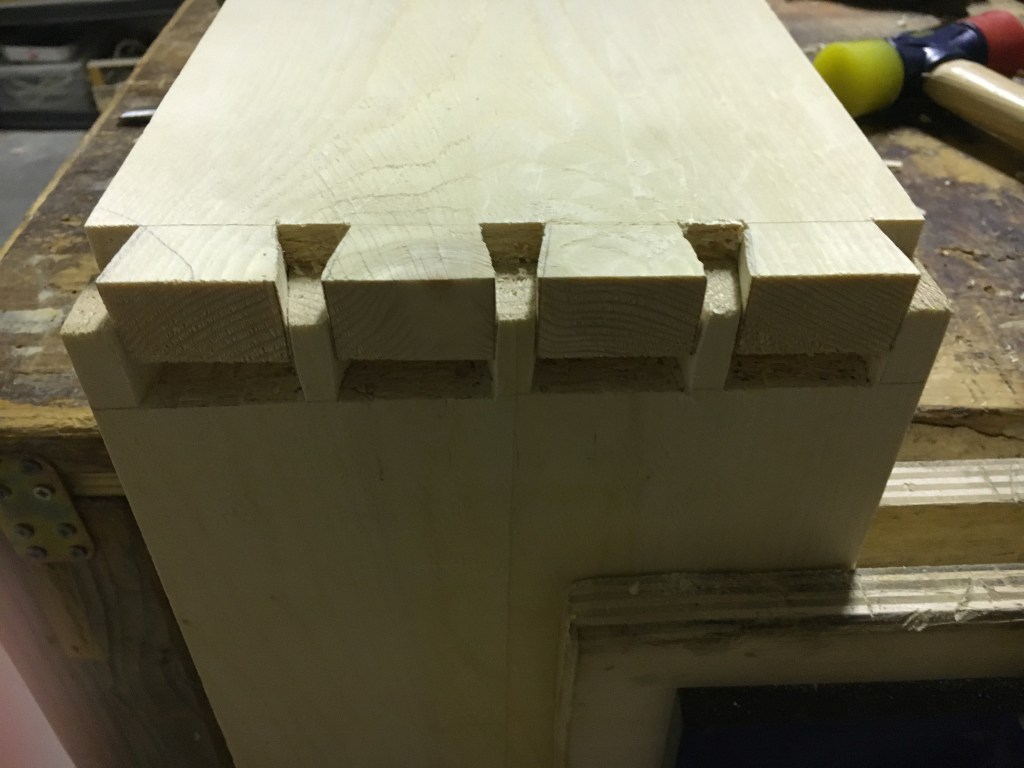
Per prima cosa ho realizzato la carcassa preparando le code e poi gli zoccoli. Operazione ripetuta per tutte e 4 le giunzioni ad angolo. Il numero delle code è stato dettato più che altro dalla larghezza dei pezzi. Ho reputato un buon compromesso fare 4 code di rondine per ogni giunzione. Non scriverò qui di come fare le code di rondine perché sarei ripetitivo. Potete trovare le informazioni ai seguenti link.
Gli incastri. Come fare l’incastro a coda di rondine. The joints. How to make the dovetail joint.
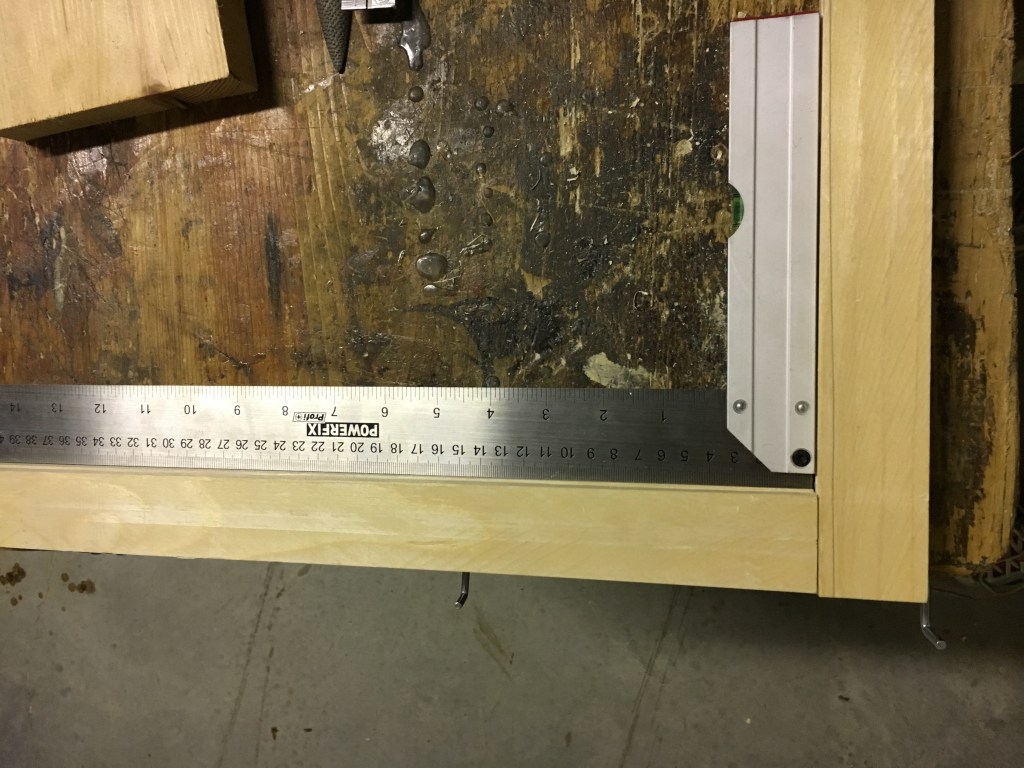
La realizzazione della carcassa è di estrema importanza. L’aspetto fondamentale da curare è certamente la perpendicolarità dei pezzi che la compongono. Un eventuale fuori squadro si ripercuoterebbe sulla realizzazione delle ante, che non sarebbero a filo, ma anche sul posizionamento dei ripiani e sugli eventuali cassetti.
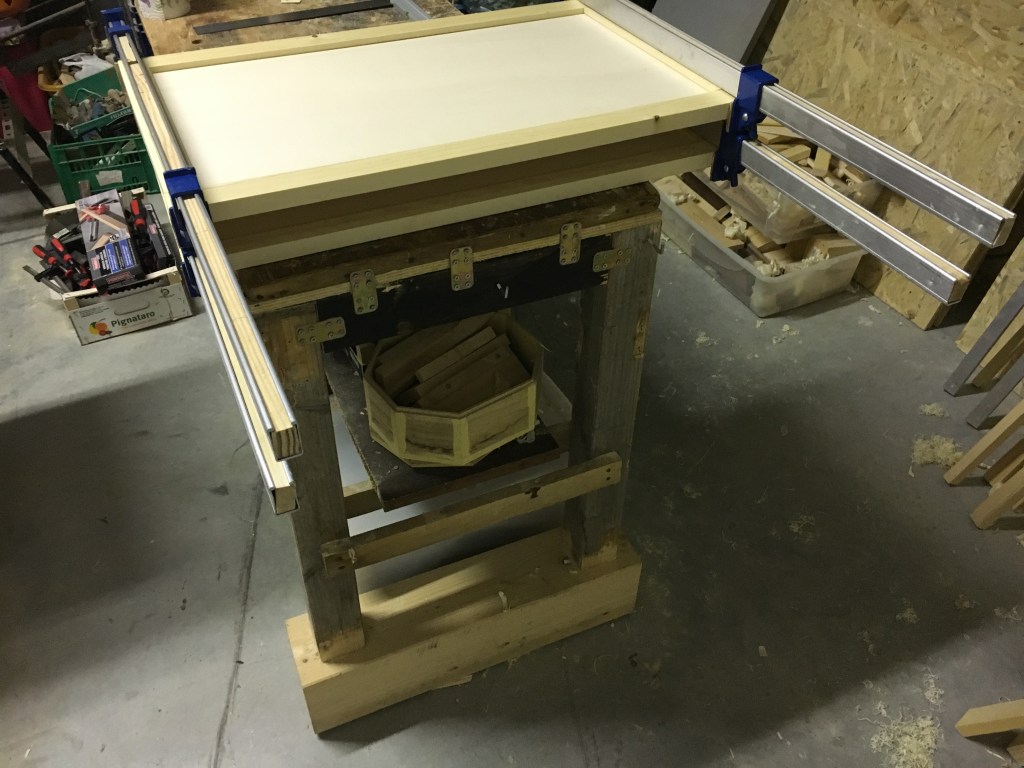
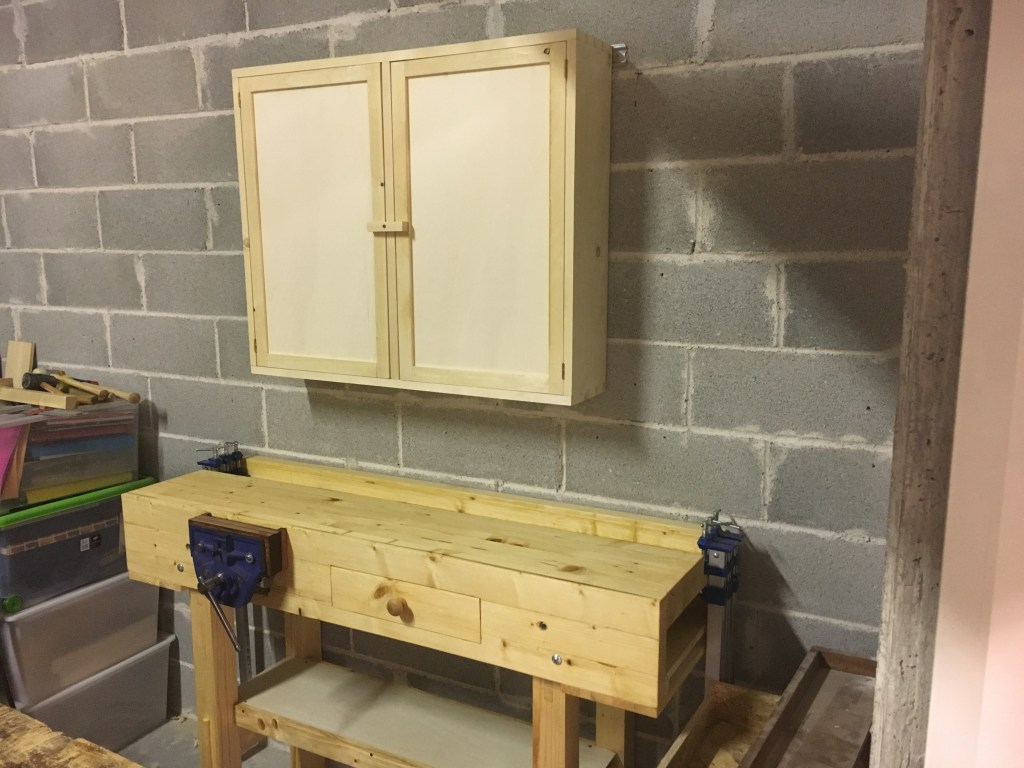
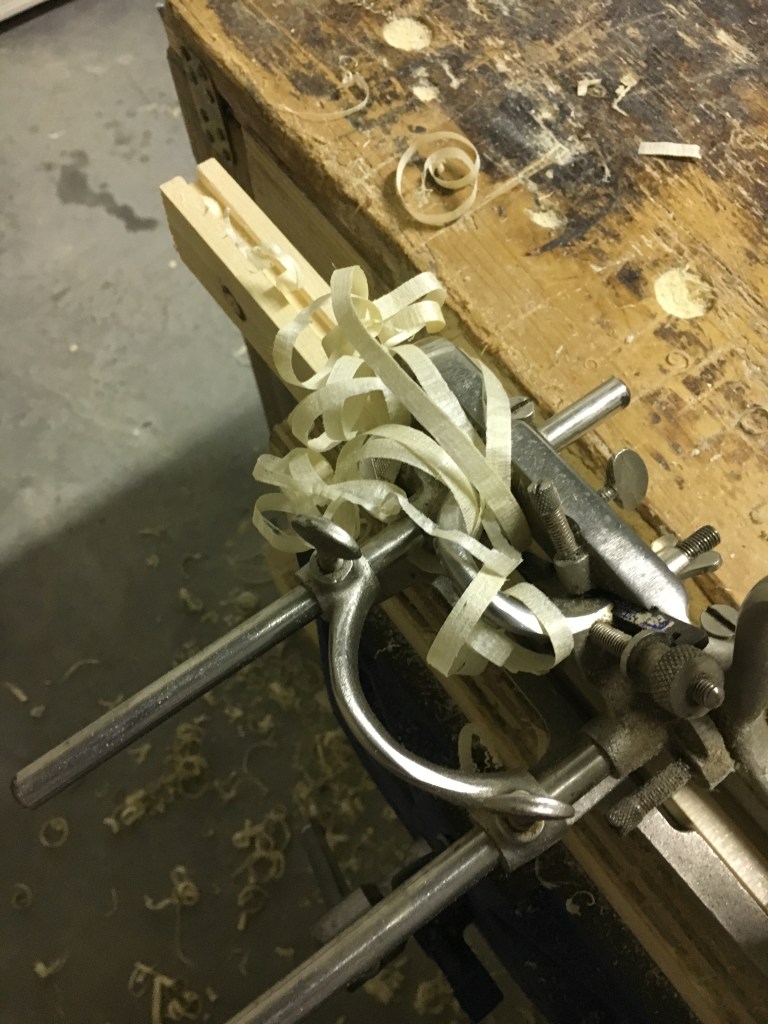
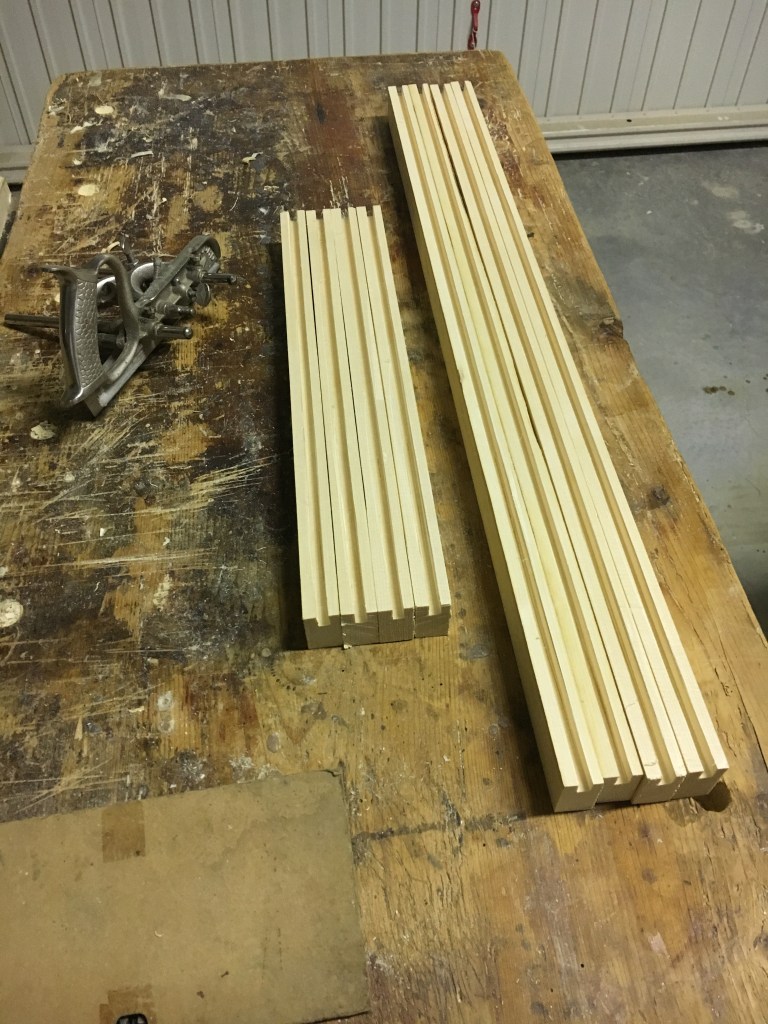
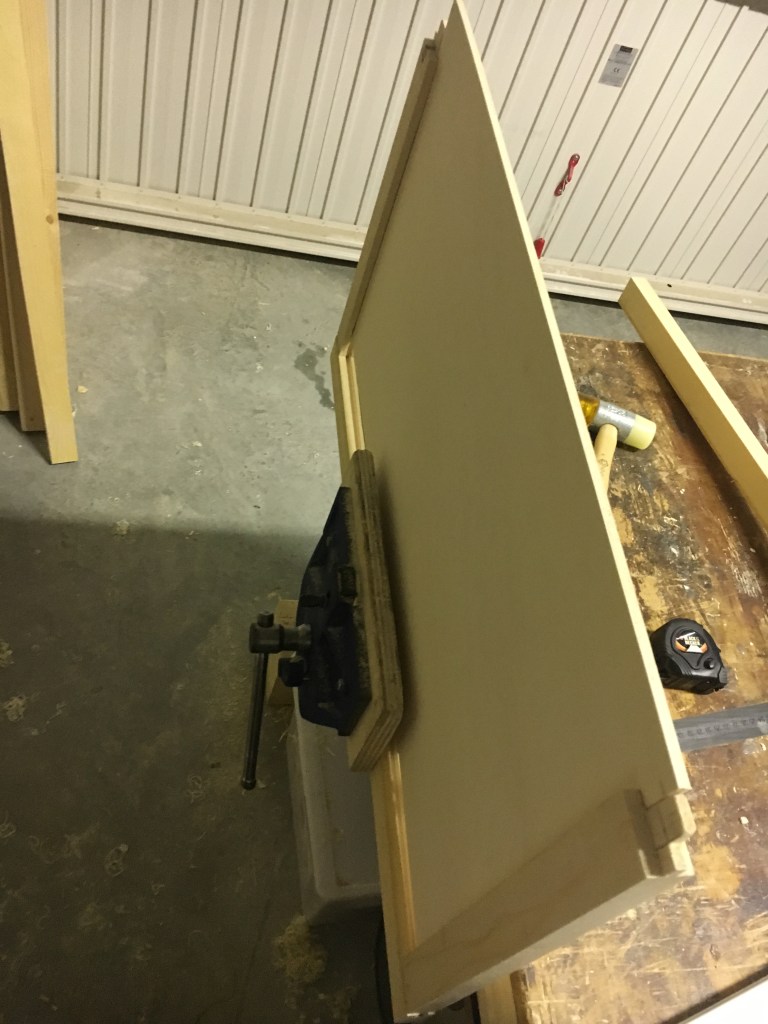
Una volta realizzata la carcassa mi sono dedicato alle ante. Queste solitamente sono costituite da una struttura esterna che fa da cornice e racchiude al suo interno un pannello di legno più o meno spesso o un vetro. Nel lato interno della cornice viene ricavato un canale di dimensioni adeguate ad accogliere il pannello che non dovrà essere incollato ma lasciato libero di poter assecondare i movimenti stagionali del legno. Al posto della scanalatura é possibile comunque realizzare dei supporti che racchiudano il pannello, soluzione preferibile se dobbiamo inserire un vetro in quanto, in caso di rottura, sarà sufficiente rimuovere i listelli di supporto e procedere alla sua sostituzione.
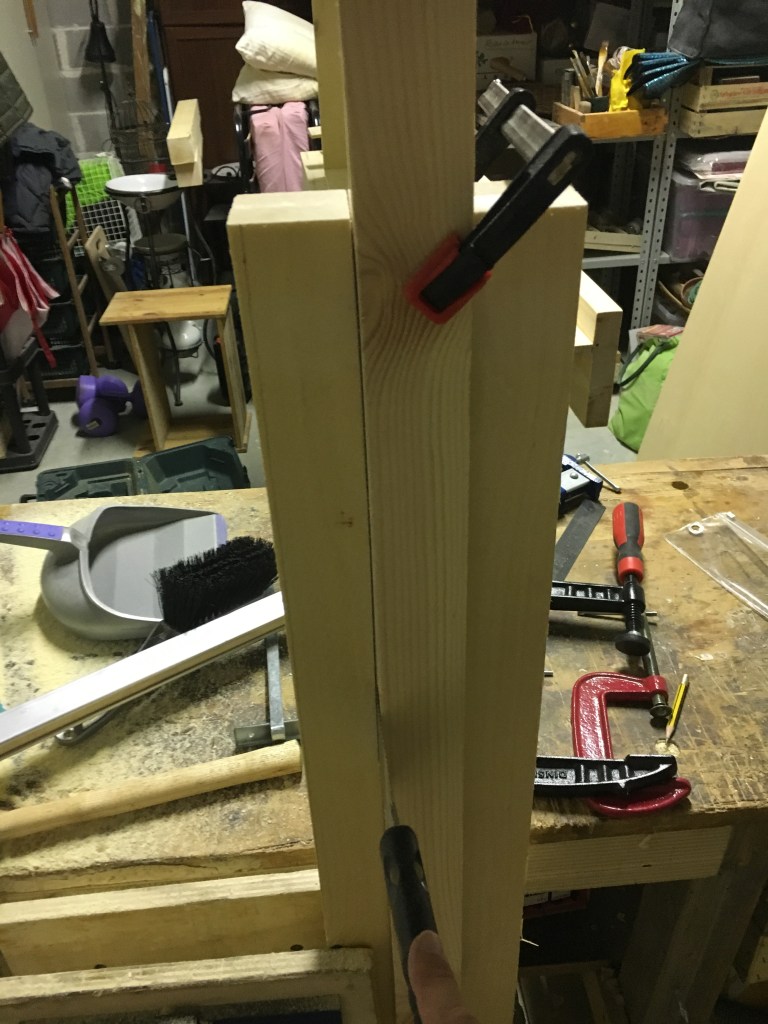
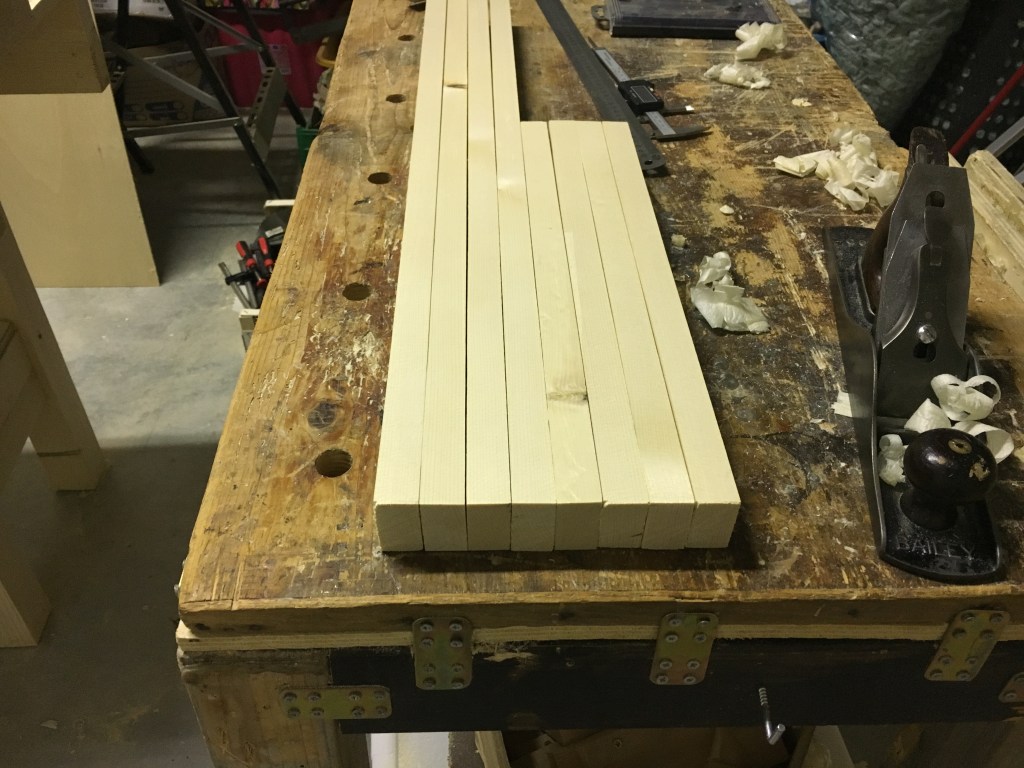
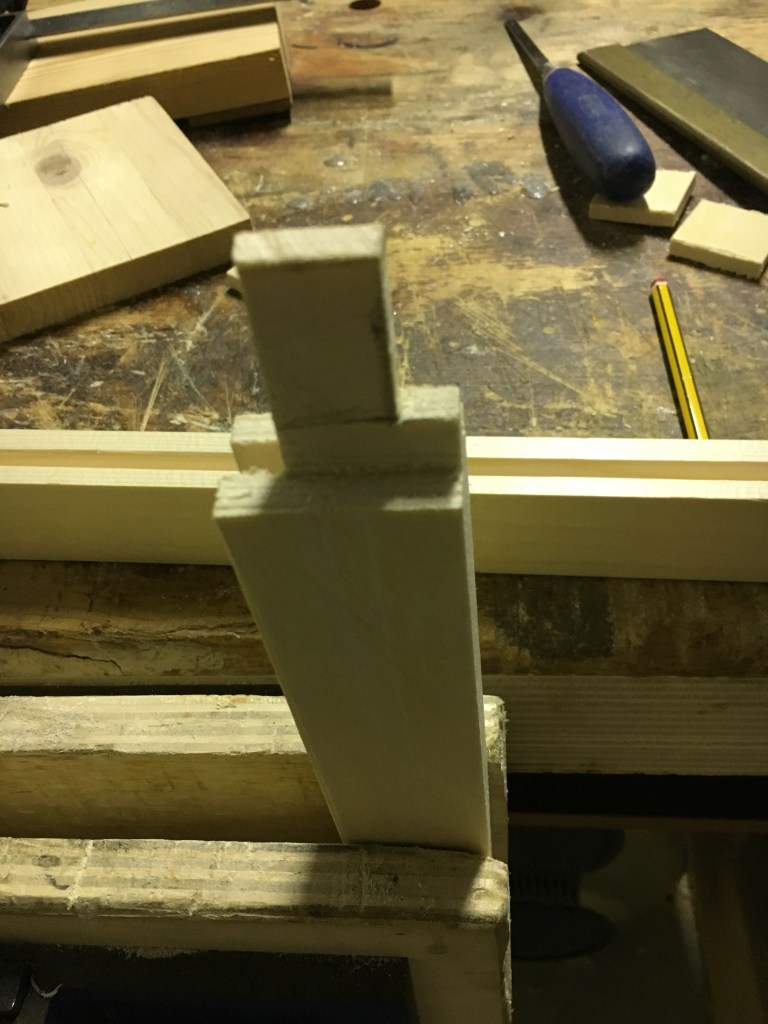
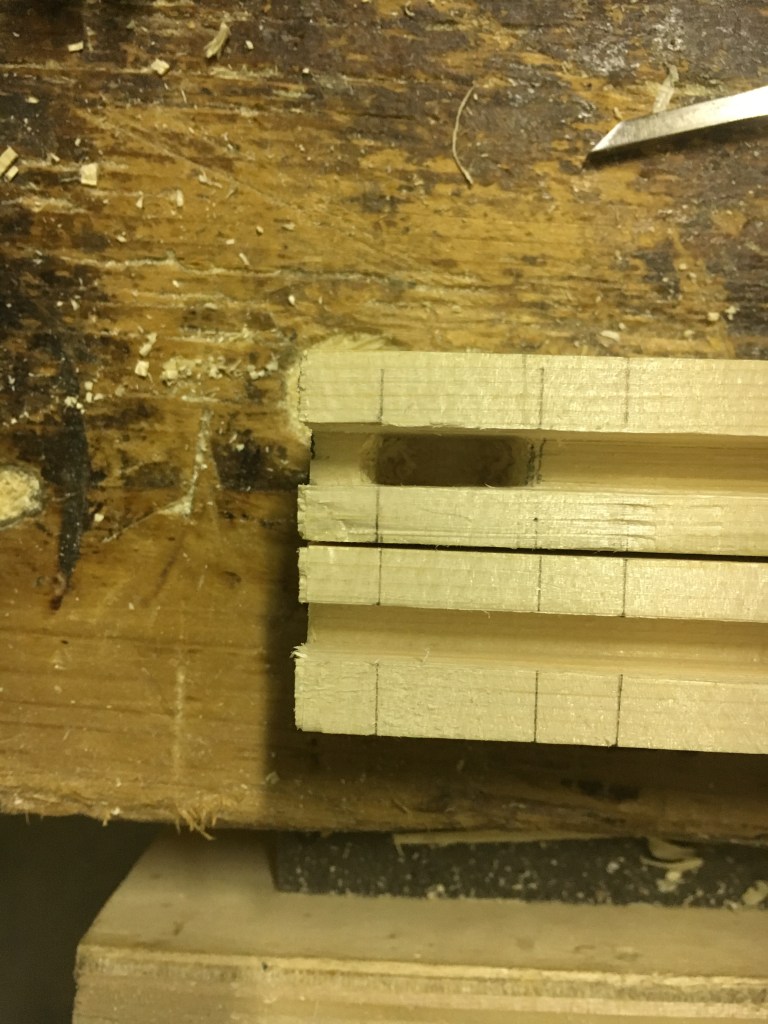
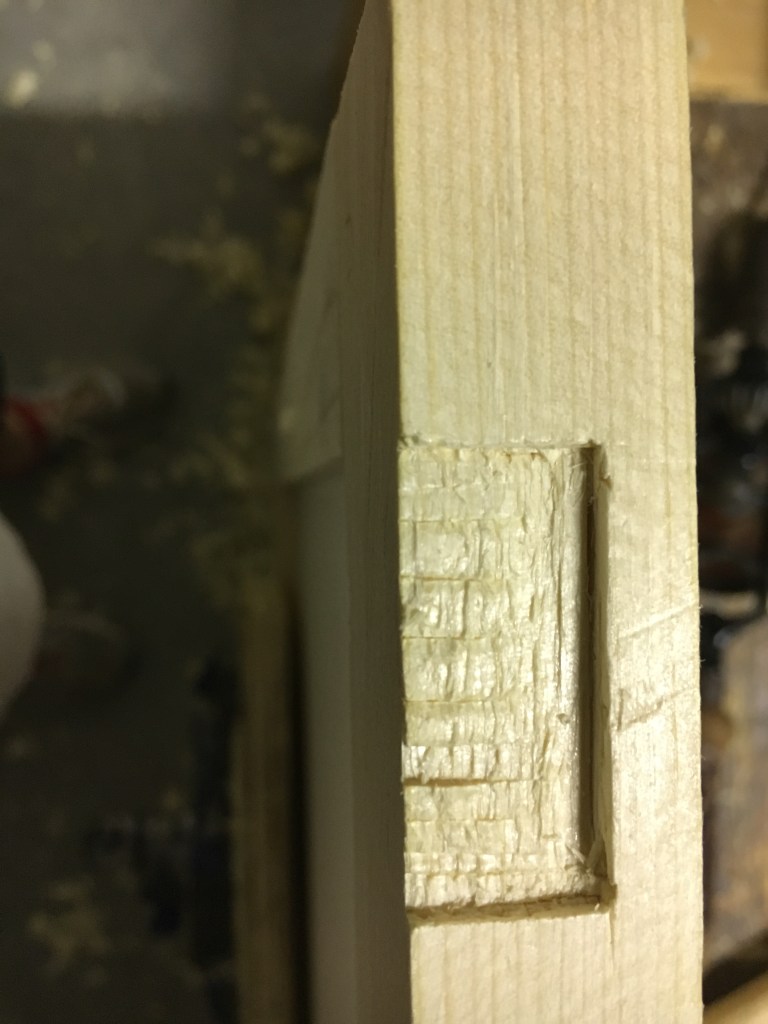
Nella realizzazione delle ante é fondamentale prendere bene le misure dei pezzi che andranno a formare la cornice tenendo in considerazione l’ingombro dell’apertura del pensile e le misure degli incastri. Gli incastri della cornice sono a tenone e mortasa, di gran lunga la tecnica più utilizzata in questo tipo di lavoro.
Oltre alla raccomandazione già data sulle misure é importante anche la perpendicolarità dei montanti con i traversi ed evitare per quanto possibile lo svergolamento delle ante. A tale scopo é molto importante praticare in modo corretto gli incastri a tenone e mortasa. Per tutti gli approfondimenti, anche per questa fase realizzativa, rimando al seguente link.
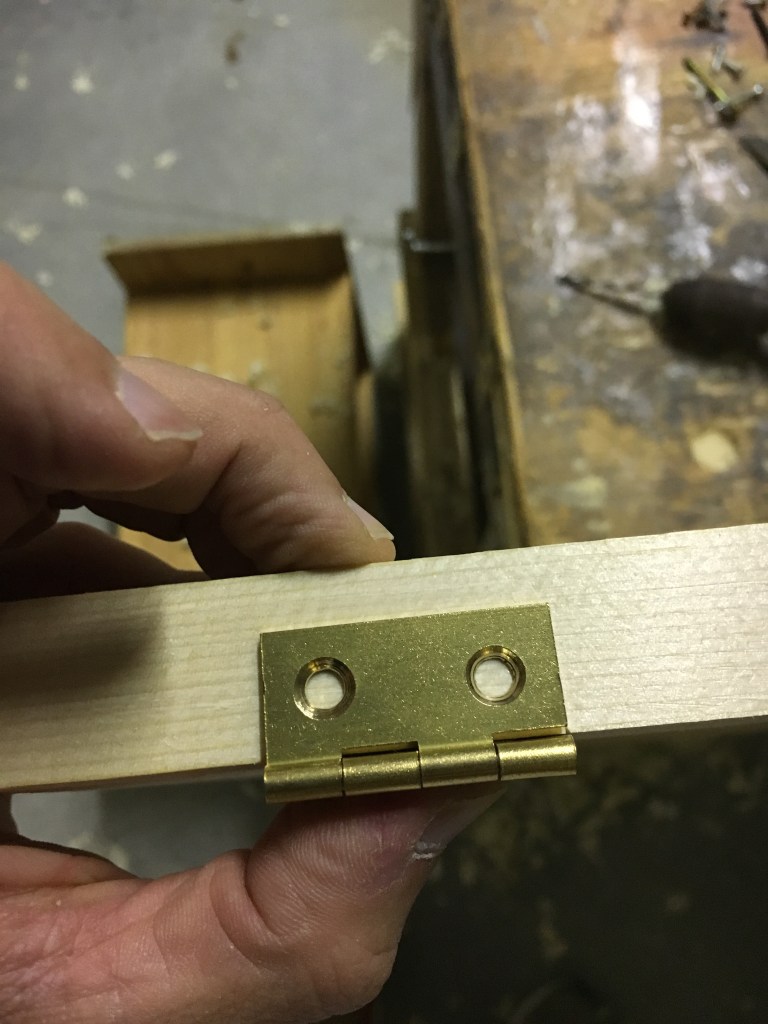
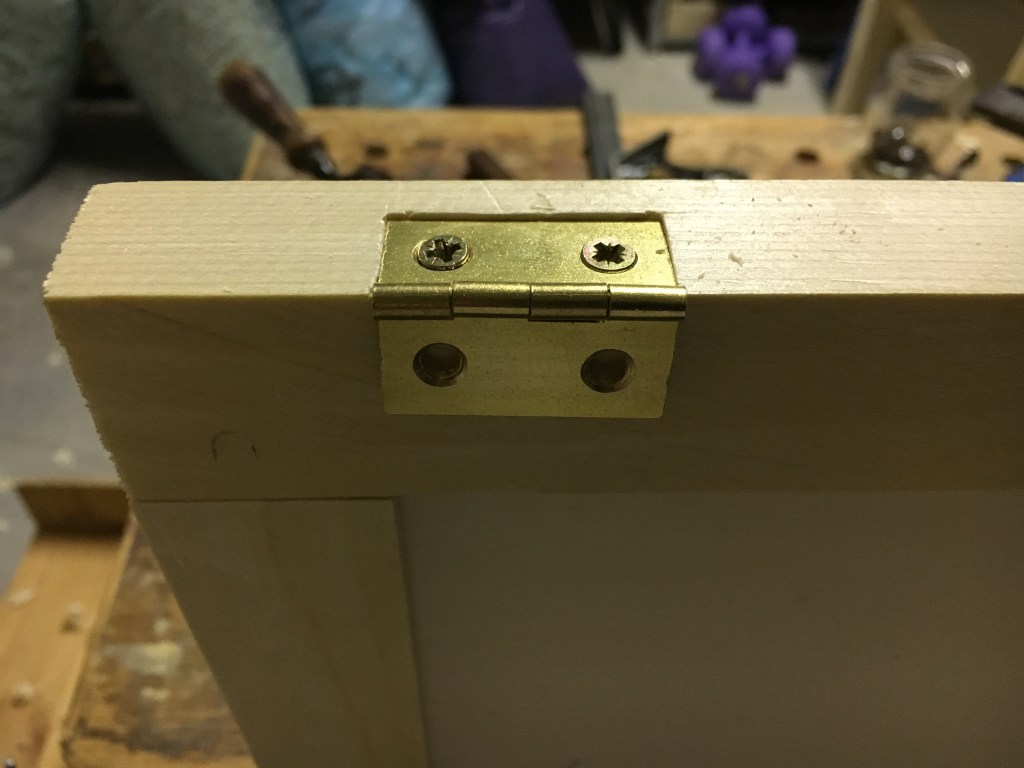
Una menzione a parte merita l’inserimento delle cerniere. Sul mercato ne esistono di svariati tipi. Quelle che ho scelto io sono le più semplici ed economiche ovvero le cerniere piatte a libro in ottone. Dovendo sorreggere un discreto peso e prevedendo di utilizzare le ante anche come porta utensili le ho comprate di buona fattura. Due cerniere per anta mi sono sembrate comunque sufficienti. In un prossimo articolo parlerò specificamente della procedura tradizionale di inserimento di questo tipo di cerniere.
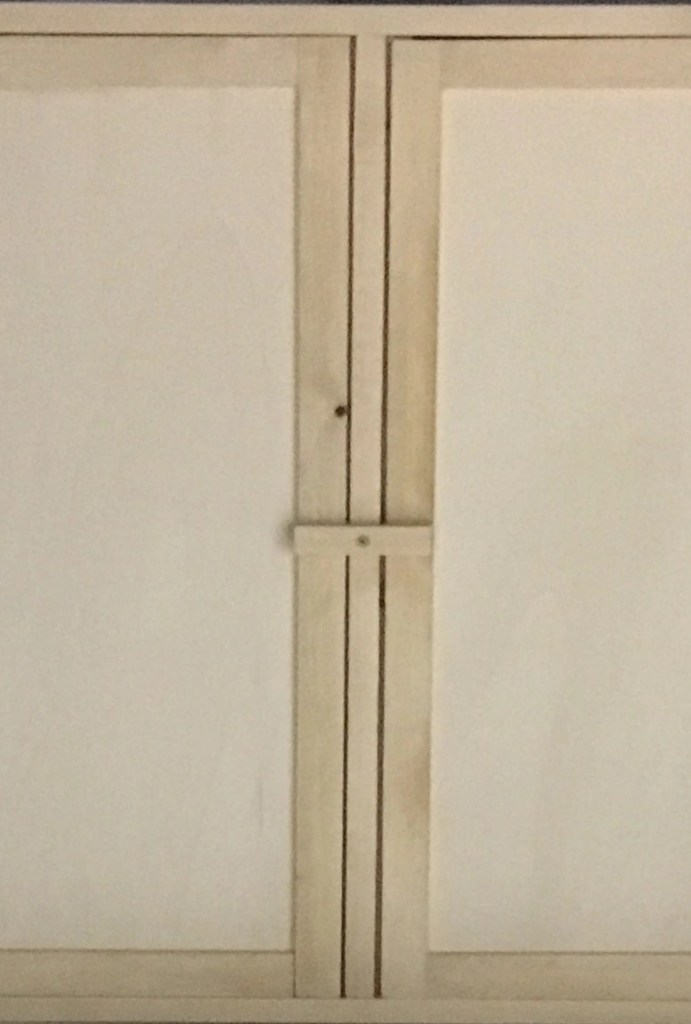
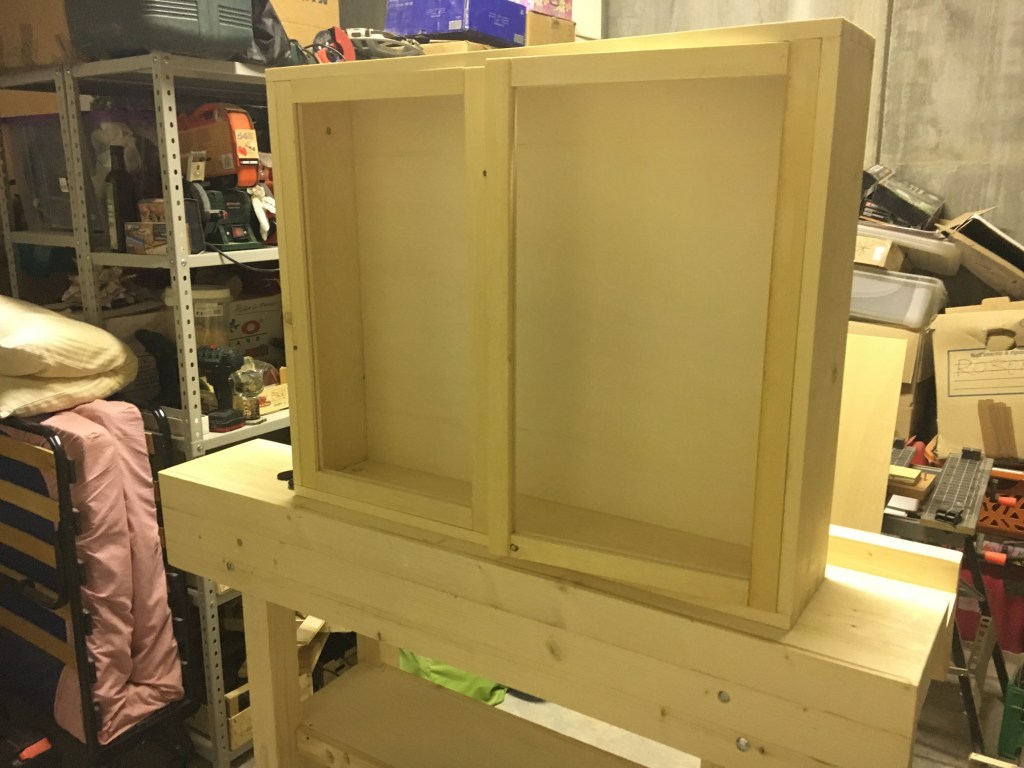
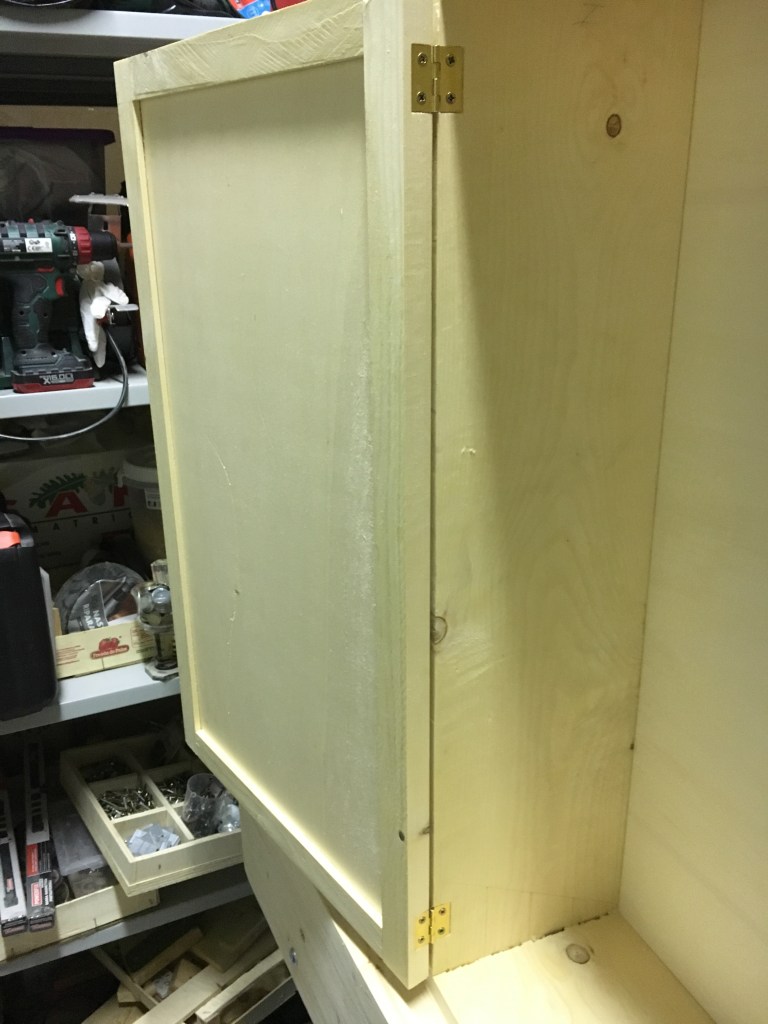
La chiusura delle ante prevede che vadano in battuta ad un montante centrale che, oltre a conferire un supporto alla struttura, ospita un semplice sistema di blocco delle ante.
Per il retro del pensile possiamo prevedere una cornice con al suo interno un pannello di multistrato, seguendo la procedura seguita per la realizzazione delle ante oppure, più semplicemente, apporre direttamente il pannello di multistrato con delle viti alla carcassa, come ho preferito fare io.
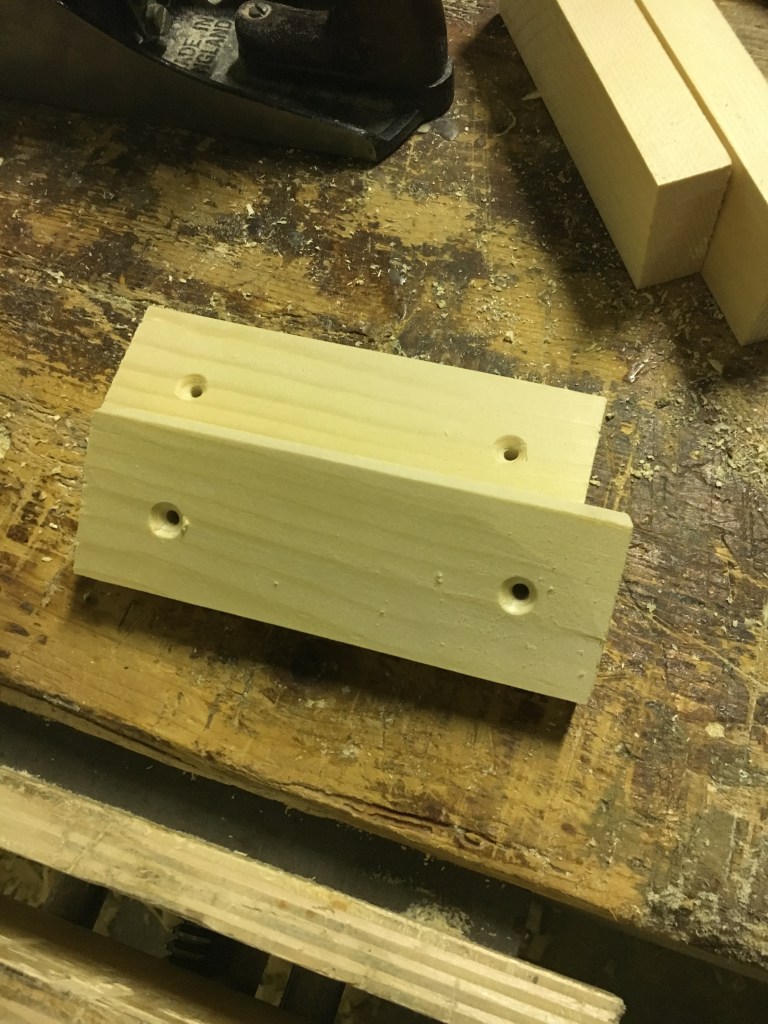
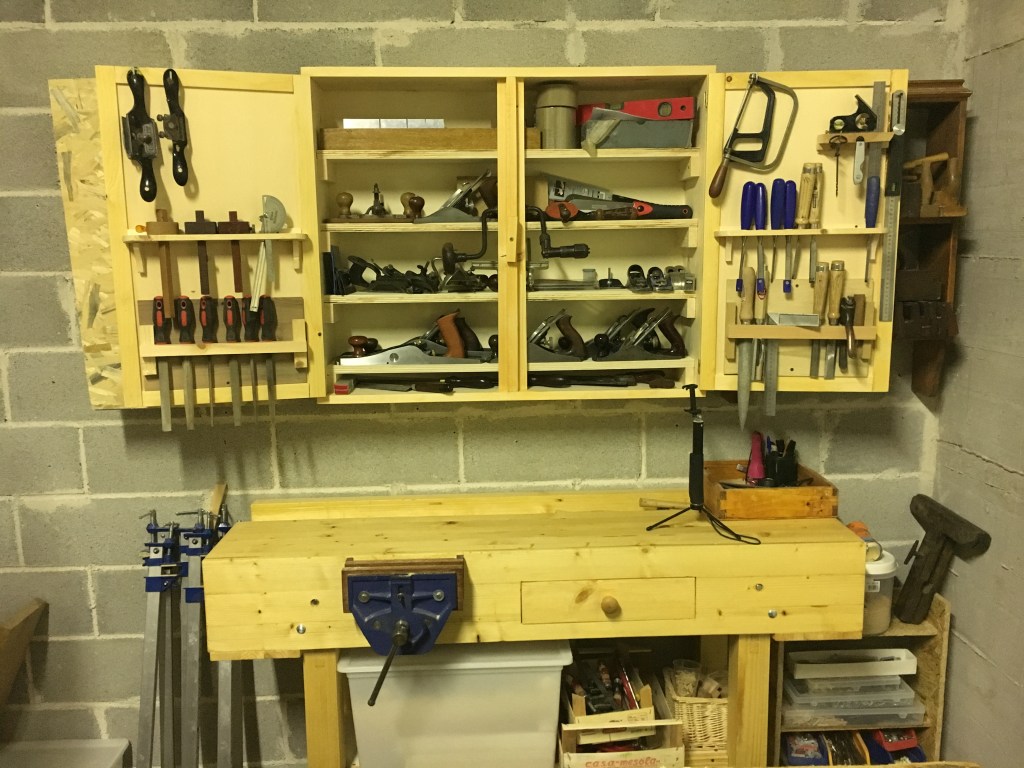
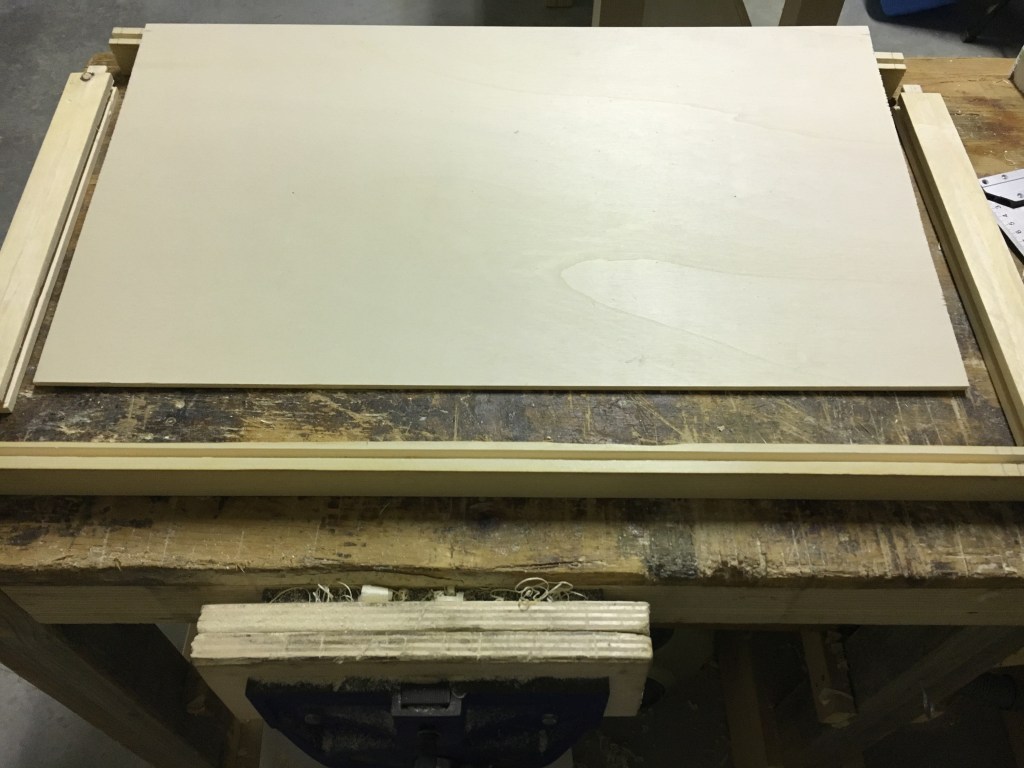
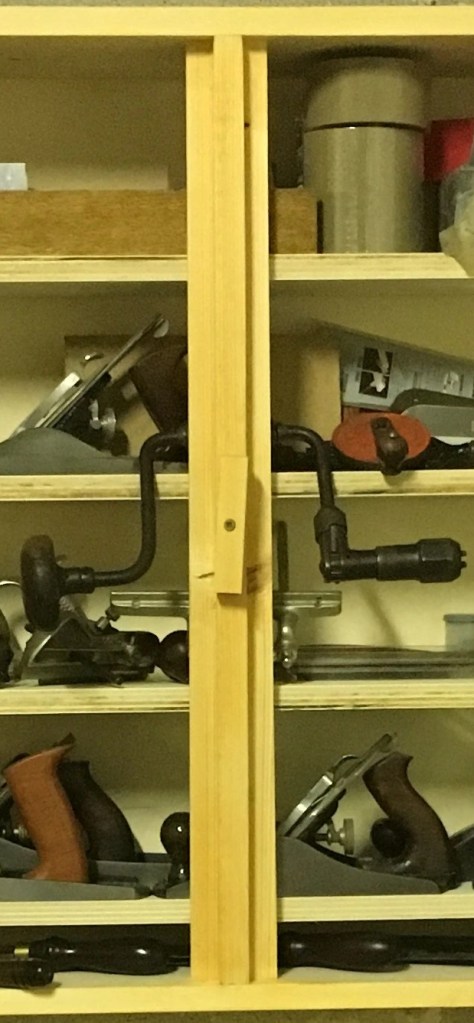
In questo pensile avevo bisogno di più spazio possibile per poter riporre gli utensili. Quindi non ho voluto di proposito realizzare dei cassetti che, seppur belli a vedersi, avrebbero comunque sottratto dello spazio utile. Ho quindi inserito dei semplici ripiani in multistrato di spessore generoso sorretti ai lati da dei supporti in legno massello. In questo tipo di pensili solitamente la posizione dei ripiani è inclinata per facilitare la movimentazione delle pialle. Personalmente, a distanza di anni, ho adottato una soluzione ibrida. Un ripiano inclinato e gli altri in posizione distesa. Una volta terminata la realizzazione del pensile l’ho semplicemente finito con un paio di mani di olio di lino cotto.
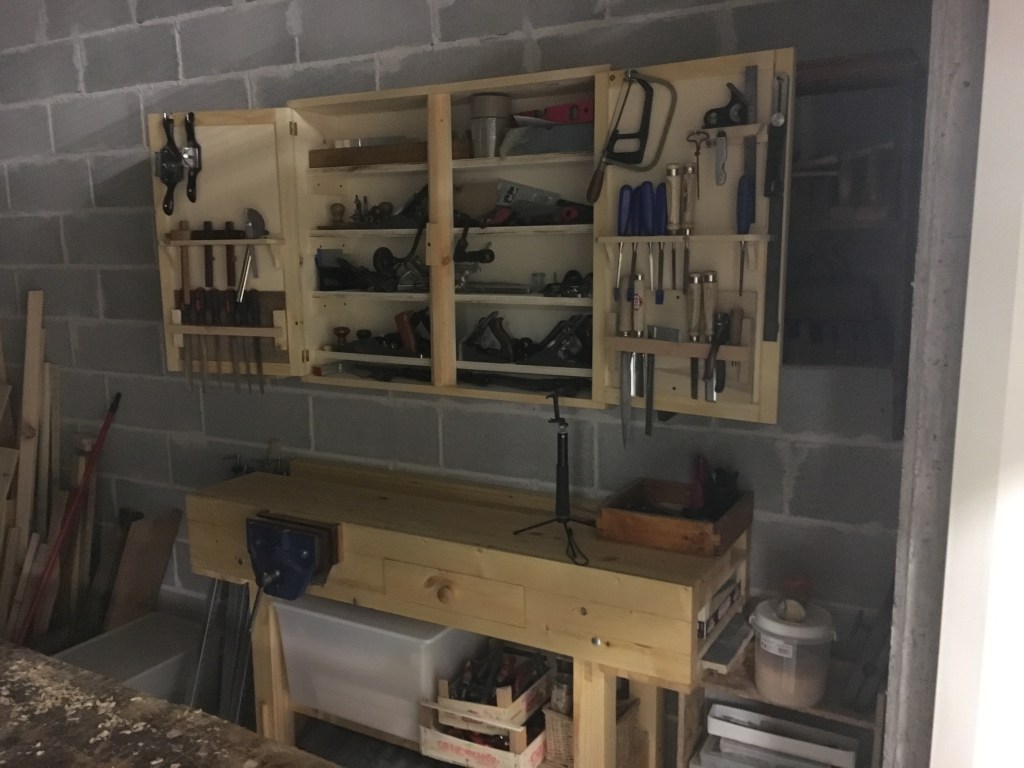
La fase finale, quella di appendere il pensile al muro, mi dava un po’ di ansia. Ero indeciso se utilizzare o meno la tecnica del french cleat con stecche di legno. Alla fine ha prevalso la soluzione classica con la quale si apprendono tutti i pensili di cucina. Una barra di metallo fissata al muro con tasselli e viti e l’altra barra fissata sul retro del pensile. Agganciando tra loro le due barre di metallo il pensile ha resistito. Pian piano l’ho quindi riempito con pialle ed utensili vari ed infine inserito dei supporti sulle ante per mettere scalpelli e qualche strumento di misurazione.

A distanza di 5 anni dalla sua realizzazione ed un trasloco a suo carico il pensile non ha dato alcun segno di cedimento anche se preferisco sempre non sovraccaricarlo ulteriormente. Il mio pensile rimane sempre aperto con gli utensili in bella mostra e pronti all’uso. Le ante tenute aperte mi permettono inoltre di sfruttare la loro superficie, inserendo pochi attrezzi leggeri. Il progetto del pensile sopra banco fu per me una scelta obbligata. Ho già parlato infatti del mio problema di spazio in un vecchio post e il pensile è di fatto il principale e pressoché unico posto dove posso riporre gli utensili che uso.
_________________________________________________________
Making a tool cabinet can be quite a complex job. This is due to the size of the cabinet, which requires adequate space for moving the pieces, but also due to a certain complexity in the use of the various construction techniques that will have to be used.
A tool cabinet can be made in many different ways but however it is built it will have to satisfy some structural standards, first of all being able to support its own weight, once fixed to the wall, in addition to the weight of the tools that we are going to put on it. Establishing with certainty how much weight a wall unit can support is difficult and depends on many factors. Surely the thicker, more solid, free of knots, cracks and well seasoned a wood is, the greater the guarantees of stability and resistance. On the market there are woods that more than others lend themselves to being used for this type of work. For example, plywood is excellent for making shelves as its glued layer structure gives it excellent resistance to stress. For the frame of the wall unit, on the other hand, the type of wood used is not so important, being able to use anything from fir to oak, chestnut, etc. as much as the joints used to make it.
The best joint ever for the carcasses of the tool cabinets (and not only) are the dovetails. The corner joints of the carcass made with this type of joint guarantee excellent resistance to both weight and torsion. An important role is also played by the wall hooking system. If we don’t foresee a lower support fixed to the wall that will help bear the weight, let’s equip ourselves with good metal bars to which the wall unit must be hooked.
The tool cabinet I made in 2018 was made using traditional classic woodworking techniques and was meant to serve as a counter top for my workshop. It didn’t have to be particularly beautiful and sophisticated, so I tried to make it as simple as possible using cheap wood that was also light. Size was the biggest limitation for me. I could have made it even bigger but unfortunately the space where it would later be inserted forced me to make it rather small. So I used 2cm thick fir wood. for the final dimensions of the wall unit of 100 cm. for 20cm. for 80cm. in height; 2 cm fir plywood for the shelves and 6 mm plywood for the door panels and the back of the tool cabinet. I will not write in this article about how dovetail and mortise and tenon joints are made, which I have already talked about extensively in old articles and which I will in any case point out while writing this post.
First I made the carcass by preparing the tails and then the pins. Operation repeated for all 4 corner joints. The number of dovetails was dictated mainly by the width of the pieces. I found it a good compromise to make 4 dovetails for each joint. I won’t write here how to make dovetails because it would be repetitive. You can find the information at the above links.
The construction of the carcass is of the utmost importance. The fundamental aspect to take care of is certainly the perpendicularity of the pieces that compose it. Any out of square would have repercussions on the construction of the doors, which would not be flush, but also on the positioning of the shelves and drawers.
Once the frame was made, I dedicated myself to the doors. These usually consist of an external structure that acts as a frame and encloses a more or less thick wooden panel or glass inside. On the inner side of the frame a grrove of adequate dimensions is obtained to accommodate the panel which must not be glued but left free to be able to accommodate the seasonal movements of the wood. Instead of the groove, however, it is possible to create supports that enclose the panel, a preferable solution if we have to insert a glass because, in the event of breakage, it will be sufficient to remove the support strips and proceed with its replacement.
When making the doors, it is essential to carefully measure the pieces that will form the frame, taking into consideration the dimensions of the wall cabinet opening and the measurements of the joints. The joints of the frame are mortise and tenon, by far the most used technique in this type of work.
In addition to the recommendations already given on the measurements, it is also important that the pieces are perpendicular and to avoid twisting of the doors as far as possible. For this purpose, it is very important to practice the mortise and tenon joints correctly. For all the details, also for this implementation phase, please refer to the above link.
The putting of the hinges deserves a separate mention. There are various types on the market. The ones I have chosen are the simplest and cheapest, i.e. the flat brass hinges. Having to support a fair weight and planning to use the doors also as a tool holder, I bought them of good quality. However, two hinges per door seemed sufficient to me. In a future article I will talk specifically about the traditional procedure for inserting this type of hinge.
The closing requires that they stop to a central jamb which, in addition to providing support to the structure, houses a simple locking system for the doors.
For the back of the wall cabinet, we can provide a frame with a plywood panel inside, following the procedure for making the doors or, more simply, screwing the plywood panel directly to the frame as I preferred to do.
I needed as much space as possible in this tool cabinet to be able to store the tools. So I purposely didn’t want to make drawers which, although beautiful to look at, would still have taken away some useful space. I then inserted simple shelves in generously thick plywood supported on the sides by solid wood supports. In this type of tool cabinet, the position of the shelves is usually inclined to facilitate the handling of the planes. Personally, years later, I have adopted a hybrid solution. One shelf inclined and the others in an extended position. Once I finished making the tool cabinet I simply finished it off with a couple of coats of boiled linseed oil.
The final step, that of hanging the cabinet on the wall, gave me some anxiety. I was undecided whether or not to use the French cleat technique with wooden slats. In the end, the classic solution with which all kitchen wall units are assembled prevailed. One metal bar fixed to the wall with dowels and screws and the other bar fixed to the back of the tool cabinet. By hooking the two metal bars together, the cabinet resisted. I then gradually filled it with planes and various tools and finally inserted supports on the doors to put chisels and some measuring instruments.
5 years after its creation and a move at his expense, the tool cabinet has not given any sign of yielding even if I always prefer not to overload it. My tool cabinet is always open with the tools on display and ready to use. The doors kept open also allow me to use their surface, inserting a few light tools. The design of the tool cabinet above the bench was an obligatory choice for me. In fact, I have already talked about my space problem in an old post and the tool cabinet is in fact the main and almost only place where I can store the tools I use.

Lascia un commento