STRUMENTI PER IL DISEGNO E LA MISURAZIONE DEL LEGNO / TOOLS FOR DRAWING AND MEASURING WOOD
English translation at the end of the article

In uno dei primi articoli di questo blog avevo indicato una lista di utensili che ritenevo e ritengo indispensabili per poter iniziare a lavorare il legno manualmente. Ecco il link Da dove iniziare? / Where to begin?
Nel corso del tempo ho parlato diffusamente di tali utensili ad eccezione di alcuni strumenti relativi al disegno ed alla misurazione del legno. Vediamoli adesso di seguito.
Matita
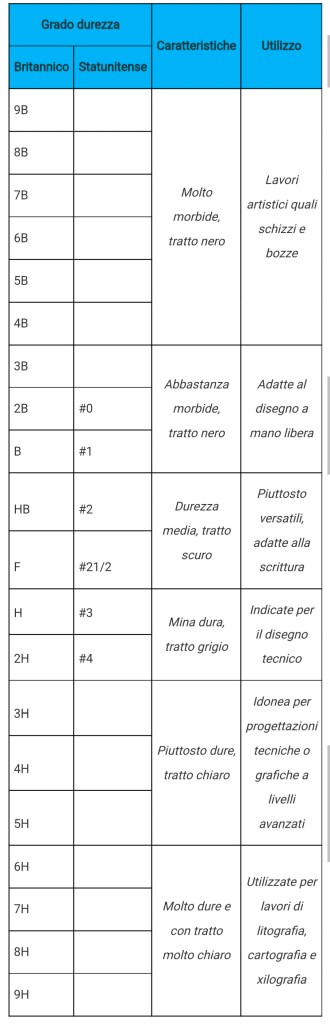
Una matita appuntita é indispensabile in falegnameria. Permette di effettuare tracce precise e un tratto fine e visibile ma facilmente cancellabile, a patto di tracciare sempre con mano leggera. Sebbene sia possibile utilizzare la classica matitona da carpentiere io mi trovo bene con la semplice matita da disegno. Le matite si differenziano in base alla durezza della grafite di cui é composta la mina. La tabella di seguito, tratta dal sito della Mondoffice, ne riepiloga molto bene tutte le caratteristiche.
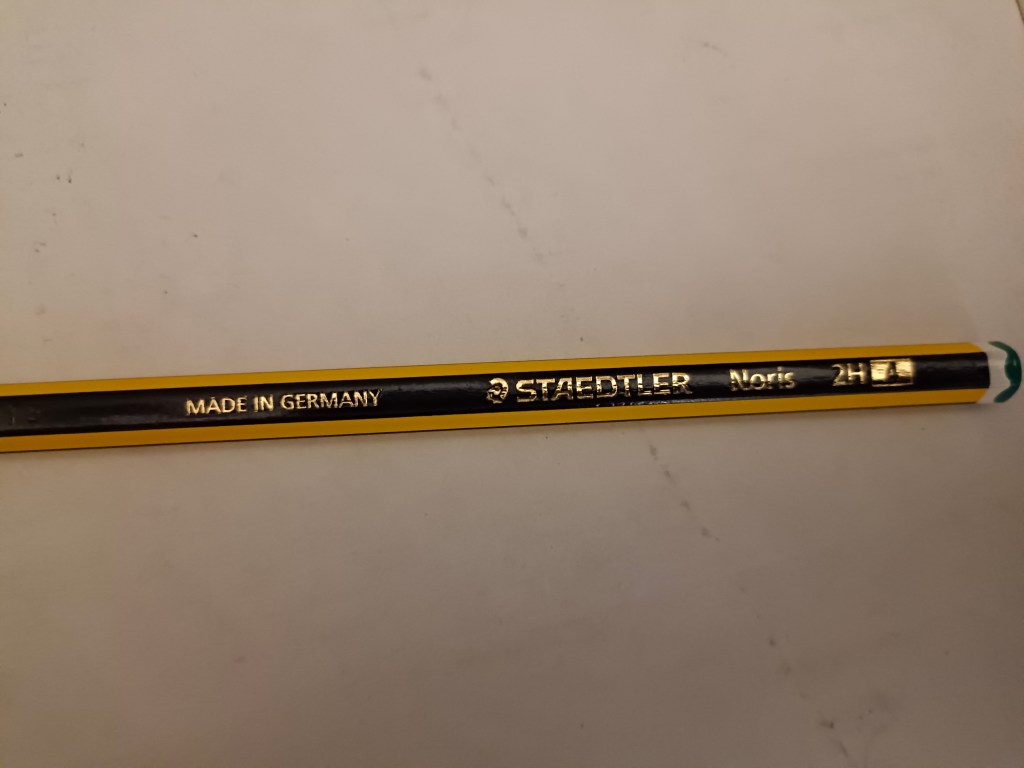
Per tracciare segni sul legno ha poca importanza la durezza della grafite, andando benissimo quindi le normali HB che si usano di solito a scuola. Se invece dovessimo riportare tracce sul legno con la carta carbone, come accade nel caso dell’intaglio, allora sarebbe meglio acquistare matite con una punta più dura, come ad esempio le 2H e oltre. Le matite della Staedtler, acquistabili ovunque, vanno benissimo.
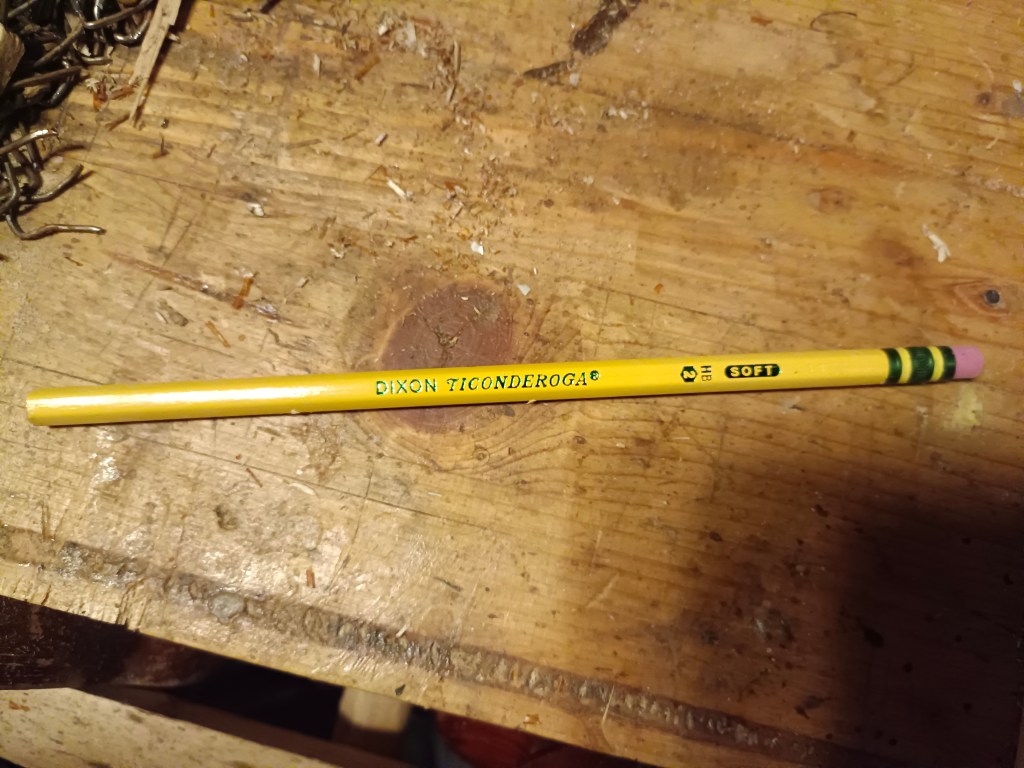
Un’ottima marca alternativa sono le matite della Ticonderoga, acquistabili online su Amazon a questo link:
Costano un po’ di più ma eccellono in qualità. Consiglio inoltre di acquistare matite con la gomma incorporata. Le trovo particolarmente utili se dobbiamo eliminare al volo piccole tracce senza dover cercare sempre la gomma da cancellare.
Temperamatite
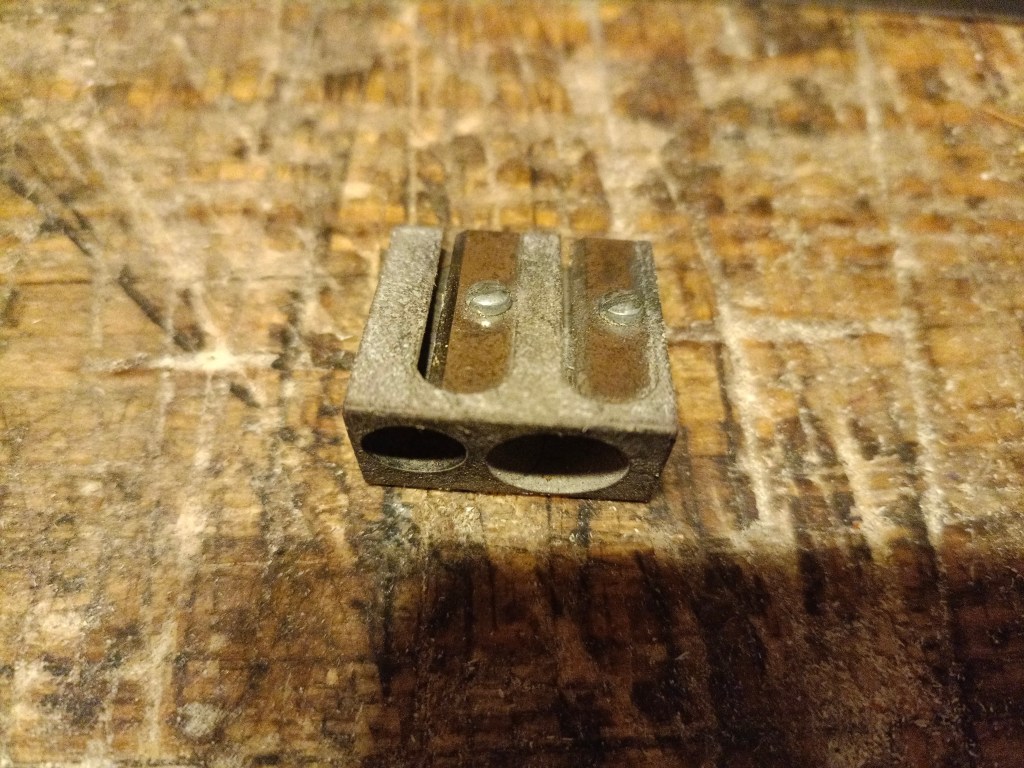
Per temperare le matite esistono svariati sistemi. Dal più spartano, utilizzando un semplice coltellino o lo scalpello (il cui tagliente viene però un po’ rovinato dalla grafite) fino ai temperamatite elettrici. Personalmente ho sempre temperato con i classici temperamatite a mano, prediligendo quelli più vecchi e nella versione a due buchi che sono più pesanti e di miglior fattura rispetto a quelli moderni.

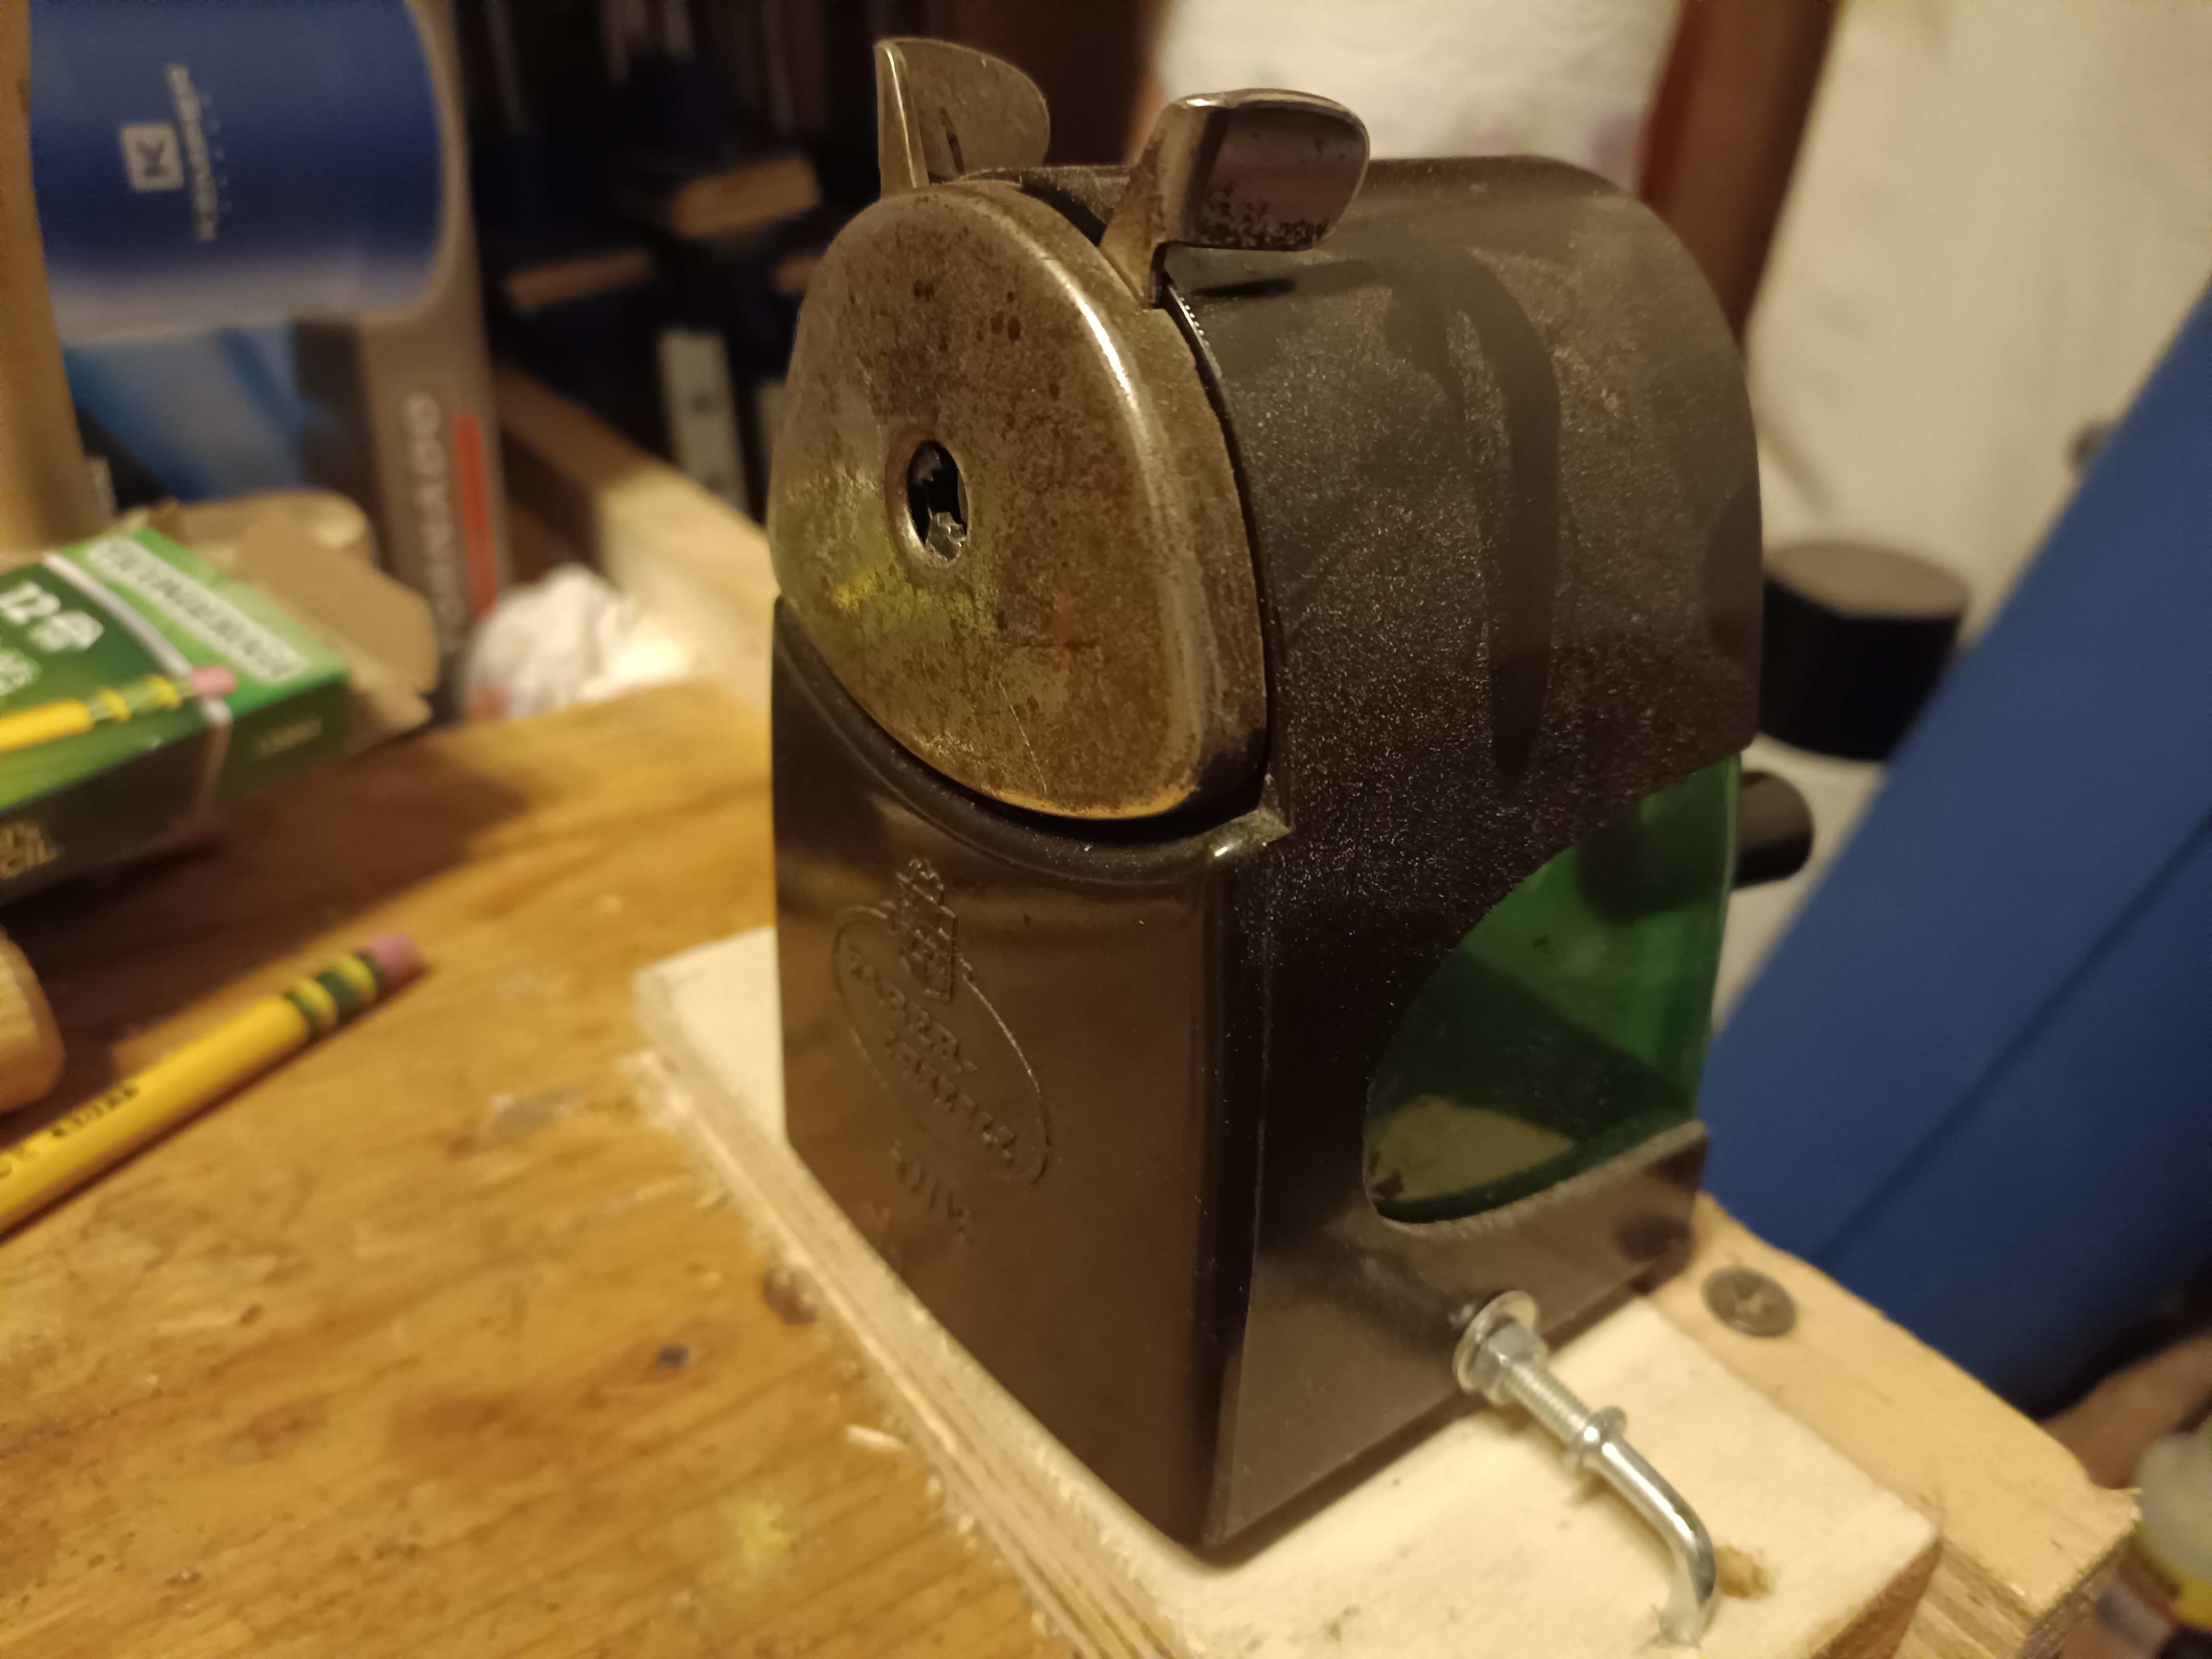
Solo ultimamente mi sono dotato di un temperamatite a manovella vintage anni 50 marcato Faber Castell modello 52/18. É solido e funziona discretamente ma non fa punte perfette come un temperamatite a manovella nuovo.

Il pregio maggiore sta nel fatto che le punte non si rompono durante l’appuntatura, come spesso accade temperando con i temperamatite manuali.
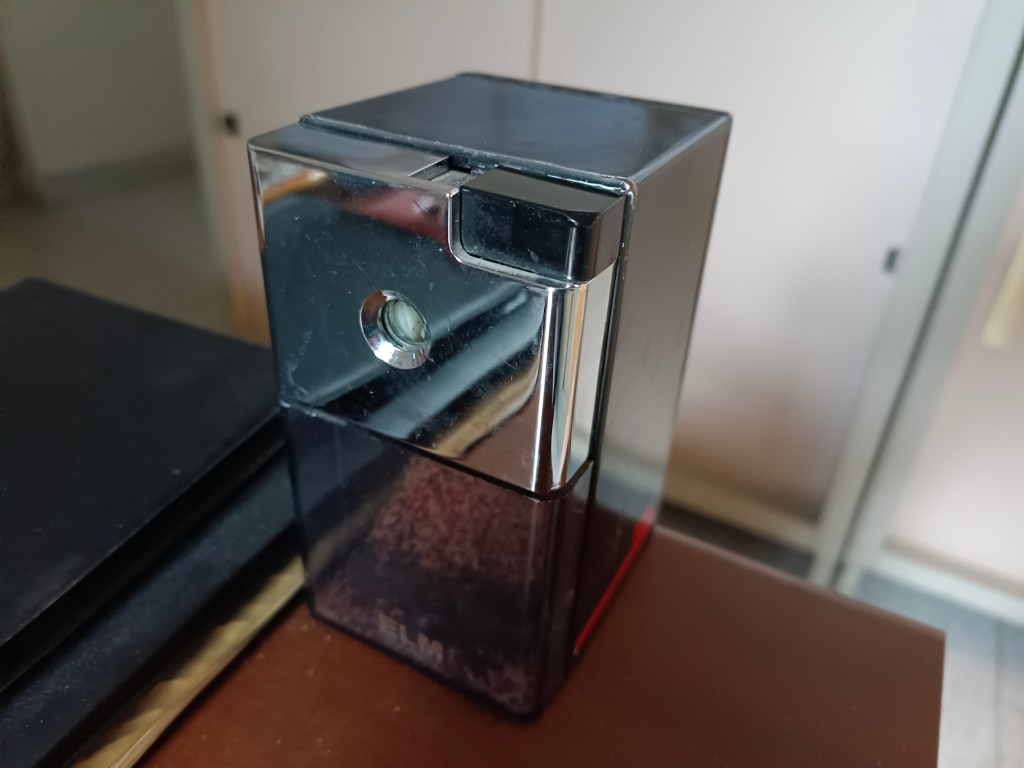
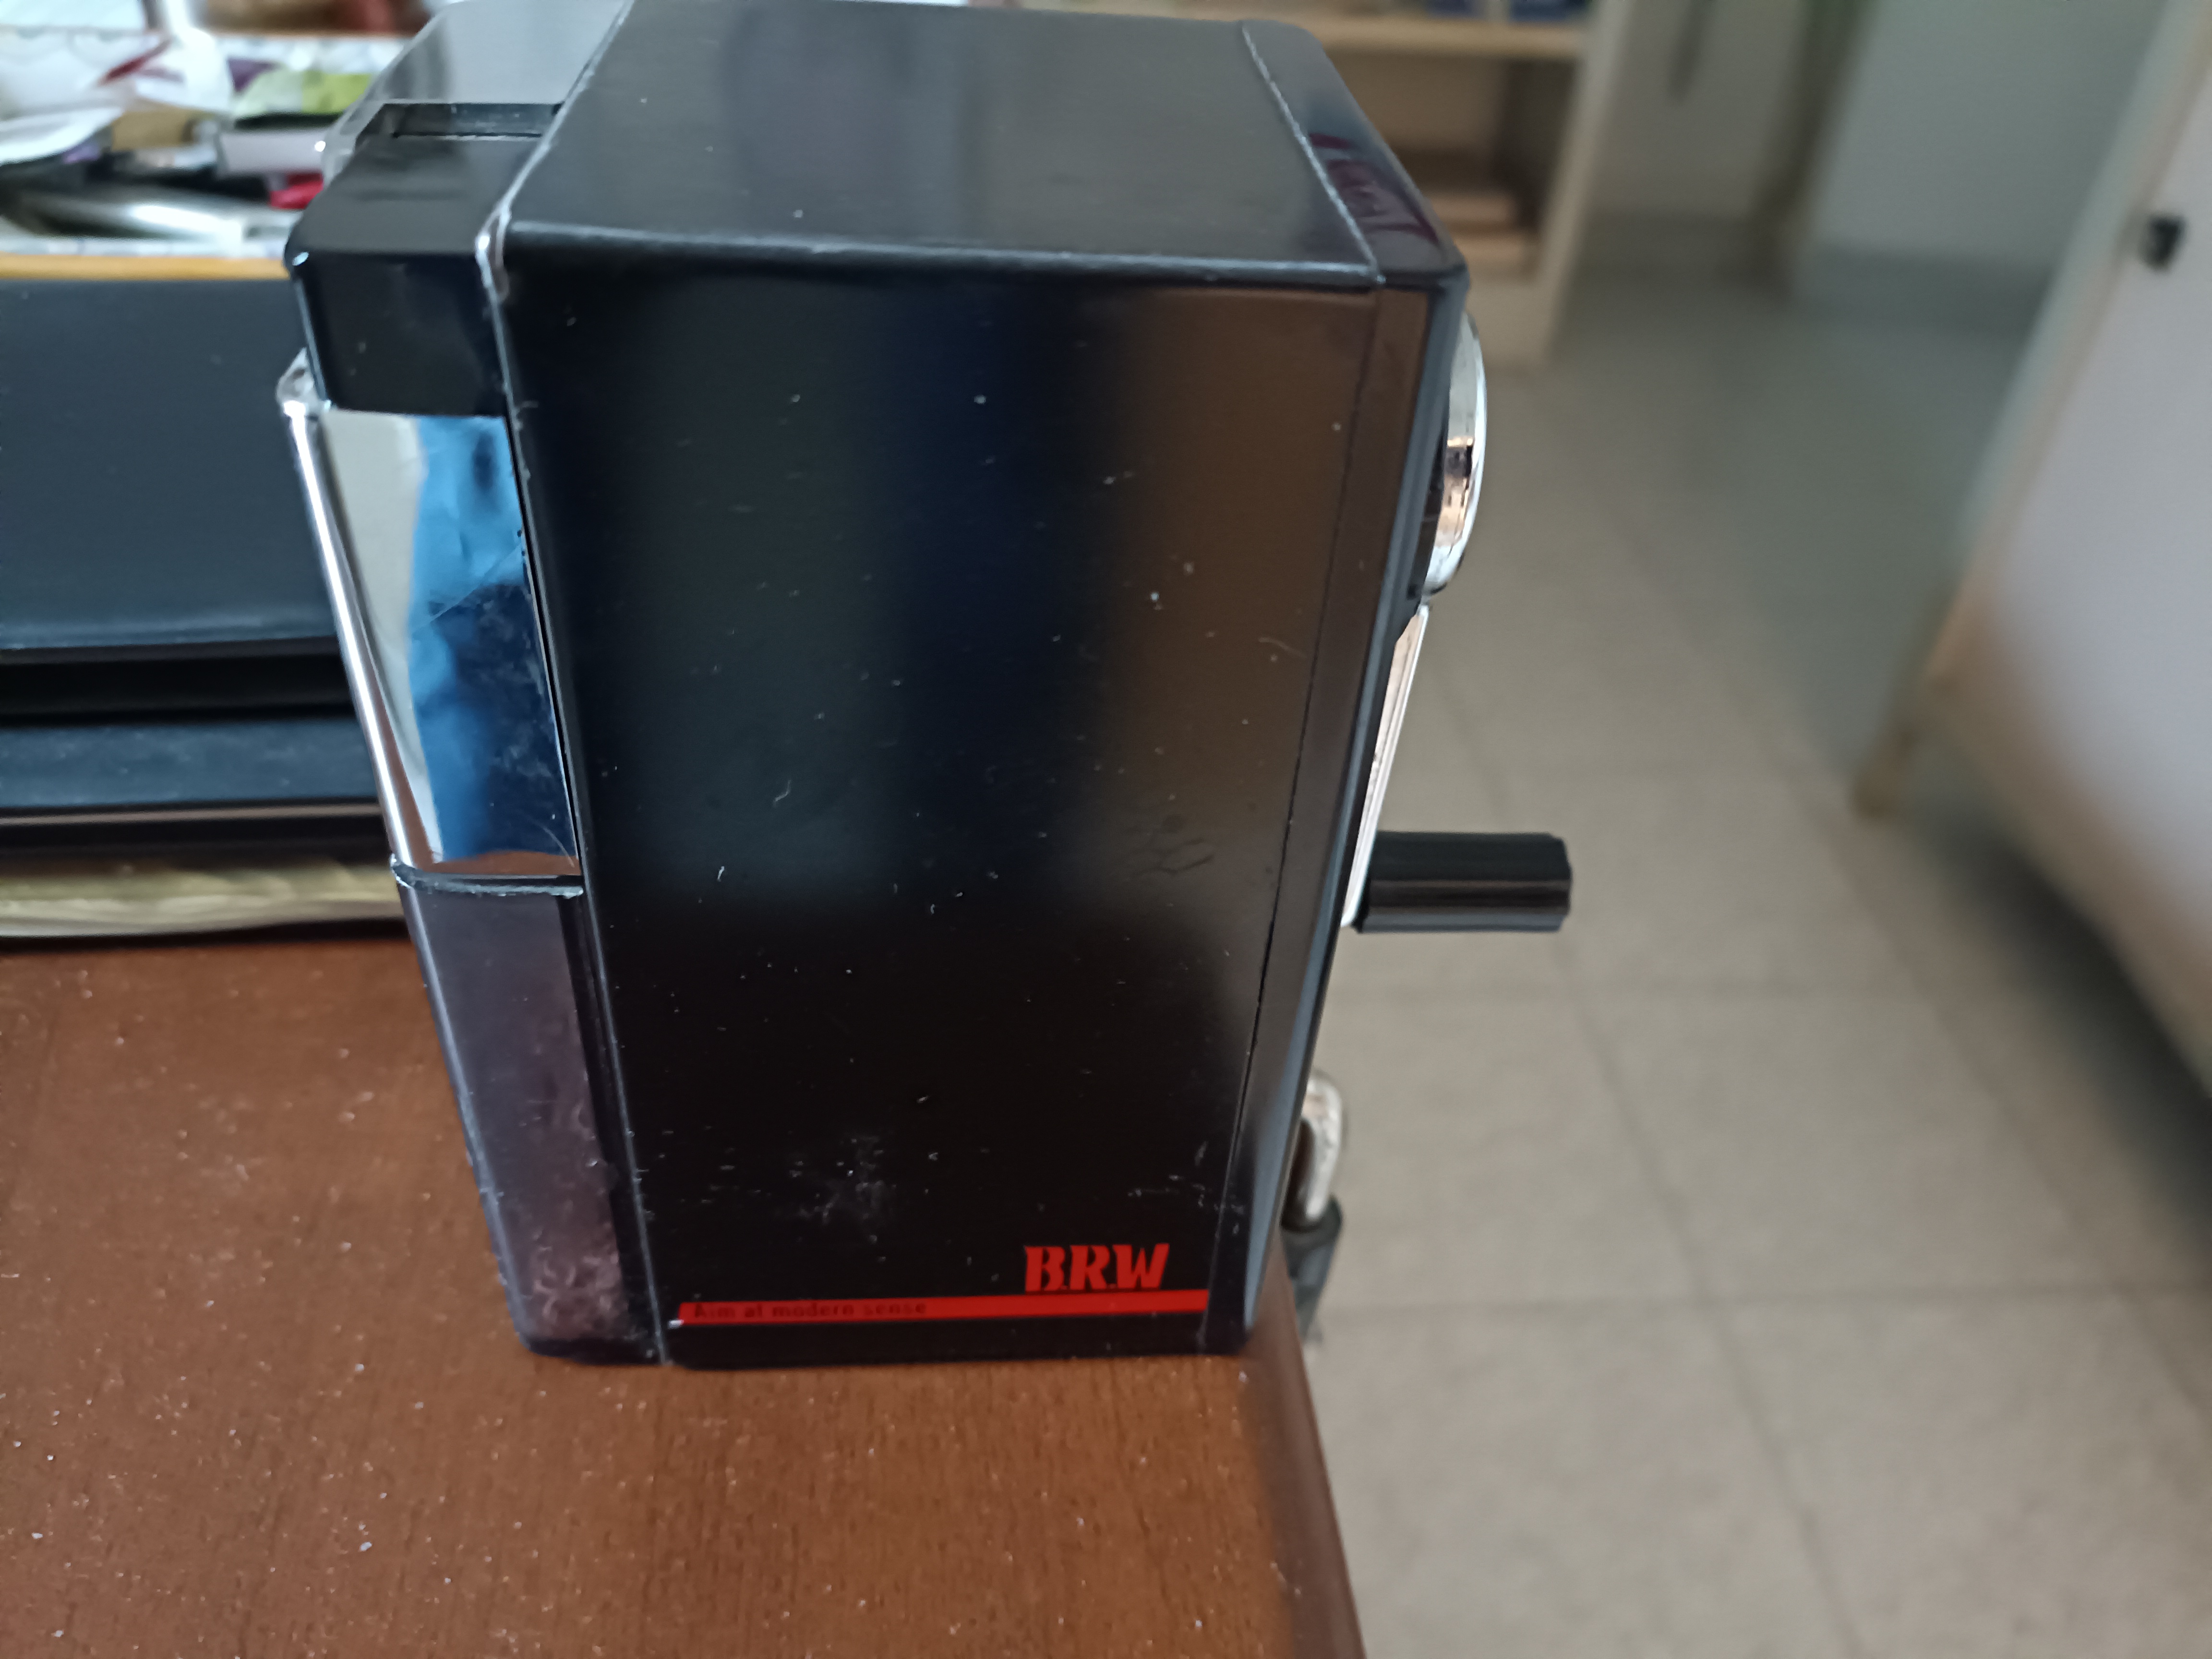
Il miglior modello in assoluto che abbia mai provato rimane comunque questo ELM BRW riprodotto nella foto sopra. Riunisce in sé solidità e funzionalità e soprattutto tempera delle punte perfette.
Gomma per cancellare
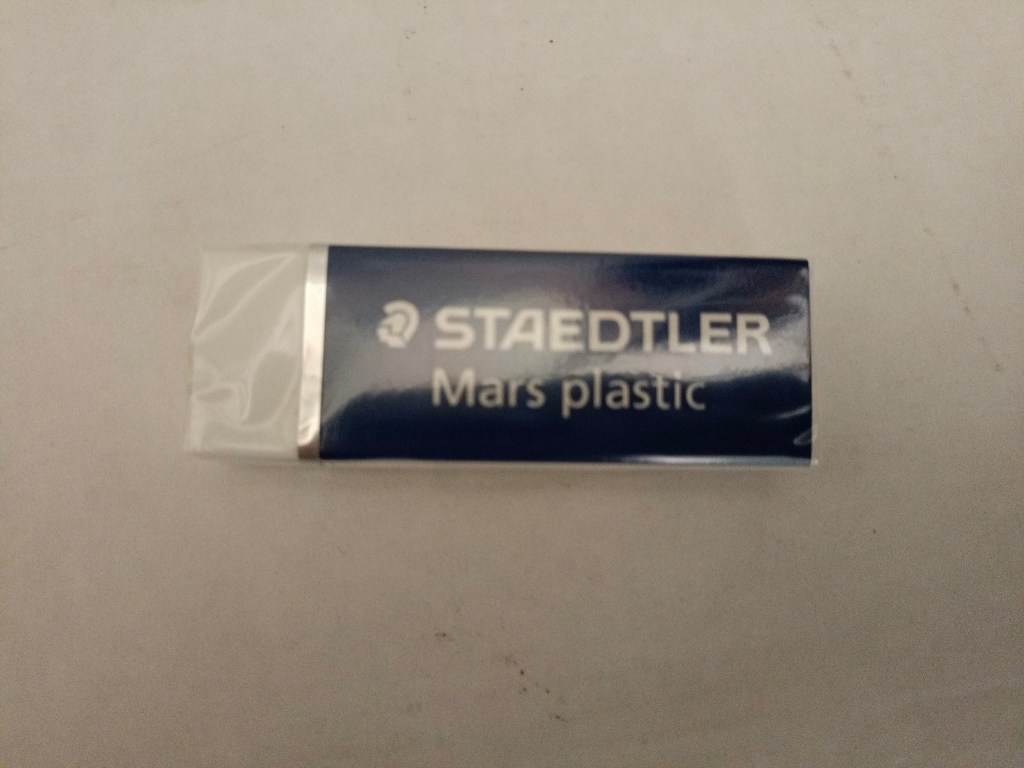
La gomma per cancellare é indispensabile per rimuovere i segni lasciati dalla matita sul legno. Qualsiasi gomma per matita va bene. Anche in questo caso le gomme della Staedtler sono ottime. Come detto sopra valutiamo di acquistare matite con la gomma incorporata e non tracciamo mai segni troppo marcati sul legno o faticheremo a rimuoverli con la gomma.
Flessometro
Un tempo il righello ripiegabile in legno era lo strumento principe di misurazione delle botteghe di falegnameria.

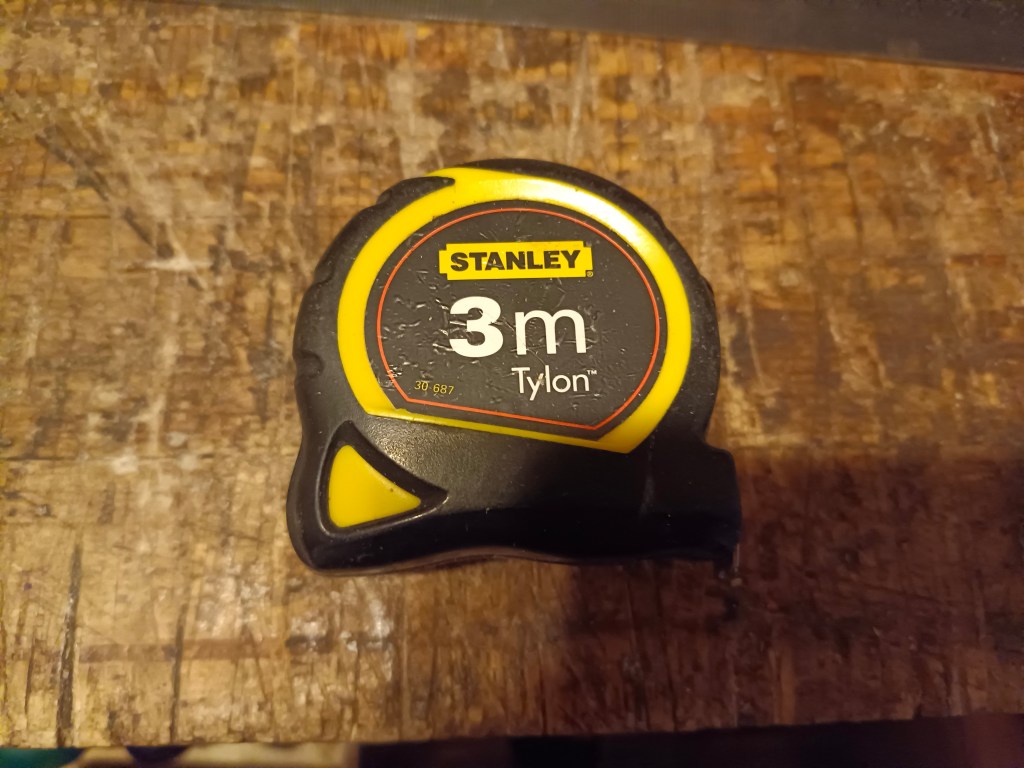
Sebbene si possa ancora utilizzare, trovo più utile impiegare il flessometro in quanto più preciso, comodo e versatile. In commercio ne esistono di svariate tipologie. A seconda degli usi possiamo tenerne un paio. Uno più lungo che arrivi almeno a 5 metri ed uno più piccolo da 3 metri. Quello che trovo più pratico é quest’ultimo in quanto più piccolo e maneggevole. Mi sento di consigliare il flessometro della Stanley da 3 metri. É leggero, si tiene comodamente in mano e si leggono bene le misurazioni.
Righello in acciaio
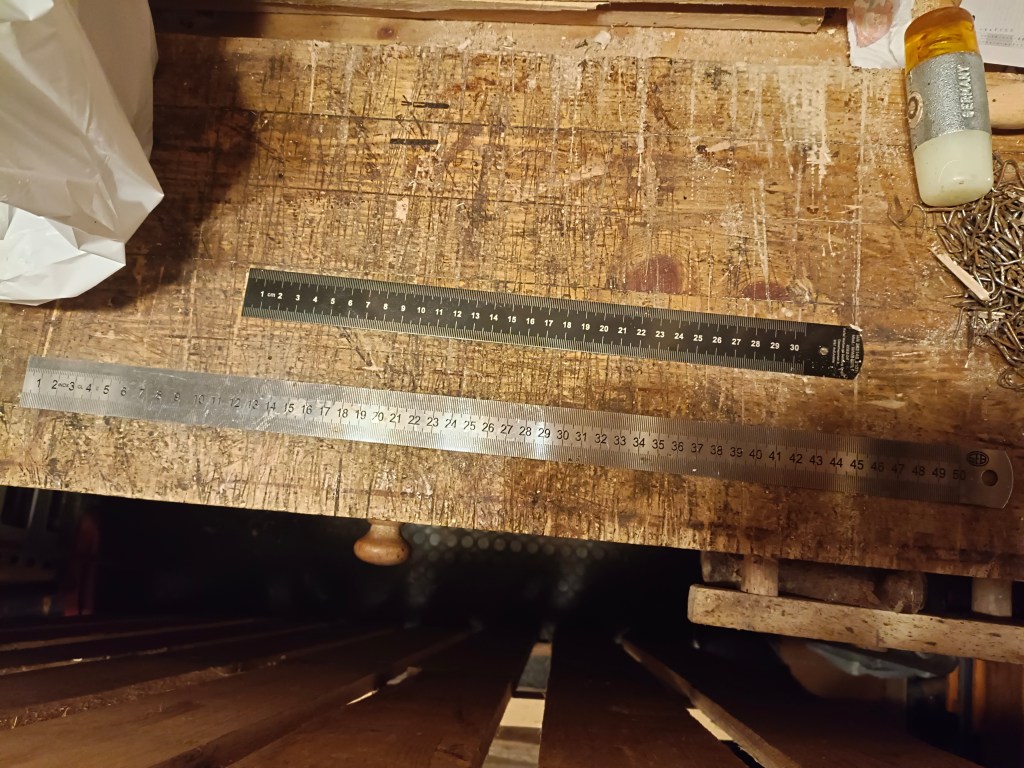
Un buon righello dovrebbe essere in acciaio e con una scala millimetrata ben leggibile, meglio se incisa e non stampata. Possibilmente evitiamo i righelli in plastica che potrebbero danneggiarsi facilmente a contatto con il legno. Possiamo dotarci di più righelli di diverse misure. Personalmente preferisco i righelli dai 30 ai 50 centimetri di lunghezza perché più versatili e impiegabili in un maggior numero di lavorazioni.
Come abbiamo visto sopra si tratta sempre di strumenti economici e di facile reperibilità ma comunque fondamentali nel nostro lavoro.
Molti altri strumenti di misurazione possono essere impiegati in falegnameria, seppure non li reputi fondamentali, come ad esempio il compasso, il goniometro, il calibro, la falsa squadra, ecc.
Importante invece é la squadra combinata, ma di quella ho già parlato in questo vecchio articolo.
Squadra Combinata / Combination Square
——————————————————-
One of the first article of this blog was a list of essential tools for woodworking. You can find the article at the link above.
Over time I have spoken extensively about these tools with the exception of some tools related to drawing and measuring wood. Let’s see them now below.
Pencil. A sharp pencil is indispensable in woodworking. It allows you to make precise traces and a fine and visible but easily erasable line, provided you always trace with a light hand. Although it is possible to use the classic carpenter’s pencil, I am happy with the simple drawing pencil. Pencils differ according to the hardness of the graphite of which the lead is made. The table above, taken from the Mondoffice website, summarizes all the features very well.
To draw signs on the wood, the hardness of the graphite is of little importance, therefore the normal HBs that are usually used at school are fine. If, on the other hand, we had to make traces on the wood with carbon paper, as happens in the case of carving, then it would be better to buy pencils with a harder tip, such as 2H and above. Staedtler pencils, available everywhere, are fine.
An excellent alternative brand are the Ticonderoga pencils, which can be purchased online on Amazon at the above link.
They cost a little more but excel in quality. I also recommend buying pencils with built-in erasers. I find them particularly useful if we need to eliminate small traces on the wood without always having to look for the eraser.
Pencil sharpener. There are various systems for sharpening pencils. From the more spartan, using a simple pocketknife or chisel (whose cutting edge is however a little ruined by the graphite) up to electric pencil sharpeners. Personally I have always sharpened with the classic hand pencil sharpeners, preferring the older ones and in the two-hole version which are heavier and better made than the modern ones.
Only recently I have equipped myself with a vintage 1950s crank pencil sharpener marked Faber Castell model 52/18. It’s solid and works okay but doesn’t make perfect points like a new crank sharpener.
The greatest advantage lies in the fact that the tips do not break during pinning, as often happens when sharpening with manual pencil sharpeners.
The absolute best model I’ve ever tried is still this ELM BRW reproduced in the photo above. It combines solidity and functionality and above all sharpens perfect ends.
Eraser
The eraser is indispensable for removing the marks left by the pencil on the wood. Any pencil eraser will do. Again the Staedtler erasers are excellent. As mentioned above, we consider buying pencils with an incorporated eraser and never draw too marked marks on the wood or we will struggle to remove them with the eraser.
Measuring tape
The folding wooden ruler was once the main measuring tool in carpentry shops.
Although it can still be used, I find it more useful to use the measuring tape as it is more precise, comfortable and versatile. There are various types on the market. Depending on the uses we can keep a couple. A longer one that reaches at least 5 meters and a smaller one of 3 meters. What I find more practical is the latter as it is smaller and more manageable. I would recommend the Stanley 3 meter measuring tape. It’s light, fits comfortably in the hand, and the measurements are easy to read.
Steel ruler. A good ruler should be made of steel and with a clearly legible millimeter scale, better if engraved and not printed. If possible, avoid plastic rulers which could easily be damaged in contact with the wood. We can equip ourselves with multiple rulers of different sizes. Personally I prefer rulers from 30 to 50 centimeters in length because they are more versatile and usable in a greater number of processes.
As we have seen above, these are always cheap and easily available tools, but still fundamental in our work.
Many other measuring tools can be used in carpentry, even if it is not considered essential, such as the compass, the protractor, the caliper, the sliding bevel, etc.
However, the combination square is important, but I have already talked about that in the article linked above.

Lascia un commento