La finitura del legno: levigatura / Wood finishing: Sanding
English translation at the end of the article
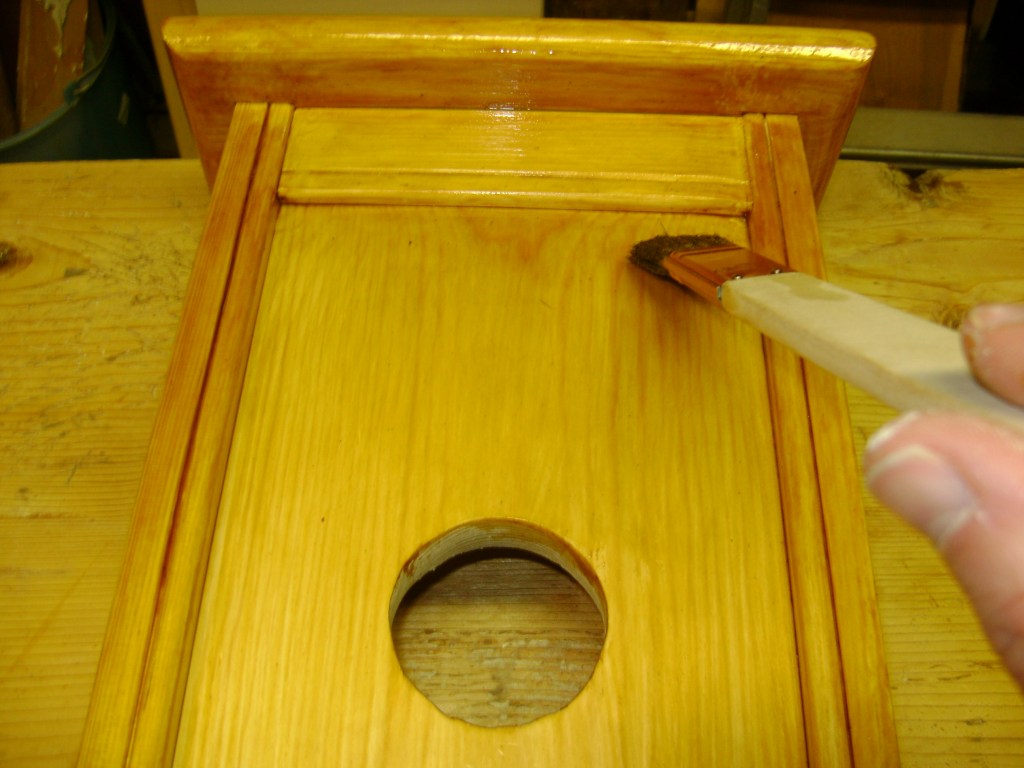
Questo è il primo di una serie di post in cui vorrei parlare brevemente della fase di finitura del legno. In questa fase rientrano tutte quelle operazioni che tendono a finire e quindi completare il nostro lavoro. Principalmente si tratta della preparazione del legno con la levigatura e la sua successiva verniciatura. Questa fase
realizzativa viene spesso trascurata ma è di fondamentale importanza per la buona riuscita del nostro lavoro. Se ci facciamo caso infatti difficilmente la maggioranza delle persone si sofferma a valutare le difficoltà tecniche degli incastri realizzati in un mobile, quanto invece apprezzarne l’aspetto esteriore nel suo insieme, nel quale recita un ruolo fondamentale la sua finitura, in buona sostanza la verniciatura del manufatto.
Effettivamente un lavoro professionalmente perfetto può essere rovinato da una finitura non all’altezza ed oggettivamente non ottimale. La finitura di un manufatto è quindi fondamentale ma spesso viene fatta molta confusione sull’argomento in quanto, specialmente quando si parla della finitura, esistono così tante metodologie di lavorazione ed abbondanza di vernici di ogni tipo che risulta difficile riuscire a districarsi e focalizzare bene cosa vogliamo e dobbiamo ottenere.
Esistono in commercio moltissimi libri sull’argomento ed ognuno riporta la sua verità sul come effettuare una perfetta finitura. L’enorme mole di informazioni disponibile (data anche la vastità dell’argomento) invece di fare chiarezza ha generato molta confusione, specialmente sulla terminologia utilizzata.
La parola d’ordine in questi casi è semplificare. Ho realizzato che, per effettuare una buona finitura, bastano infatti poche semplici nozioni. Tutto il resto è un surplus di informazioni che, invece di semplificare il lavoro, alla fine lo complicano notevolmente. Avremo modo di trattare la fase di verniciatura nei prossimi post.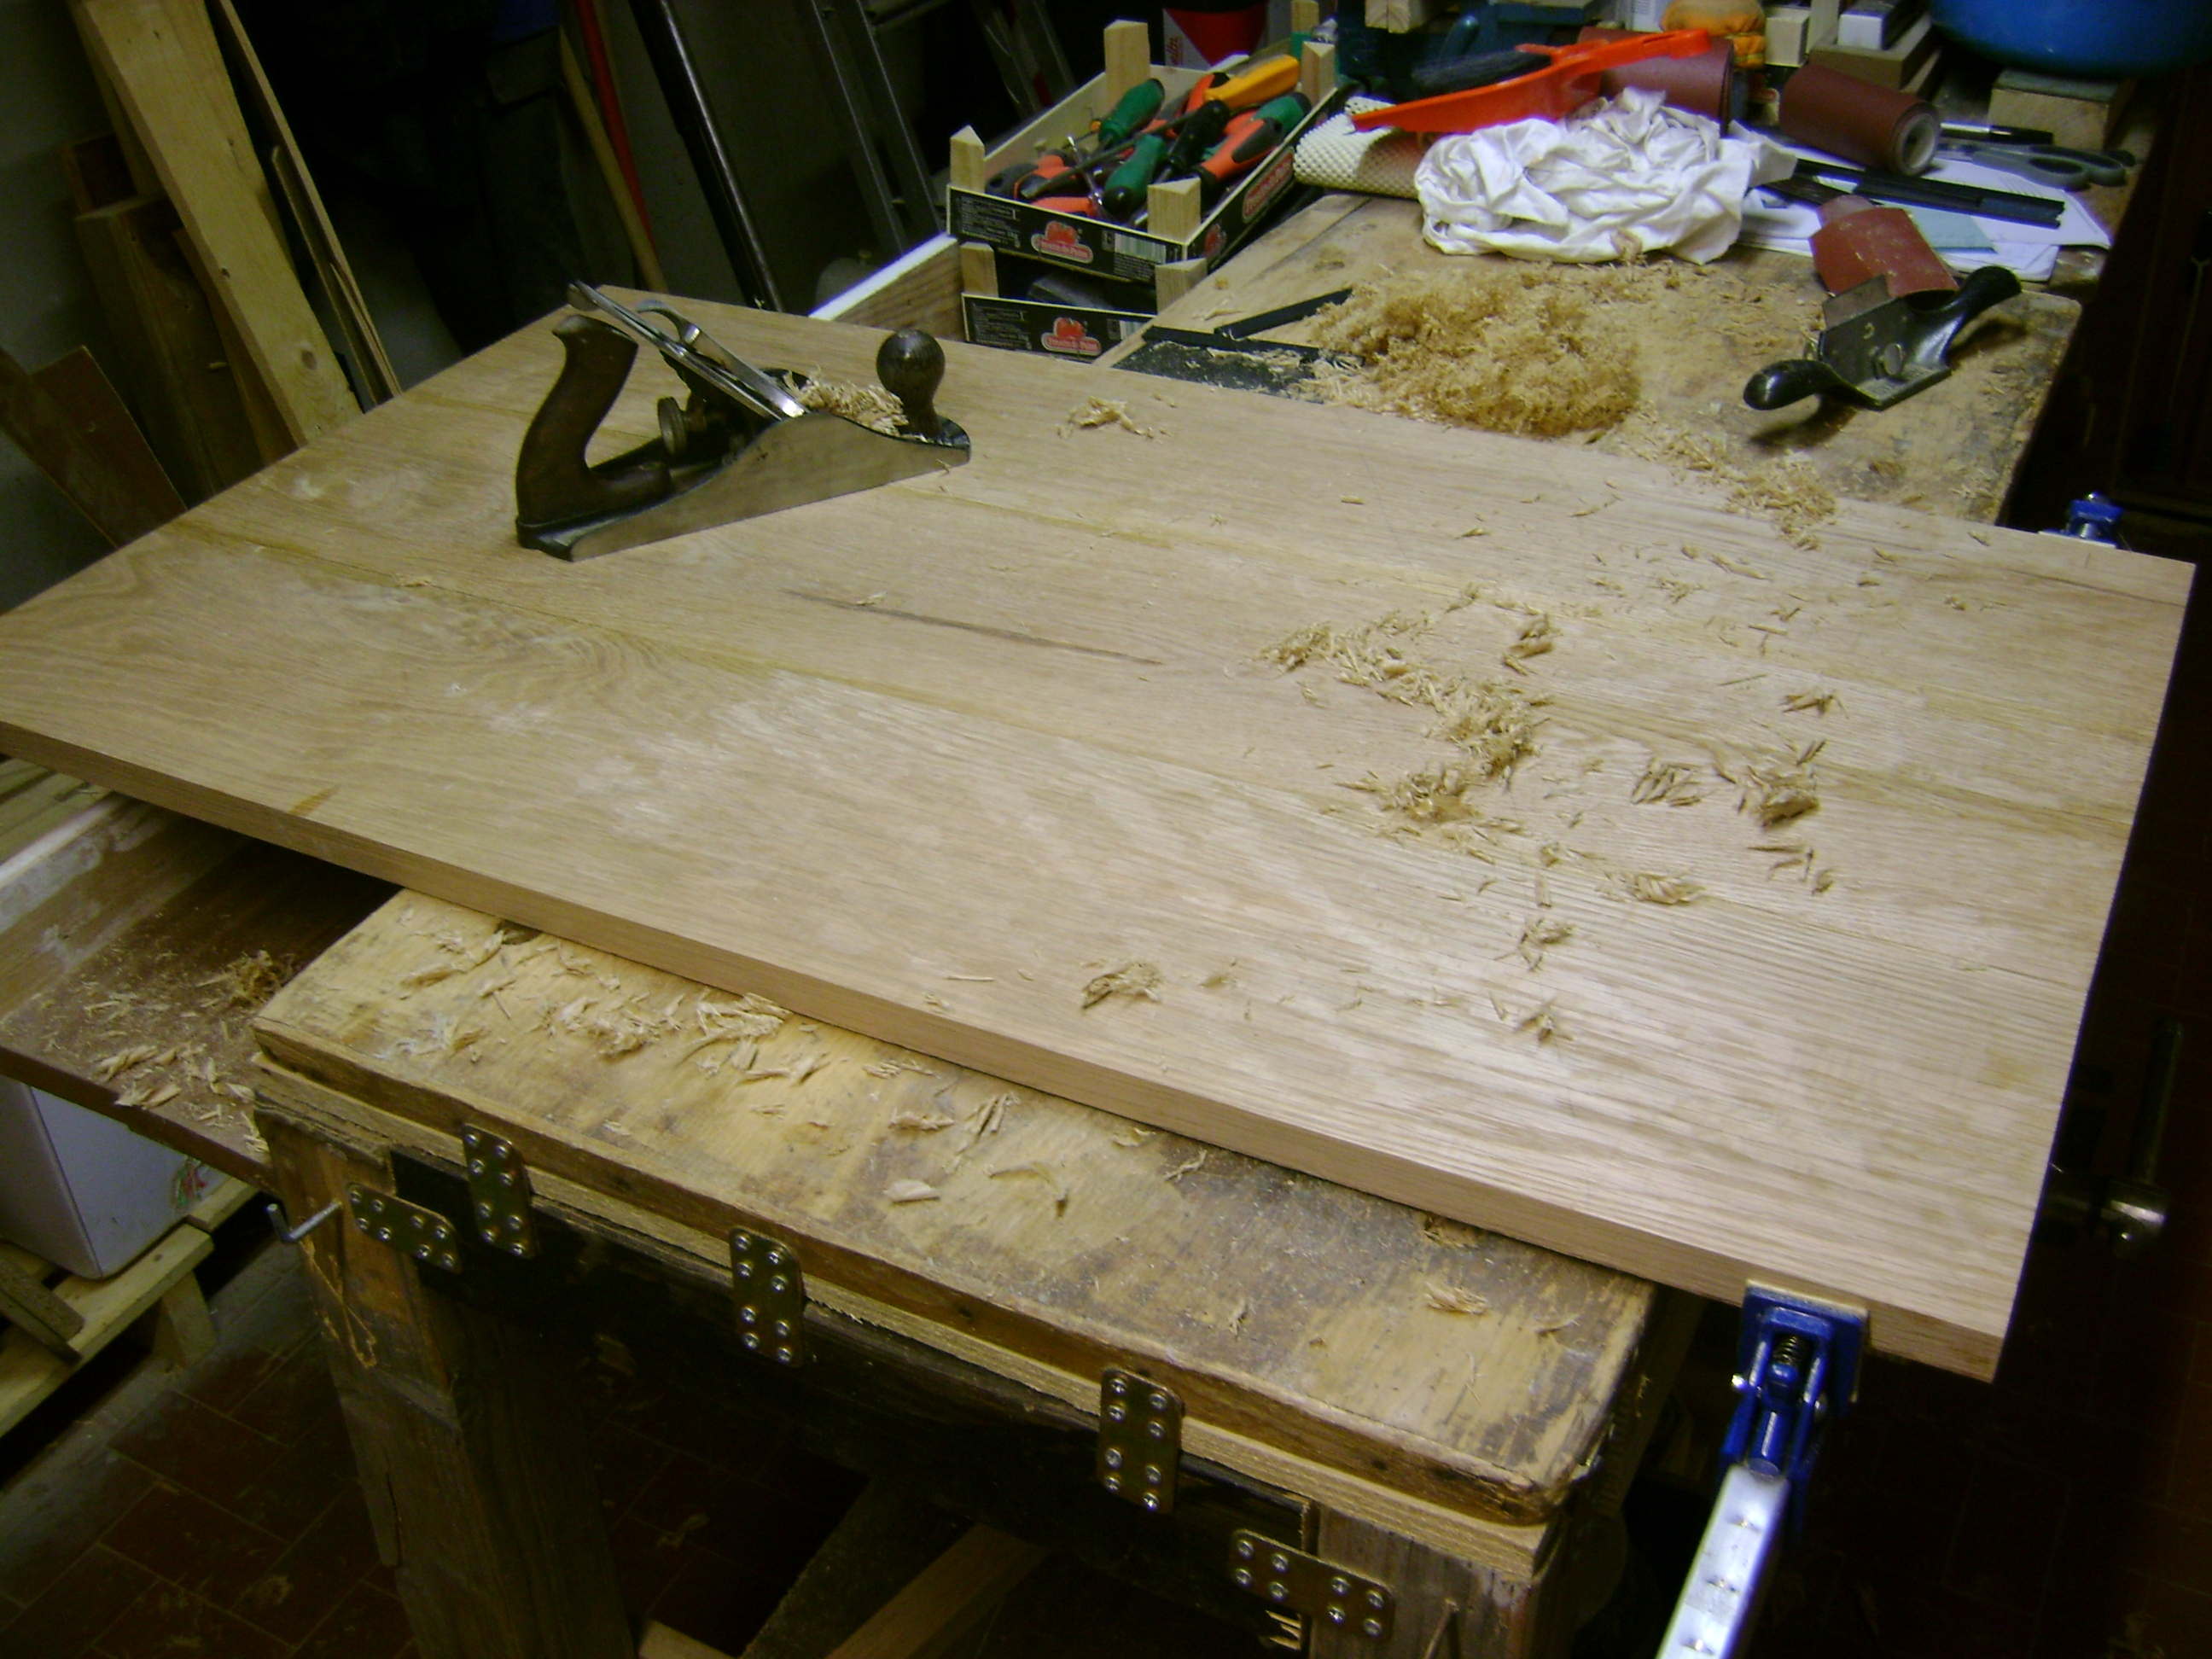
In questo articolo vorrei per prima cosa parlare della fase di preparazione del legno grezzo (quindi mai verniciato) per la sua successiva verniciatura. La buona riuscita in fase di verniciatura del legno comincia già nella fase di scelta del legno da utilizzare e nel suo corretto accostamento in fase di assemblaggio. Un legno con pochi nodi e nessuna fessurazione, ben stagionato e con una bella venatura avrà sicuramente una resa maggiore in termini di estetica una volta ultimato il manufatto.
L’accoppiamento di costa di tavole con una venatura ed un colore simile farà risaltare maggiormente la bellezza del legno una volta verniciato il manufatto.
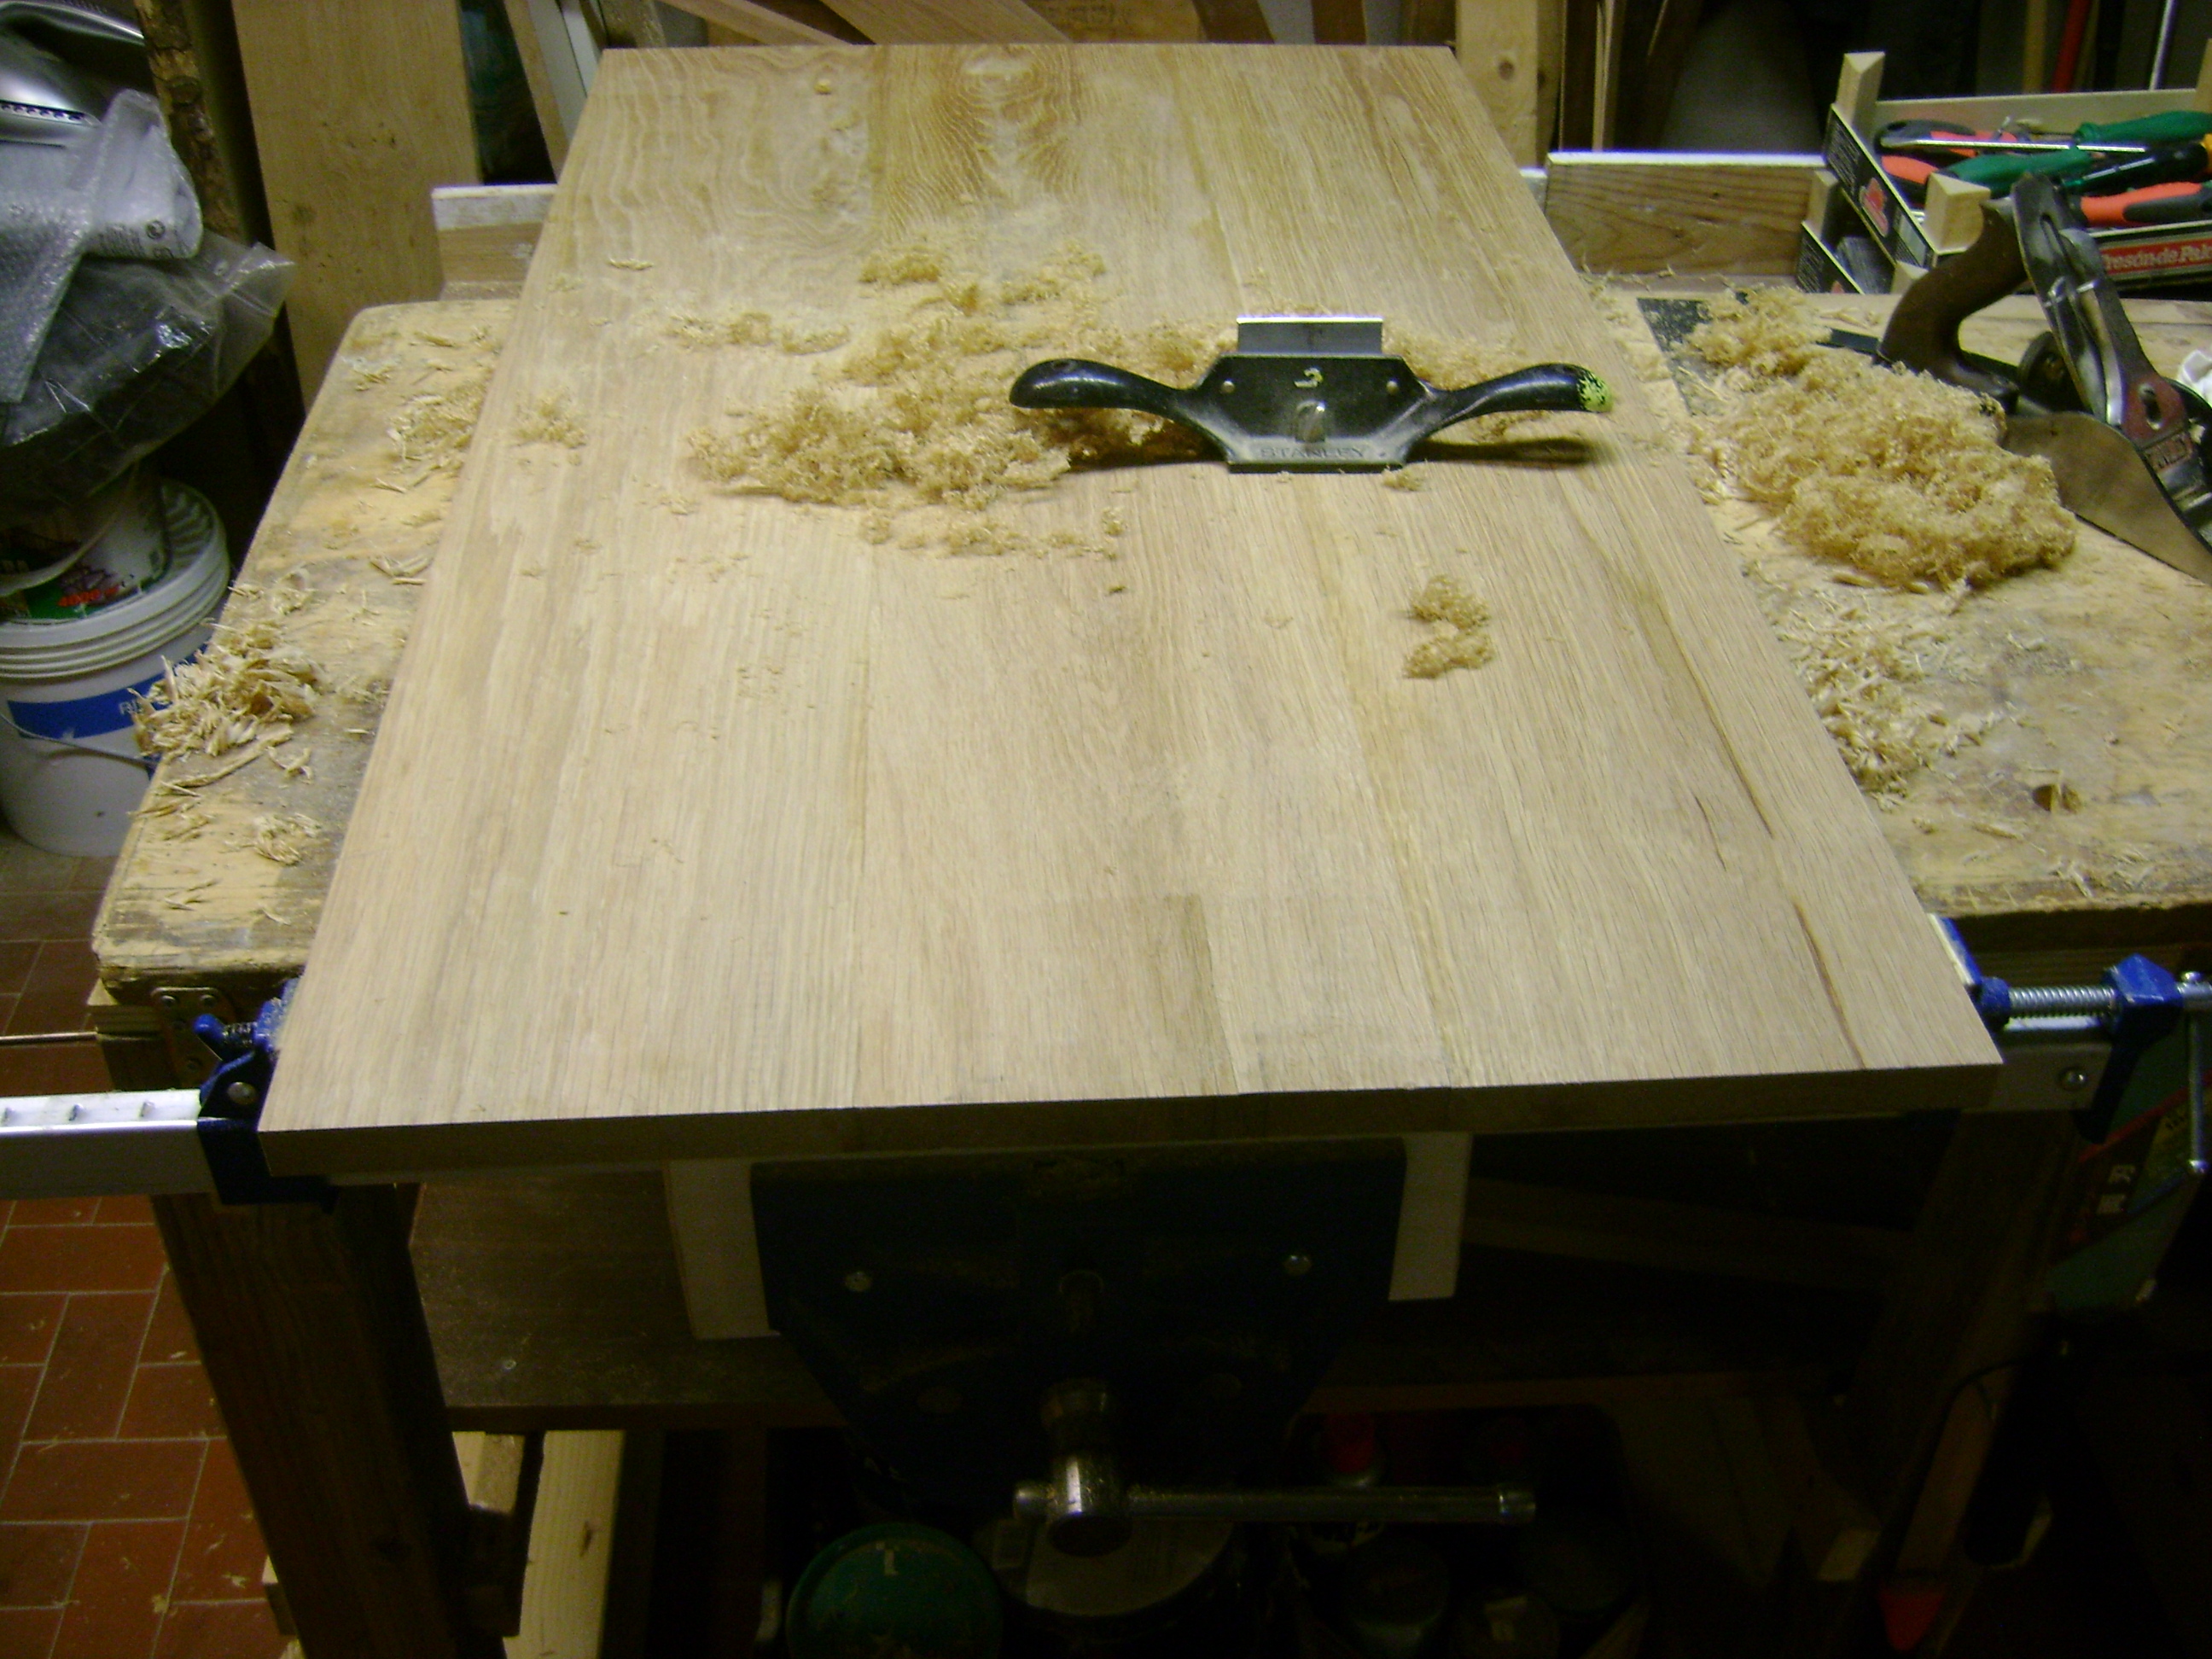
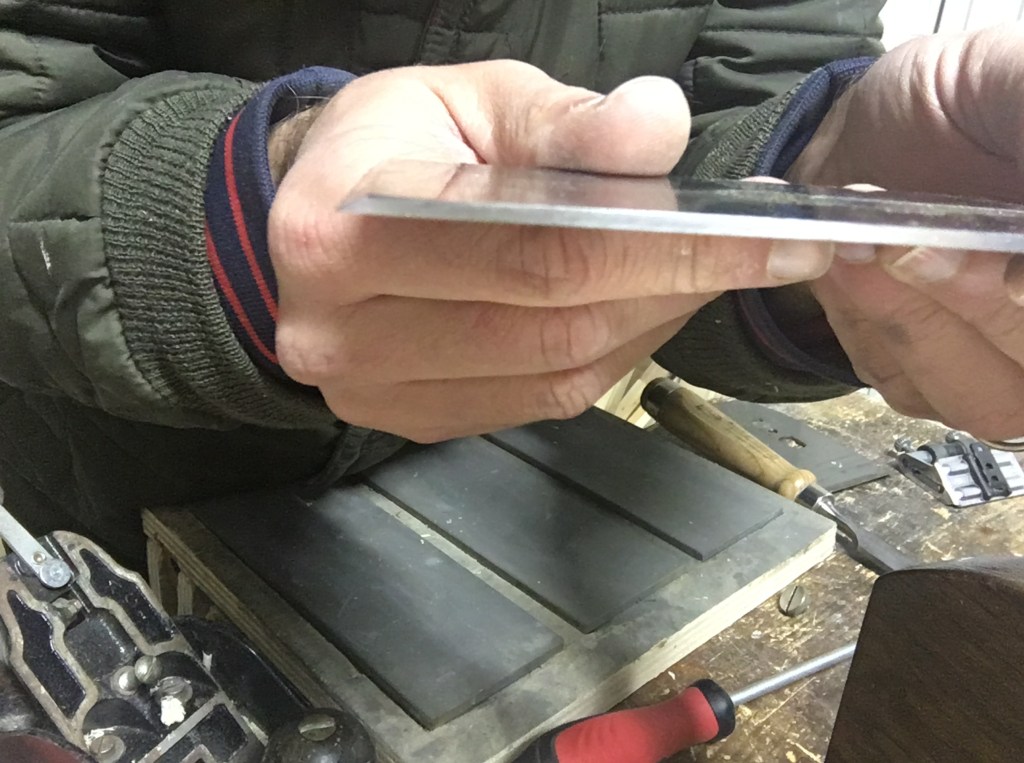
Il legno grezzo, qualsiasi sia il tipo di verniciatura che vorremo successivamente adottare, ha bisogno di essere preparato a dovere, quindi ben piallato e levigato, con gli appositi utensili, che possono essere sia elettrici che manuali. Volendo riferirmi ai soli utensili manuali ( quindi escludendo piallature a filo spessore, levigatrici orbitali, rotorbitali e quant’altro), la levigatura del legno avviene principalmente attraverso le pialle, le rasiere (e le cosiddette cabinet scraper), la carta abrasiva (anche comunemente detta carta vetrata) e la lana d’acciaio.
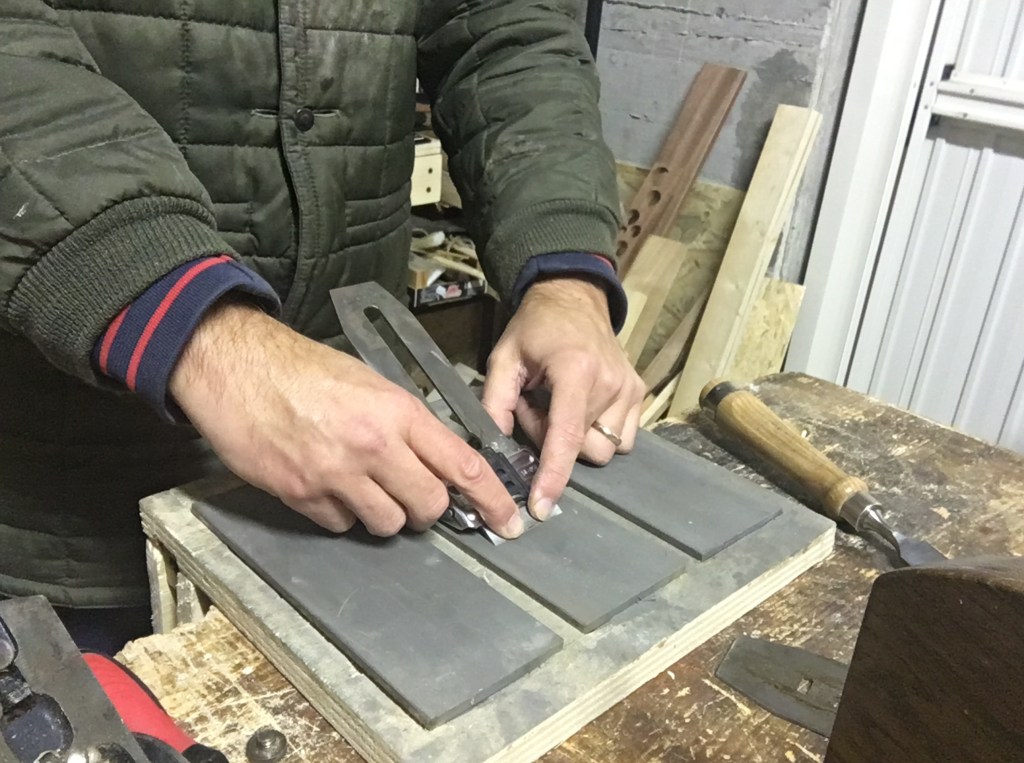
Delle pialle abbiamo già parlato, delle rasiere (e delle cabinet scraper) parlerò in un post dedicato. In questa sede ricorderò soltanto che, per ottenere una perfetta superficie ben levigata e liscia al tatto, è assolutamente indispensabile utilizzare utensili ben affilati. Un utensile non affilato lascerà segni sul legno che dovremo successivamente faticare molto per poter togliere. Molto spesso inoltre questi segni, particolarmente difficili da vedersi sul legno grezzo, risalteranno inesorabilmente a verniciatura ultimata, specialmente se useremo una finitura ad olio o gommalacca, quindi non coprente.
Una volta piallata, ed eventualmente utilizzata la rasiera, potremo procedere ad utilizzare la carta abrasiva per levigare a dovere la superficie ed eliminare tutti quei minimi difetti e gli eventuali segni lasciati dalla piallatura a mano, o dalla piallatura elettrica o nella fase di taglio del legno.
Tra tutte le fasi della lavorazione del legno probabilmente la levigatura è quella più noiosa e sicuramente quella alla quale dedichiamo troppo tempo, probabilmente non giustificato. In effetti, se abbiamo lavorato bene in precedenza e quindi con gli utensili ben affilati, il legno dovrebbe presentarsi in condizioni ottimali tali da poter essere già praticamente pronto a ricevere la verniciatura finale.
Il tempo da dedicare alla levigatura dovrebbe quindi essere lo stretto necessario. L’ errore che comunemente viene fatto è quello di continuare a levigare all’infinito con la carta abrasiva passando di grana in grana ed arrivando sino a quelle extrafini. Il risultato finale sarà quello di ottenere una superficie eccezionalmente levigata e liscia al tatto ma che, ai fini della verniciatura, non ne determinerà alcun significativo miglioramento.
In effetti se pensiamo che, prima dell’introduzione delle apparecchiature elettriche, non esisteva nemmeno la carta abrasiva, ci rendiamo subito conto che la levigatura del legno può essere fatta tranquillamente anche soltanto fermandoci alla fase di piallatura e/o con le rasiere e questo non inficierà in alcun modo la fase di finitura con le vernici.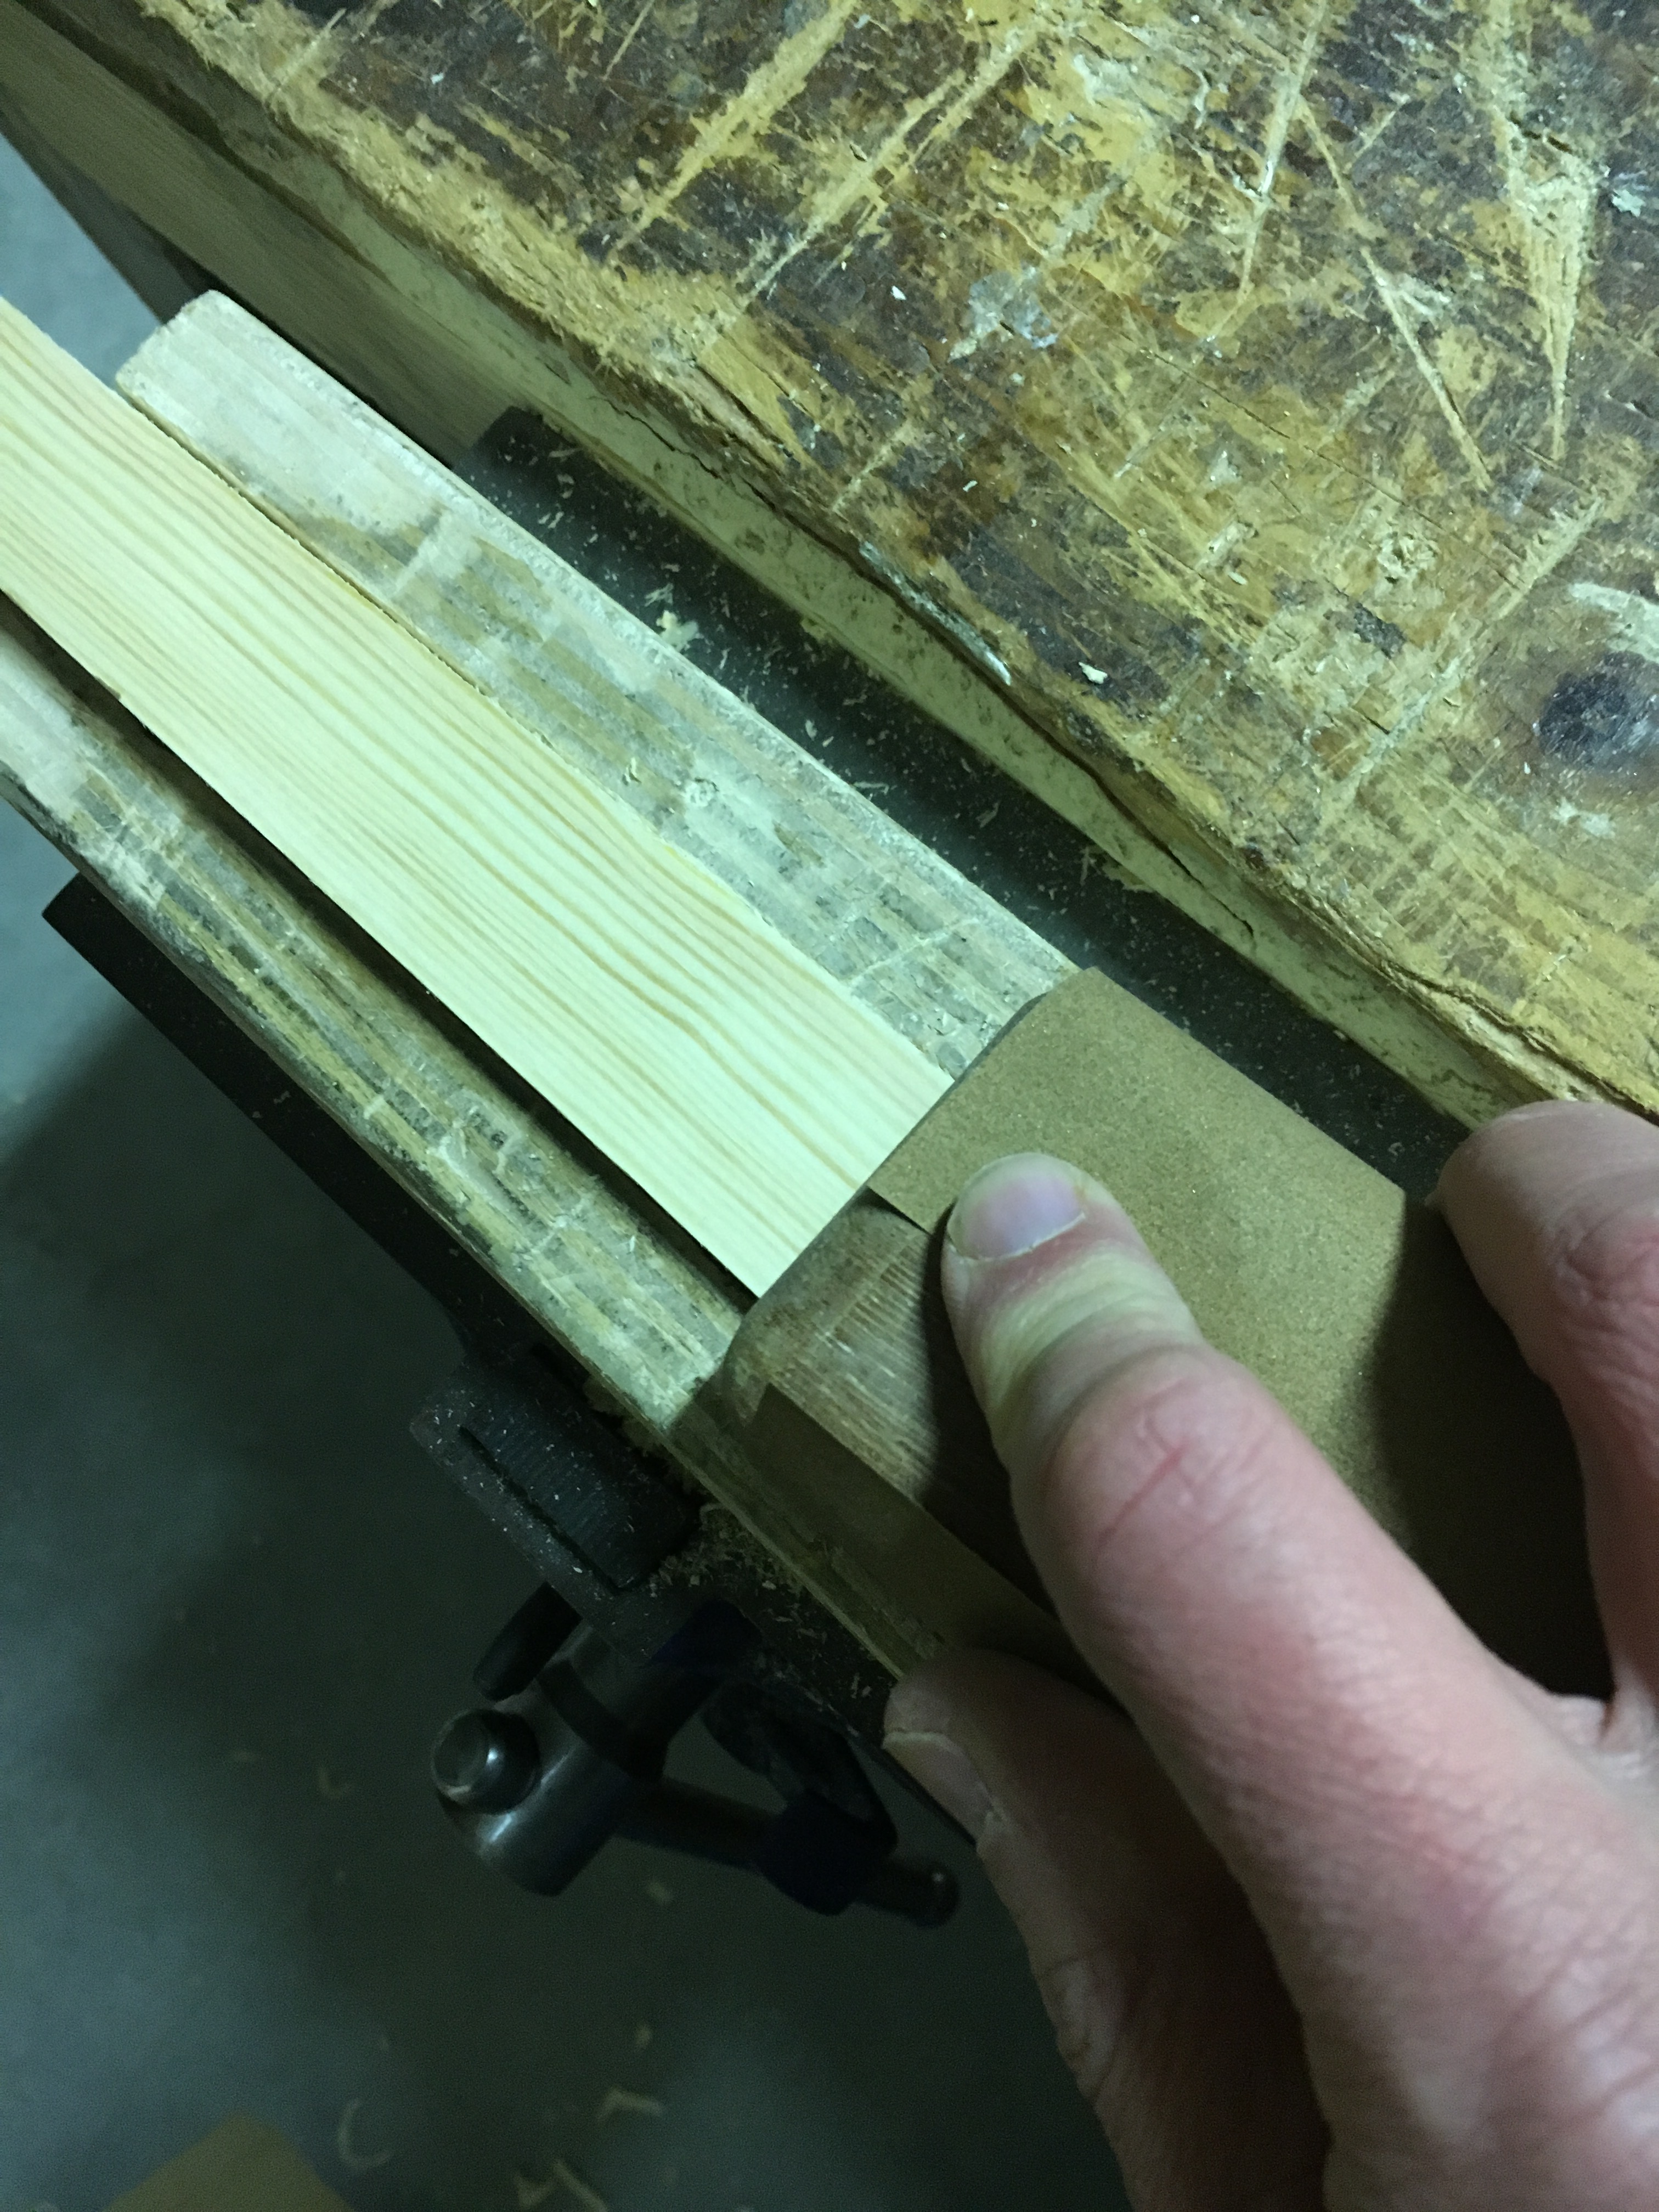
È preferibile effettuare la levigatura del legno prima dell’assemblaggio delle varie parti che compongono il manufatto. Questo per ovvie ragioni di praticità, ma anche perchè così facendo è possibile levigare punti altrimenti difficilmente raggiungibili una volta ultimato il lavoro.
La levigatura con carte abrasive deve avvenire nella direzione del legno, assecondandone quanto più possibile la venatura. Non bisogna mai levigare traverso vena, in quanto così facendo lasceremmo dei segni difficilmente rimuovibili con la stessa carta abrasiva e che ci costringerà in definitiva a ripiallare nuovamente la superficie. È buona norma poi smussare gli angoli di tutti i pezzi lavorati, così da renderli più confortevoli da impugnare ma soprattutto per prevenire quanto più possibile il pericolo di scheggiatura. È possibile effettuare questa ultima operazione con pialle, lime o carta abrasiva.
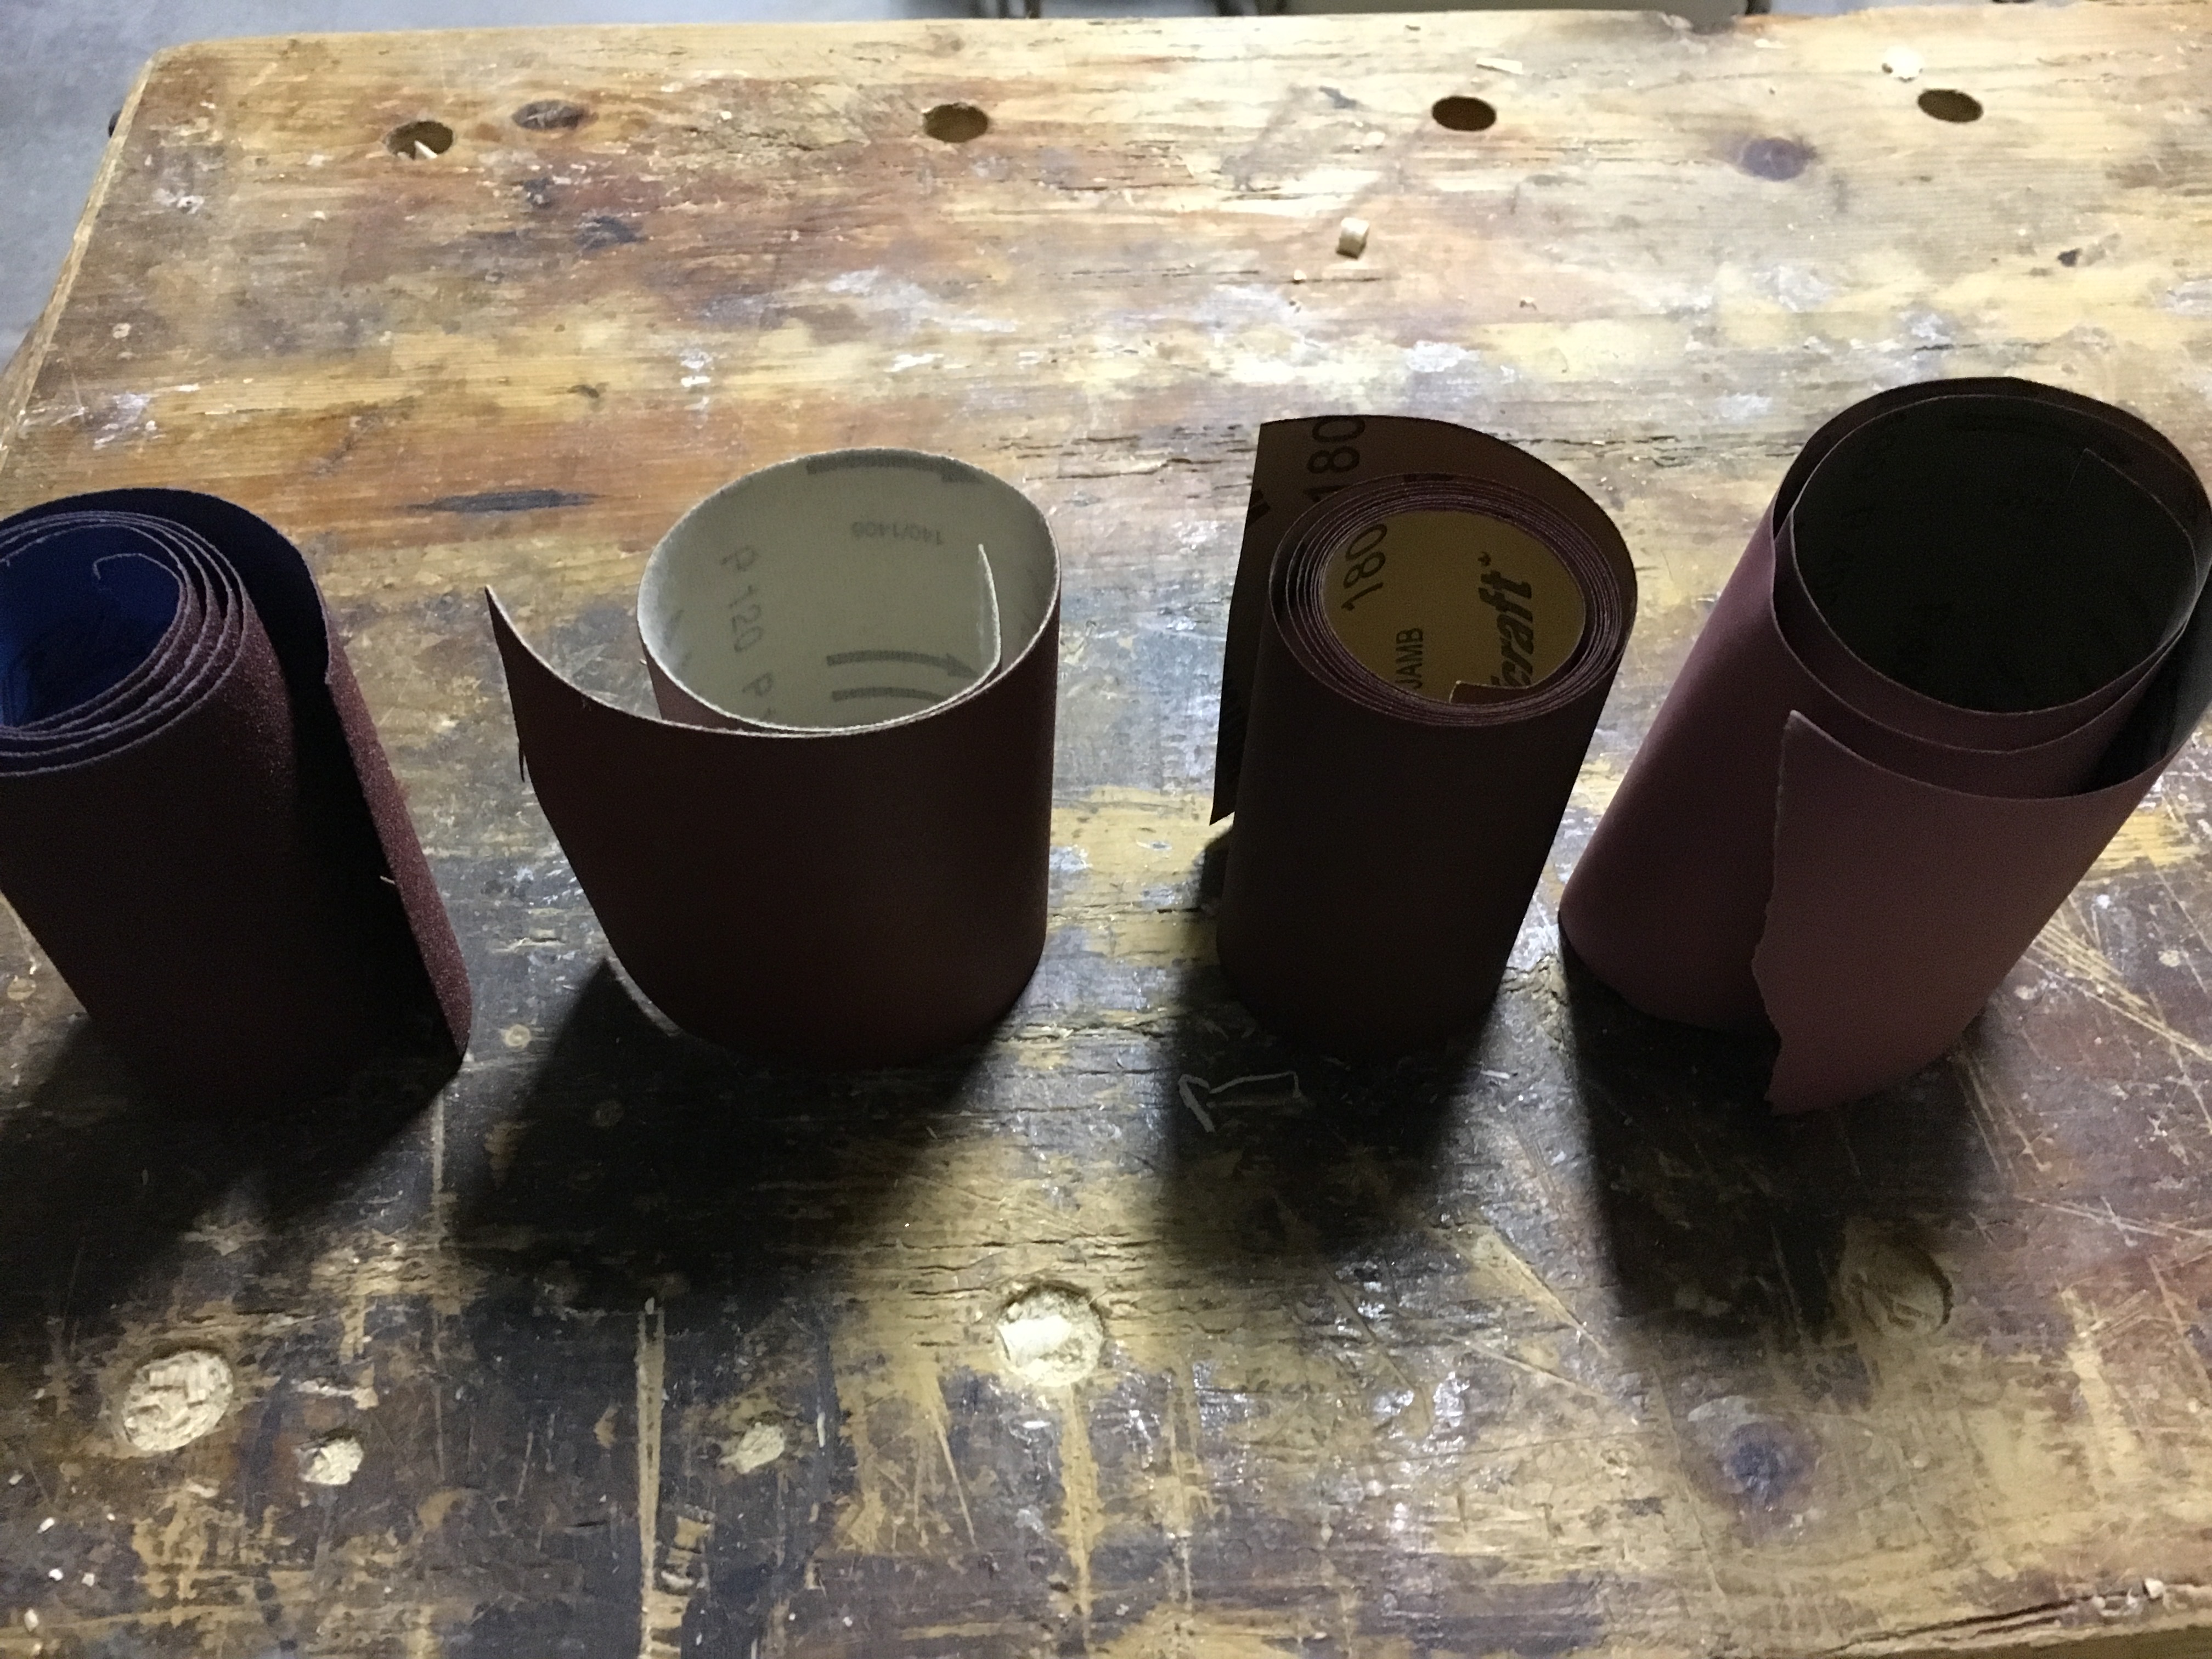
La levigatura viene effettuata mediante l’ausilio di carta abrasiva. La carta abrasiva altro non è che un supporto di carta o di tela sul quale sono depositate microparticelle di vetro o di smeriglio o ossidi di alluminio, comunque elementi minerali molto duri ed esistenti in natura. Questo tipo di carta assume un colore che va dall’arancione al rosso ed è di buona qualità.
Se vogliamo una carta abrasiva di migliore qualità però bisogna cercare la carta abrasiva al carburo di silicio, un unione di elementi creata artificialmente. Questo tipo di carta assume un colore marrone, grigio più o meno scuro e nero.
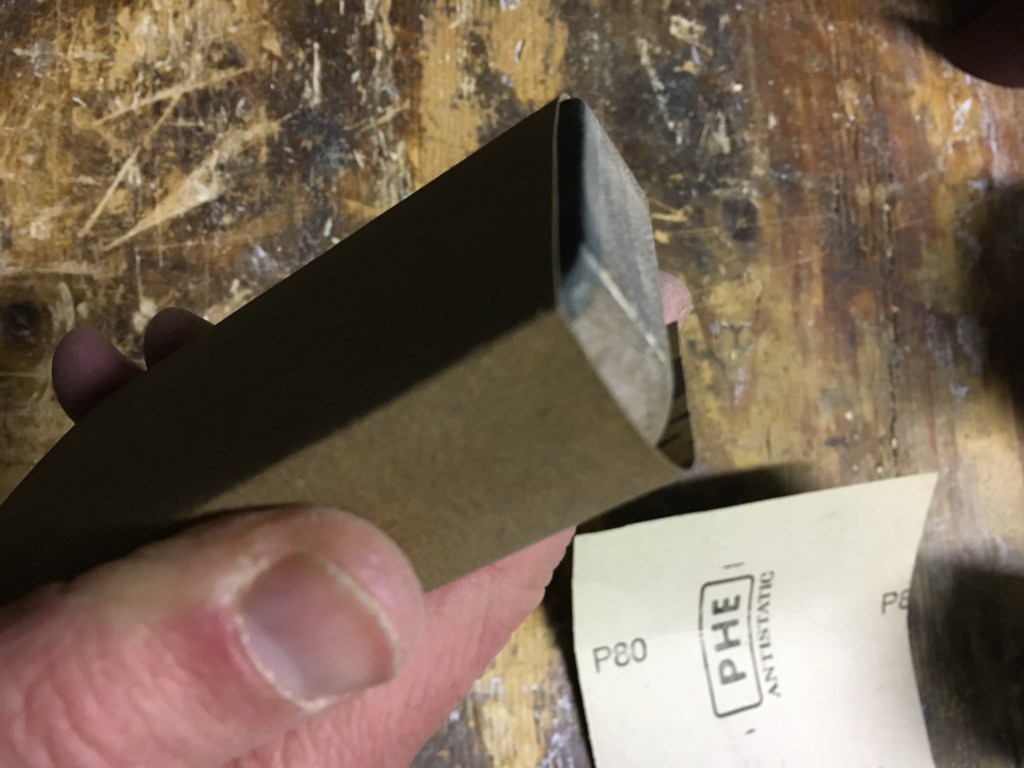
La carta abrasiva è presente sul mercato in differenti forme e misure: in fogli, in rotoli, con formati particolari per adattarsi ai platorelli dei vari elettroutensili, ecc. Il consiglio è di orientarsi verso le carte al carburo di silicio, che costano un po’ di più ma garantiscono una maggior durata e sono di particolare efficacia, la qual cosa non guasta mai quando si tratta di lavorare a mano. Le carte al carburo di silicio si possono a loro volta suddividere in carte stearate (di colore grigio), che hanno la qualità di intasarsi meno delle altre carte e le carte cosiddette wet/dry (di colore nero) che possono usarsi anche bagnate con acqua o altro lubrificante.
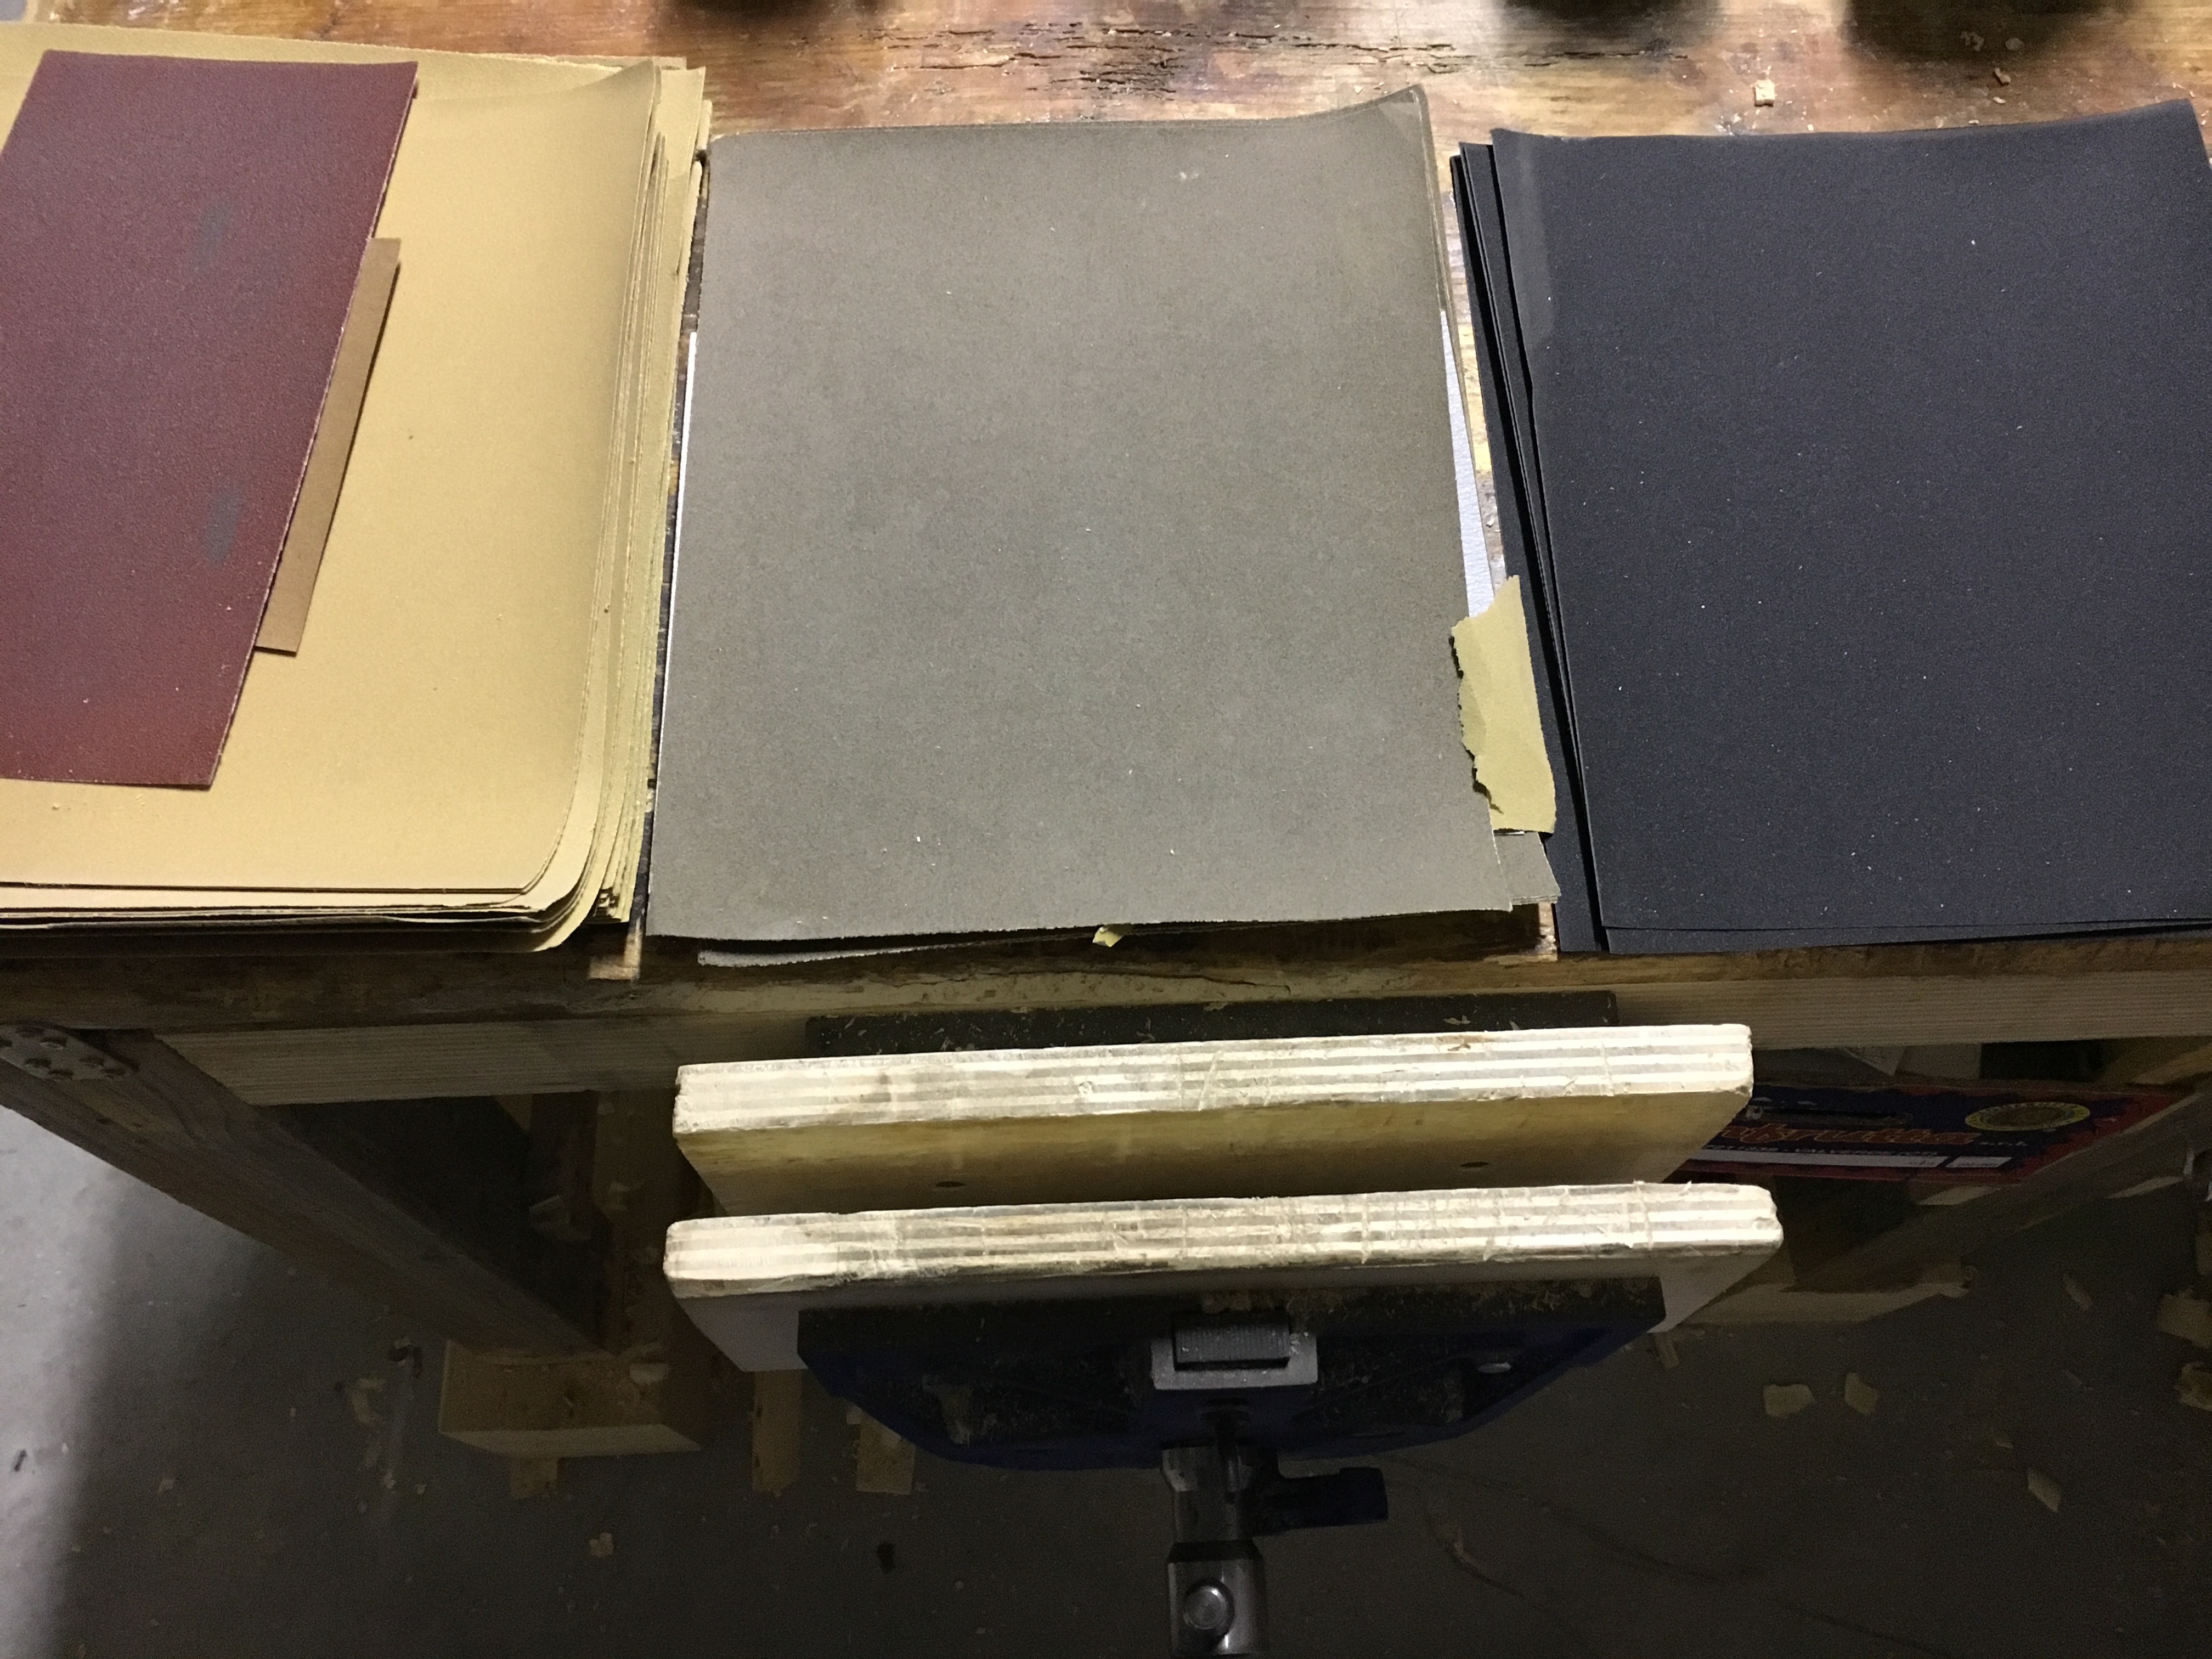
Le carte abrasive si distinguono tra di loro per la differente grana. La grana della carta ne contraddistingue la capacità abrasiva. In commercio esistono le seguenti grane (il numero è stampato sul retro del supporto): 60, 80, 100, 120, 150, 180, 220, 240, 280, 320, 360, 400, 500, 600, 1000, 1200, 1500, 2000. La grana 60 è la grana più grossa e via via crescendo si arriva alla grana 2000, quella più fine. Si usa solitamente distinguerle in gruppi partendo da quelle a grana grossa, per passare alla grana media, fine ed extra fine. La grana grossa abrade più materiale in breve tempo lasciando però una finitura molto grezza, di solito non adatta di per sè alla successiva fase di verniciatura. Di contro utilizzare sin da subito una grana troppo fine sarebbe improponibile in termini di tempi, fatica nella lavorazione e consumo della carta stessa. Ecco quindi che l’uso della carta abrasiva prevede sempre il suo utilizzo a scalare, partendo da un grana grossa, come ad esempio la 60 o la 80 e, passando dall’utilizzo delle successive grane intermedie, arrivare a finire con una grana fine. L’obiettivo è quello di riuscire ad ottenere una superficie liscia, senza graffi ed imperfezioni, eliminando i segni lasciati dalle precedenti carte utilizzate.
Prima di iniziare a levigare una superficie è bene analizzare tutti i difetti presenti. Molti di questi, come accennato, sono poco visibili quando la superficie è ancora allo stato grezzo. Per questo possiamo aiutarci con una luce posizionata di fronte a noi e diretta sulla superficie stessa.
Si comincia utilizzando una carta abrasiva a grana grossa (una 60, ma meglio una 80) e si leviga la superficie fino a quando non abbiamo eliminato tutte le imperfezioni. Quando siamo soddisfatti del lavoro effettuato, procediamo ad utilizzare una carta più fine (come ad esempio una grana 120) per rimuovere tutti i segni lasciati dalla precedente carta abrasiva. Si procede quindi ad utilizzare carte via via più fini fino a quando non saremo soddisfatti della superficie ottenuta. Ricordiamoci di non saltare alla carta successiva sino a quando non avremo eliminato tutti i segni lasciati dalla carta precedente in quanto se non eliminiamo i difetti con le carte a grana più grossa, sarà successivamente molto più difficoltoso toglierli con le grane più fini.
E’ buona norma tra una carta abrasiva e l’altra rimuoverne i residui con un panno asciutto o con aria compressa. Le carte abrasive si consumano velocemente. Per risparmiare tempo e fatica è consigliabile non continuare ad utilizzare una carta che non abrade più efficientemente. Il mio consiglio (per qualsiasi superficie di legno grezzo, duro o tenero che sia) è quello di usare una carta 80, passare poi ad una carta 120 (o 150) e finire con una carta 180 (o 220). Ho letto in molti libri che per i legni teneri (come ad esempio il pino) basta carteggiare sino alla grana 220 e per i legni duri (come ad esempio il rovere) bisogna arrivare sino alla carta 400. Personalmente ho constatato che andare sopra la carta 220 sicuramente rende la superficie più liscia al tatto, ma dopo aver dato la finitura, c’e’ veramente pochissima differenza tra l’aver levigato fino alla carta 220 e fino ad esempio alla carta 400 (o addirittura oltre). Quindi secondo me possiamo risparmiare tempo, fatica e soldi, in quanto, a meno che non vogliamo essere degli assoluti perfezionisti, il gioco non vale la candela.
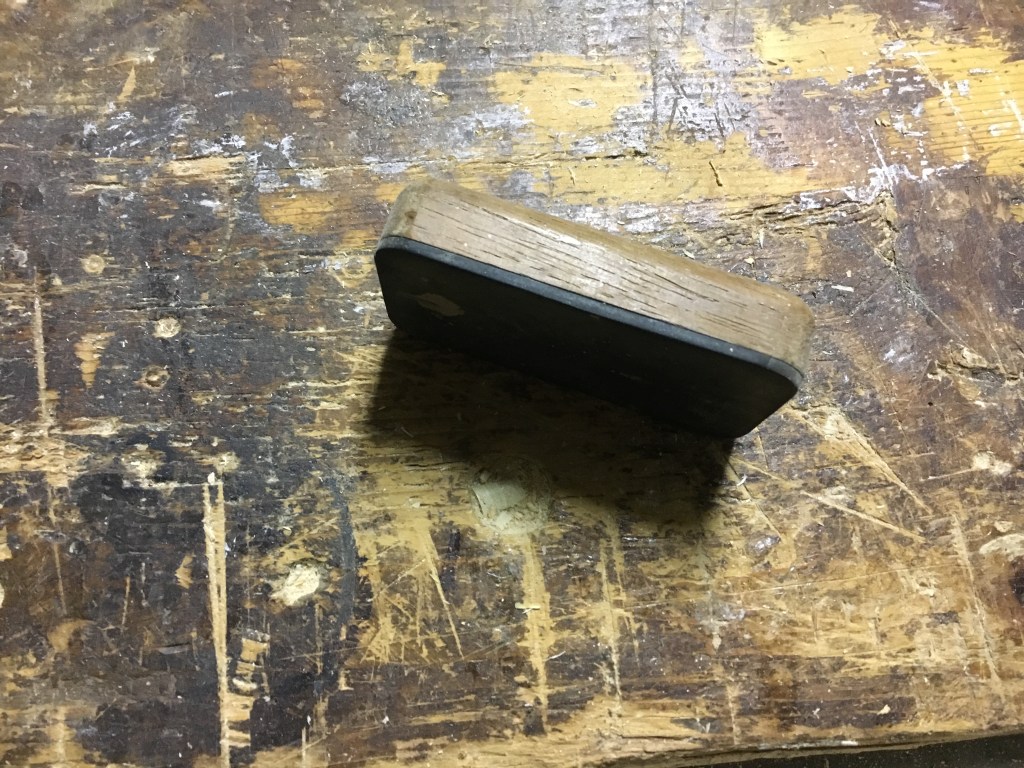
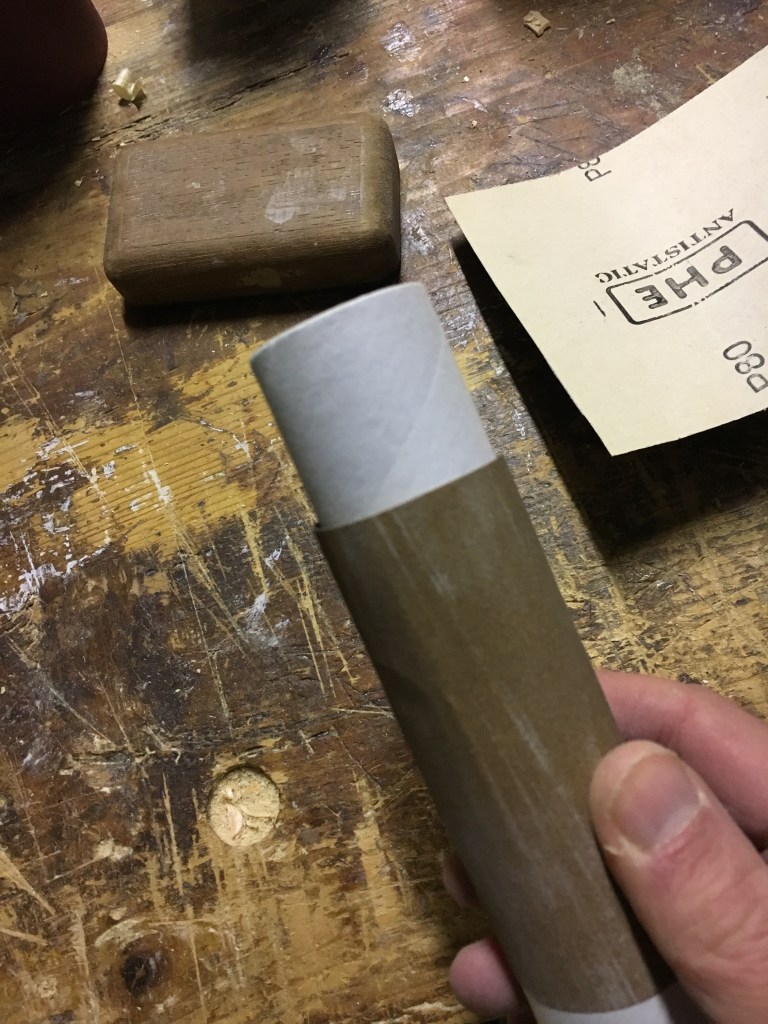
Si può utilizzare la carta abrasiva semplicemente afferrandola con le mani e sfregarla sulla superficie, oppure utilizzare un blocchetto di legno opportunamente sagomato (si trovano anche nei brico, provvisti di base in gomma e con i fermacarta, oppure possiamo tranquillamente utilizzare un pezzo di legno che abbiamo di scarto). In quest’ultimo caso si avvolge un pezzo di carta abrasiva alla mattonella di legno e si utilizza avendo cura di spostare frequentemente la carta così da offrire sempre una nuova superficie abrasiva. Per superfici piane è consigliabile utilizzare questo tipo di ausilio così da evitare il formarsi di avvallamenti ed arrotondamenti sempre possibili quando si leviga una superficie piana esclusivamente con le mani.


Per le superfici curve non è consigliabile utilizzare il blocchetto di legno piano bensì crearsi degli appositi ausili opportunamente sagomati e di forma rotondeggiante sui quali poi poter avvolgere la carta abrasiva. In quest’ultimo caso si può comunque sempre procedere direttamente a mano, senza alcun ausilio.
———————————————————————————————————————————-
This is the first of a series of posts in which I would like to talk briefly about the wood finishing. This phase includes all the operations that finish and then complete our work. Mainly it is the preparation of the wood with the sanding and its subsequent varnishing. This implementation phase is often neglected but it is of fundamental importance for the success of our work. In the realm of the facts the majority of people hardly stop to evaluate the technical difficulties of the joints made in a piece of furniture, but rather appreciate the exterior appearance as a whole, in which its finish plays a fundamental role, basically the varnishing of the artifact. Indeed, a professionally perfect handmade work can be ruined by a finish that is not up to par and objectively not optimal. The finish of a product is therefore fundamental but often a lot of confusion is made on the subject because, especially when it comes to finishing, there are so many processing methods and abundance of paints of any kind that it is difficult to extricate and well focus what we want and we what we must get. There are many books on the subject on the market and each one shows his truth about how to make a perfect finish. The overabundance of information on the subject instead of clarity has generated much confusion especially on the terminology used. The password in these cases is to simplify. I have realized that, to make a good finish, just a few simple notions are enough. All the rest is a surplus of information that, instead of simplifying the work, in the reality complicates it considerably.We will see the painting phase in the next posts. In this article I would first like to talk about the preparation phase of raw wood (therefore never varnished) for its subsequent varnishing. The success in the varnishing phase of the wood begins in the phase of choice of the wood to be used and in its correct approach during assembly. A wood with few knots and no cracking, well seasoned and with a beautiful grain will certainly have a greater yield in terms of aesthetics once the product is finished. The mating of boards with similar grain and color will enphasizemthe beauty of the wood even more when the product is varnished. The raw wood, whatever the type of varnish that we will subsequently use, needs to be prepared properly, then well planed and polished, with the appropriate tools, which can be both electric and hand tools. In my case I want to refer to hand tools only (therefore excluding electric planes, orbital sanders, rotorbitals and so on), the wood sanding is mainly done through the planes, the scraper (and the so-called cabinet scraper), the abrasive paper (also commonly said sandpaper) and steel wool. We already talked about the planes. I will talk about the scrapers and the cabinet scrapers in future dedicated post. Here I will only remind that, in order to obtain a perfect smooth surface, and smooth to the touch, it is absolutely essential to use well-sharpened tools. A non-sharpened tool will leave marks on the wood that we will have to work hard to remove. Very often these signs, particularly difficult to be seen on the raw wood, will show after varnished our work, especially if we use an oil or shellac finish, and therefore not covering our piece of furniture. Once planed, and eventually used the scraper, we can proceed to use the abrasive paper to properly sand the surface and eliminate all those minor defects and any marks left by the hand planing, planing machine or by saw mill. Among all the stages of woodworking, sanding is probably the most boring and certainly the one to which we dedicate too much time, probably not justified. In fact, if we have worked well before and then with the well sharpened tools, the wood should present itself in optimal conditions such that it can already be practically ready to receive the final varnish. The time spent on sanding should therefore be strictly necessary. The mistake that is commonly made is to continue to smooth indefinitely with the abrasive paper passing through many different sandpapers and arriving up to the extrafine ones.The final result will be to obtain an exceptionally smooth and smooth surface to the touch, but which, for the purposes of varnishing, will not lead to any significant improvement. In fact, if we think that before the introduction of electric tools, there was not even the abrasive paper, we immediately realize that the sanding of the wood can be done quietly even just stopping at the planing phase and / or with the scraper and this does not will in no way affect the finishing phase with the varnishes. It is preferable to sand the wood before assembling the various parts componing our work. This is for obvious practical reasons, but also because in doing so it is possible to polish points otherwise difficult to reach once the work is finished. The sanding with abrasive paper must take place in the direction of the wood, following the grain as much as possible. We should never sand across the grain, because doing so we would leave many signs, very difficult to remove with the same abrasive paper and that will ultimately force us to plane the surface again. It is a good idea to break the corners of all our pieces, so as to make them more comfortable to hold, but above all to prevent the risk of breaking as much as possible. This last operation can be done with planes, files or abrasive paper. The sanding is carried out with the aid of sandpaper. The sandpaper is nothing more than a paper or canvas support on which are placed microparticles of glass or emery or aluminum oxide, however very hard and natural mineral elements. We can find this kind of paper in a variety of colors that goes from orange to red and is of good quality.If we want a better quality sandpaper, however, we must look for the silicon carbide sandpaper, a combination of artificially created elements. We can find this type of paper in a variety of colors that goes from brown to grey and black. The sandpaper is on the market in different shapes and sizes: in sheets, in rolls, with special formats to fit the sanding pads of the various power tools, etc. The advice is to move towards the silicon carbide papers, which cost a little more but guarantee a longer life and are particularly effective, which never hurts when it comes to working hand. Silicon carbide papers can also be divided into stearate papers (gray), which have the quality of clogging less than other papers and the so-called wet / dry papers (black) that can also be used wet with water or other lubricant. The sandpapers are distinguished from each other by the different grit. The paper grit distinguishes its abrasive capacity. On the market there are the following grits (the number is printed on the back of the support): 60, 80, 100, 120, 150, 180, 220, 240, 280, 320, 360, 400, 500, 600, 1000, 1200, 1500 , 2000. 60 grit is the coarsest grit and gradually grows to the 2000 grit, the finest. It is usually used to distinguish them in groups starting from the coarsest grit ones, to go to medium, fine and extra-fine grit. The coarse grit abrade more material in a short time but leaving a very rough finish, usually not suitable to the next stage of varnishing.On the other hand using immediately a too fine grit would be impractical in terms of time, effort in working and waste of the paper itself. Therefore, the use of sandpaper always provides for its use to start from a coarse grit, such as 60 or 80 and, passing through the use of the successive intermediate grits, and finish with a finer grit. The goal is to be able to obtain a smooth surface, without scratches and imperfections, eliminating the marks left by the previous used papers. Before starting to sand a surface it is good to analyze all the defects. Many of these, as mentioned, are not very visible when the surface is still raw. For this reason we can help with a light positioned in front of us and directed on the surface itself. We then start by using a coarse grit sandpaper (60 grit,but 80 grit is better) to smooth the surface until we have eliminated all the imperfections. When we are satisfied with the our work, we proceed to use a finer paper (such as a 120 grit) to remove all the marks left by the previous sandpapers. We then proceed to use increasingly finer papers until we are satisfied with the obtained surface. We have to remember not to skip to the next paper until we have eliminated all the marks left by the previous paper because if we do not eliminate the defects with the coarser paper, it will be much more difficult to remove them with the finest grits.It is a good idea to remove the particles left by the papers with a dry cloth or compressed air between one sandpaper and the other. Sandpapers are consumed quickly. To save time and effort it is advisable not to continue using it if that does not abrade efficiently. My advice (for any raw, hard or soft wood surface) is to use a 80 grit, then move to a 120 grit (or 150 grit) paper and finish with a 180 grit (or 220 grit) paper. I read in many books that for soft woods (such as pine) just sanding up to 220 grit and for hardwoods (such as oak) must be up to 400 grit. Personally I found that going over the 220 grit certainly makes the surface smoother to the touch, but after giving the finish, there is very little difference between having polished up to 220 grit and up to 400 grit (or even more). So I think we can save much time, effort and even money, because, unless we want to be absolute perfectionists, “the game is not worth the candle”. You can use the sandpaper by simply keeping it with your hands and rubbing it on the surface, or use a suitably shaped wooden block (you can buy them in a brico store, provided with a rubber base and paper holders, or you can easily use a scrap piece of wood). In the latter case, a piece of sandpaper is wrapped around the wooden block and is used, taking care to frequently move the paper so as to always offer a new abrasive surface. For flat surfaces it is advisable to use this type of aid so as to avoid the formation of depressions and roundings always possible when smoothing a flat surface exclusively by your hands. For curved surfaces it is not advisable to use the flat wooden block but to create appropriate specially shaped and round shaped aids on which the abrasive paper can then be wrapped. In this last case you can however always proceed directly by hand, without any aid.

Lascia un commento